
If you’re searching for a simple and user-friendly image editor to enhance your photographs before posting in Instagram or Facebook, but would rather avoid wasting time learning a ton of information about Lightroom or Photoshop tools, look through these 7 best photo editors and download the app you like.

Contents:
 GIMP
GIMP
 GIMP
GIMP- Alternatives: Photoshop, Pixlr
- Price: FREE
- Strengths: simple and user-friendly interface; lots of image editing tools
- Weaknesses: poor optimization
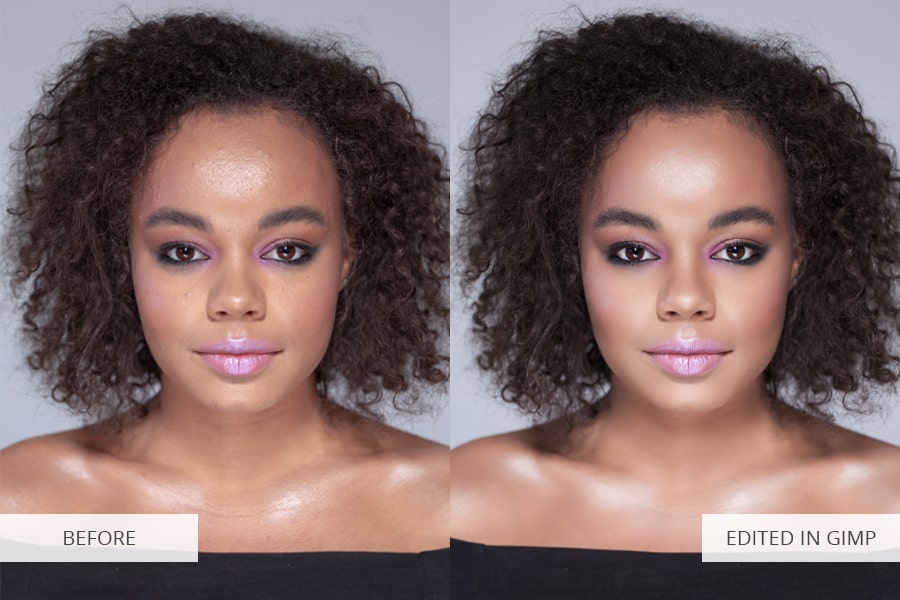
GIMP is the best photo editor for Mac and it’s also available for Linux and Windows. It’s one of the most user-friendly open source photo editors that has a Photoshop-like interface and lots of image editing tools that allow you to work with colors, text, masks, and layers. I consider GIMP’s greatest strength to be its open source code that allows you to adjust various tools, fix bugs, and develop new functions manually without waiting for the next update. The biggest drawback of this program is the lack of macOS support. Additionally, in some cases, GIMP runs rather slowly, which is a sign of poor optimization.
*If you don’t have time to edit photos on your own or watch YouTube guides, address photo editing services like FixThePhoto that will make any level of photo retouching professionally and for an affordable price.

Inkscape
- Alternatives: Paint.Net, Fotor
- Price: FREE
- Strengths: advanced tools for work with vector images; supports all platforms
- Weaknesses: not suitable for professional image retouching
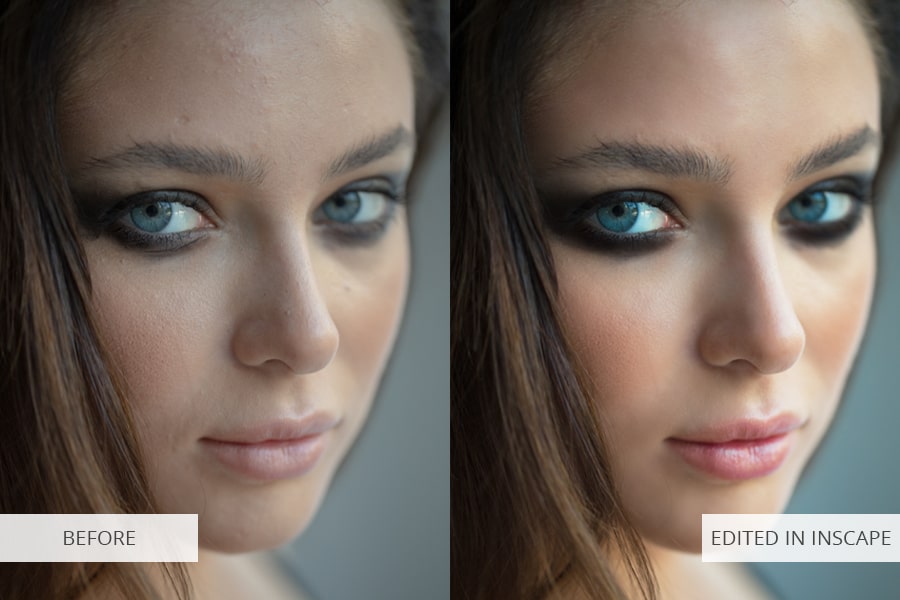
Inkscape is a free vector graphics editor that can be used to create both artistic and technical illustrations. This software is suitable for beginners in digital photography and web-design as it also offers tools for basic photo editing, designing logos and banners, using brushes, and the possibility to edit vector graphics for free. You can resize and visualize vector illustrations in different resolutions without a loss in quality. Inkscape supports Scalable Vector Graphics standard and has a full set of conversion and HD-rendering tools. The obvious drawback of this program is the limited image retouching and color correction functionality.

Paint.Net
- Alternative: GIMP
- Price: FREE
- Strengths: easy to use; suitable for basic photo editing and color correction; a lot of digital drawing tools
- Weaknesses: isn’t supported by Linux and macOS
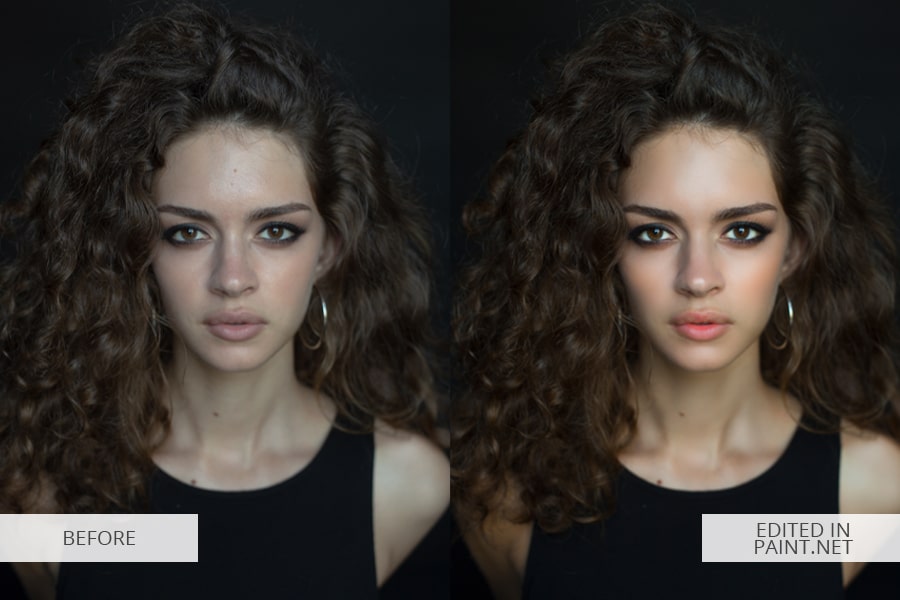
Paint.Net is a raster graphics editor for Windows operating system that is famous for its open source code. This image editor has a user-friendly interface and a well-designed toolset. Unlike most of its competitors, you don’t need a powerful PC to run it. Keep in mind that Paint and Paint.Net are two separate programs that have different tools and functions.
Overall, Paint.Net is a universal app for beginner photographers and hobbyists who don’t need a software filled with various deep photo editing functions. In regards to its weak points, this app is only compatible with Windows. Additionally, the interface looks a bit outdated and doesn’t meet modern standards.

Pixlr
- Alternatives: Photoshop, GIMP
- Price: FREE or $22/month
- Strengths: impressive functionality and big toolset; easy to learn and use
- Weaknesses: irritating ads
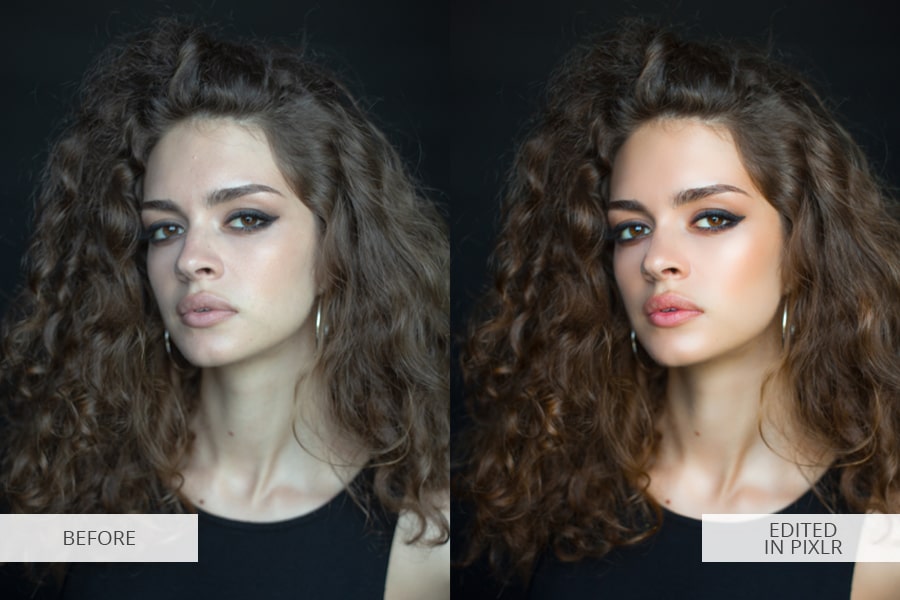
Pixlr is widely used for its impressive functionality and user-friendly interface, customizable UI, which is quite similar to Photoshop. It has a nearly identical layout of the main menu, toolbars, layers, and other features.
Pixlr offers all the functionality you can expect from a modern image editor. It has a Highlight, Fill, Gradient blend, Blur, and Photo transformation tools. Pixlr includes nearly all the features you can find in Adobe PS. Moreover, it has a tremendous advantage in the form of RAW image support, which can’t be found in most other good picture editors. Regrettably, this program also suffers from a serious flaw – ads that constantly pop up and distract you from the photo editing process.
I should also mention that Pixlr offers a basic version of this photo editor called Pixlr Express. It has a smaller number of tools and mainly serves for simple, quick image enhancement tasks for smartphone photos. This version of the program allows you to crop images, adjust their brightness, add various effects, filters, text, stickers, etc. In addition, Pixlr Express regularly receives updates containing new stickers usually dedicated to the current holidays. I think this picture editor is a good choice for newbie photographers and Instagram bloggers looking for the best free photo editor.
Fotor
- Alternatives: Photoshop, GIMP
- Price: FREE or $8.99/month
- Strengths: straightforward, user-friendly interface; lots of thematic filters
- Weaknesses: additional filters and effects cost money; annoying ads
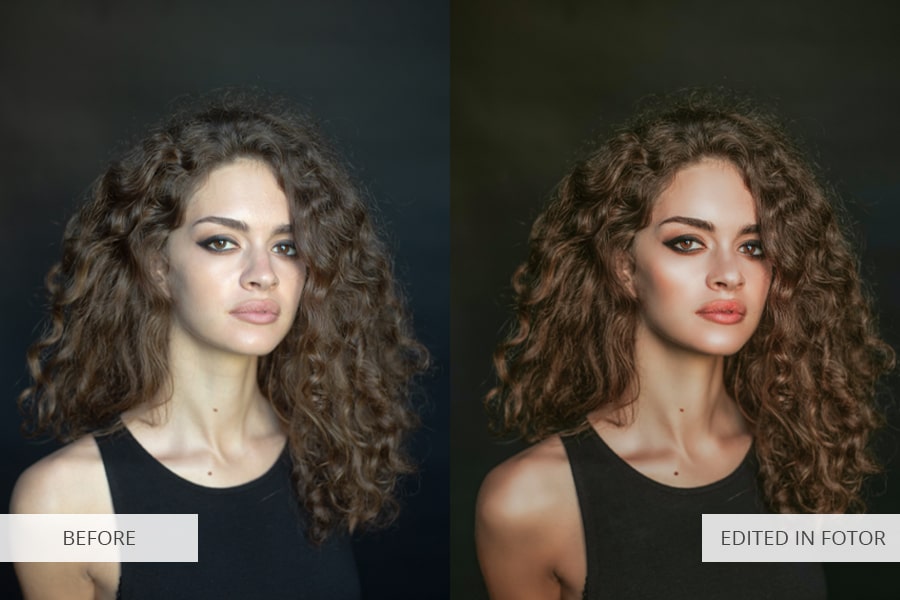
Fotor is one of the best online photo editors that allows you to edit your photographs and create funny collages. Sadly, same as all other free web-based programs, it’s full of advertisements.
Once I’ve opened Fotor, I saw a simplistic, newbie-friendly interface that contains 5 main toolbars. The first one includes basic photo editing features such as cropping, moving, size transformations, etc. The second toolbar has all the actions and filters you can use to make your photos black&white, add glares, darken them, and much more. Next, you can find tools used for portrait editing. It allows you to add makeup, hide skin imperfections, and adjust the color of the face.
Additionally, Fotor features simple tools for adding text, stickers, etc. which is a nice bonus for creating Instagram stories.
The biggest drawback of this potentially the best photo editor is the lack of image editing features. Fotor is so primitive that you can sometimes confuse it with a FB or Instagram integrated image editor. Moreover, it only allows you to work with images in PNG and JPEG formats. That’s why Fotor is used only for basic image enhancement. If you’re a beginner, you’ll be pleased with this picture editor as it offers all the needed tools for free. However, if you decide to try out Fotor, prepare to deal with tons of ads that will occupy your screen.
Photoshop Express
- Alternatives: Fotor, iPiccy
- Price: FREE
- Strengths: easy to understand and use; suitable for professional photo editing
- Weaknesses: can’t upload and edit several photographs simultaneously; doesn’t support RAW images
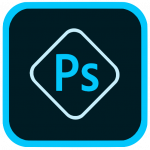
PS Express is a simple, well-designed free online image editor developed by Adobe Co. All the tools are logically structured and, unlike the original Photoshop, are immediately accessible even if you’ve never used photo editors before. You don’t need to install any browser plug-ins as long as you have Flash. Simply upload an image and start working.
I should note that Photoshop Express supports only JPG files that are less than 16MP and have a max width of 8,191px. The photo editor is supplied with a broad array of tools that allow you to perform high-quality image editing. They are almost identical to the tools you’ll find in Photoshop, which is why it’s considered to be the best free image editor.

BeFunky
- Alternatives: Photoshop, GIMP
- Price: FREE or $6.99/month
- Strengths: allows you to save files and continue image editing later
- Weaknesses: 70% of the included effects and design components are locked
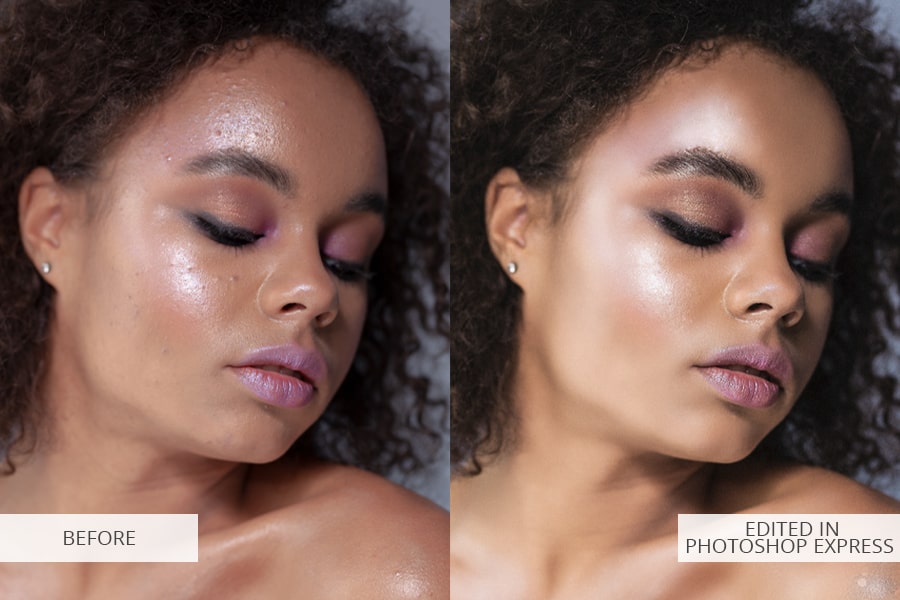
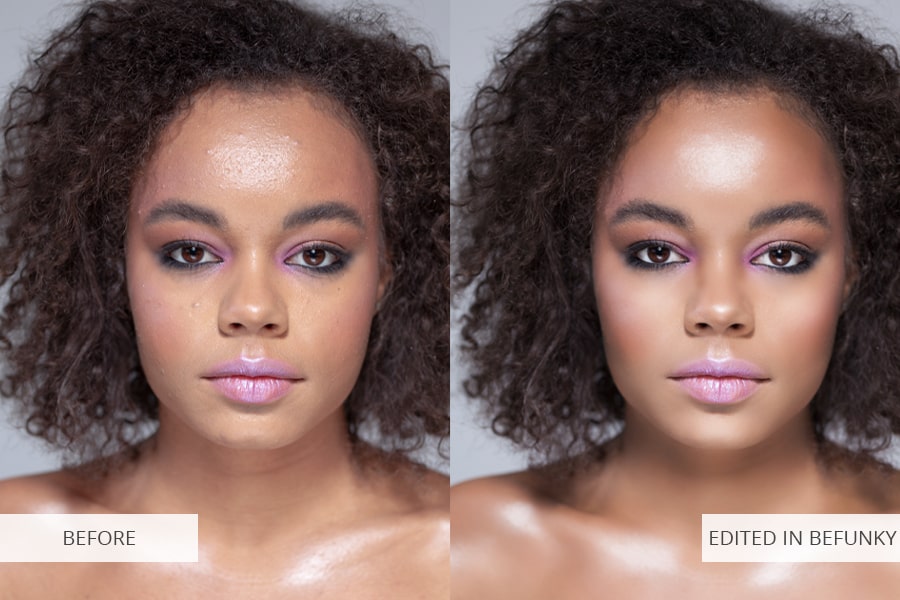
BeFunky is a photo editor with limited free functionality. This app offers all the core features needed for basic image editing: Crop, Color Correction, several filters, and effects. That being said, the problem with this free image editor is that more than 70% of its functionality is paid. Even worse, you also have to deal with a ton of ads. Even though BeFunky has a big number of effects to choose, but the “asterisk” accompanies most filters. The program offers you to purchase the premium version that removes all limitations and introduces even more content.
Even though the amount of ads and paid content is disheartening, BeFunky deserves praise for the number and quality of effects, filters, and other adjustments it offers. Additionally, this online photo editor like Photoshop has standalone modules for putting together collages and artistic designs. Unfortunately, once again you need to pay for its $5 monthly subscription if you want to access better options.
BONUS – Free Duplicate Photo Finder for Mac
If you’re a photographer and you own a Mac, you may face the problem of duplicate photos which take up useless space on your drive. You can manually search for duplicates but it is usually time-consuming. But don’t worry! We have the best solution for you. You can use Duplicate File Finder – a free application that lets you scan any type of hard drive, volume and folder and quickly find duplicate photos and other types of duplicate files.

With Duplicate File Finder you will be able to save space by locating and erasing any duplicate images that you upload to your Mac.


