Duplicate File Finder
How to troubleshoot the issues when removing duplicates
When you try to remove duplicates with Duplicate File Finder, the application may give you the notification that some files were not removed for various reasons. In this article, we will explain why you face some issues and how to troubleshoot them.
Contents:
- Files on NTFS formatted disk can be found but can’t be removed.
- Files on a disk with Read Only permission can be found but can’t be removed.
- Files can’t be removed due to lack of permission.
- Files can’t be removed due to lack of permission by ACLs (Access Control List)
- Files can’t be removed due to being locked.
- Files can’t be removed because your disk doesn’t have a Trash folder.
- Files can’t be removed due to being located on a Network disk
- Files can’t be removed as the duplicates were modified after the last scan.
- Files can’t be removed as they are the unique copies.
- Files can’t be deleted from Photos due to not having access to your library.
- Files can’t be deleted from Photos due to the Photos app is running.
- Files can’t be removed from iPhoto Library due to lack of permission.
- Files can’t be removed from Music Library due to lack of permission
- Files are located in a sticky bit folder.
- Unknown error.
Files on NTFS formatted disk can be found but can’t be removed
It may happen that, when you are trying to scan an NTFS formatted disk, Duplicate File Finder gives you a notification that you can find duplicates but cannot remove them. You will see the following notification:
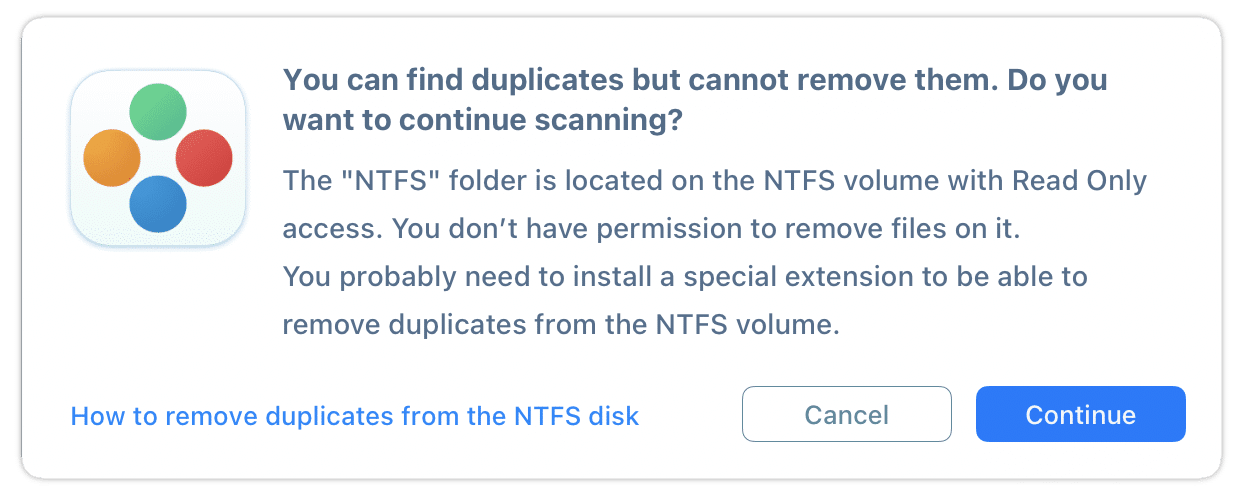
This means that you can scan the volume to find duplicates, you can preview the duplicates, but you will not be able to remove them. NTFS formatted disks require special drivers to be installed on Mac to make it possible to operate files from the drive. If you try to remove duplicate files from a disk of NTFS format, you will get the following message:
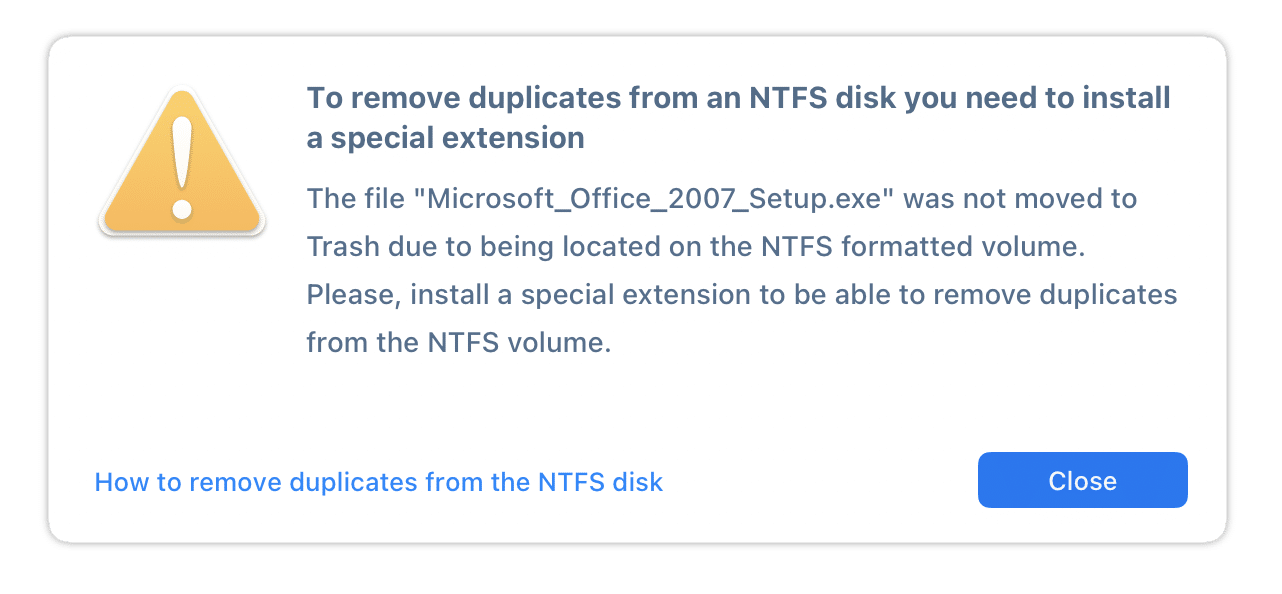
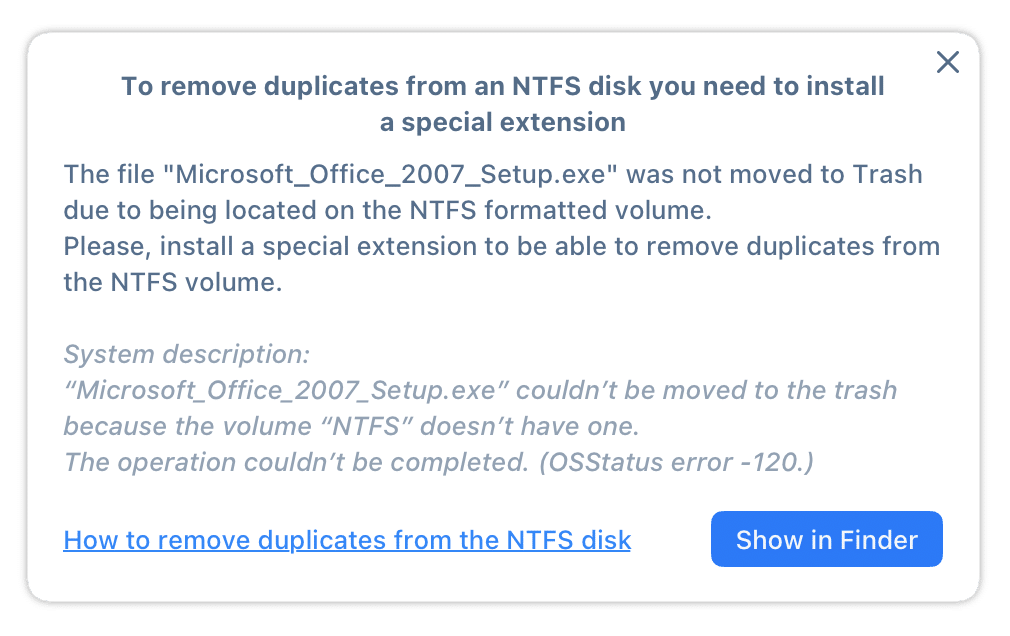
After clicking the Close button, you will see such a messages in the Removal window:
How to fix this issue and remove files from NTFS formatted disk?
NTFS-volume is a Windows OS default file system format and has some restrictions for operating files when you open it on your Mac. When your folder is located on an NTFS volume, you cannot make any modifications or remove files on such a drive unless you install a special driver app for NTFS disks.
Thus, to be able to remove duplicates from a volume of NTFS format, you should install a driver app for NTFS disks. Such apps will allow you to change and delete files on Mac from NTFS disk volumes. There are a large number of apps on the Internet (Tuxera, Paragon, Mounty for NTFS, Fuse, Seagate, and so on), designed to help you solve such issues. You can choose paid or free apps depending on your requirements.
- Before installing a special driver for NTFS formatted disk, we recommend that you close Duplicate File Finder and save your session.
- After installing the driver, check if you can operate (move or remove) files on your disk.
- As soon as you have Read & Write permission for your disk, you can launch Duplicate File Finder, restore your session or rescan your disk and start removing duplicates from NTFS volume.
Files on a disk with Read Only access can be found but can’t be removed
When you are trying to scan an external drive with Read Only permission, Duplicate File Finder gives you a notification that you can find duplicates but cannot remove them. This means that you can scan the volume to find duplicates, you can preview the duplicates, but you will not be able to remove them.
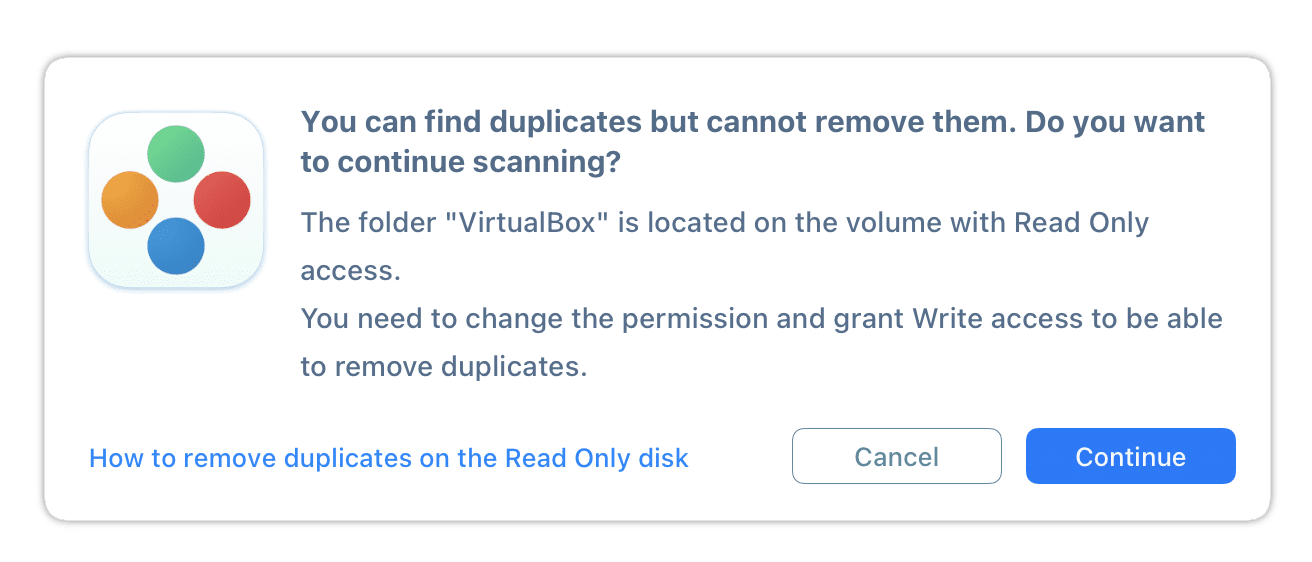
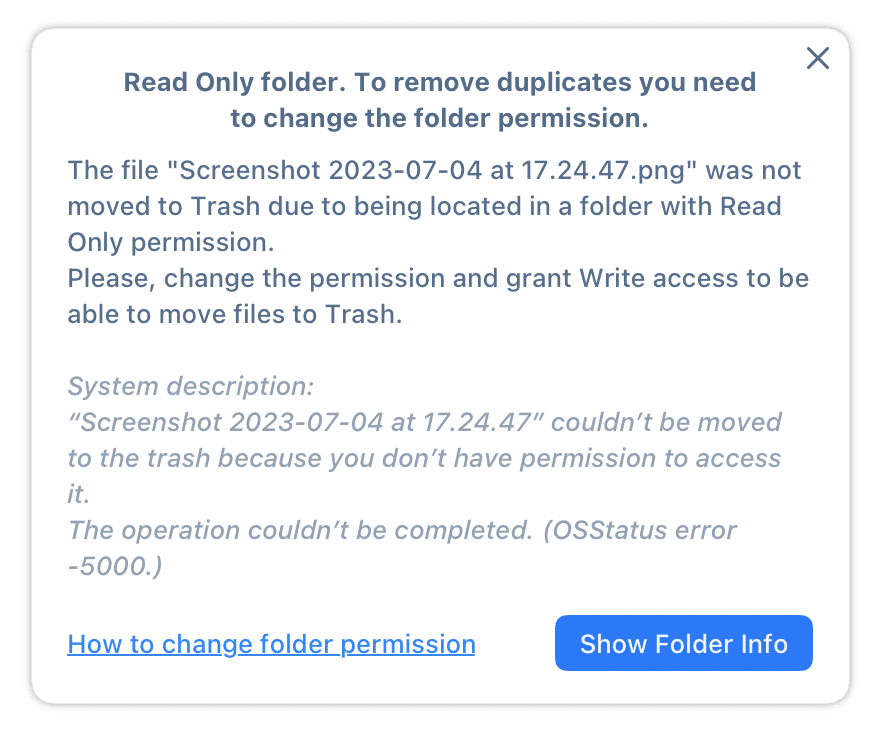
You can click on Continue to find and view your duplicates. If you try to delete duplicates from an external disk with Read Only permission, you will get the following notification:

After clicking the Close button, you will see such a messages in the Removal window:
How to fix this issue and remove duplicated from Read Only disk
If your duplicates are located on a volume with Read Only access, you will need to change the volume permission and grant Write access. This will allow you to remove duplicates from the scanned disk.
The reasons for this issue:
- The disk may be mounted with third-party software tools as Read Only.
This means that if your duplicates are located on such a disk, you cannot remove or move files on it, you don’t have Write access to make any changes on it. To be able to remove duplicates, you need to remount your disk as Read & Write using the same software you used to make it Read Only. Also, you can use other programs for this task, such as Tuxera, Paragon Mounty for NTFS, and so on. - The duplicates are located on a Micro SD with Read Only access.
Another reason why you can’t remove duplicates is that you have a Micro SD card with an option to lock and unlock the card right with a special switch button on it, check whether your card is unlocked. - You scanned a Disk without the possibility of recording on it.
There are some disks which by default don’t provide a possibility to write to them. Once you saved any data on such disks, then you can’t make any changes on them, including removing duplicate files.
Files or folders can’t be removed due to lack of permission
It may happen that Duplicate File Finder displays a message that some files were not moved to Trash due to lack of permission.
Such messages appear when the application does not have the right to remove duplicate files without your confirmation. For example:
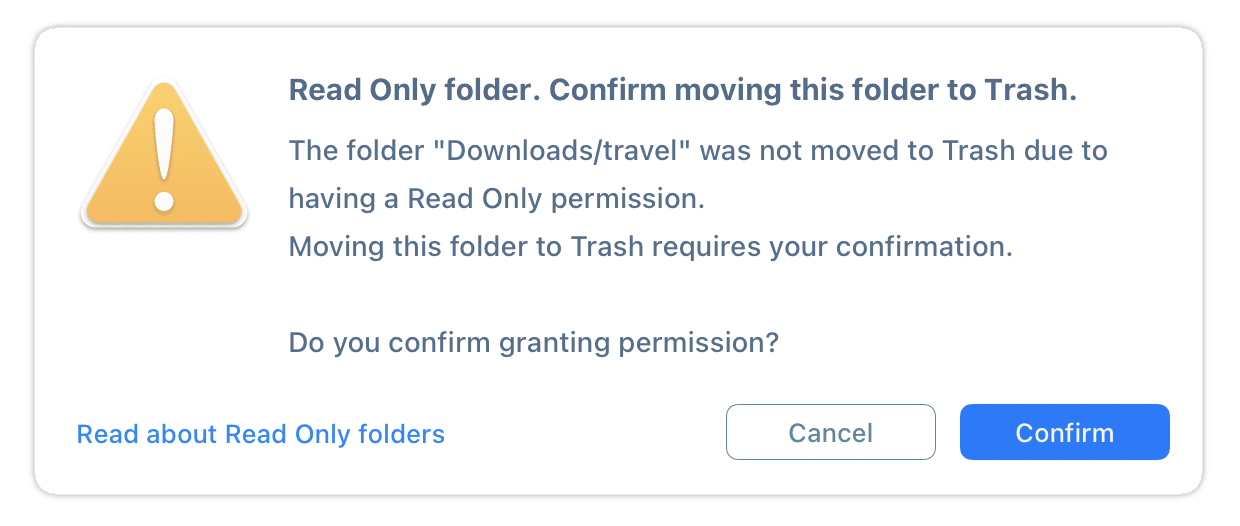
- You try to remove duplicate files or folders which have Read Only access.
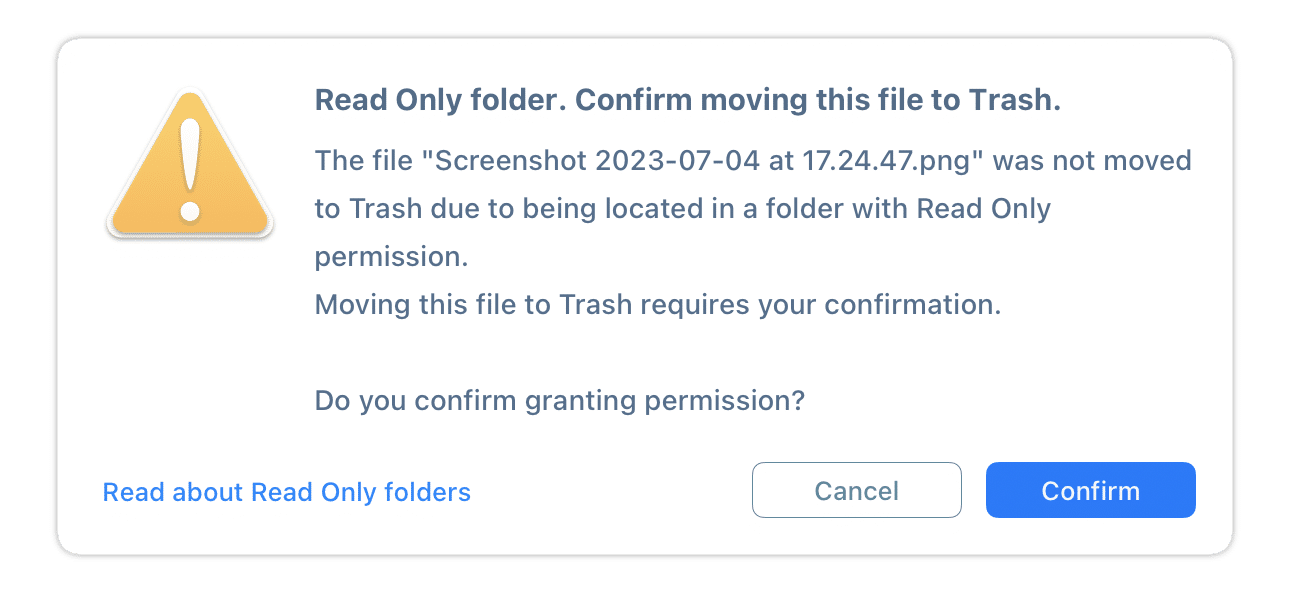
- You try to remove duplicate files located in a folder with Read Only access.
If you downloaded Duplicate File Finder from the website, the app will require your confirmation in the Finder. Click the Confirm button to allow the application permission to remove the selected duplicates.
If you downloaded Duplicate File Finder from the App Store, you will see the message that you don’t have permission to remove the file. You will need to manually change the permission settings for the file or folder.
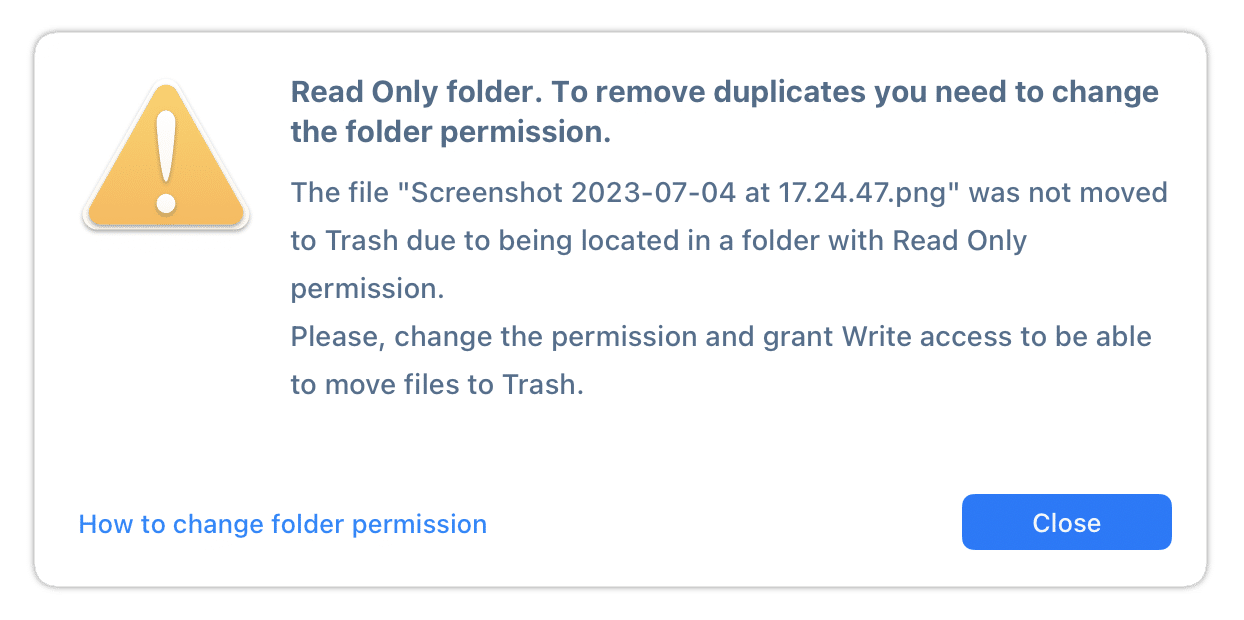
After clicking Close, you will see the following message in the Removal window:
How to fix this issue and remove duplicates with lack of permission?
To be able to remove duplicates in this case, you need to change the permission and grant Write access to duplicate files or folders where these files are located.
To check and change the permission status of a file or folder, follow these steps:
- Click the Show in Finder button in the popup message for the unremoved file. Or manually find and open the duplicate file or the folder where the duplicate is located in FInder.
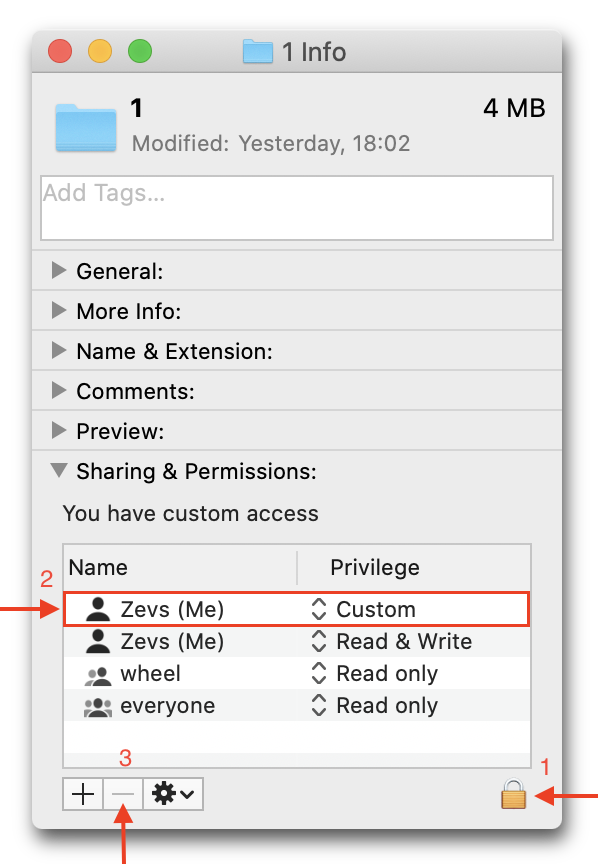
- Make a right click on a file or folder and select Get Info in the context menu.
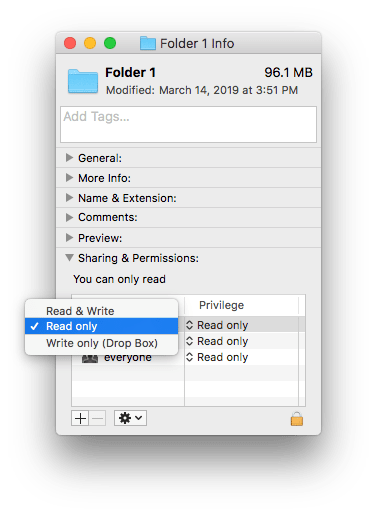
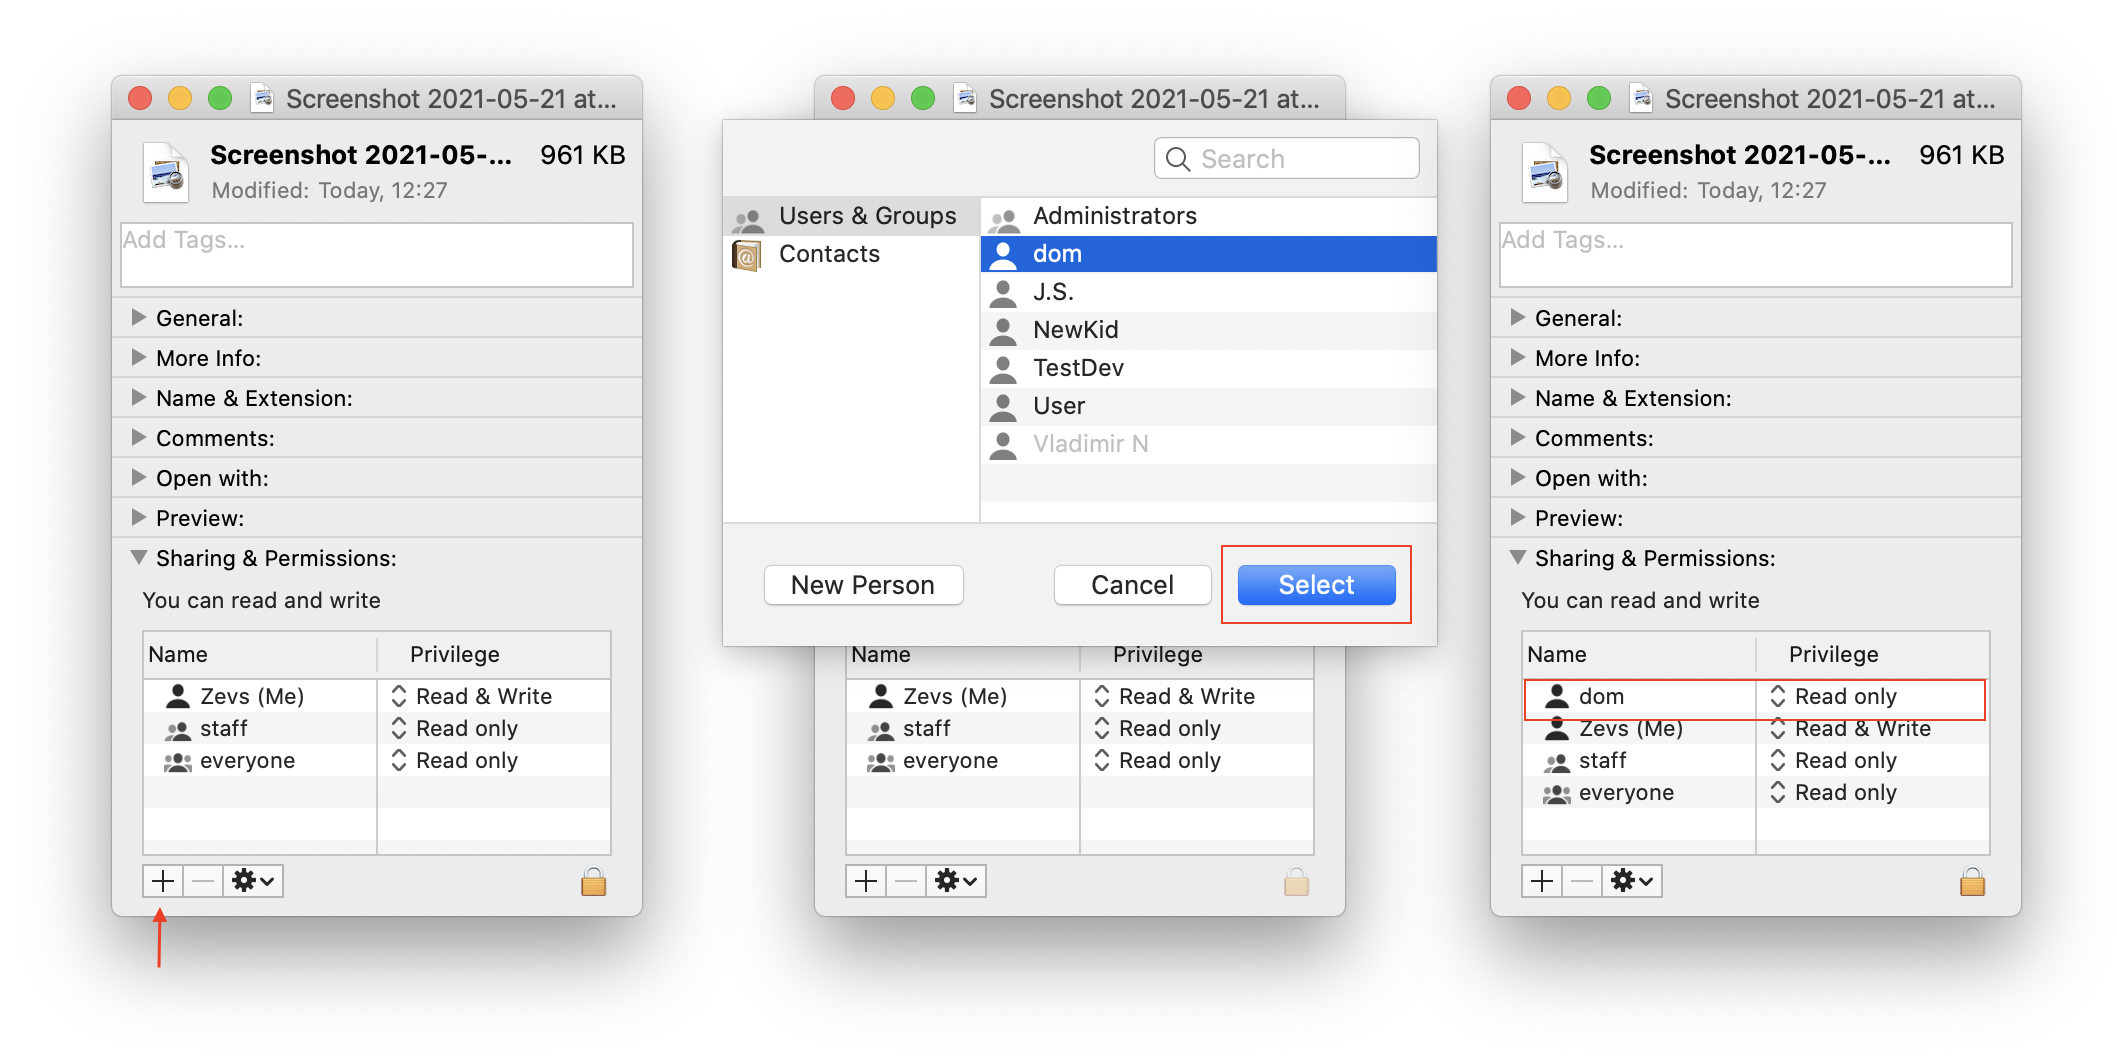
- On the info window in the Sharing & Permission section, you will find the information about which type of access you have. Right here, you can change the user privilege. But please note, you would need to have the administrator rights for changing the permission type.

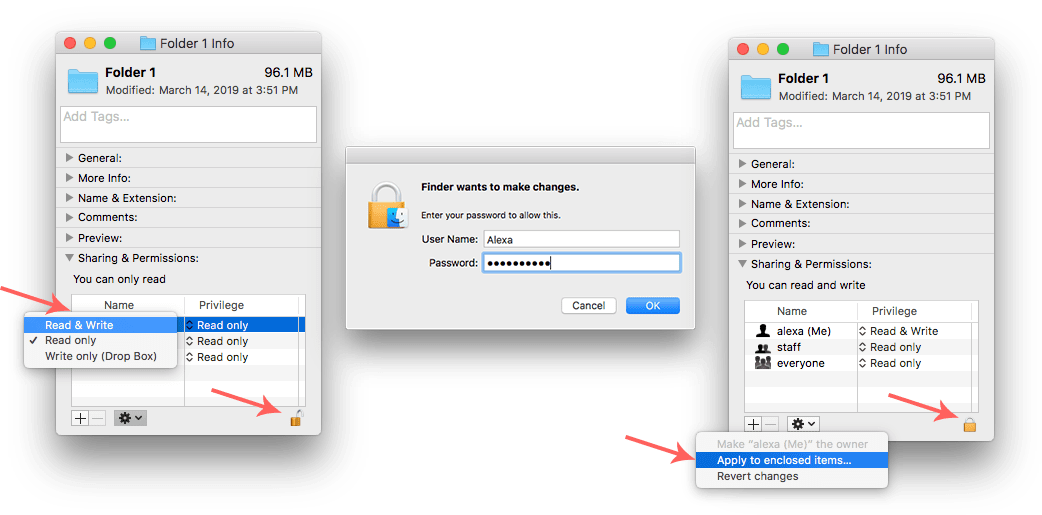
- Click the Lock icon.
- Enter your username and your password.
- Select Read & Write from the privilege type.

- If you change the privilege for the folder, then click the Settings icon and click Apply to enclosed items.
- After changing the privilege settings, open Duplicate File FInder and click to remove the selected files.
Files can’t be removed due to lack of permission by ACLs (Access Control List)
In some cases you can get a message that your duplicate files can’t be removed due to being locked by the Access Control List.
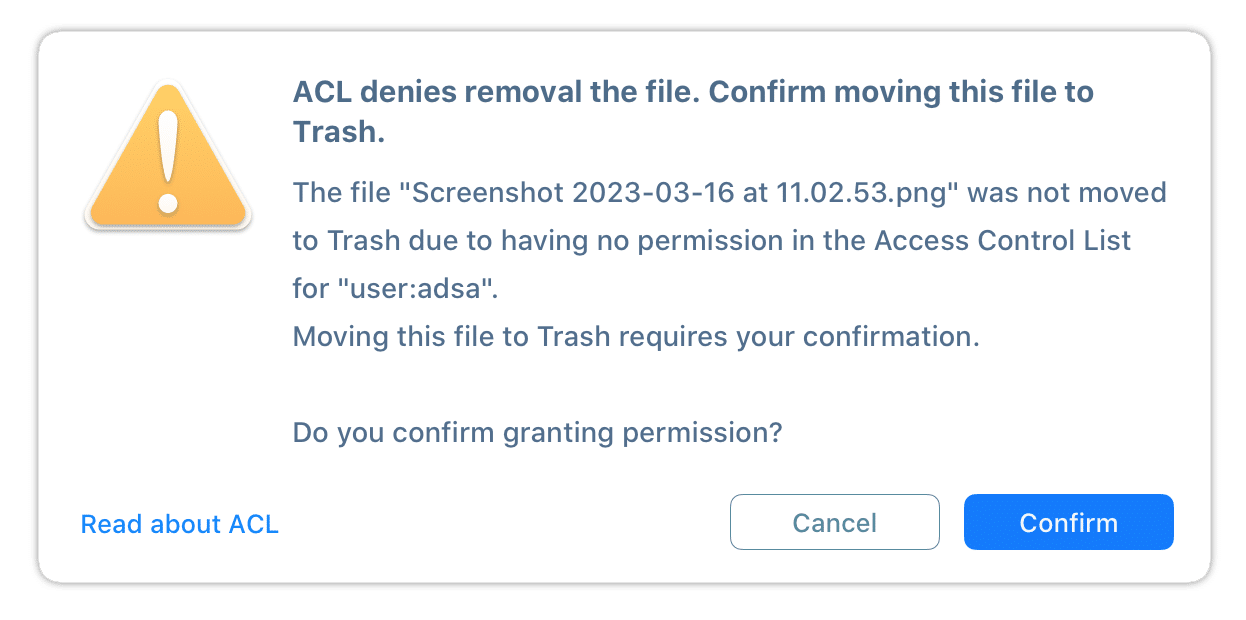
Access Control List is a macOS file system security scheme that can change access rights for particular users and groups of users. In ACLs the user can disable removing particular files or files in particular folders and adding items into particular folders. Thus if the files are blocked by ACLs, Duplicate File Finder will be unable to remove them.
How to fix the issue and remove files locked by ACLs?
For most files to allow removing them you just need to change the permission in the File Info window. Here is how to do this:
- Find the file that cannot be removed in Finder.
- Select the file and press Command+I shortcut or select Get Info from the context menu.
- Click the Lock icon on the bottom and allow making changes.
- In the Sharing & Permission section select the items with Custom Privilege.
- Click the Minus button to remove it.
- Click again the Lock icon to disable making changes.
Note, that it might happen the file has some restrictions, however, they are not displayed in the Get Info window. Most likely, this file is locked from being removed by the system due to security reasons. We don’t recommend removing such files. If you are sure that removing such a file will not damage your system, then here is the solution how to unblock such files and remove with Duplicate File Finder:
Access control lists (ACLs) expand the standard UNIX permissions architecture to allow more file and folder access control. To see ACL for an item you need Terminal and the commands below:
-
To check ACL for a folder:
ls -led
-
To check ACL for a file:
ls -le
To change the permission for a file or folder, use these commands:
sudo chmod -a “
To see a detailed information about the permission for each file or folder, use this command:
man chmod
After changing the permission with the Terminal command, you will be able to remove the file.
Once again, before you change the permission for files locked by ACL, make sure that you don’t need these files and their removal will not damage your system.
Files can’t be removed due to being locked
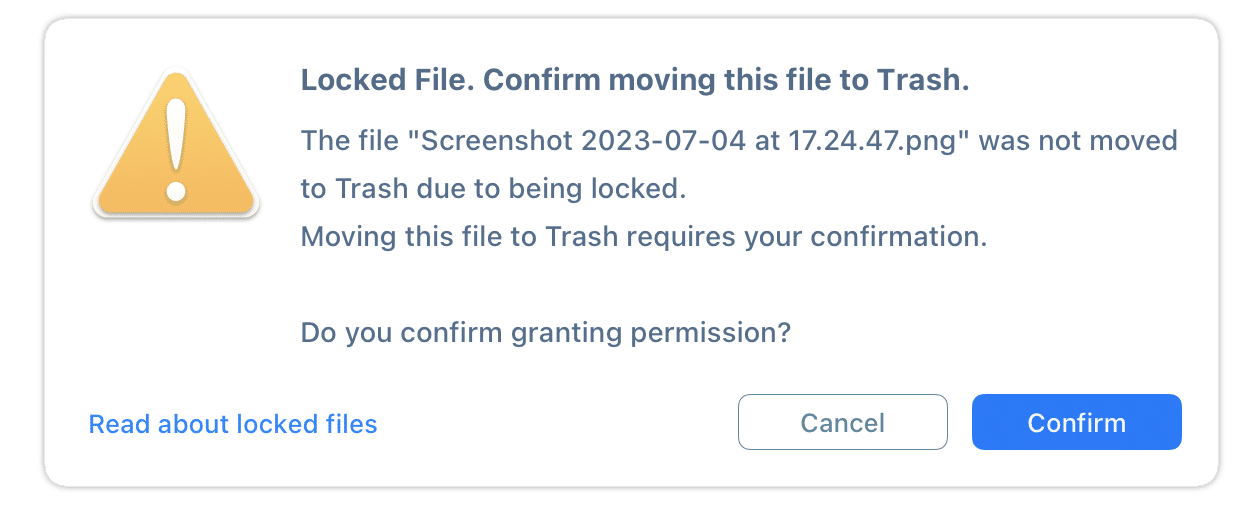
Sometimes, when you are trying to remove duplicates with Duplicate File Finder, you get the message that the files were not removed (or moved to Trash) due to being locked.
If you downloaded the Duplicate File Finder from the website, then you would need to click Confirm to allow the app to unlock these duplicates and permanently remove them or move them to Trash.
Such a message appears when the files and folders you want to remove are locked or located in locked folders. For example:
- The file you want to delete is locked.
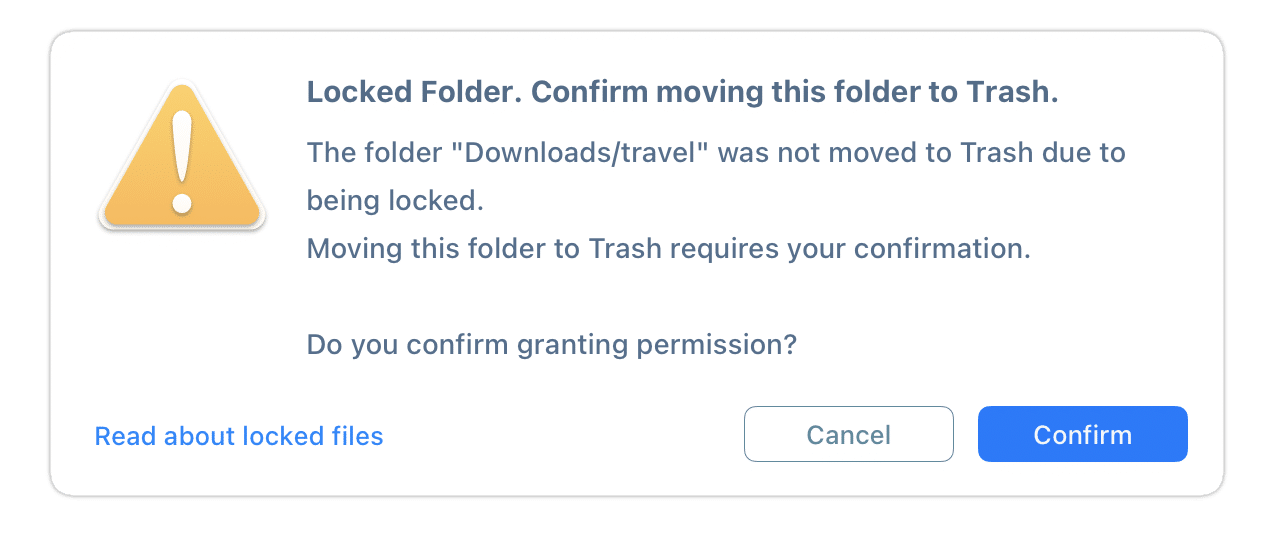
- The folder you want to delete is locked
- The unlocked file you want to delete is located in the locked folder.
- The unlocked folder you want to delete is located in another locked folder.
Duplicate File Finder does not have the right to remove locked items without your permission. So click the Confirm button to allow the app to unlock these duplicates and permanently remove them or move them to Trash. You will need to enter your admin user password to confirm this operation.
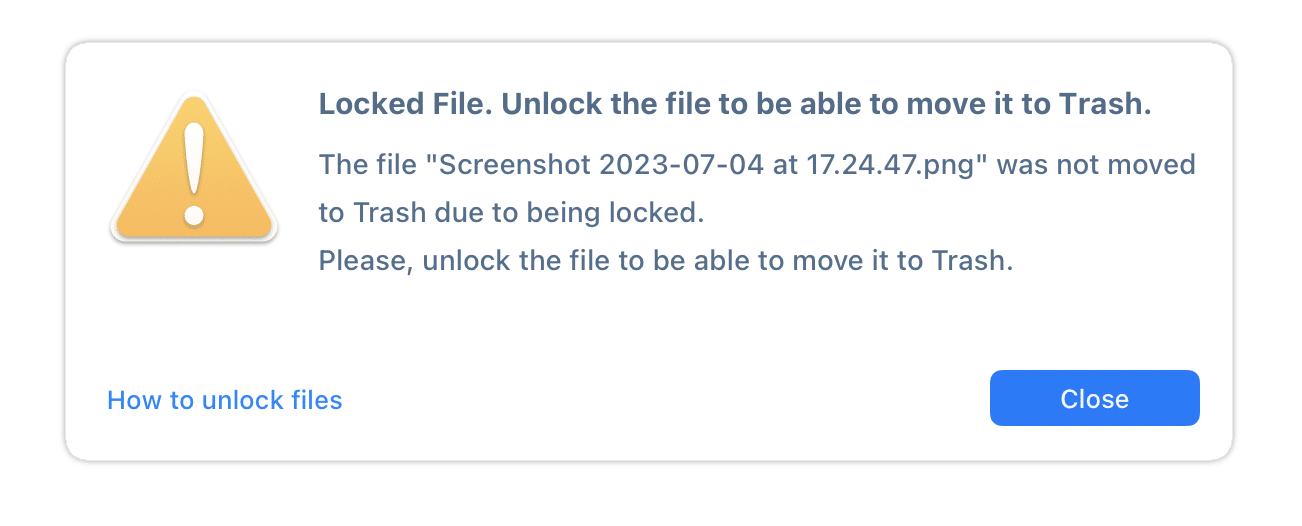
If you use Duplicate File Finder downloaded from the App Store and you are trying to remove locked duplicates, you will get the message that the files could not be moved to Trash because you don’t have permission to access them.
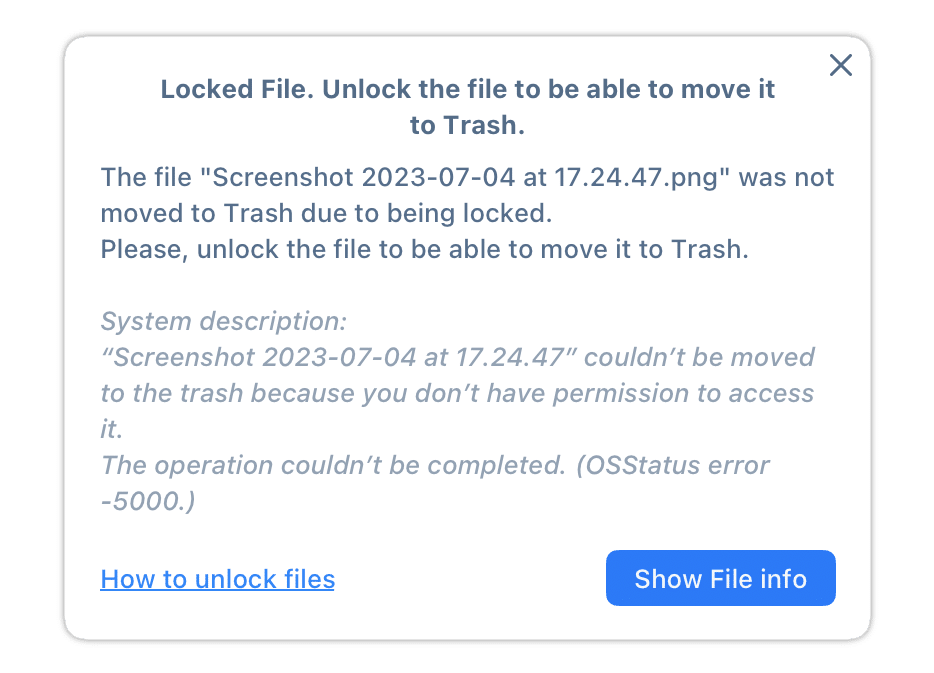
How to fix this issue and remove locked duplicates?
Due to the App Store does not allow applications to raise user rights to operate locked files, you would need to manually check if your duplicates are locked or if they are located in a locked folder. Here are the steps for this:
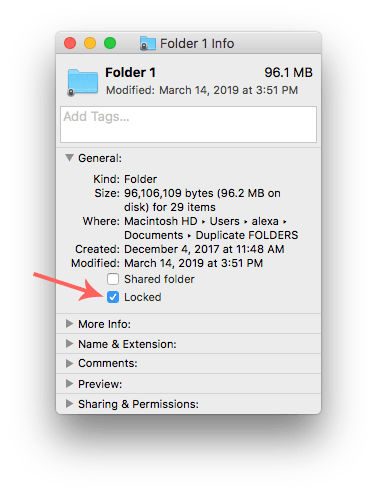
- Click Get Info from the context menu for the file or folder and look for it in the General Information section.

- If the folder is locked you can’t remove the files in it. Uncheck this option to be able to modify or remove the folder.
- After getting the permission to operate the files, you will be able to remove your duplicates with one click using Duplicate File Finder.
Files can’t be removed because your external disk doesn’t have a Trash folder
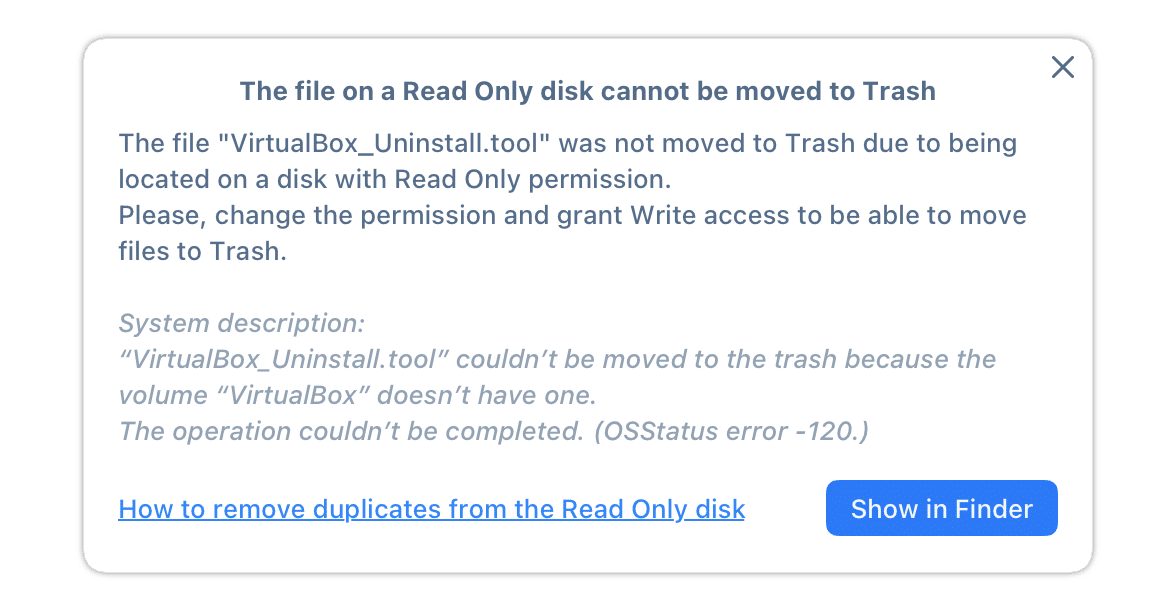
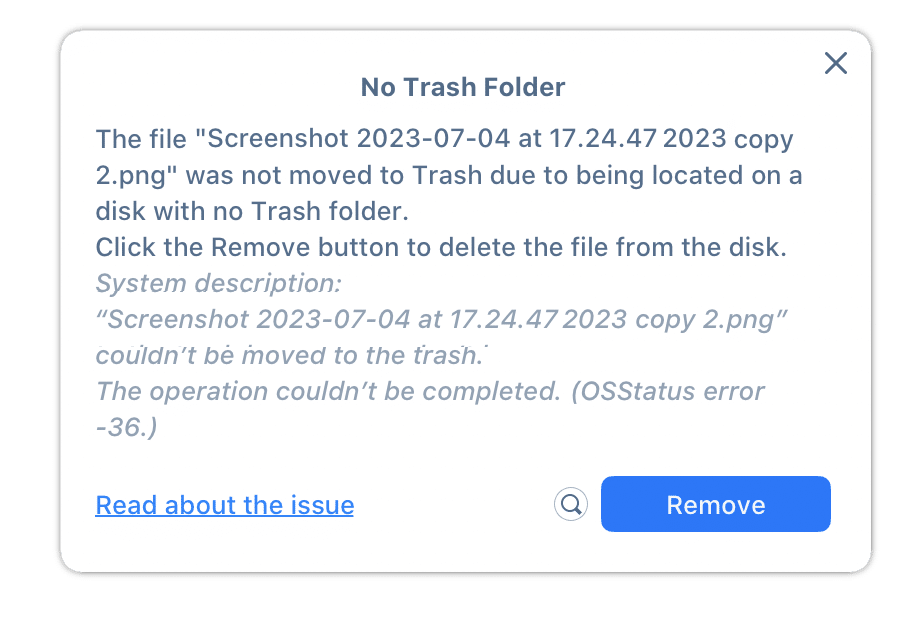
It may happen that Duplicate File FInder is not able to remove selected files to Trash because your disk does not have the Trash folder. In this case you are able to remove the file permanently only, without moving it to Trash.
You will see the following message:
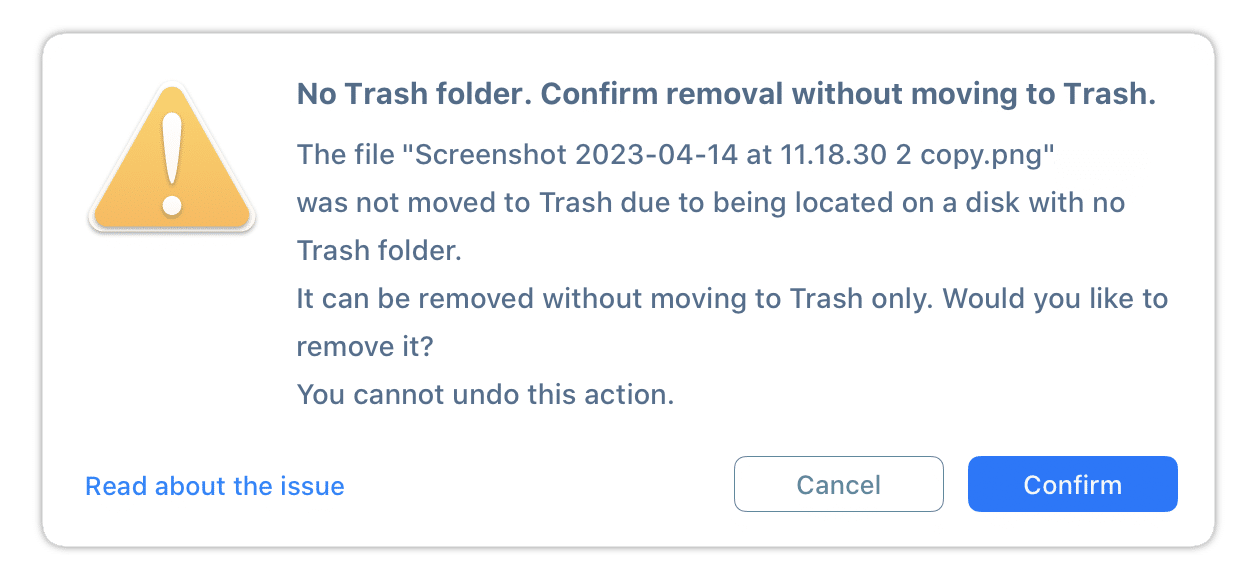
If you are sure you don’t need this file anymore, click Confirm to remove the duplicate permanently.
If you click Cancel, then you will see the notification next to unremoved files in the removal results window.
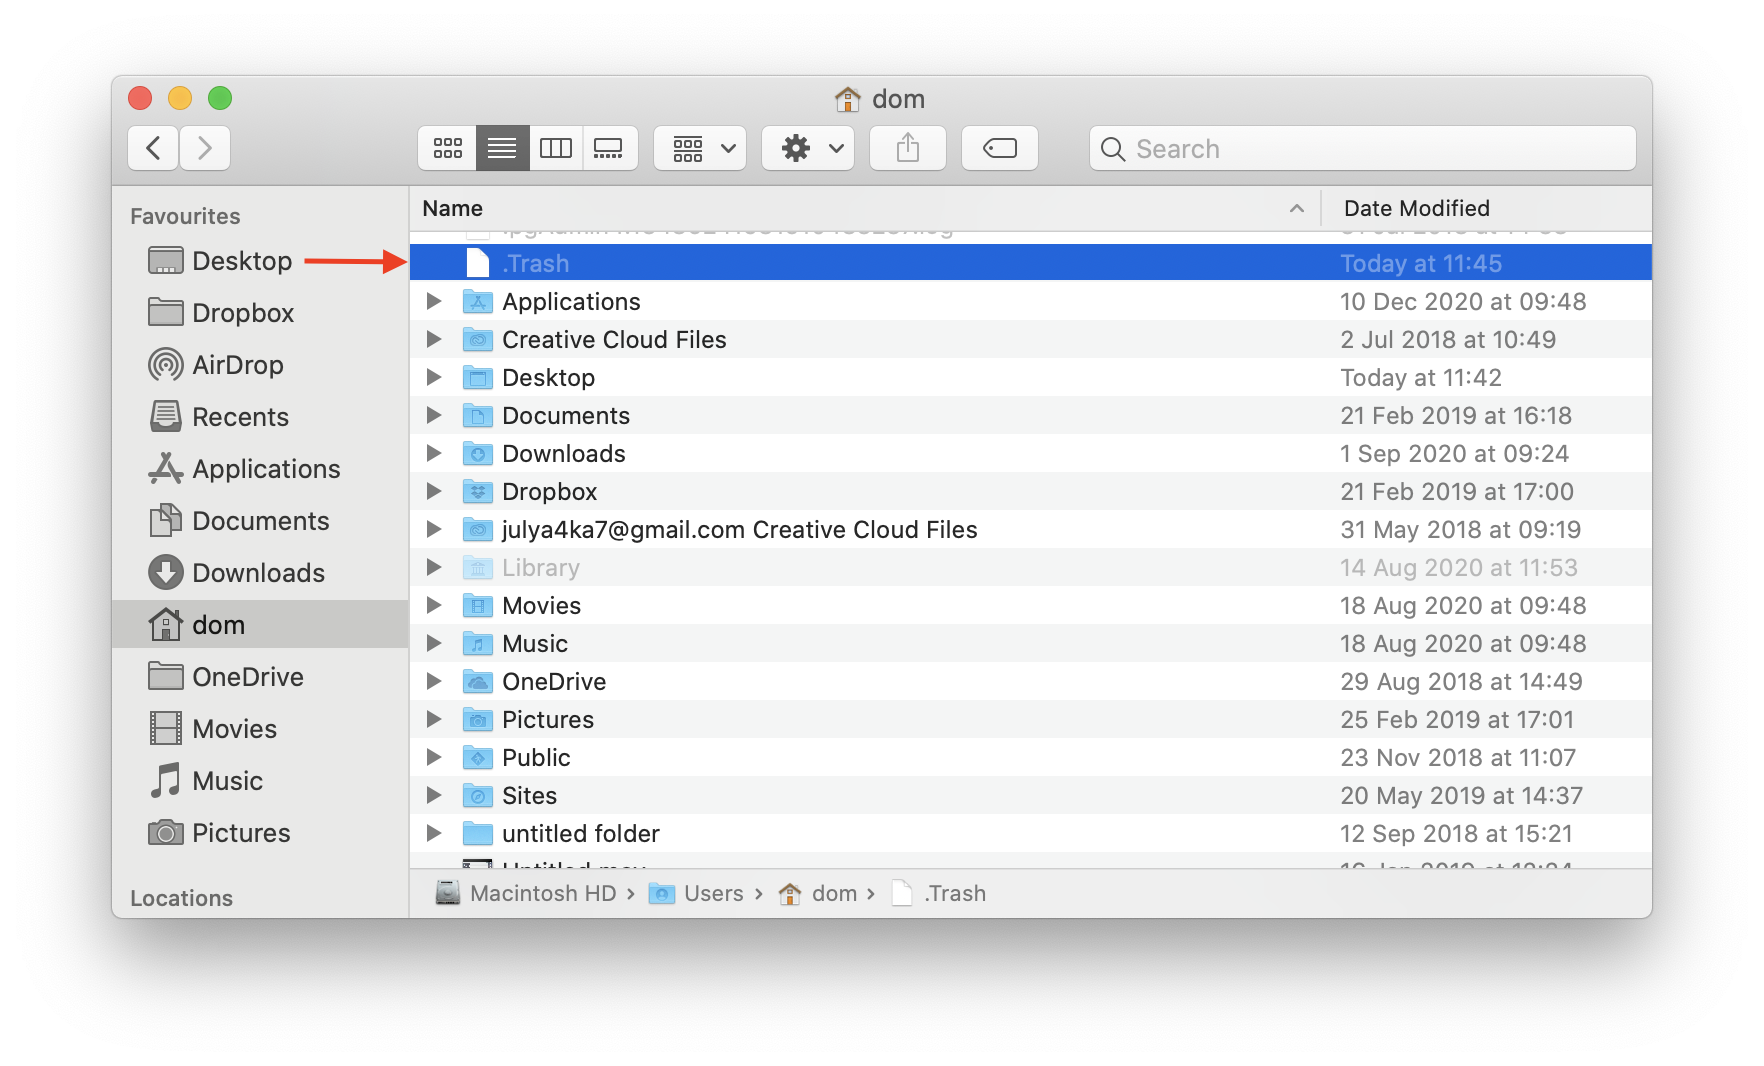
Alternatively, you can try to solve this issue manually. Sometimes moving files to Trash is not possible because the “.Trash” folder is replaced by the “.Trash” file. To solve this issue follow these steps:
- Go to your Home folder in Finder. You can use the Shift+Cmd+H shortcut to get to the Home folder or root of the volume for Remote Disk.
- Make hidden files visible in Finder. You can use a free application from Nektony called Funter to show hidden files on Mac.
- If you find a “.Trash” file there, remove it.

- Try to remove the file to Trash. By default, MacOS will automatically create a Trash folder and move the removed file there.
- Now you can see the Trash folder. The latest macOS system displays it as “Bin”.
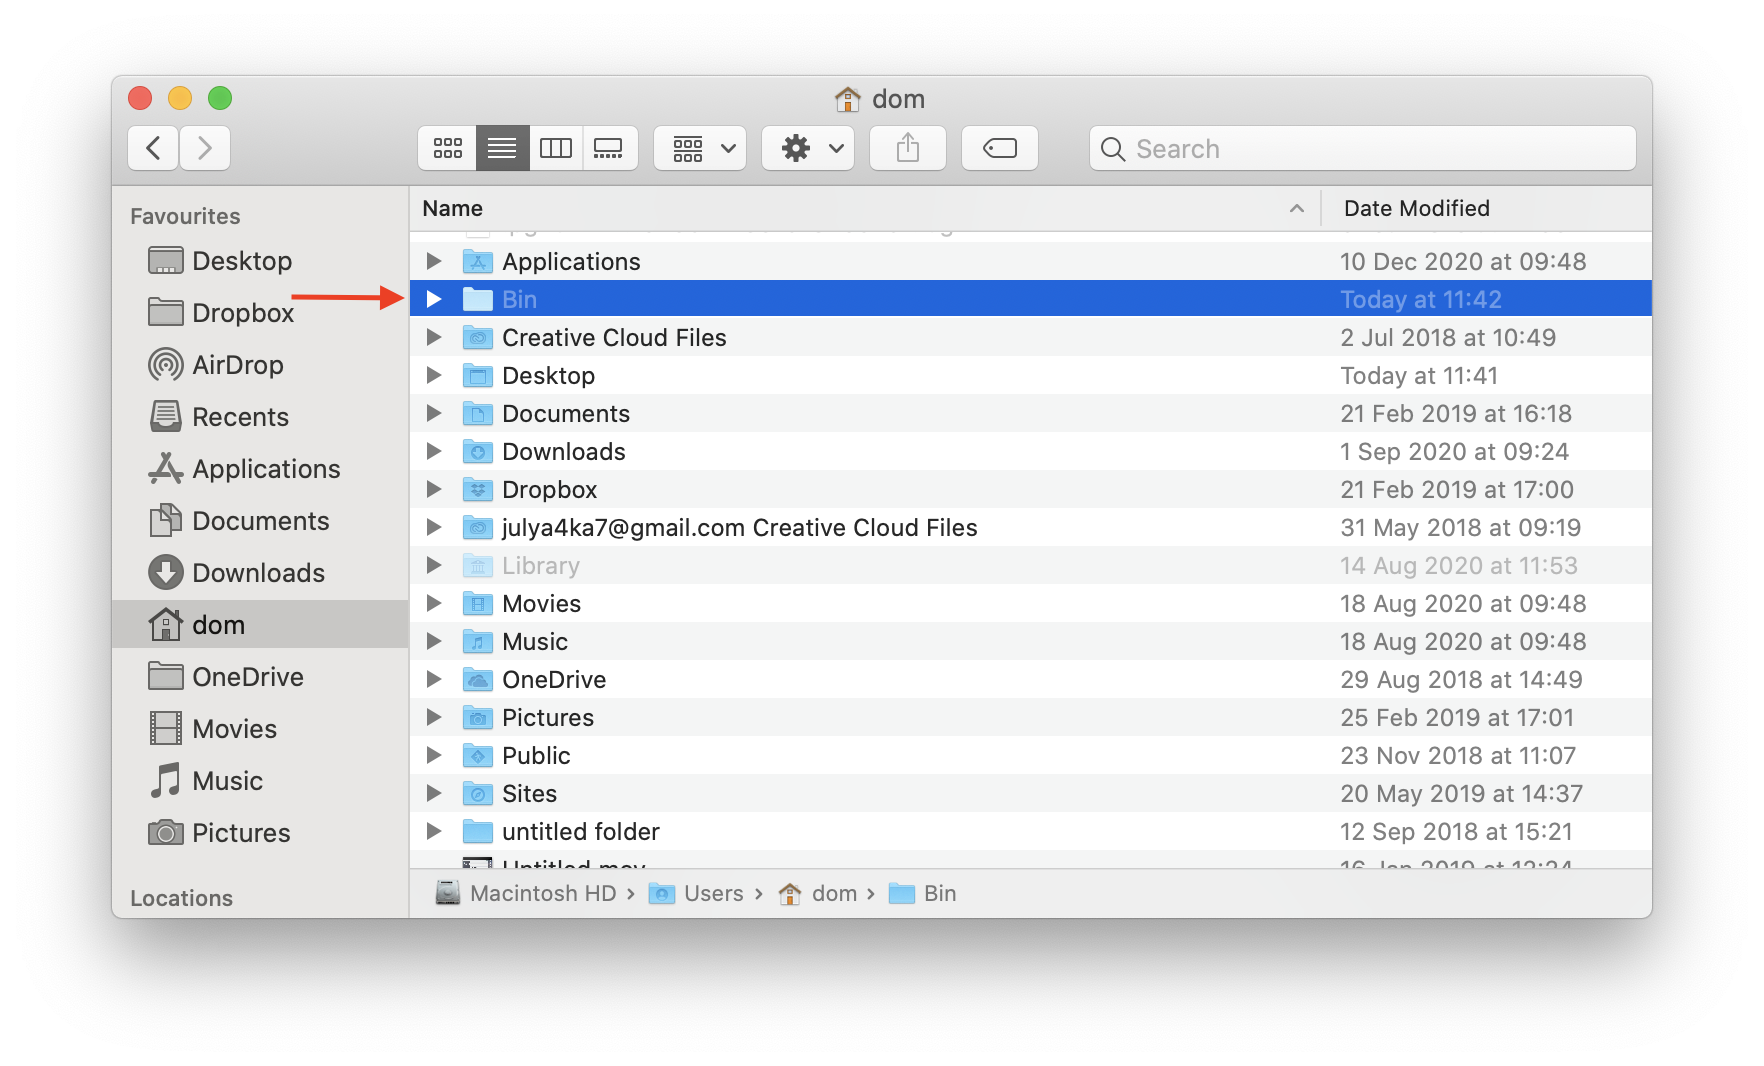
Once you have the Trash folder, you can remove files to there.
Files can’t be removed due to being located on a Network disk
The *Network* disk is a volume on Mac which can be located on another Mac or PC. Unlike your system drive, which is fully controlled by your macOS, an external network drive is controlled by another system. The system that controls the network drive fully determines:
- What files and folders your system can view
- What access rights your system can see and not
Sometimes the removal can be prohibited on a Network disk. In this case, Duplicate File Finder will not be able to remove duplicates from this disk. You will see the following message:
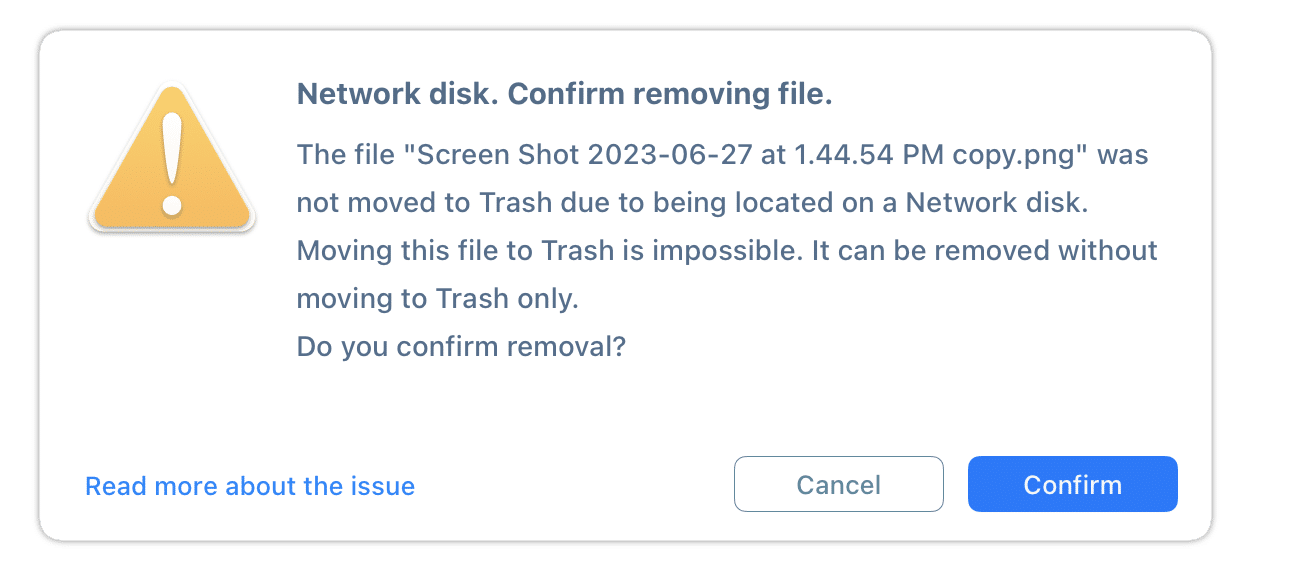
How to resolve the issues with a Network disk
Duplicate files are located on another Mac
If you are trying to remove duplicates from another Mac, the easiest way to resolve this issue is to install Duplicate File Finder on this Mac. Launch Duplicate File Finder on the Mac, from which you want to remove duplicates, and the application will provide detailed instructions on how to resolve this issue.
Another way to solve the issue is to try to connect to another Mac as an administrator. This should allow you to remove files from the Network disk. In some cases, you might need to connect on behalf of the file owner, for example, like in case with a Sticky Bit folder.
Duplicates files are located on a different OS
In case your duplicates are located not on another Mac, for example, on a PC with Windows operating system, try to solve the issue by doing one of the following methods:
- Try to log into the disk as an administrator or another user who has removal permission.
- Try to add yourself to the file’s or parent folder’s owner. You can do this in the file or folder’s Info panel.
All files’ restrictions from being removed are needed to protect your data, operating system, and their integrity. When you remove protected files, make sure that this will not damage your system or any software on your Mac.
The file can’t be removed as the duplicates were modified after last scan
In the case you restored the previous session, but recently removed any duplicate copy of your file without Duplicate File Finder, you will see this message.

We want to make sure that you do not lose important data. To warn you from deleting all copies of the file, the app informs you to prevent their removal. Please, rescan your files to resolve this issue.
Files can’t be removed as they are the unique copies.
If you selected all copies of the file for removal, Duplicate File Finder will inform you in order to prevent the removal of all copies.
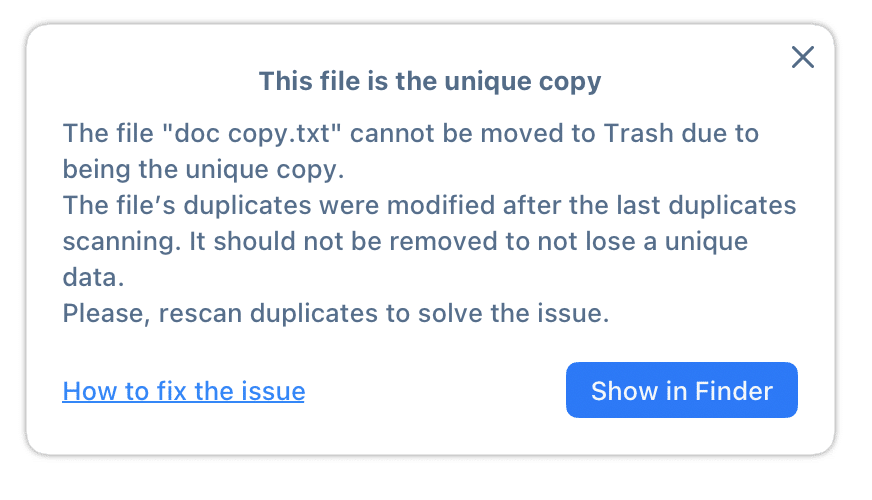
We want to make sure that you do not lose important data. To warn you from deleting all copies of the file, the app informs you to prevent their removal. Please, rescan your files to resolve this issue.
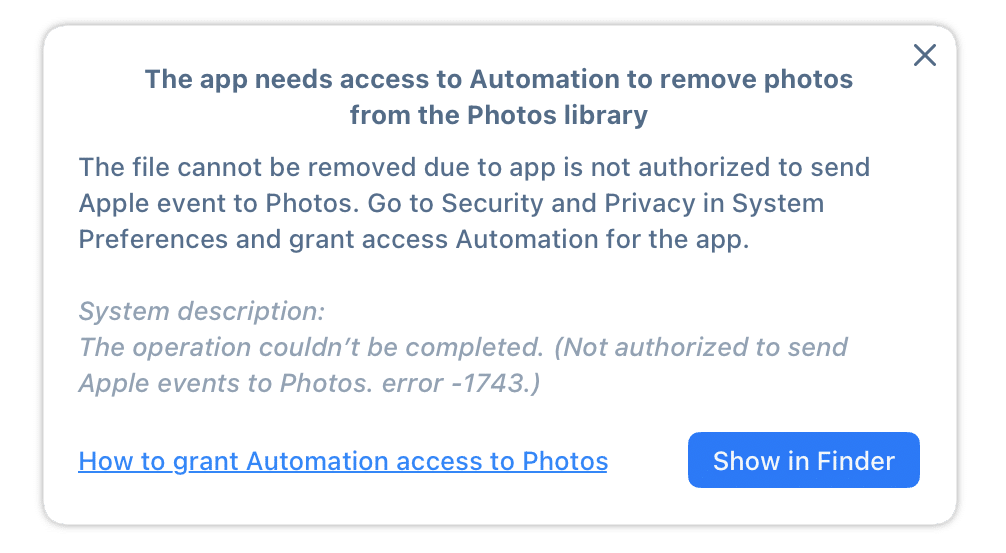
Files can’t be deleted from Photos due to not having access to your library
When trying to remove similar images in the Photos library, you may get an issue and see a red exclamation mark next to a file name in the removal results window. Also, the files that couldn’t be removed from the Photos Library is highlighted with the red color.
How to fix this issue and remove similar pictures from Photos library?
Such an issue happens when you didn’t give Duplicate File Finder access to your Photos app. This is important to allow Duplicate File Finder to look for identical and similar images in the Photos library on your Mac.
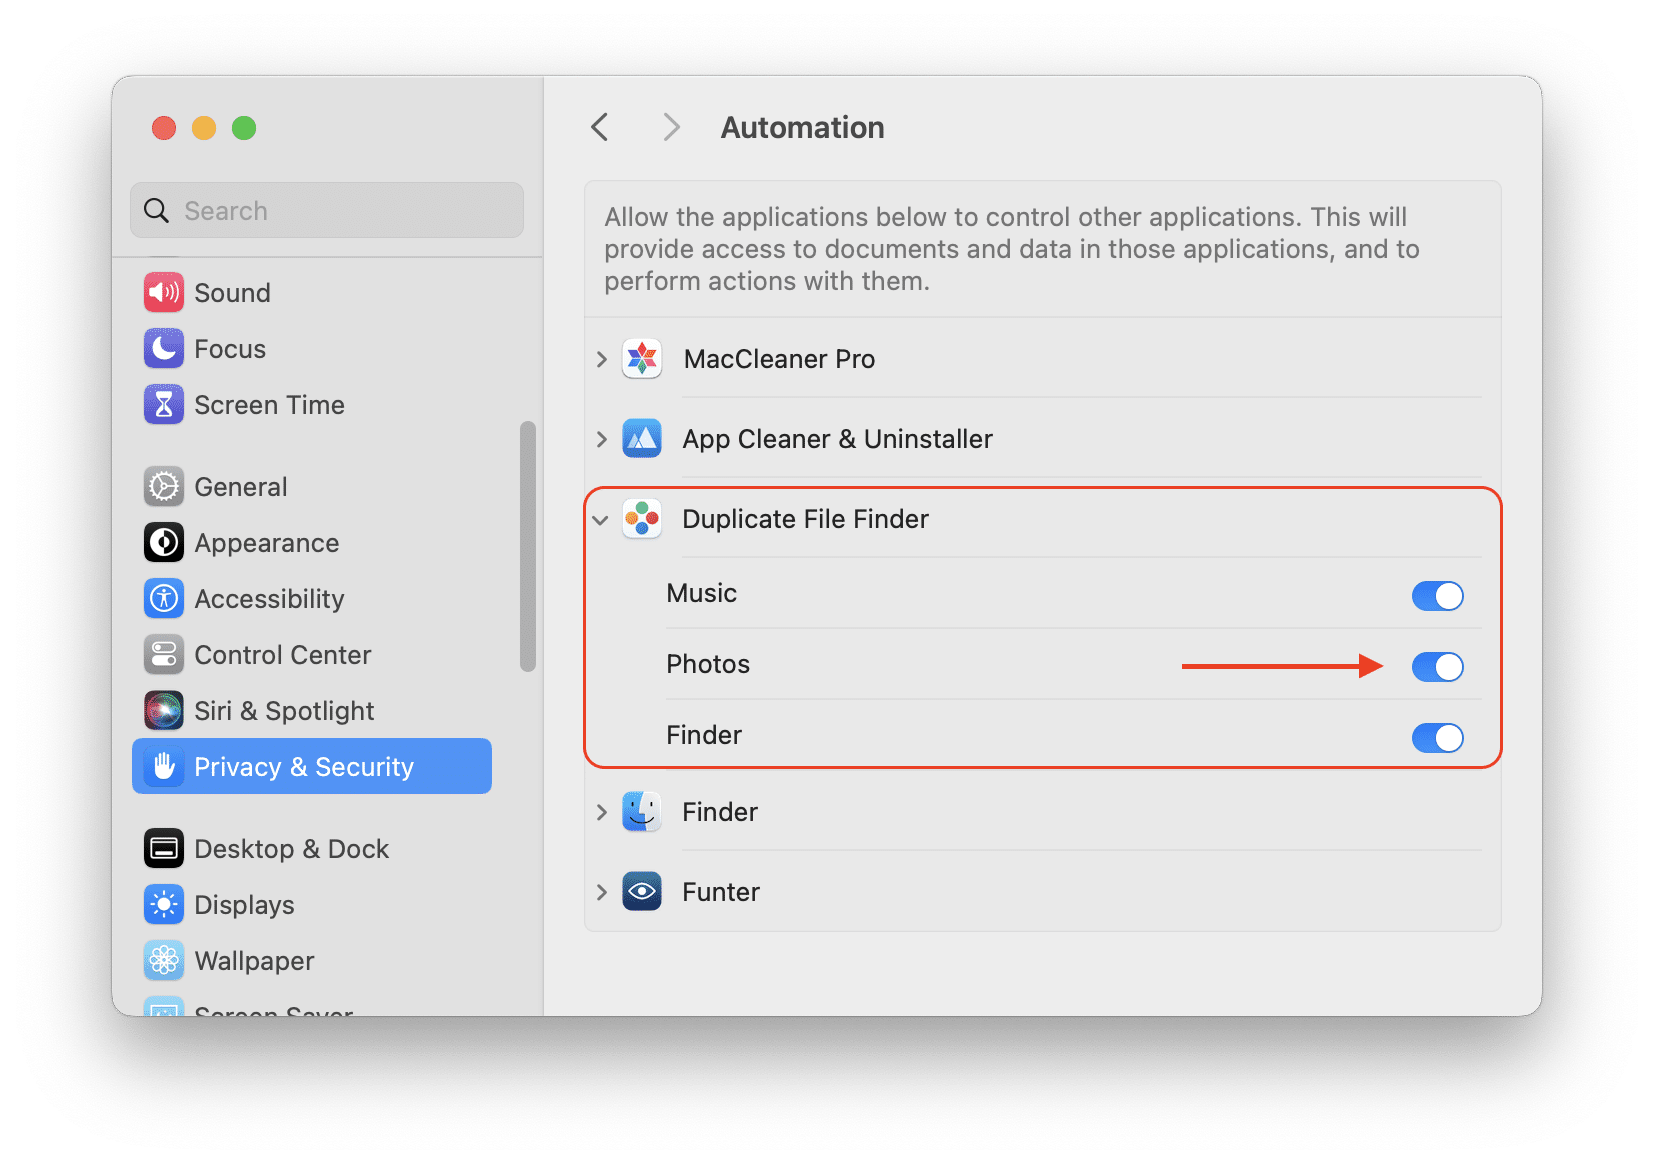
If you want to grant the Duplicate File Finder app access to Automation to remove unwanted duplicate pictures, complete the next steps:
- Open System Settings.
- Select Privacy & Security.
- Scroll down and select Automation.
- Switch on Photos for the Duplicate File Finder app to provide access to the documents and data of the Photos app.
Then, open Duplicate file Finder and try to remove unneeded duplicate photos again.
The selected photos cannot be removed due to the Photos app is running
If the Photos app is running while you are trying to remove pictures located in the Photos library, you will see such a message.
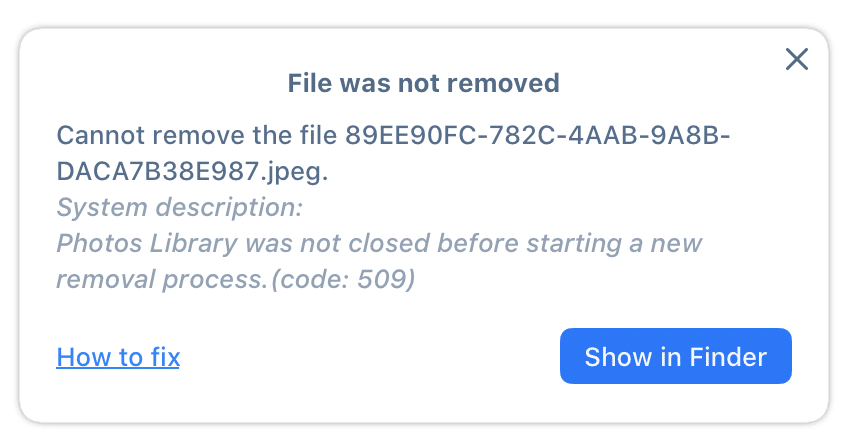
You need to close the Photos app to allow Duplicate FIle Finder to remove similar images from your Photos library. Please, close the Photos app and try again.
Files can’t be removed from iPhoto Library due to lack of permission
If you are trying to remove duplicate files from the iPhoto application, you might face an issue where your files are not removed.
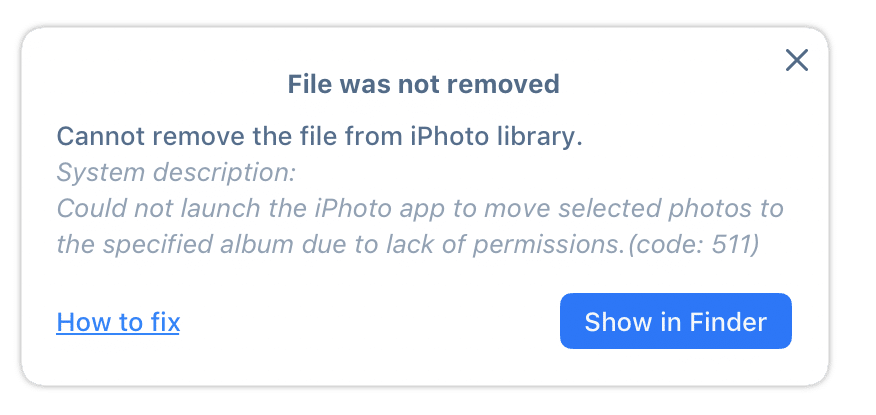
This happens because iPhoto is an outdated application and Apple does not support it anymore. According to the App Store distribution rules, in some cases, the system does not allow applications to connect with iPhoto.
To be able to remove duplicates from iPhoto Library, use the website version of Duplicate File Finder. Click this link for a free download. The site version of Duplicate File Finder allows removing duplicates from both Photos and iPhoto libraries.
Files can’t be removed from Music Library due to lack of permission
When Duplicate File Finder removes duplicates from the Music app, the Music library should automatically be updated; however, in some cases, you might face an issue. This can happen if you switch off access to the Music app for Duplicate File Finder.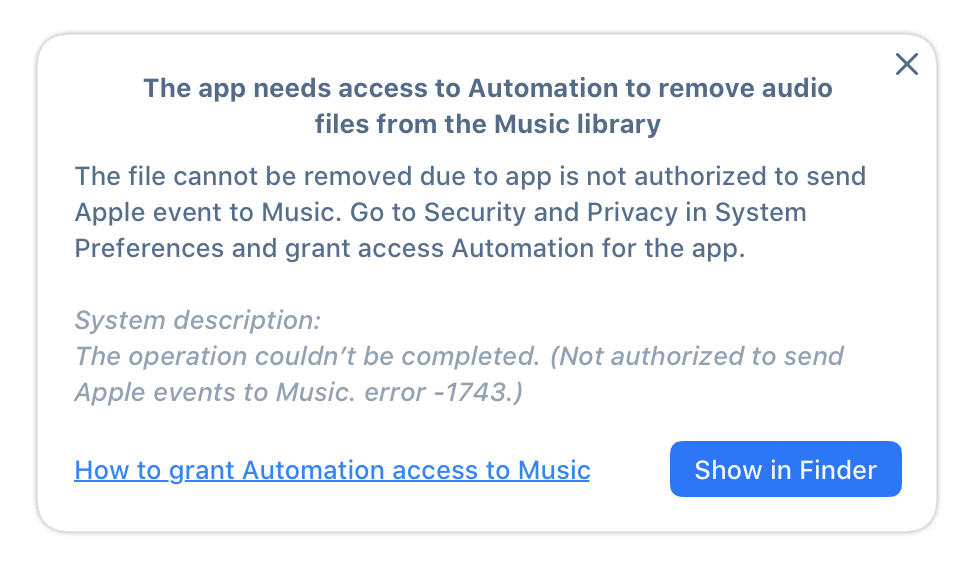
You need to allow Duplicate File Finder to access the Music app to solve the issue.
Here is how to grant access Music Library for Duplicate File Finder:
- Open System Settings → go to the Privacy & Security section.
- Select the Automation option in the right panel.
- Enable the Music option for Duplicate File Finder.
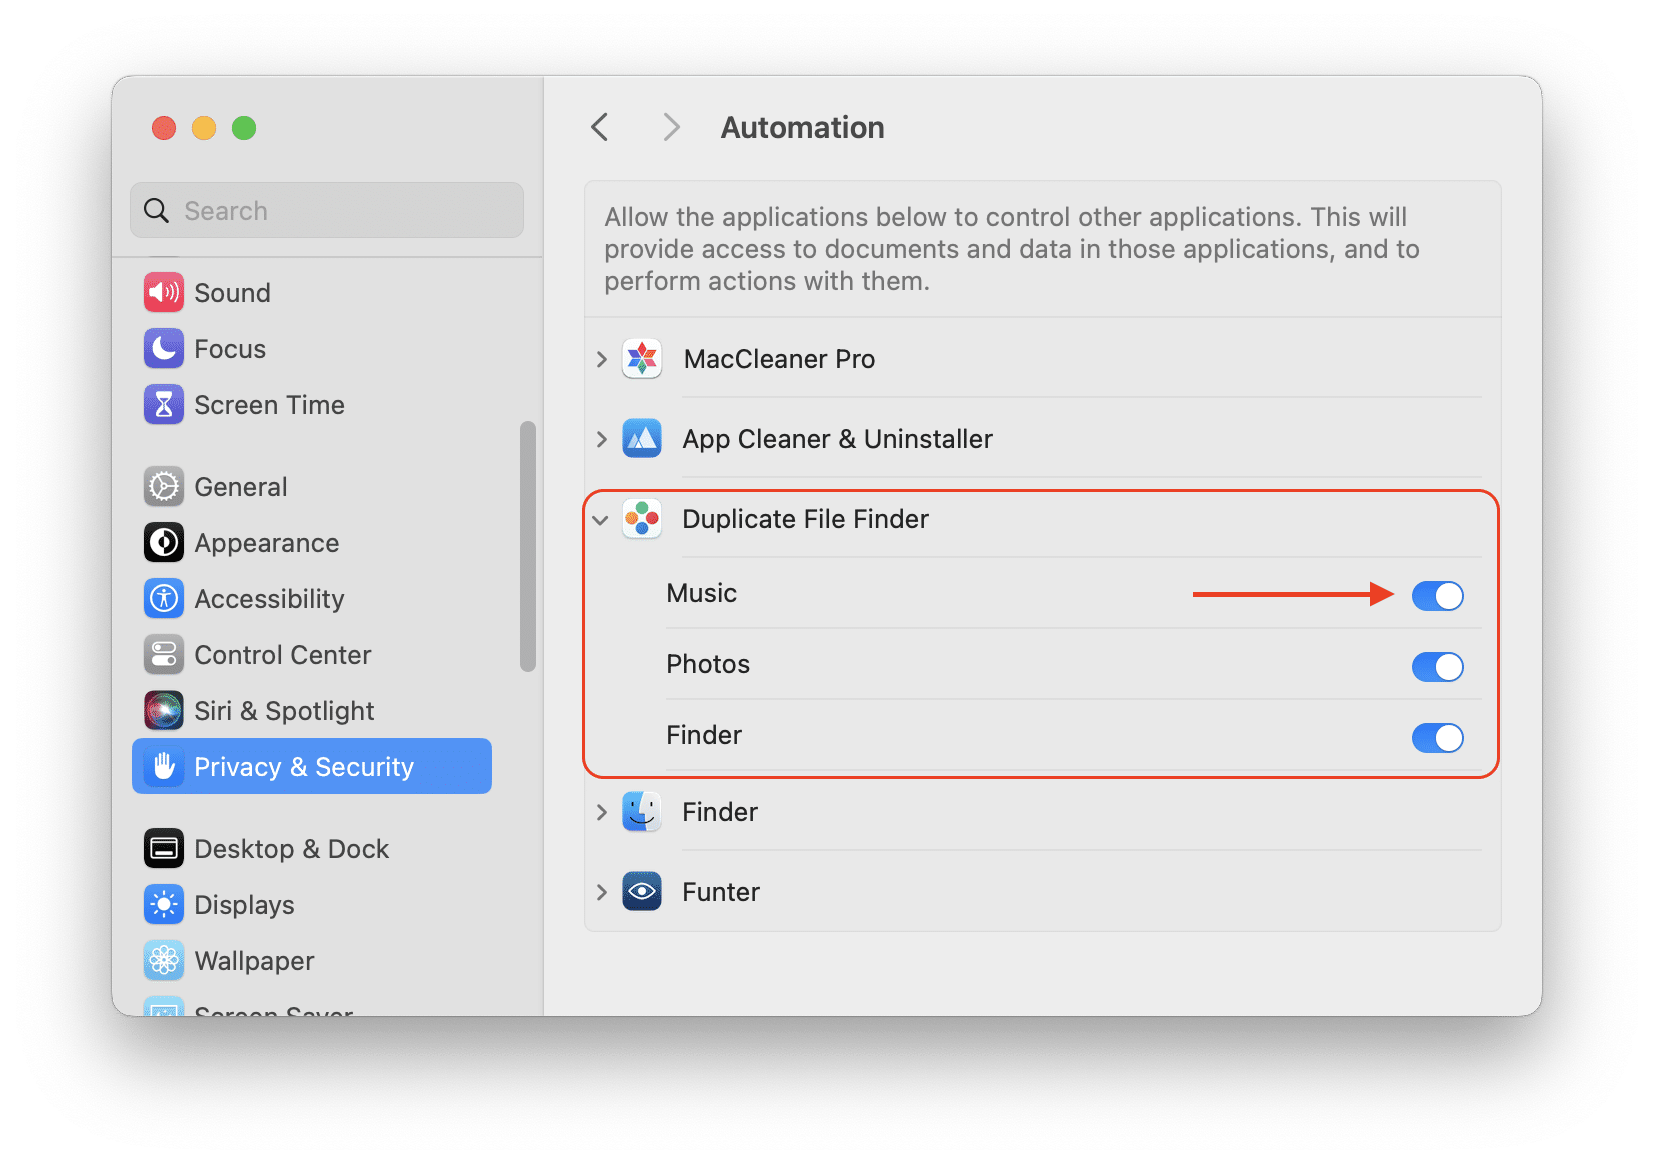
Then, open Duplicate File Finder and try to remove unneeded duplicate audio files. The issue should be checked.
Files can’t be removed due to being located in a sticky bit folder
Sticky bit folders are the folders that do not allow other users to delete items they don’t own. The sticky bit permissions setting is not shown in the Get Info window. An example of a sticky bit folder is a shared folder (“/Users/Shared/“).
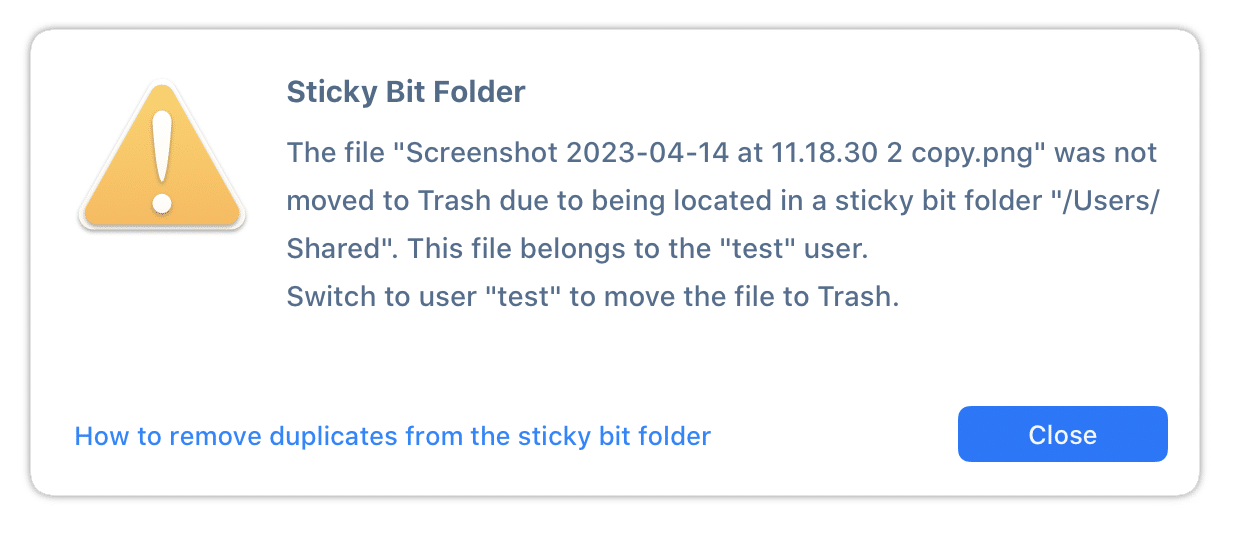
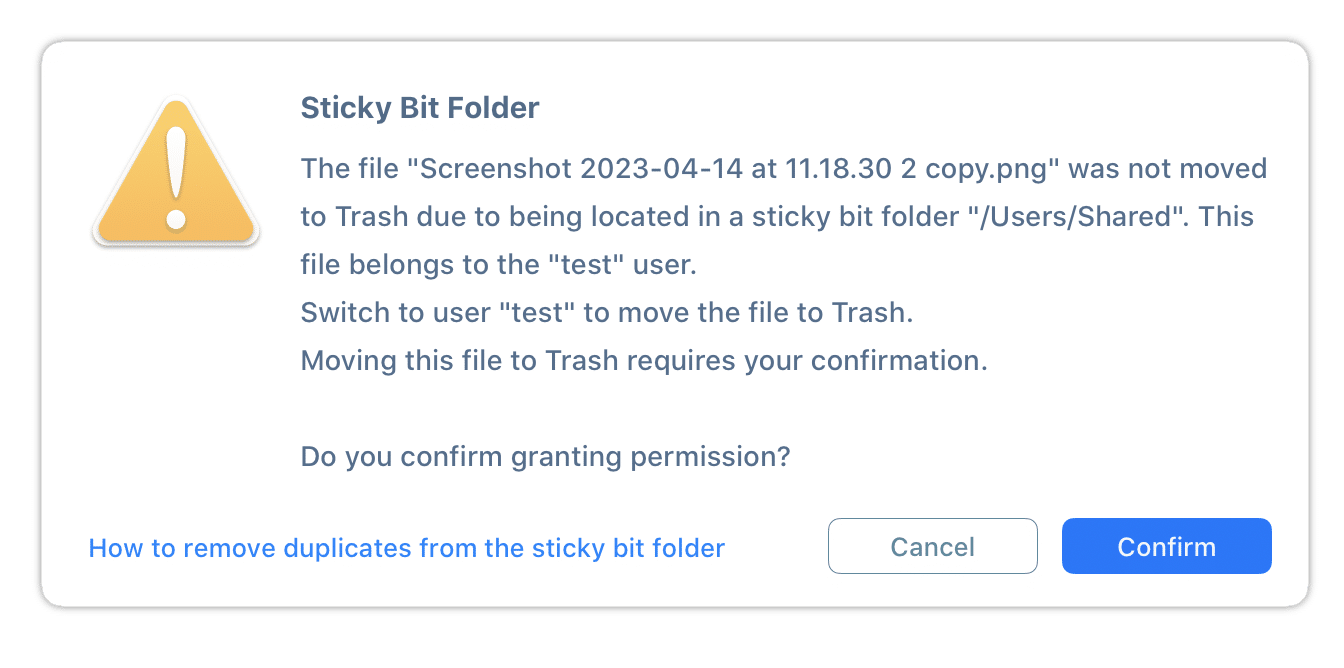
If the duplicate file you want to remove is located in a sticky bit folder or it has a sticky bit permission, you will get the following notification in Duplicate File Finder:
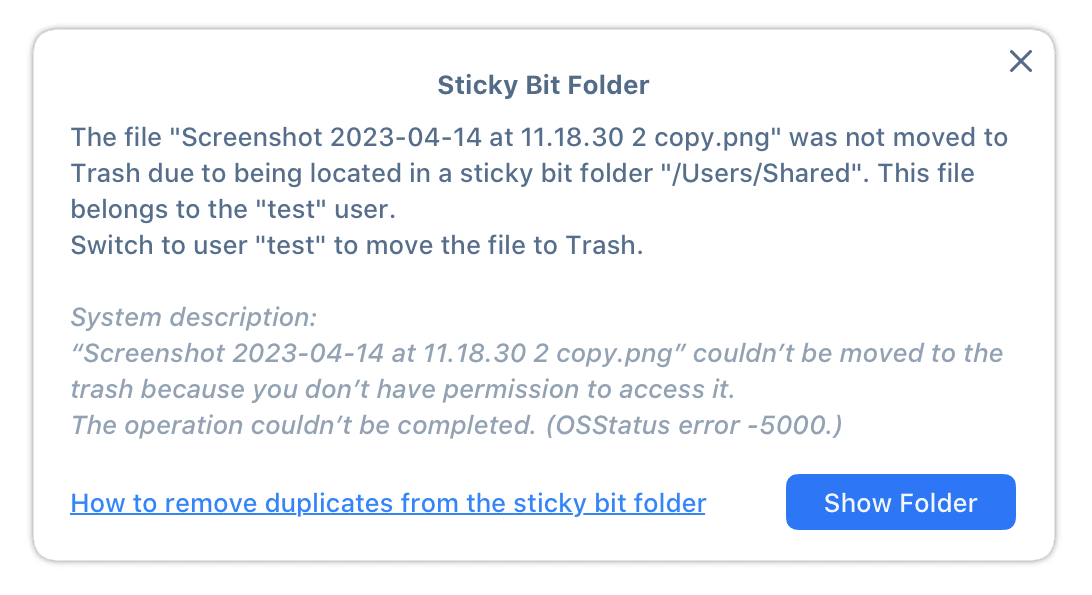
If you use Duplicate File Finder downloaded from the App Store, you need to switch to the user to which the duplicate file belongs to move the file to Trash.
If you use Duplicate File Finder’s site version, click on Confirm to allow Duplicate File Finder to move the file to Trash.
Unknown error
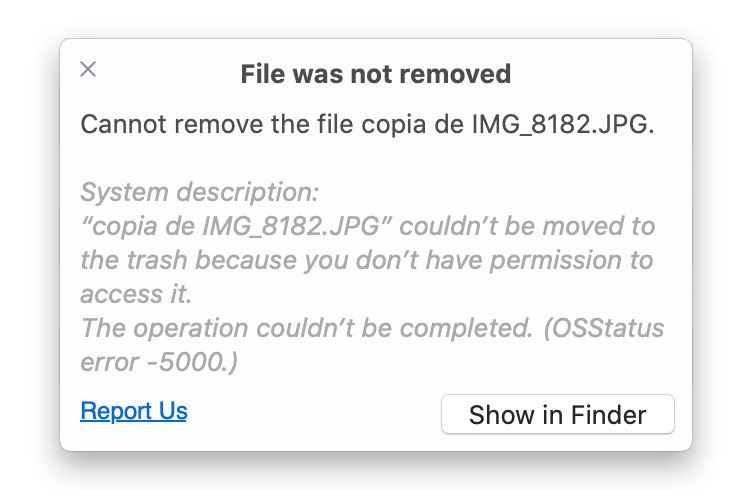
In some cases when removing duplicates, you may get a message about permanent removal of your files.
Please, check the permission for your Trash folder. You need to have Read & Write permission and it does not have to be locked to be able to remove files to Trash.
If your Trash is unlocked and you have permission to remove files to Trash, but still get this issue, then you can remove the selected files permanently only. If it’s ok for you, click Confirm. But please note that the app will ask for the administrator password to confirm the removal.

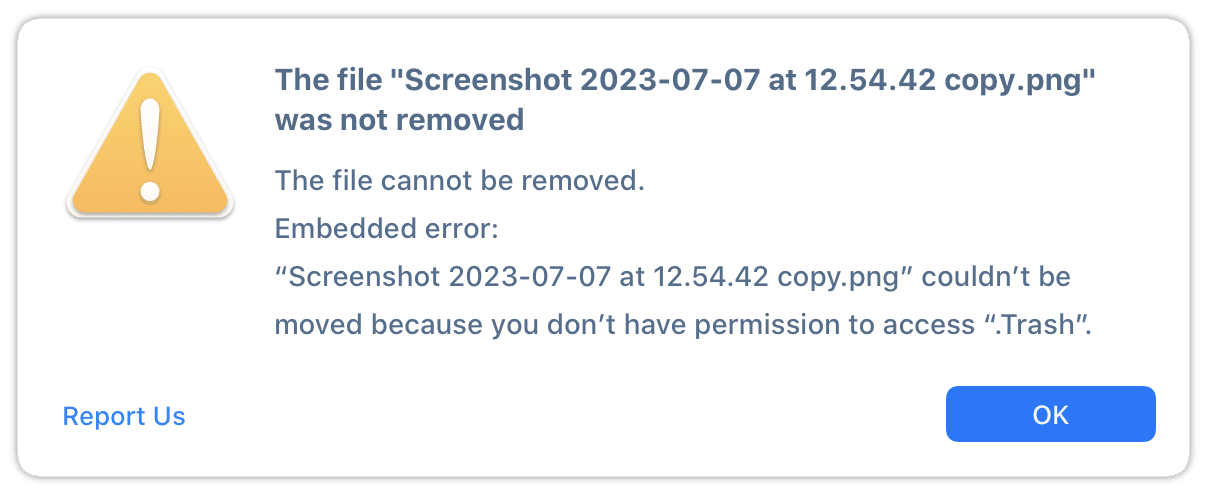
If the removal couldn’t be completed or you are using Duplicate File Finder downloaded from the App Store, you will see the following notification.
In this case, please, contact our support team. We will help you to find the reason for the issue and solve it.