Duplicate File Finder
Duplicate File Finder allows you to quickly locate and remove all duplicate files and folders on a Mac. Most users don’t even realize how many duplicates they may have on their Macs.
Here is a step-by-step user guide that will help you to get started with Duplicate File Finder easily, and clear useless repeated data from your disk.
Step 1 – Search for duplicate files
- Download the application from Mac App Store.
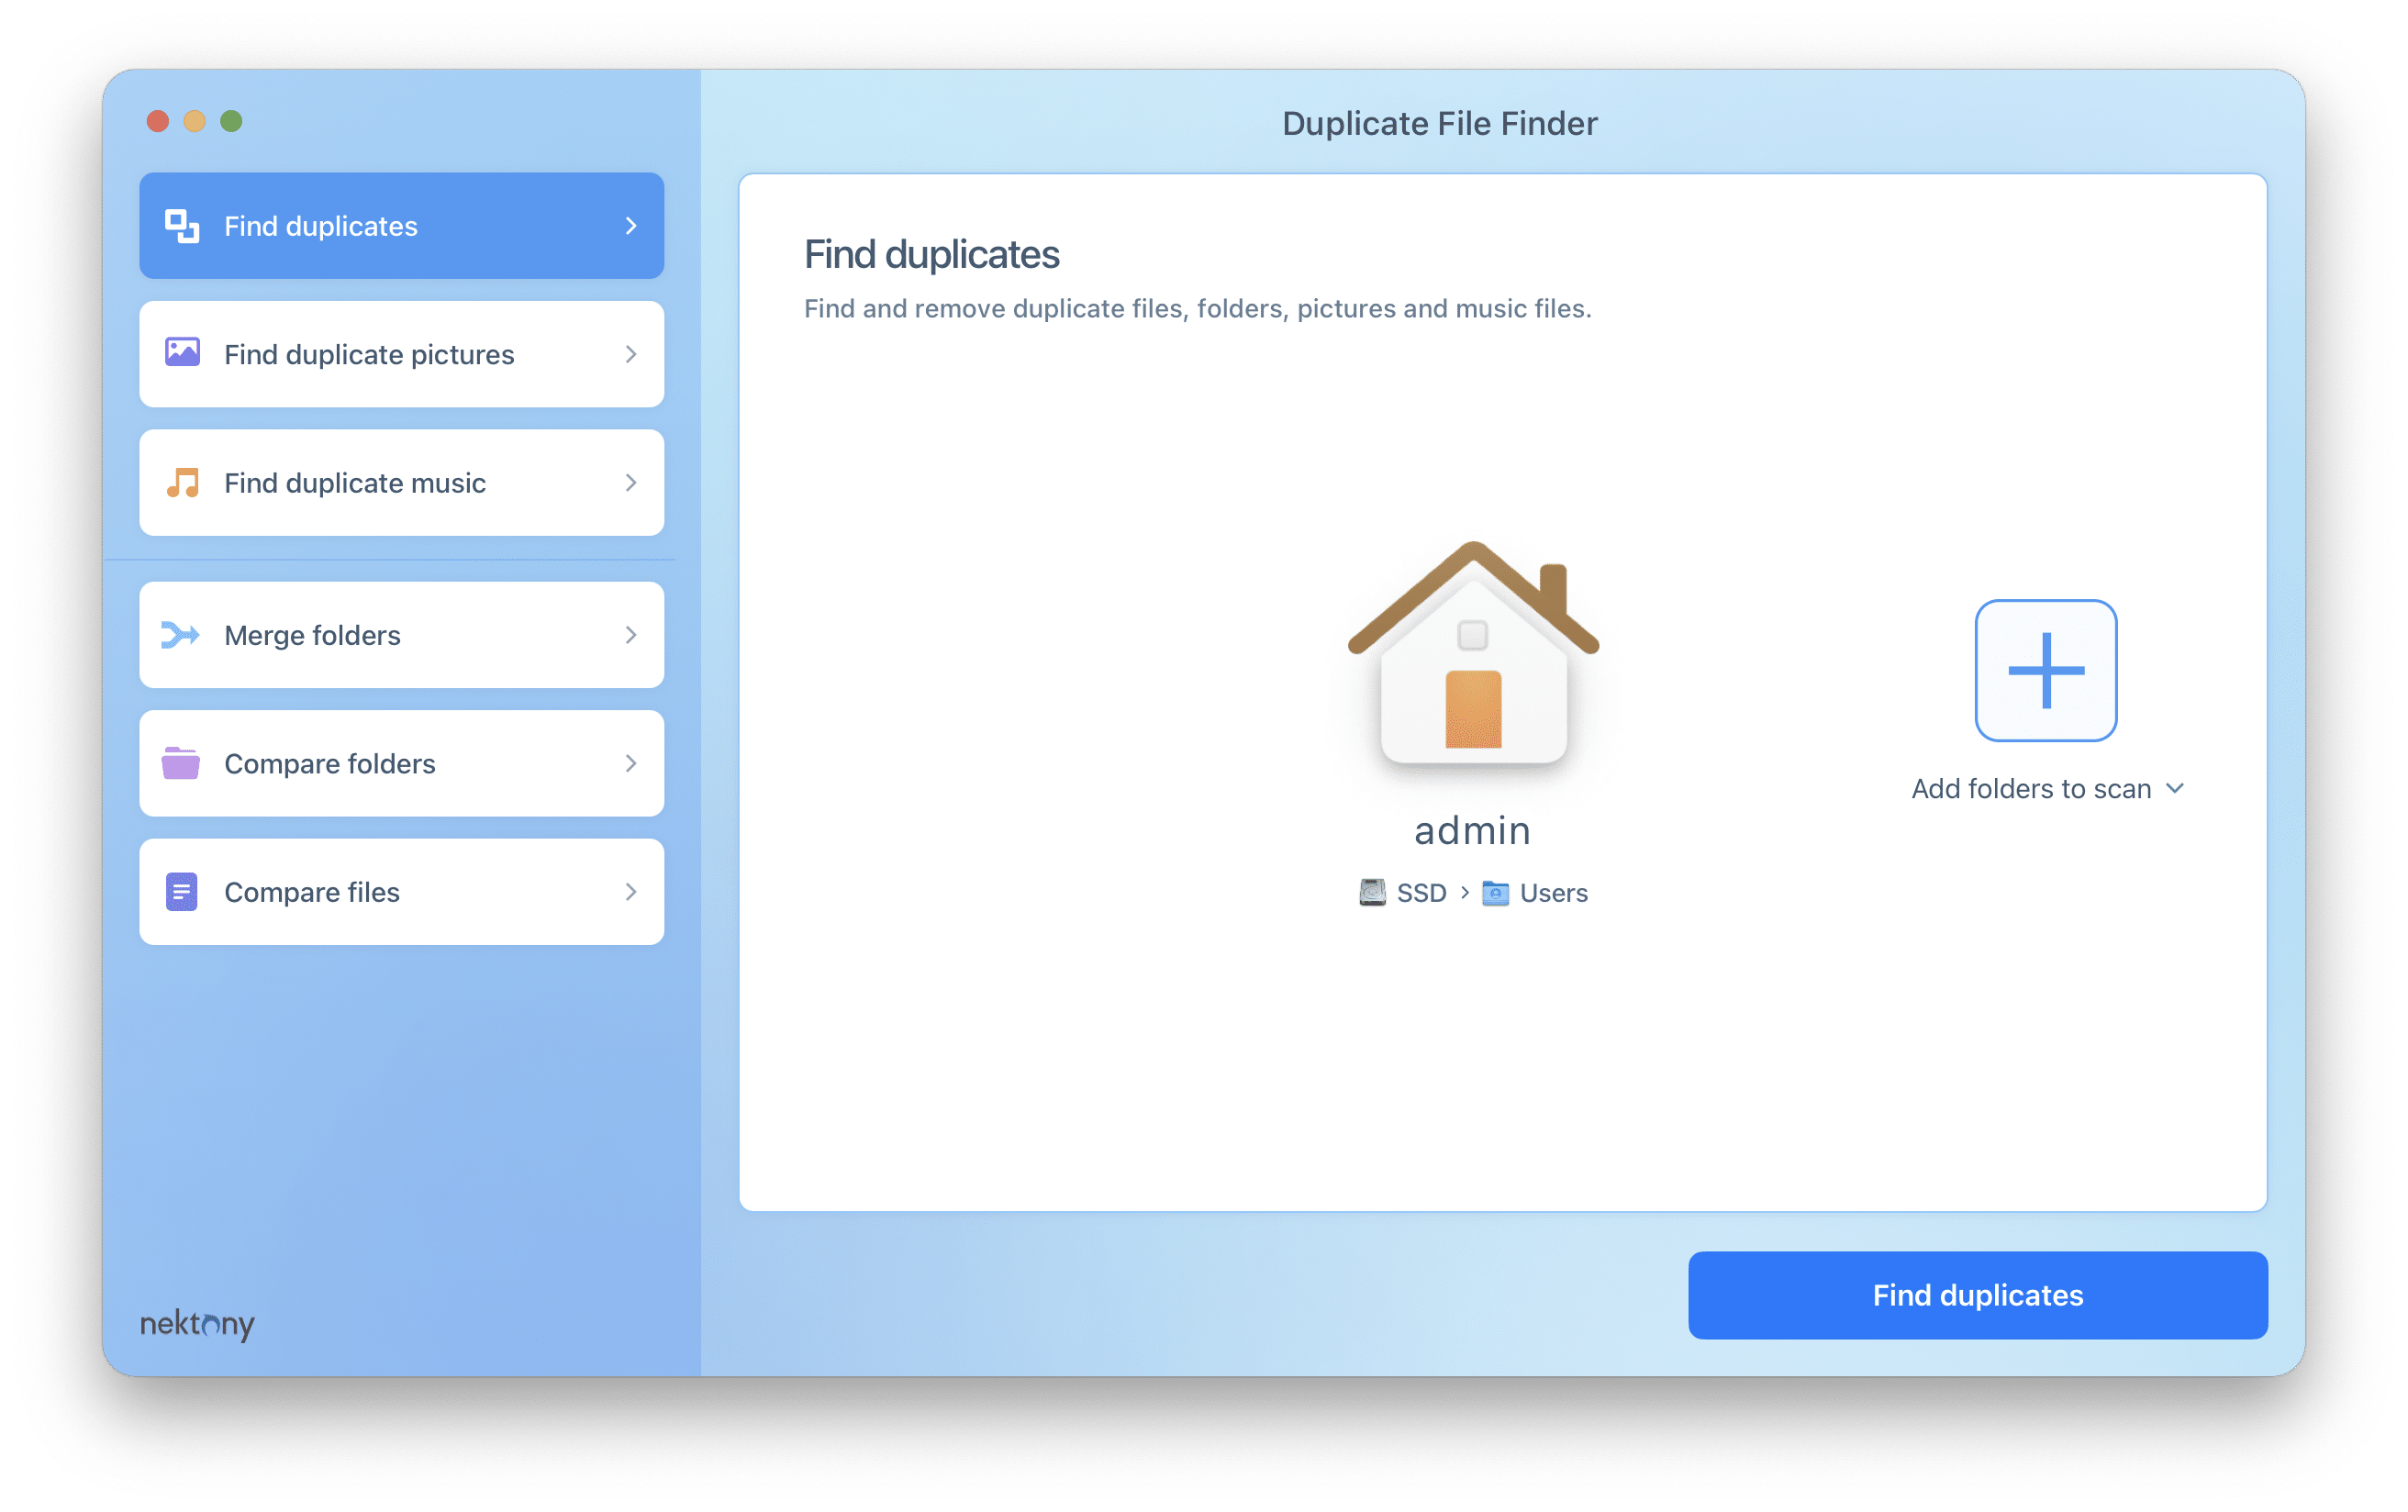
- Launch Duplicate File Finder from the Launchpad. You will see its initial window for choosing which folders or drives you want to scan.
Step 2 – Select duplicate files
- Select the appropriate option in the sidebar depending on which types of duplicate files you want to find. If you want to find all duplicate files, select Find duplicates.
- You can scan your Home folder or choose other folders for scanning.
- Once you added the folders or disks you want to scan, click Find duplicates.
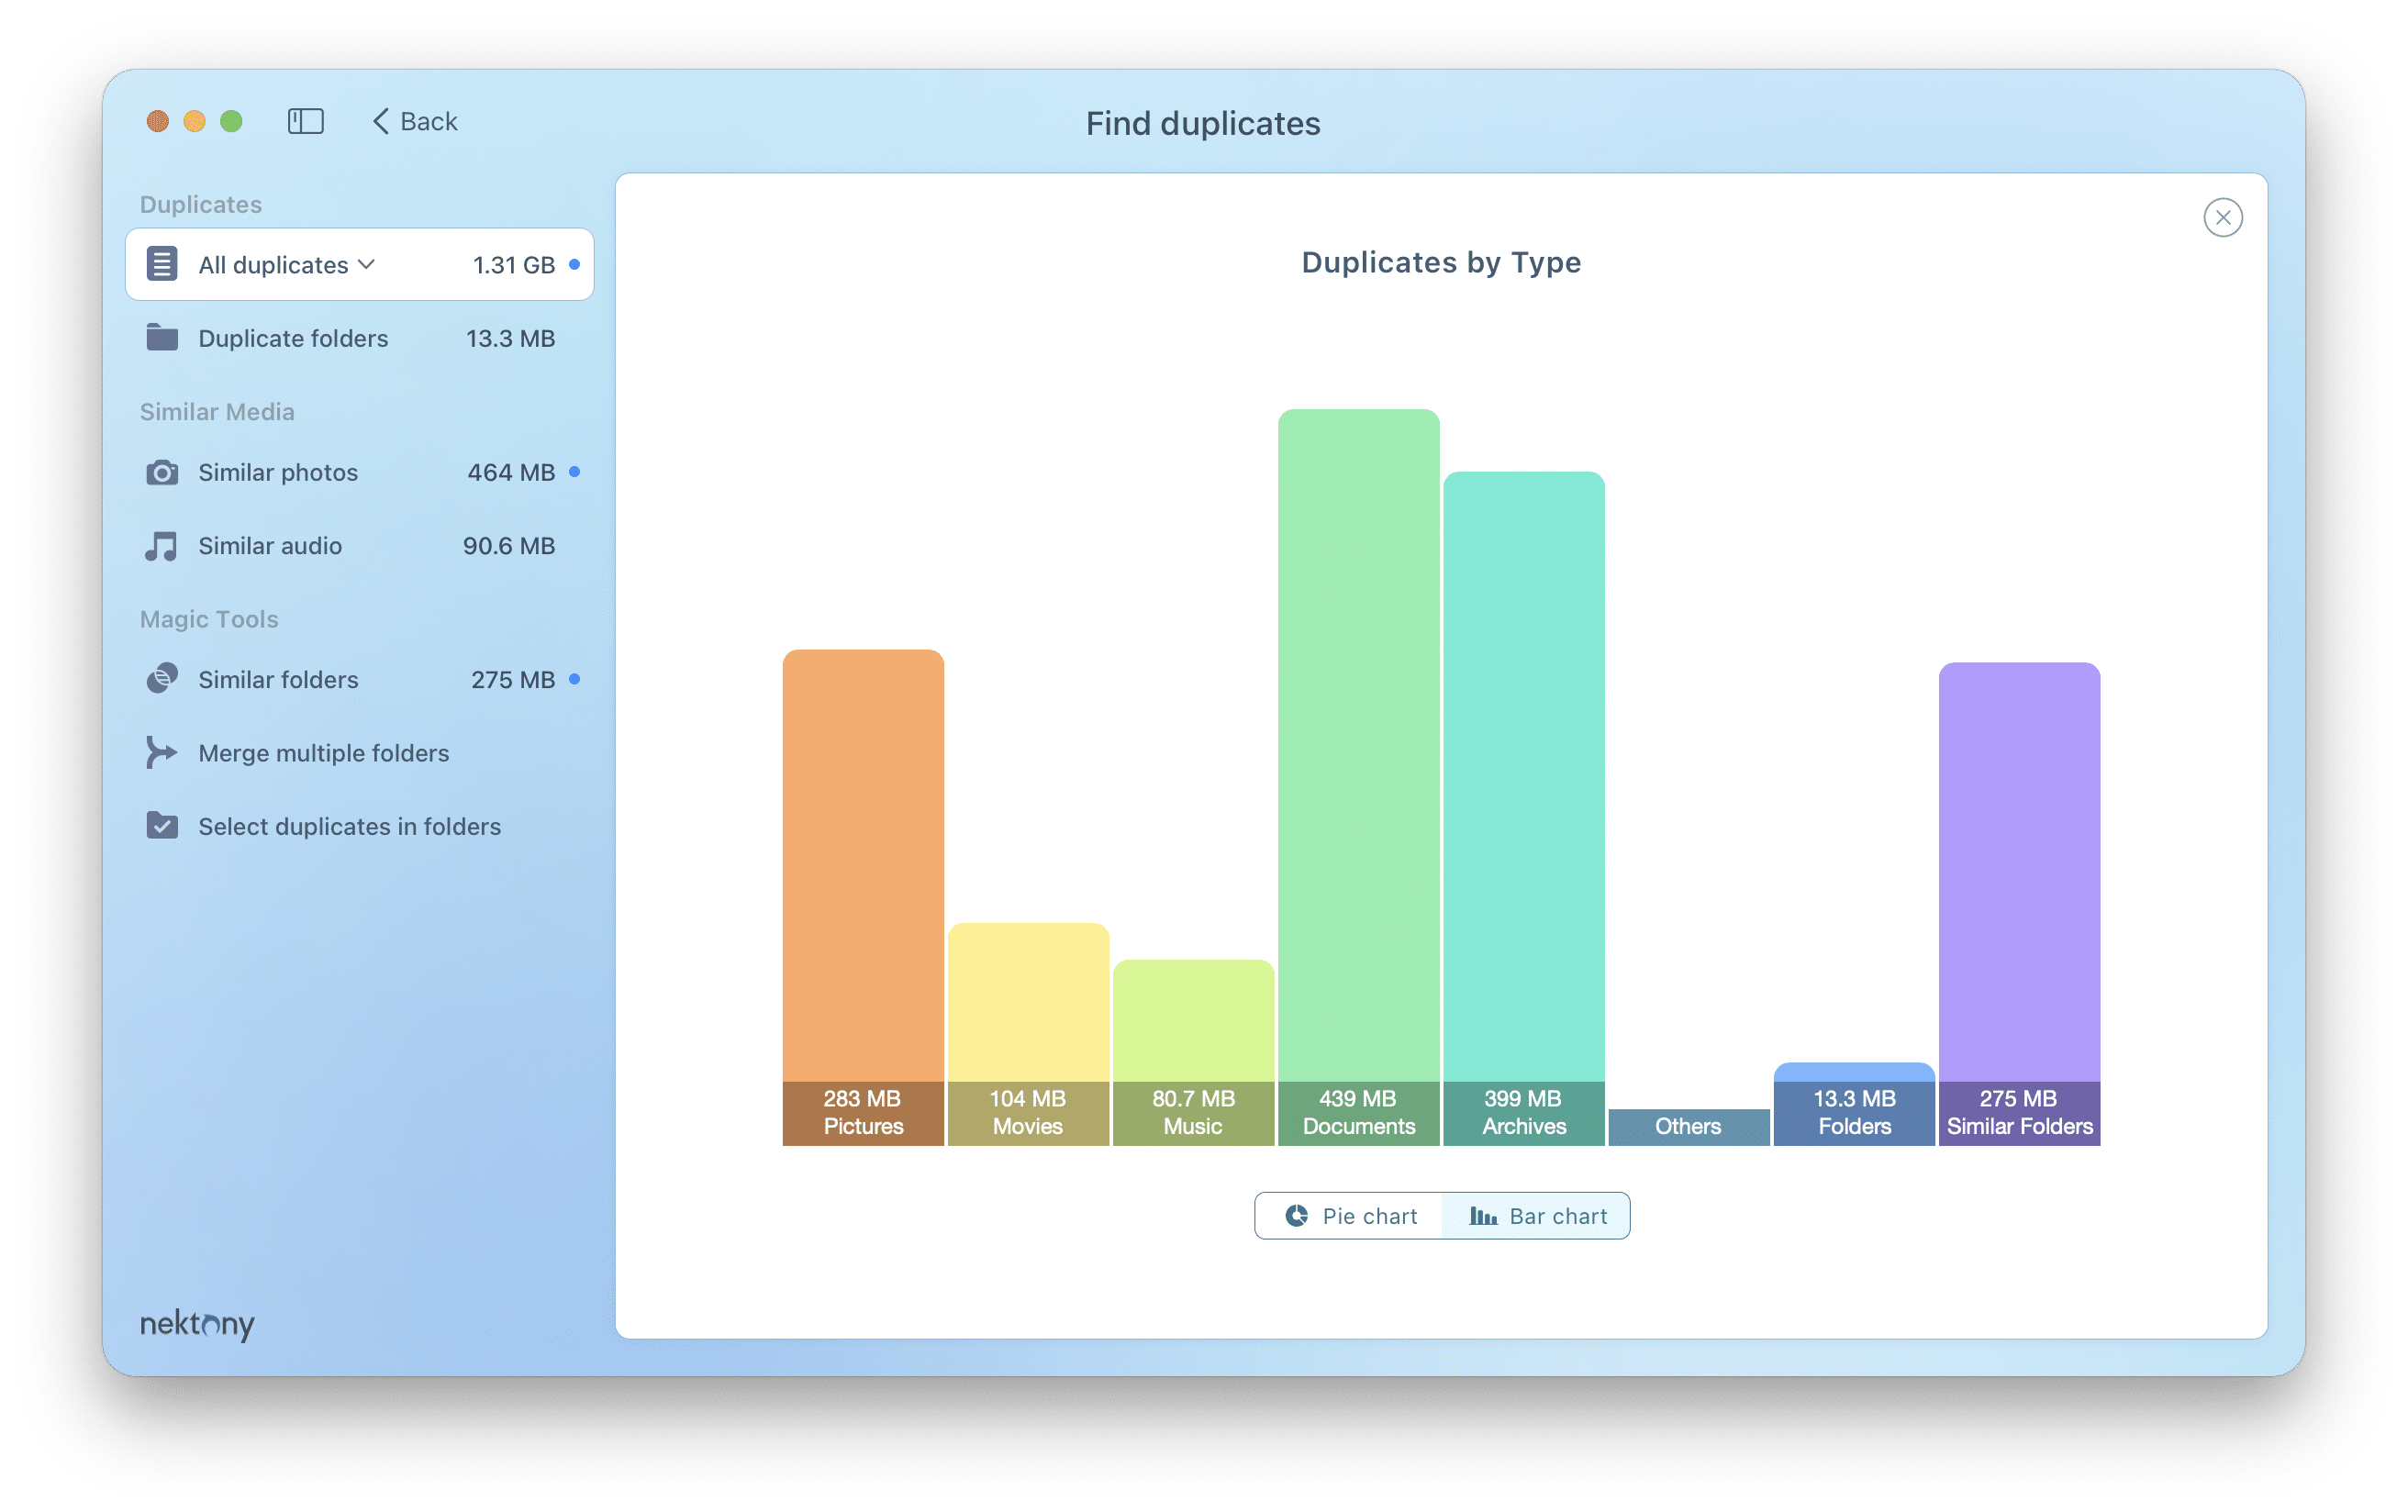
- You will see an animated bar chart representing found duplicate files and folders in real-time during the scanning process. Wait until it finishes searching for copies.
- When the application completes checking the folders for duplicates, you will see the Duplicate Files tab showing the list of all duplicate files. You can switch to any category from the left menu (Duplicate Files, Duplicate Folders, Similar photos, Similar audio for a detailed review of duplicates, or go to the Duplicate Files tab, where you will see duplicate pictures, movies, music, documents, archives and other types of duplicate files.
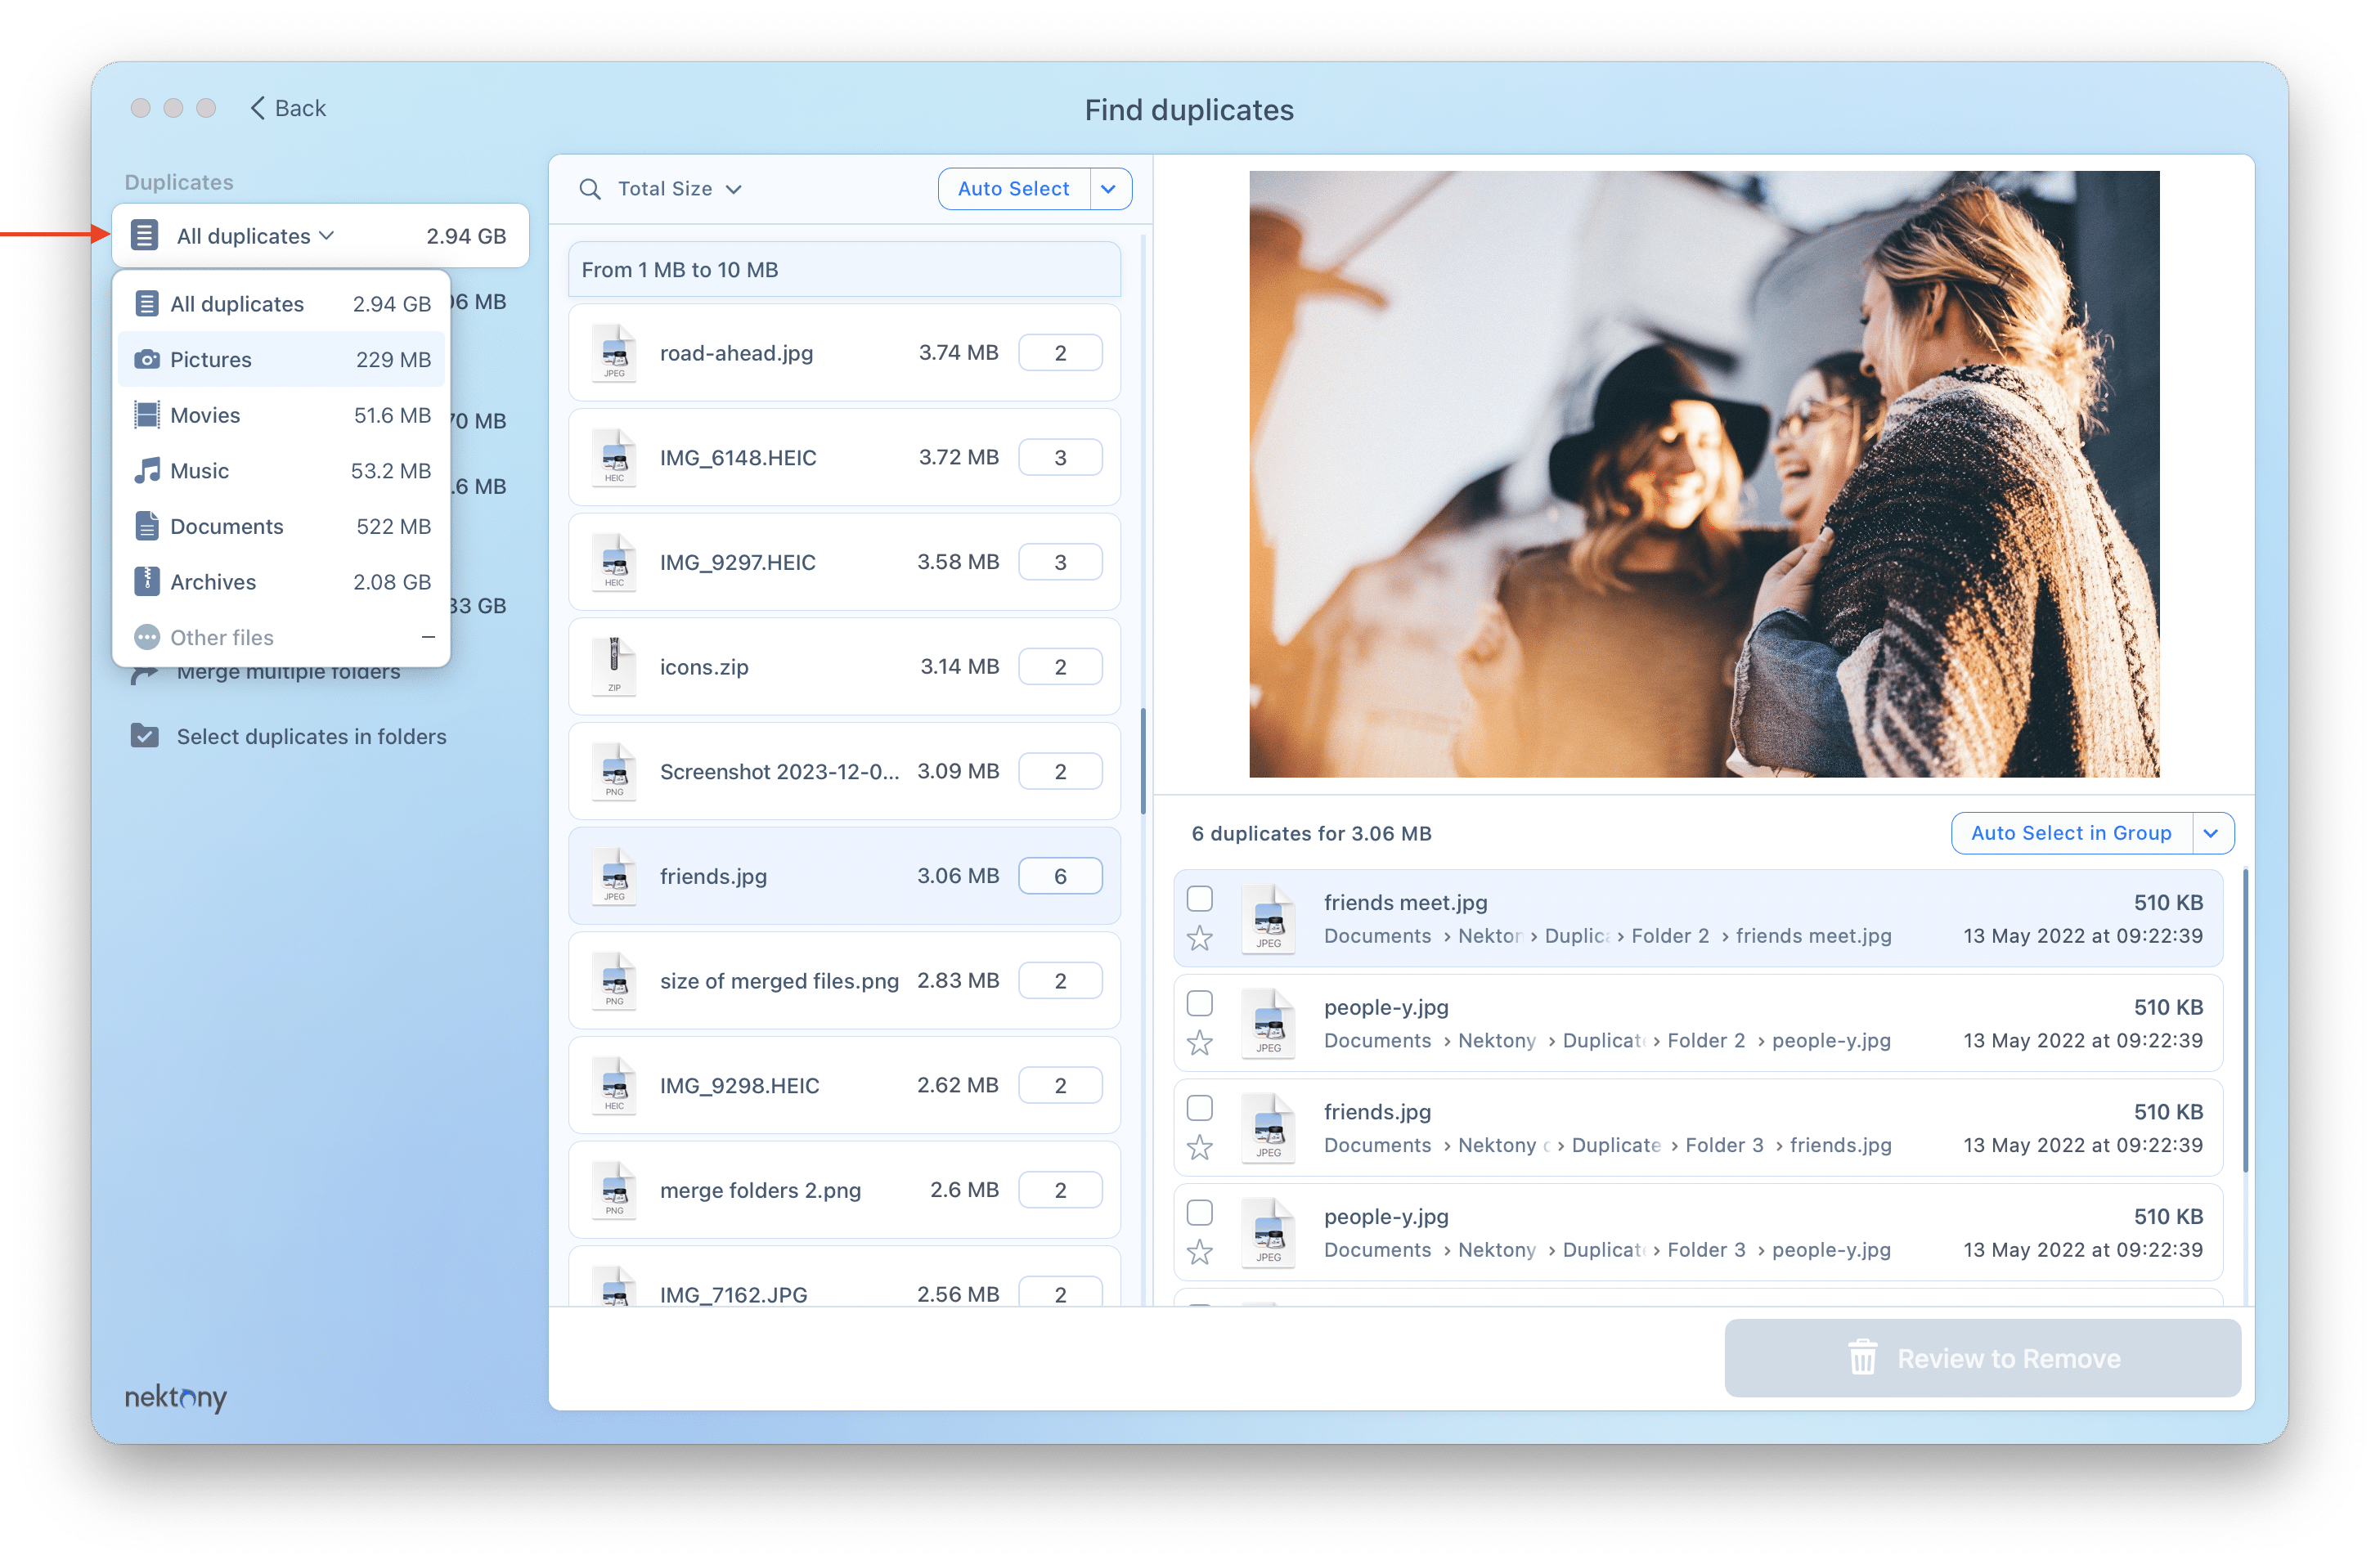
Step 3 – Select duplicate files
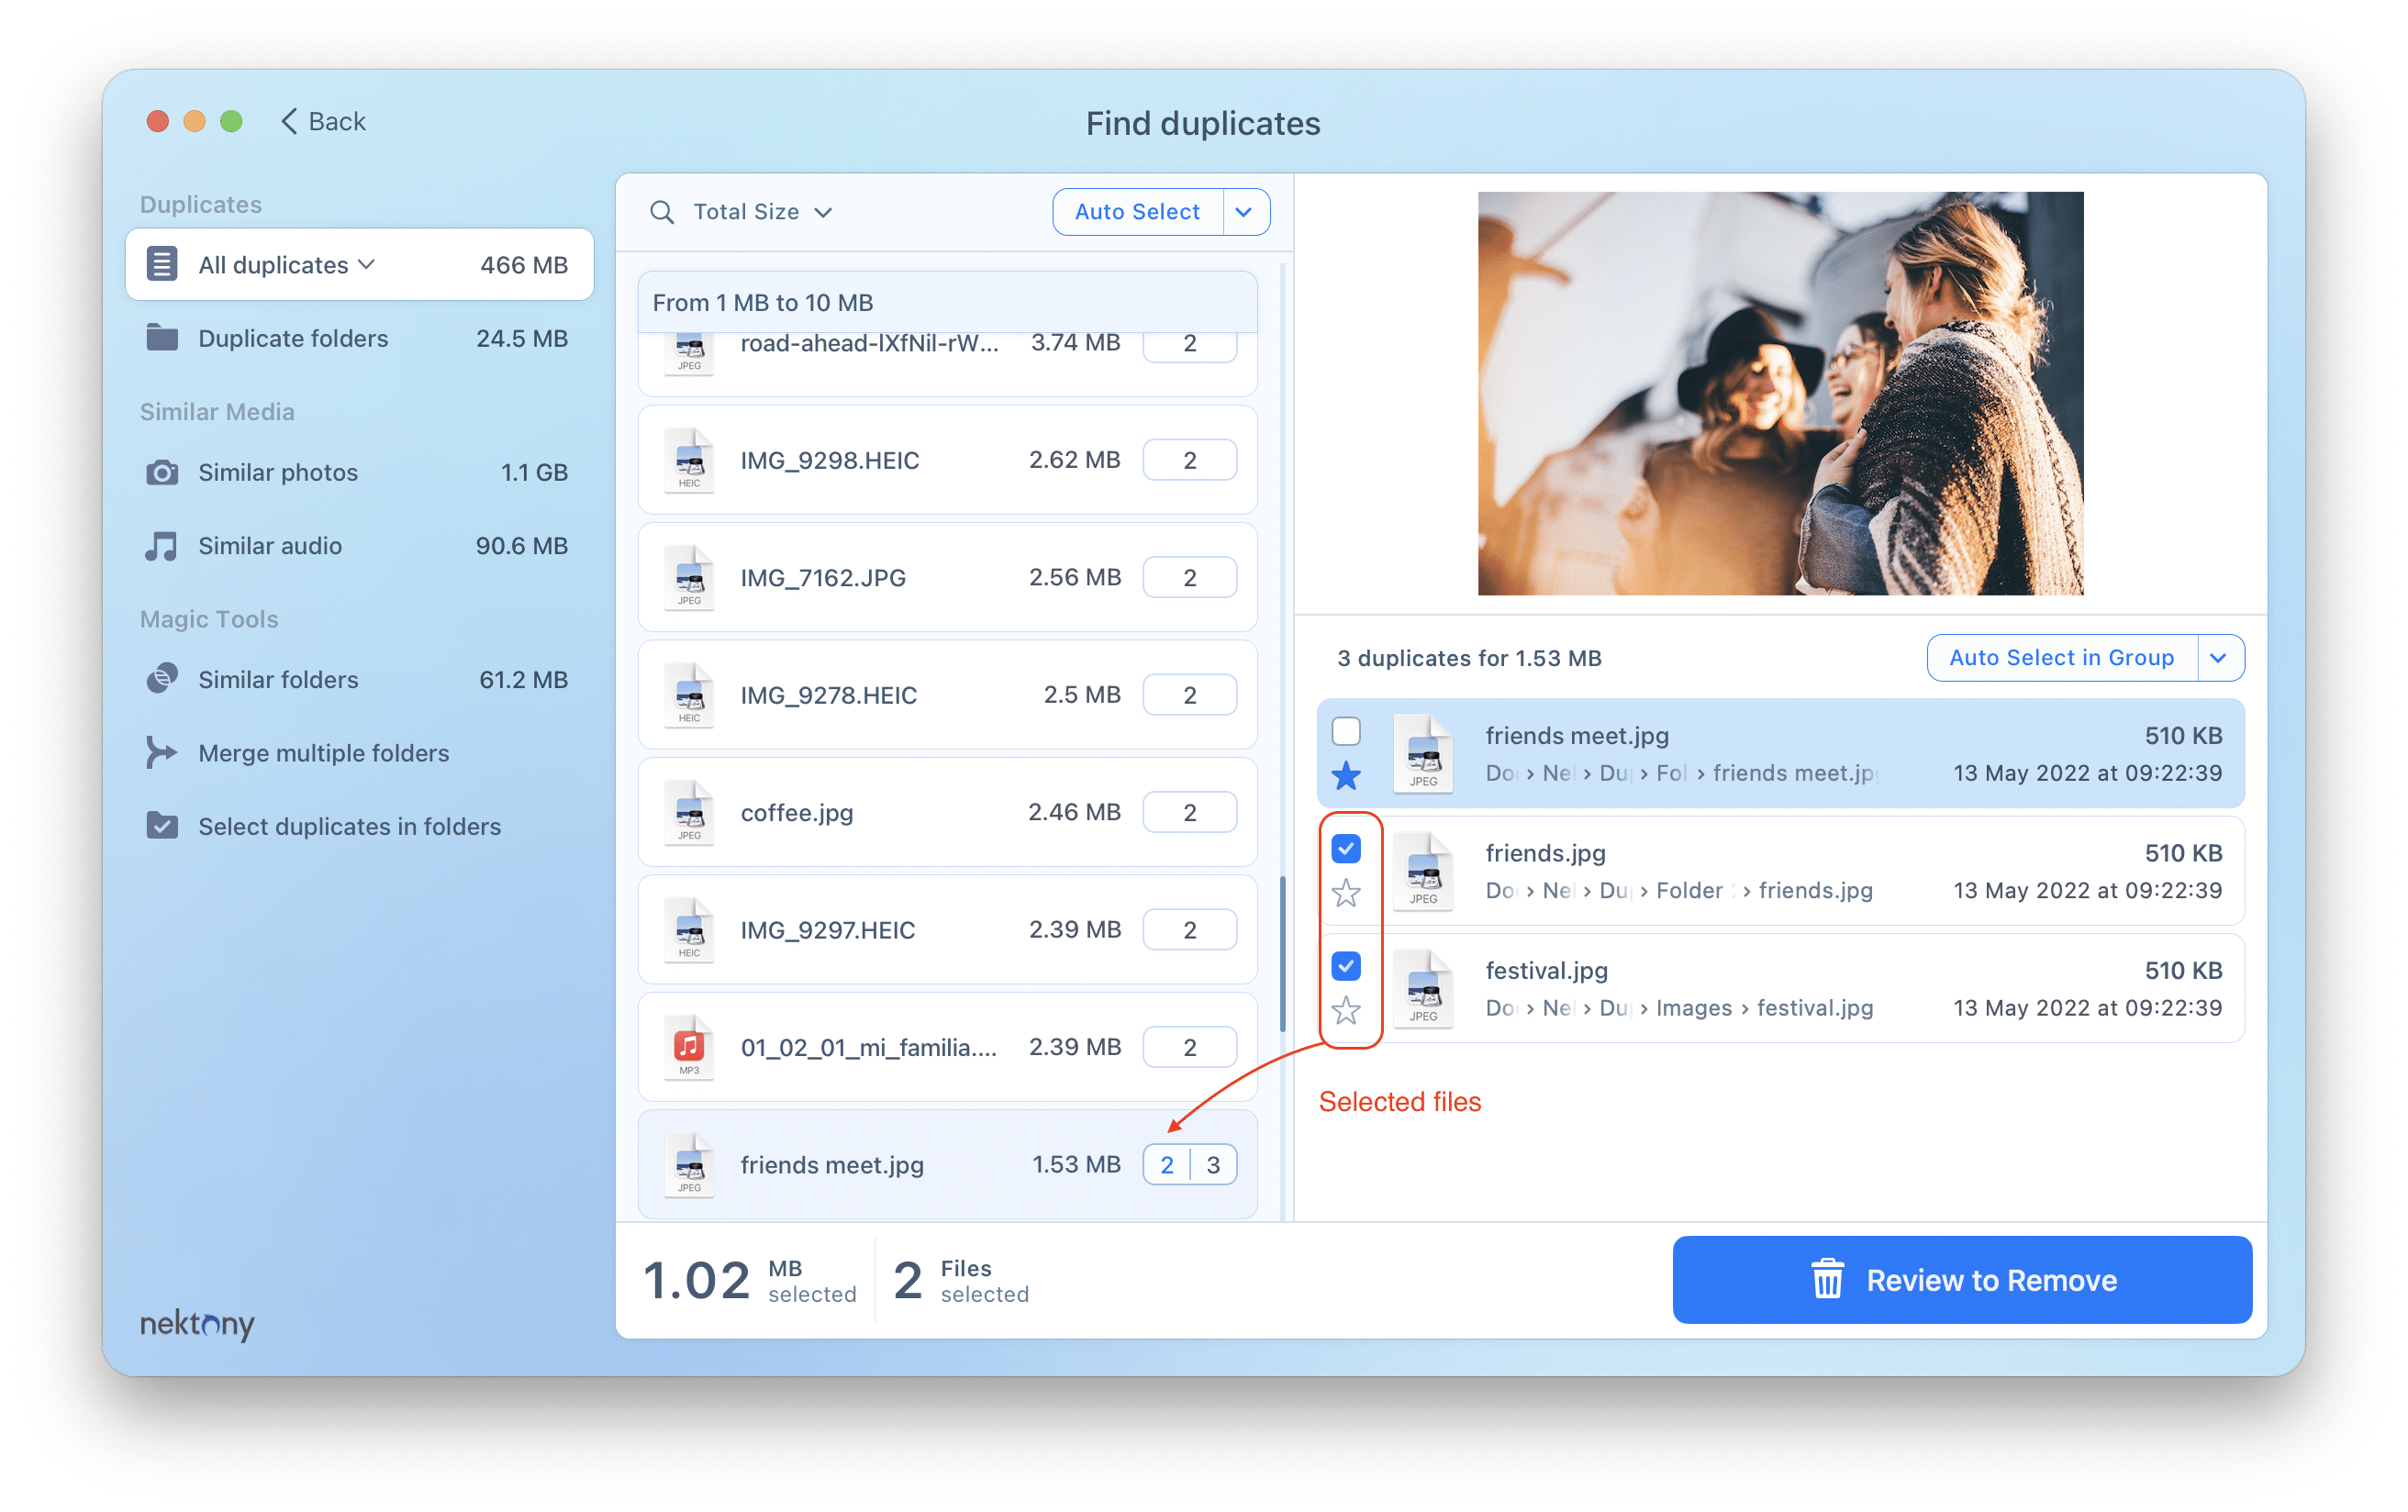
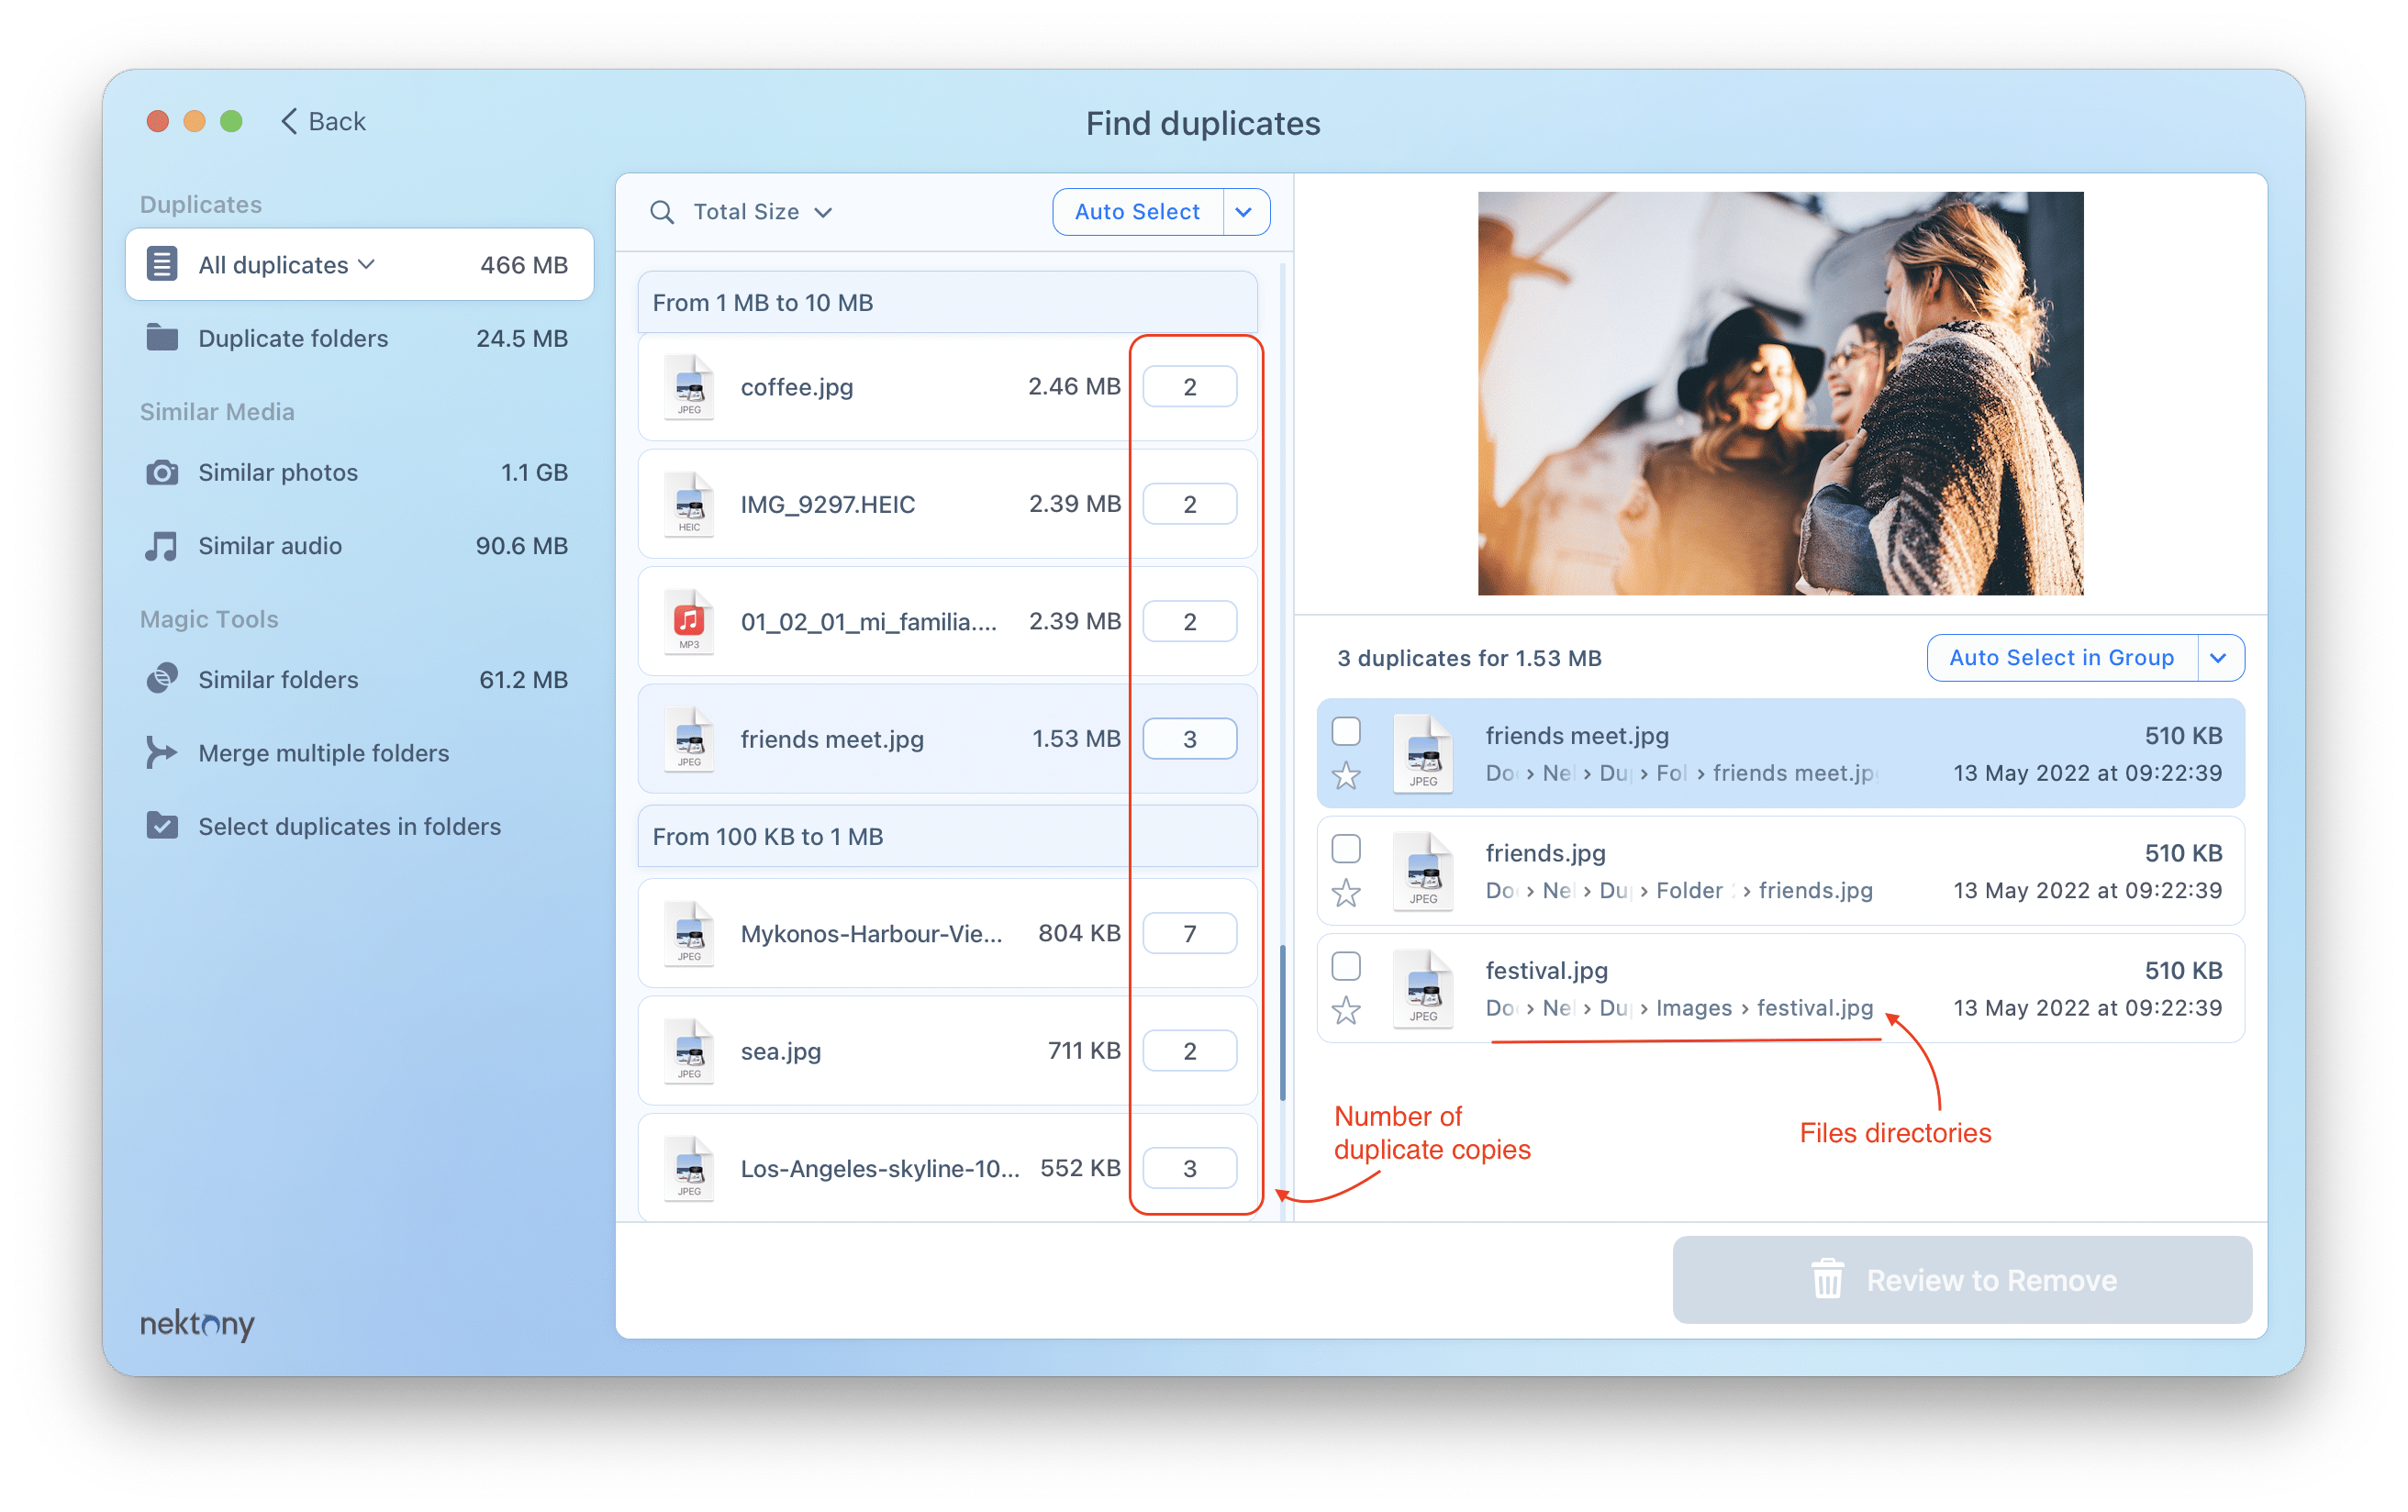
- When selecting a duplicate item, you can see where the file copies are located and how many duplicates you have.
- Review your duplicates and similar pics, and select unneeded ones for removal. For this, tick the checkboxes near the file. In the left section, you can see the number of selected duplicate copies.
Why can’t I see the checkbox in the list of duplicates?
Note that in some cases, you will not see the chekbox for dupliate making it impossible to select a separate duplicate file. This happens when the duplicate files are located in duplicate folders.
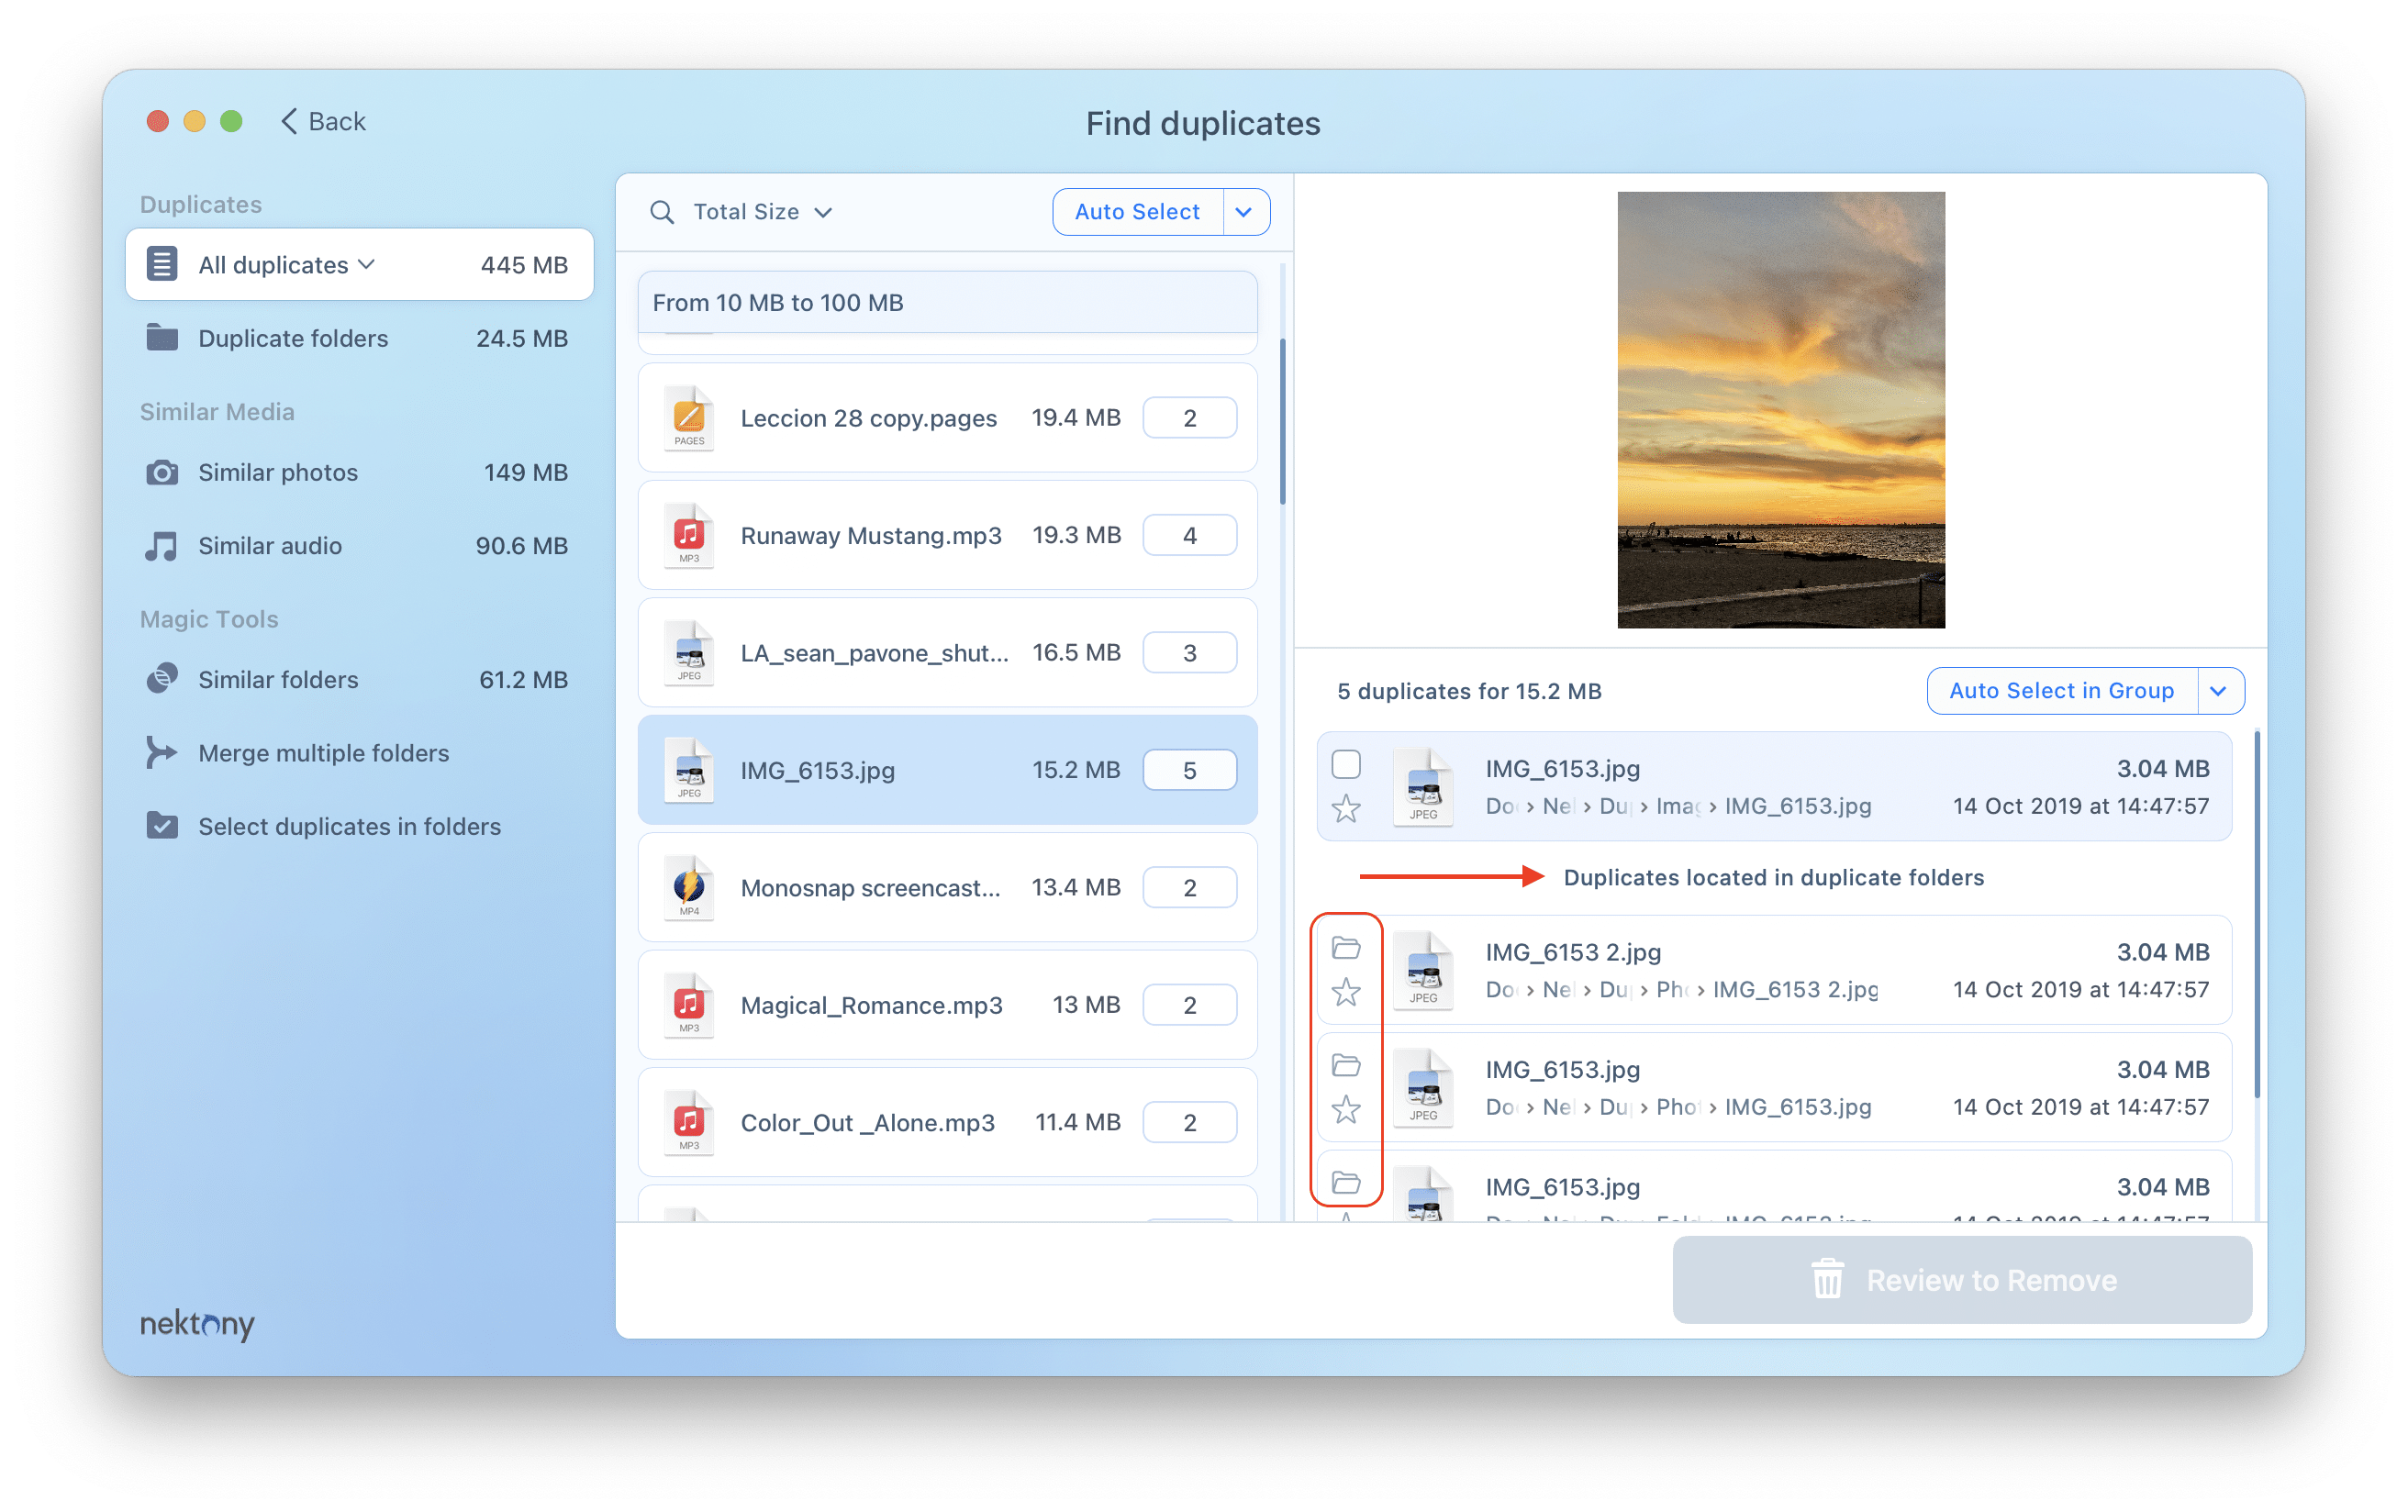
When your duplicate files are located in duplicate folders, the application suggests you remove the whole duplicate folder at once. This option is provided in the Select Duplicates in Folder section.
Step 4 – Remove duplicate files
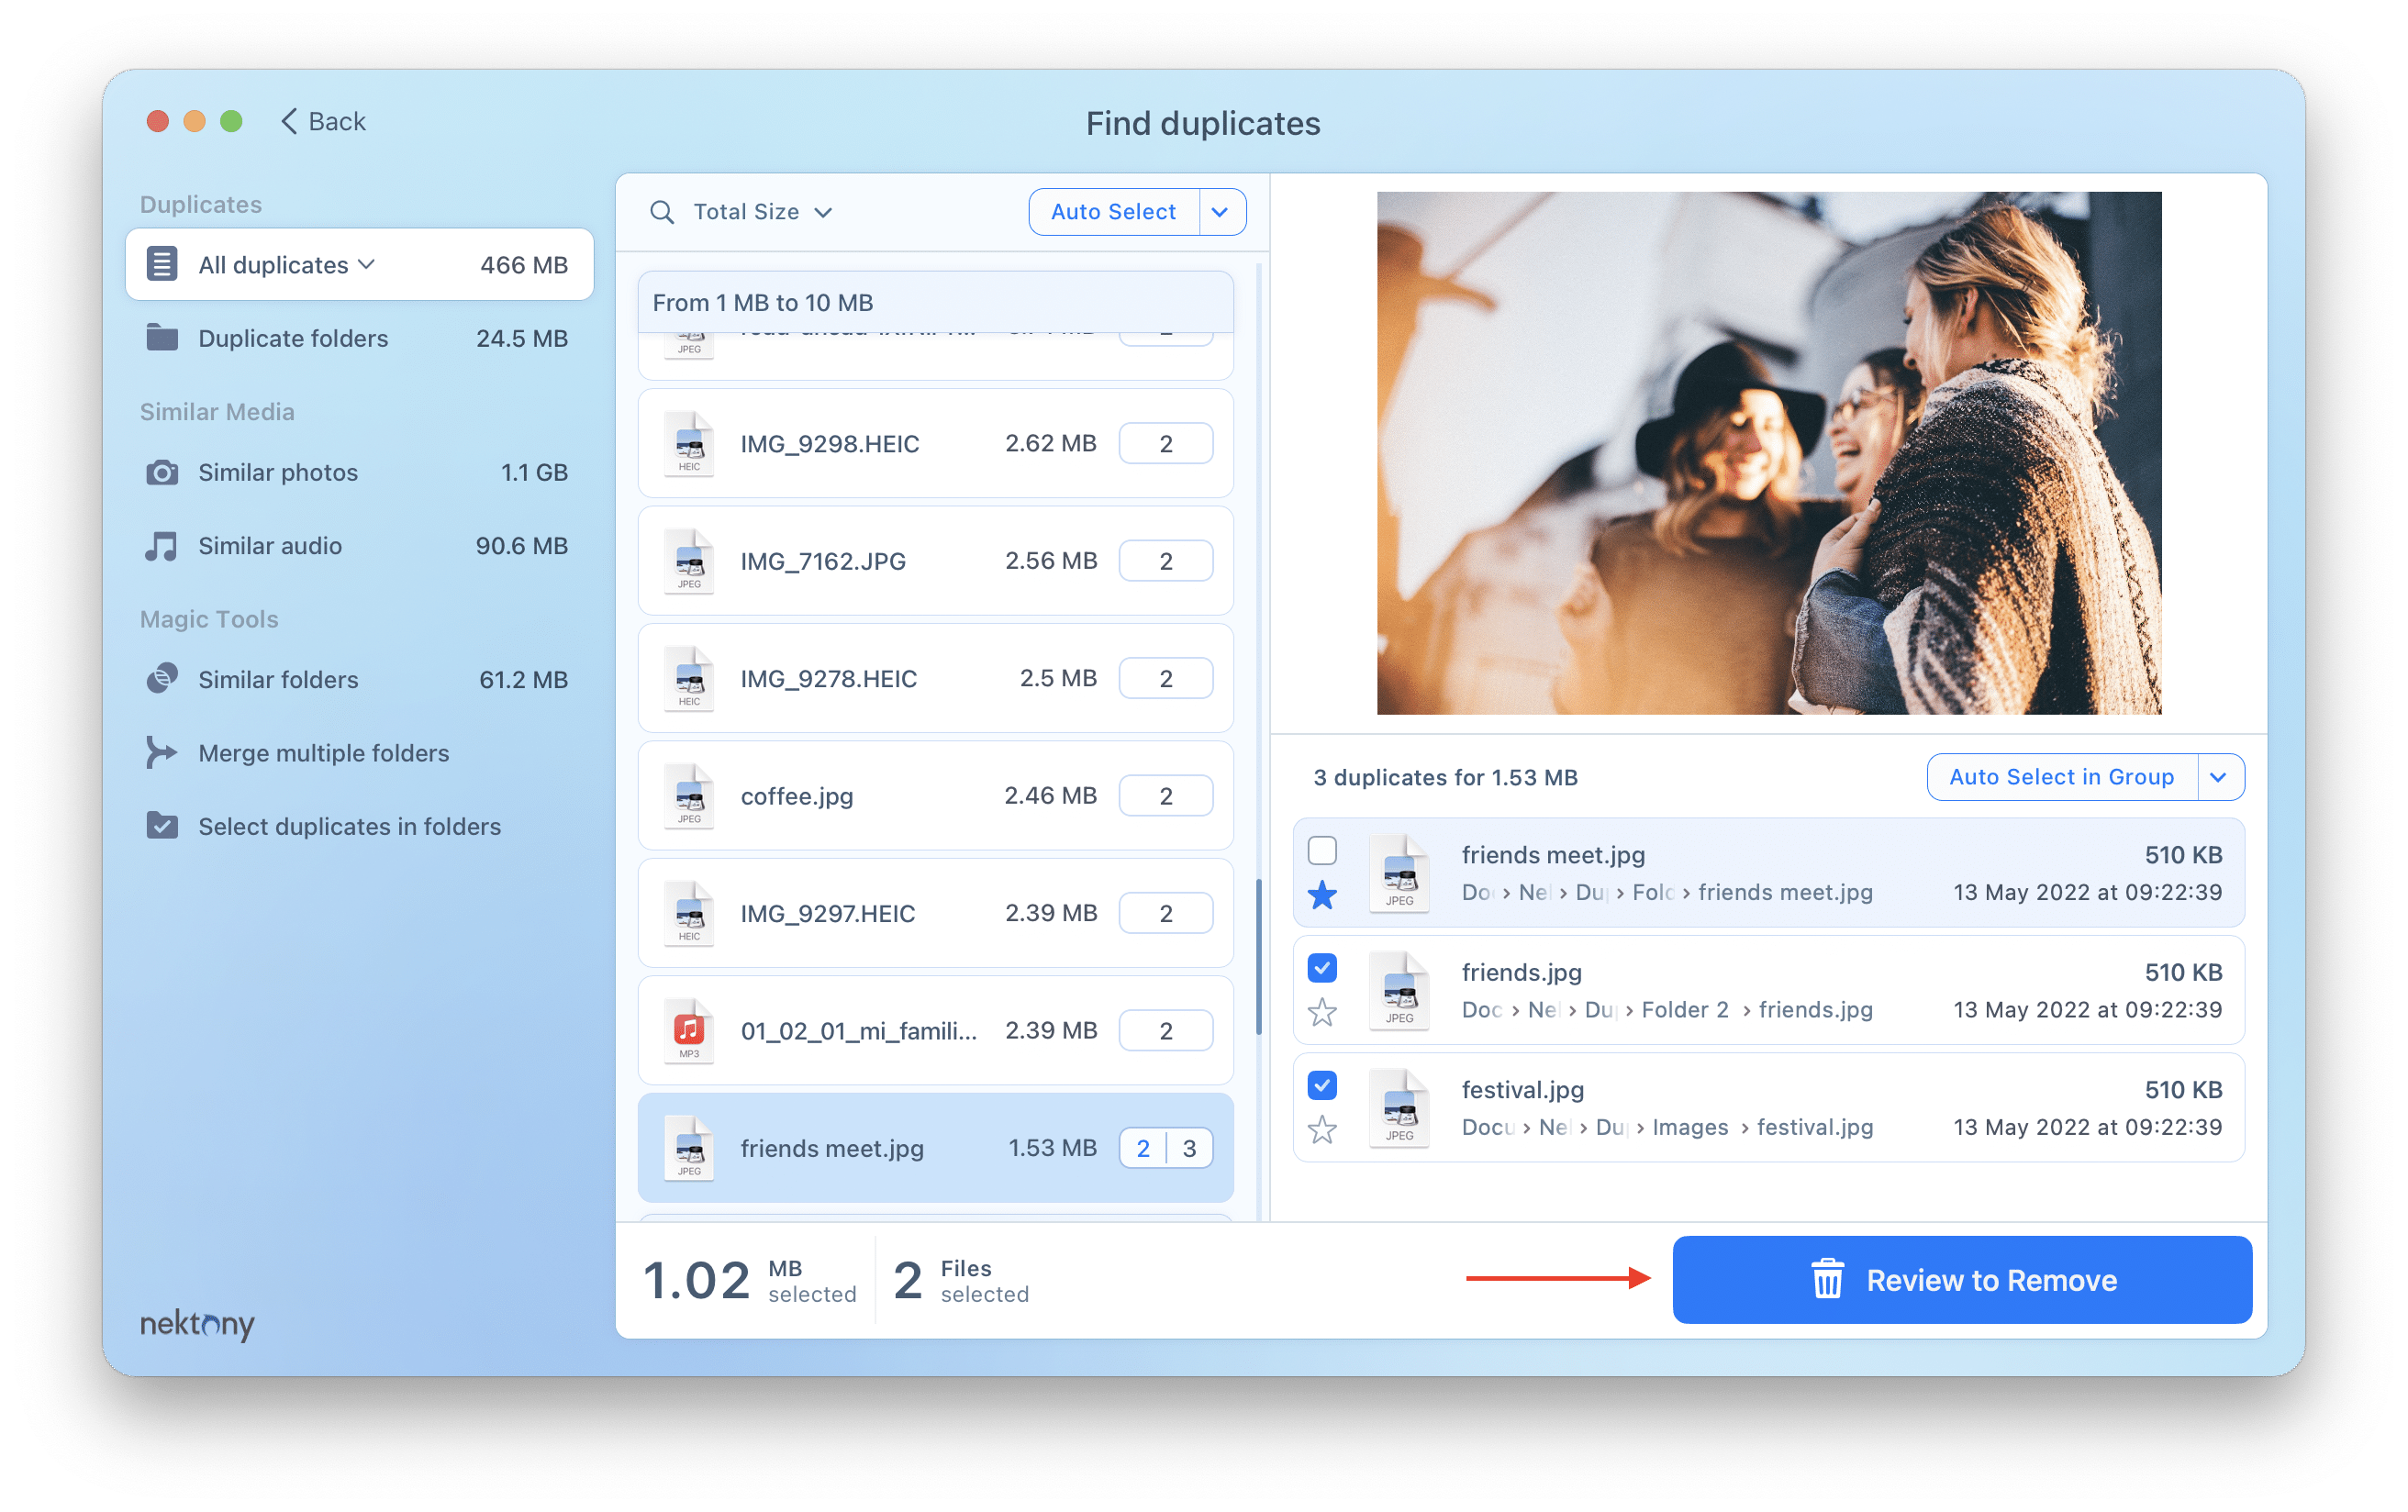
- After the duplicates’ selection, click the Review to Remove button in the bottom right corner.
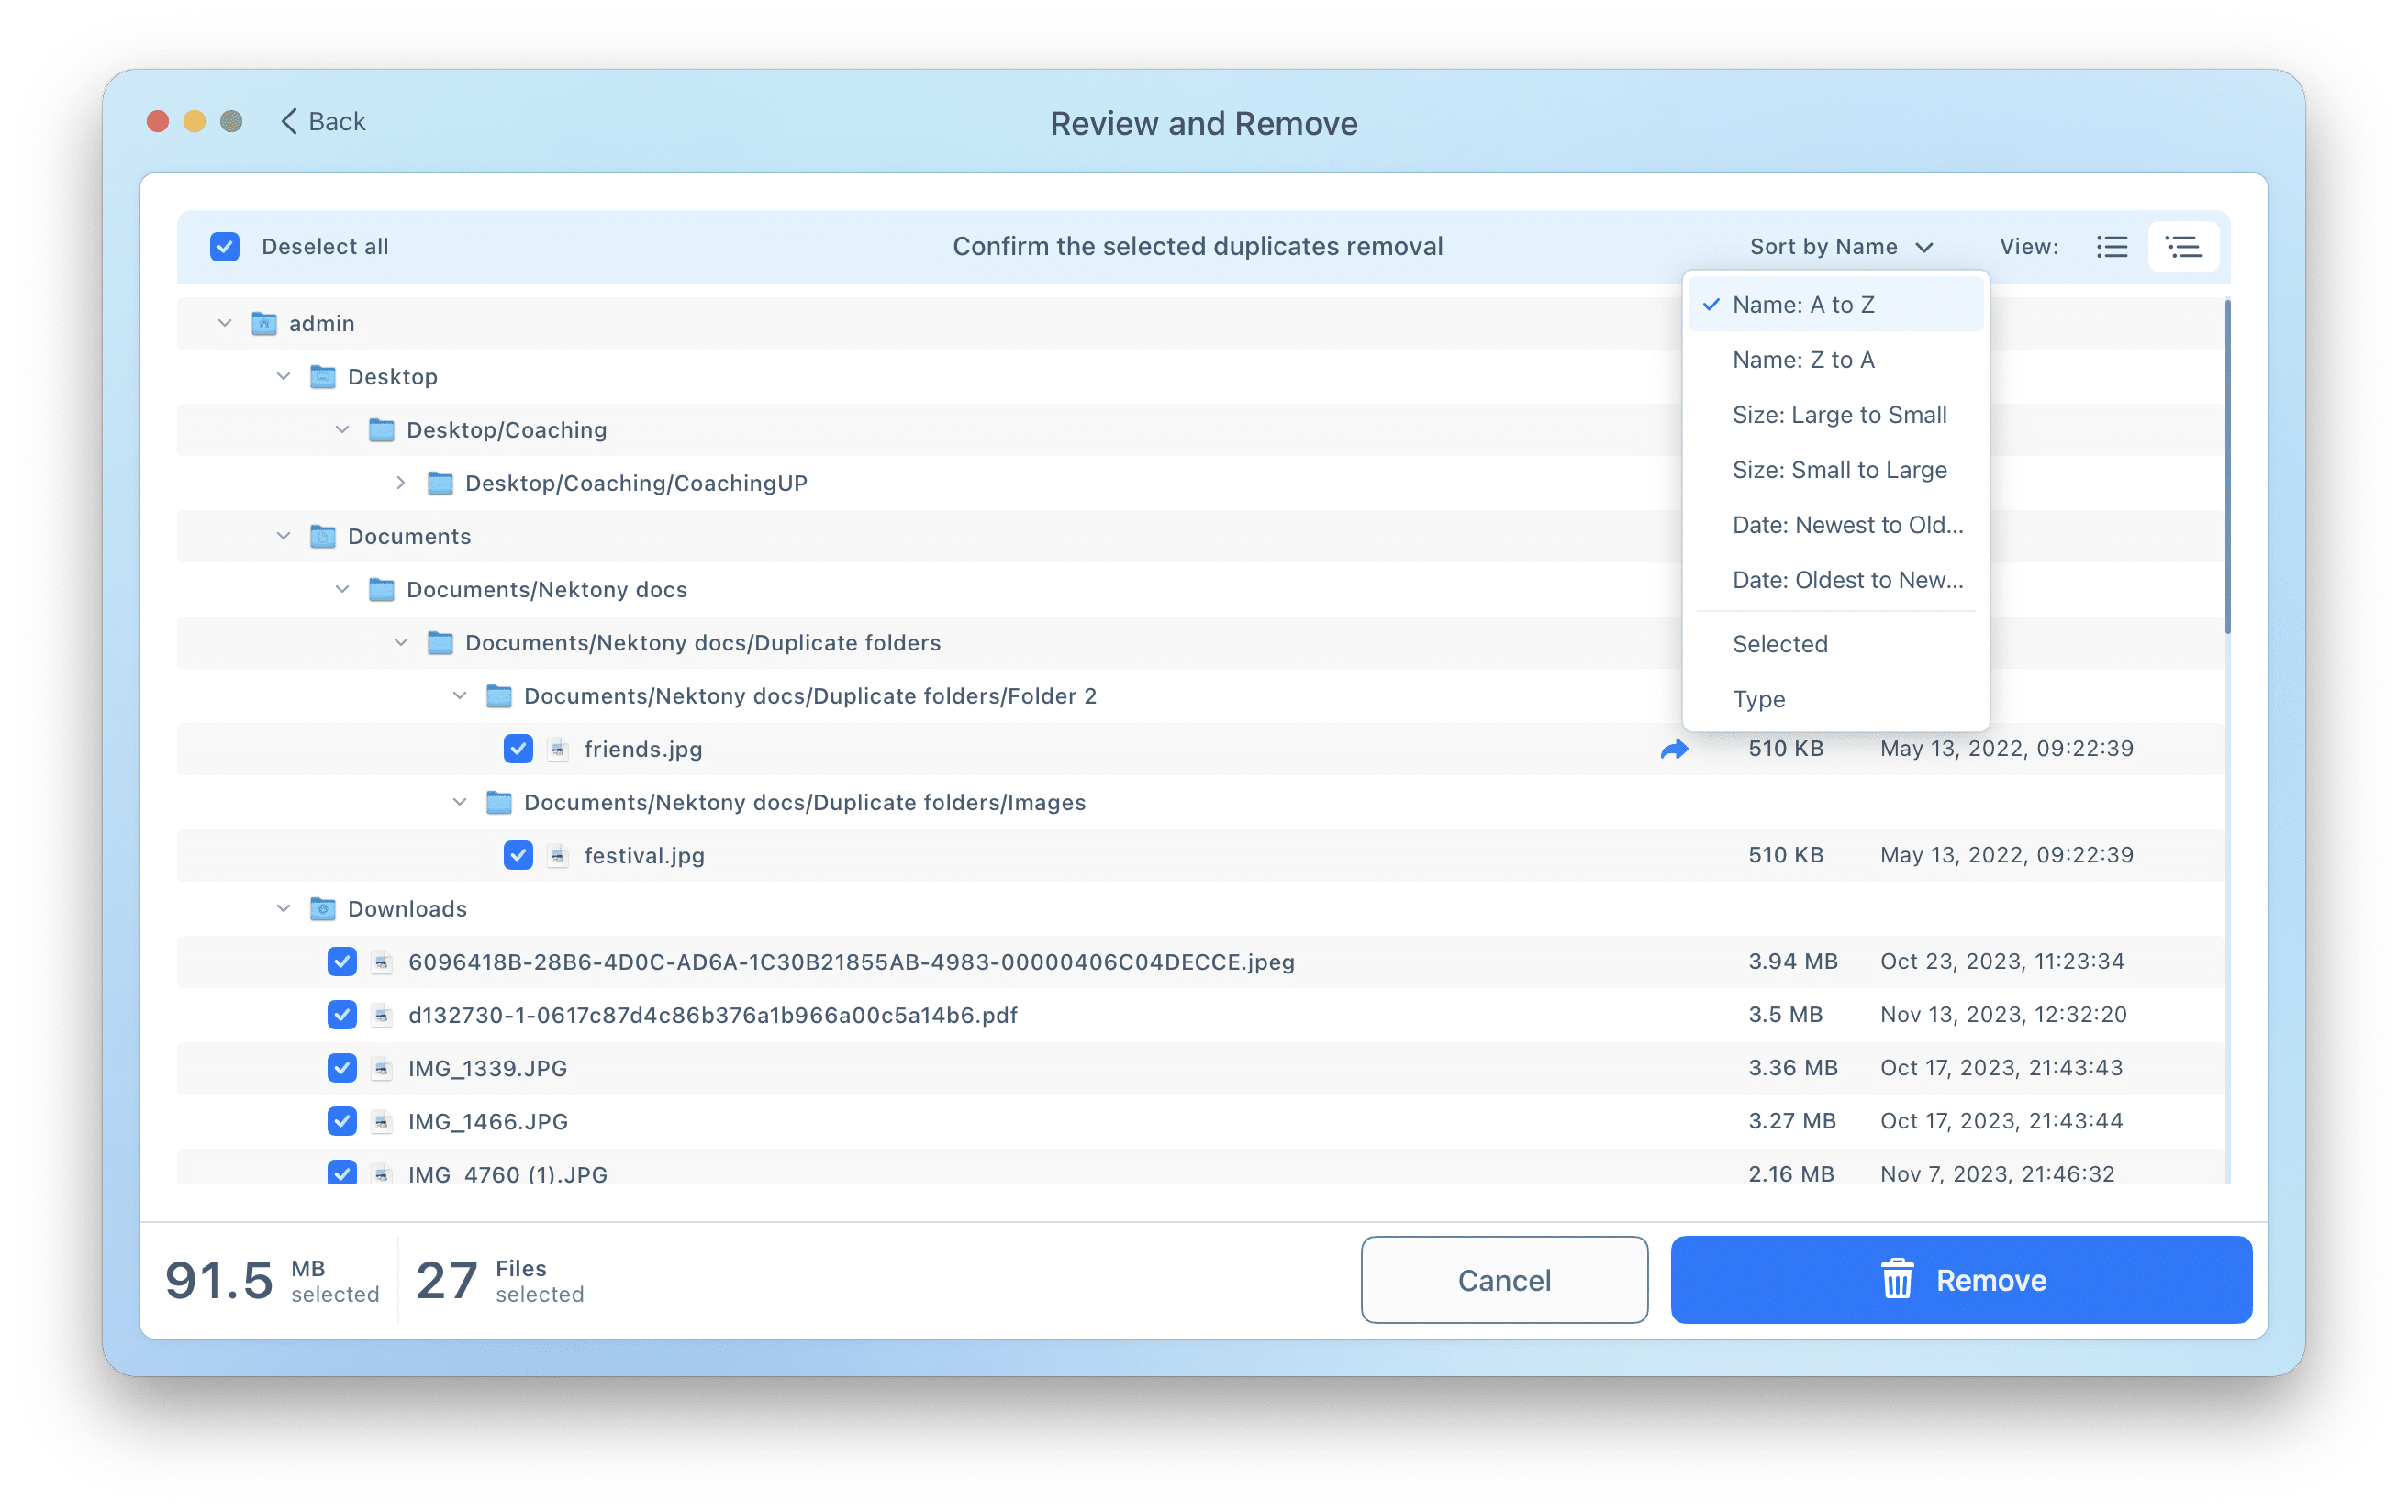
- You will be switched to a confirmation screen with a list of all selected duplicates so that you can preview them once again and be sure you don’t need them anymore. Click the Remove button to delete them.
That’s all! You have cleaned up your external drive or Mac of duplicate files and folders. If you still have questions about the application work, visit our Help page and FAQ or contact our support team. We will be happy to assist you.
