
Zipping and unzipping a file sounds a little techie, am I right? However, it is not that hard of a process as you think it is. In this article, I will explain what it means to zip a file on macOS, how to zip a file on a Mac, how to unarchive zip files on a Mac, and how to check a Mac for duplicate zip files in two different ways.

Table of content:
- What is a zip file on Mac
- How to zip a file on Mac
- How to unzip a zip file on Mac
- How to check a Mac for duplicate zip files
Before we start
Duplicate File Finder
What is a zip file on Mac?
ZIP files are files with the .zip or .zipx extension. It is a type of archive file format. One ZIP file can contain one file or many other ones and many different directories that may have been compressed. ZIP is commonly used as a base file folder for different applications under a different name. Interestingly, Apple has included a built-in zip files support in its Mac OS X 10.3 and later versions.
How to zip a file on Mac?
Zipping files on Mac is easy. To create zip files on Mac, you have to do just a few clicks:
- Choose the folder/file you want to archive and right-click on it.
- In the drop-down menu choose Compress file/folder name.
Here you go. That is how you create zip files on Mac.

However, you can also zip a file and lock it with a password. Here are the steps how to create a password secured zip file:
- First of all, you have to create the folder you want to zip. To make this process easier, we recommend creating the folder on your desktop.
- Put all the files you need into that folder.
- Open Terminal:
- Open Spotlight and search for Terminal.
- Launch Terminal from the Utilities folder in Finder.

- In the Terminal window enter the following command:
zip -er NAMEOFZIPFILE.zip - Add a space after the command and drag and drop the folder or file you want to zip to provide the Terminal with the path to your folder or file.

- After, you will be asked to enter and verify the password for the new zip file.
- Press Enter. Voilà! Your zip file was created.


How to unzip a zip file on Mac?
The process of opening zip files on Mac is even easier than creating them. All you have to do is to double click on the zip file. Again, Apple has included a built-in zip files support in its Mac OS X 10.3 and later versions. On the screenshots below you can see the zipped file Archive.zip and the unzipped Archive folder after double click.
A zip file in Finder
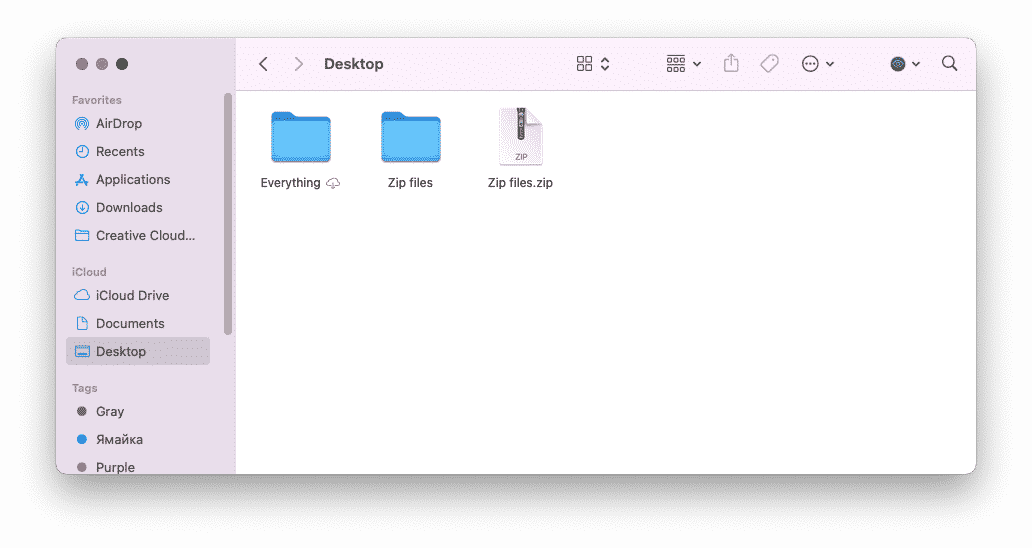
A zip file and unzipped

However, you can also unzip locked files. Here are the steps how to unzip locked zip file:
- First and foremost, you have to find it. There are several ways you can find recently created locked zip files:
- Open Finder and go into the Recents folder.
- Create a new Smart Folder, continue reading the article to learn how to do it.


- Click on the document you want to unzip, enter the password and click OK.


Here you go, your file was unzipped. Now it will appear in the Recents and in the same folder where the original zip file was.
How to check a Mac for duplicate zip files?
While working with zip files, we may accidentally extract files from the archive more than once. Thus, over time we can pile up folders with the identical files or many identical archive files. For that reason, if you work a lot with zip files, we recommend that you check your Mac for duplicate folders and duplicate files. Here we will demonstrate two ways how you can get rid of those unneeded files. First, is manual detection and deletion of them and second, is with the help of an app called Duplicate File Finder.
How to manually find and remove duplicate zip files
There are two different ways of how you can remove the duplicate zip files. However, before deleting those files, you have to find them.
To manually find and delete those files, you have to:
- Open Finder.
- Open the File menu and select New Smart Folder.

- Click the plus in the top right corner of the Finder window and choose Other under “Any.”
- Type “zip” in the next field. You will see a list of your zip files. Note, you can also just select Archive, but it will not show you ONLY zip files, it will show you installment packages and all sorts of archive files.

- Arrange files by their sizes. Most likely that two zip files with absolutely the same size are duplicates. However, here another issue arises. Files with identical size and name can be duplicates, unfortunately, the only way to check this is to unarchive them, so you do not accidentally delete a needed file. Moreover, by unarchiving files, you will use up even more of your valuable space.
- Once you make sure that the zip files are duplicates, you can go ahead and drag and drop them into the Trash bin.
- Clean your Trash bin.


Moreover, when you are done with the duplicate zip files, it does not mean that you are done with duplicates just yet. You might unarchive a file more than once, then you have to go back and chase back all those duplicates. Thus, we recommend you another way to find and clean those zips automatically using Duplicate File Finder. It is a much safer and faster way to deal with all those unneeded duplicates.
Follow these steps to automatically detect and delete duplicate zip files:
- Open Duplicate File Finder.
- Add the folders that you want to scan, or if you want it to scan the whole Mac, just choose Home Folder.
- The app will scan the chosen folders and find all duplicate files there. Use the dropdown menu to see specific types of duplicate files.
- After you will see the list with the needed duplicate zip file Mac. Here you can Auto Select all the duplicate zip files or go ahead and manually choose unneeded files.

Also we recommend that you then switch to the Duplicate Folders tab and remove duplicate folders that have been created when you unzipped one archive file for several times.
- Once you have selected all duplicate files, click Review to Remove and confirm the duplicates deletion. All the duplicate files will be placed into the Trash.
- All you have to do now is to clean your Trash bin.


Conclusion
To sum up, we showed you how to zip a file on Mac, how to unzip a zip file on Mac, and two different ways how to find and delete duplicate zip files on Mac. You can either do it manually by creating a smart folder through Finder, or you can do it automatically using the Duplicate File Finder.


