September 12, 2025
How to uninstall ClamXAV from Mac: Three ways
ClamXAV is one of the most trusted antiviruses for Mac. It is built on the open-source ClamAV engine and was turned into a friendly app with a lightweight footprint and a clear, predictable way of working. Over the years, this combination has made it popular with many Mac users.
Still, you may want to remove it for your own reasons, such as switching to another tool, fixing an issue, or freeing up space.
In this guide, we will show you three step-by-step methods to uninstall ClamXAV from your Mac. Choose the one you prefer and get it done quickly and cleanly.
This article contains:
A quick way to remove ClamXAV completely
ClamXAV keeps not only its main app but also a number of support files across your system. Instead of hunting them down one by one, you can use App Cleaner & Uninstaller by Nektony. The tool detects every ClamXAV-related file automatically and helps you wipe them out in just a few clicks.
When you need to remove ClamXAV
Most often, people remove ClamXAV when they switch to another antivirus or prepare their Mac for a new user. But sometimes reinstalling the app is the best way to solve problems.
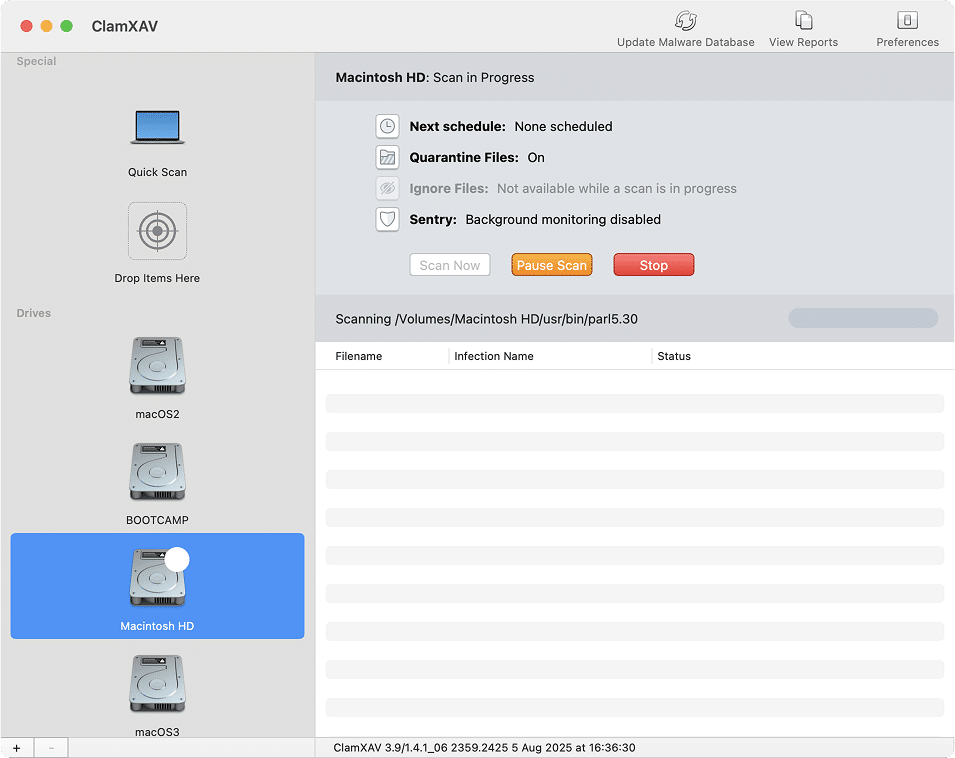
You may need to uninstall ClamXAV if you notice that:
- The virus database will not update.
- Safe files are flagged as infected.
- A scan will not start or always stops with an error.
- ClamXAV still causes issues after incomplete uninstallation (as explained in this discussion)
- The app does not open after installation or update.
- The license or activation is lost after a restart.
- The app became corrupted after a crash or freeze and/or consumes too much of your Mac’s power (as in this Apple forum case)
- An update was installed incorrectly, and ClamXAV no longer works.
- Issues with the database or settings cannot be fixed in the app.
- ClamXAV stopped working after upgrading macOS and needs a clean install.
In these cases, removing and then reinstalling ClamXAV often helps to restore smooth work.
Three ways to uninstall ClamXAV on Mac
Before we dive into the steps, let’s compare the three available methods.
| Method | Removes the main app | Removes service files | Easy to do | Allows reinstall/reset |
|---|---|---|---|---|
| Official uninstaller | ✅ | ❌ | ✅ | ❌ |
| Manual removal | ✅ | ✅ (if done carefully) | ❌ | ❌ |
| App Cleaner & Uninstaller | ✅ | ✅ | ✅ | ✅ |
Each option has its own strengths:
- Official uninstaller: The simplest method, as ClamXAV comes with its own removal tool. However, it leaves behind service files, so it is not a complete cleanup.
- Manual removal: This gives you full control and ensures no files are left, but it requires time and attention since you need to check several system folders.
- App Cleaner & Uninstaller: The quickest and most thorough way. It finds all files automatically and, if you plan to reinstall ClamXAV, it also lets you reset the app instead of fully removing it.
Once you decide which way works best for you, follow the step-by-step instructions in the next sections.
Do this one step before uninstallation
If you use a paid version of ClamXAV and do not plan to reinstall it on the same Mac, you should deactivate it before removing the app. This frees up your multilicense slot so you can use it again later on another device.
To deactivate ClamXAV:
- In ClamXAV, open the Help menu from the menu bar.
- Select Deactivate This Mac.
- Confirm your choice by clicking Deactivate in the alert window.
- Enter your Mac password when prompted.
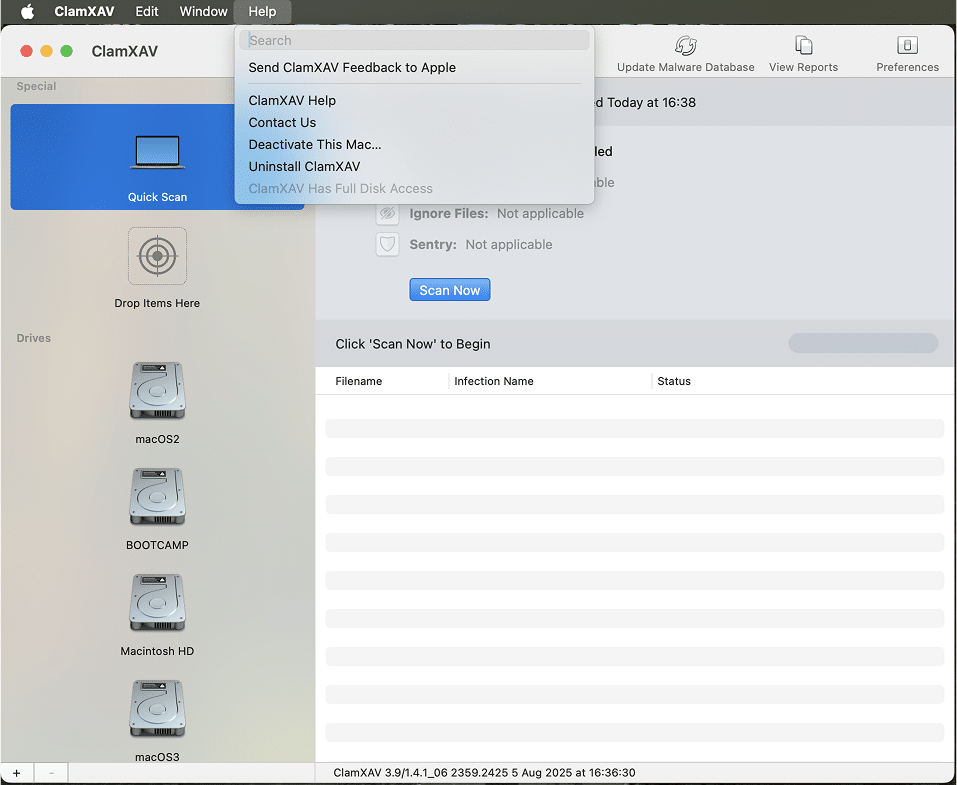
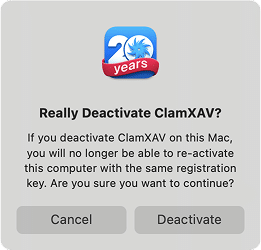
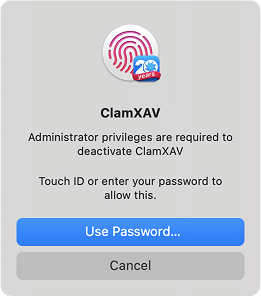
Once you complete this step, you can safely proceed to uninstall ClamXAV. If you skip it, your Mac will stay marked in ClamXAV’s system, which may cause problems if you try to activate a new license on another Mac in the future.
How to get rid of ClamXAV using its official uninstaller
Note:
This method does not remove ClamXAV’s service files. They are small in size, but if you want a completely clean removal, use the manual method or App Cleaner & Uninstaller instead.
To uninstall ClamXAV with its own tool:
- In ClamXAV, open the Help menu from the menu bar and select Uninstall ClamXAV.
- This will open a page on the ClamXAV website with instructions and a download link: ClamXAV Uninstaller.
- In ClamXAV, open the Help menu from the menu bar and select Uninstall ClamXAV.
- If you use the paid version, make sure you deactivate it first as described earlier.
- Download the StandaloneUninstaller.pkg file from the website.
- In Finder, go to your Downloads folder and double-click the file.
- Follow the on-screen steps in the ClamXAV uninstaller.
- Click Continue when prompted, and allow any permissions requested.
- When the removal is complete, click Close. You can also Trash the uninstaller file since you no longer need it.
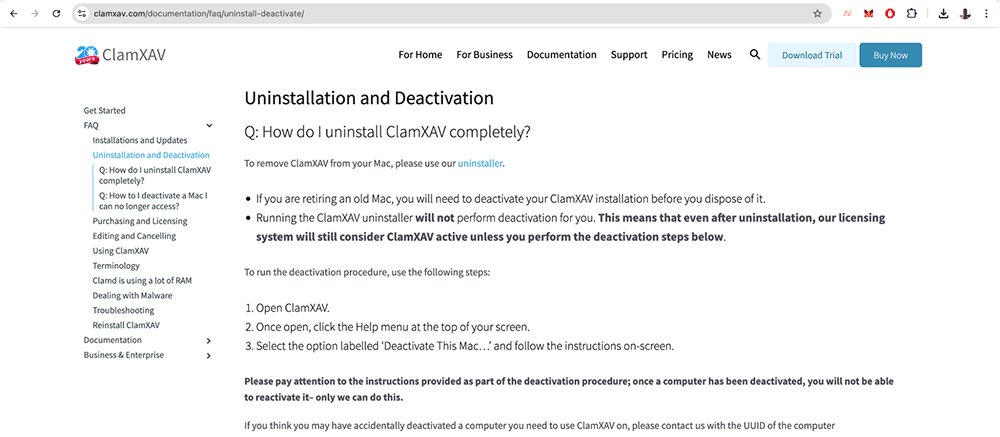
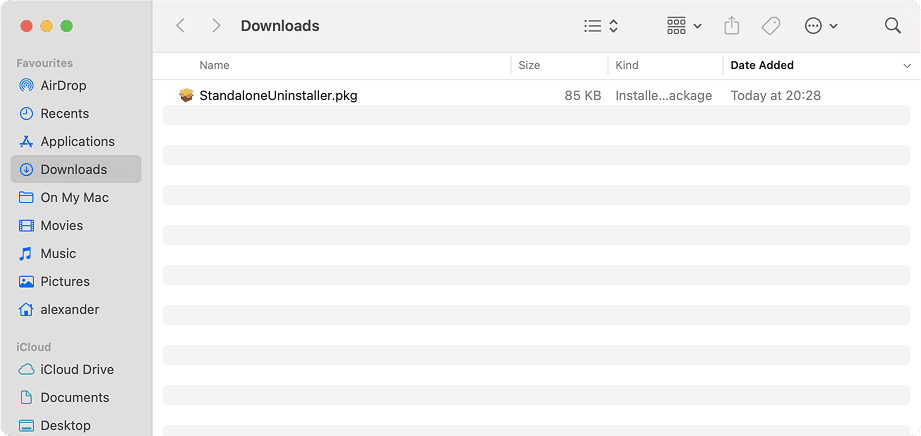
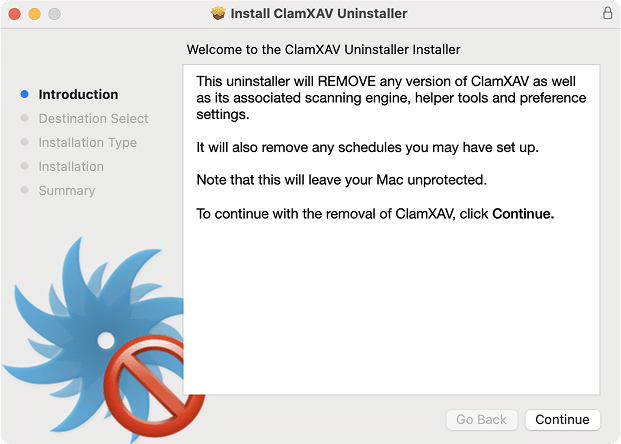
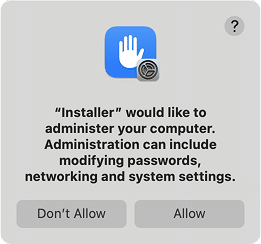
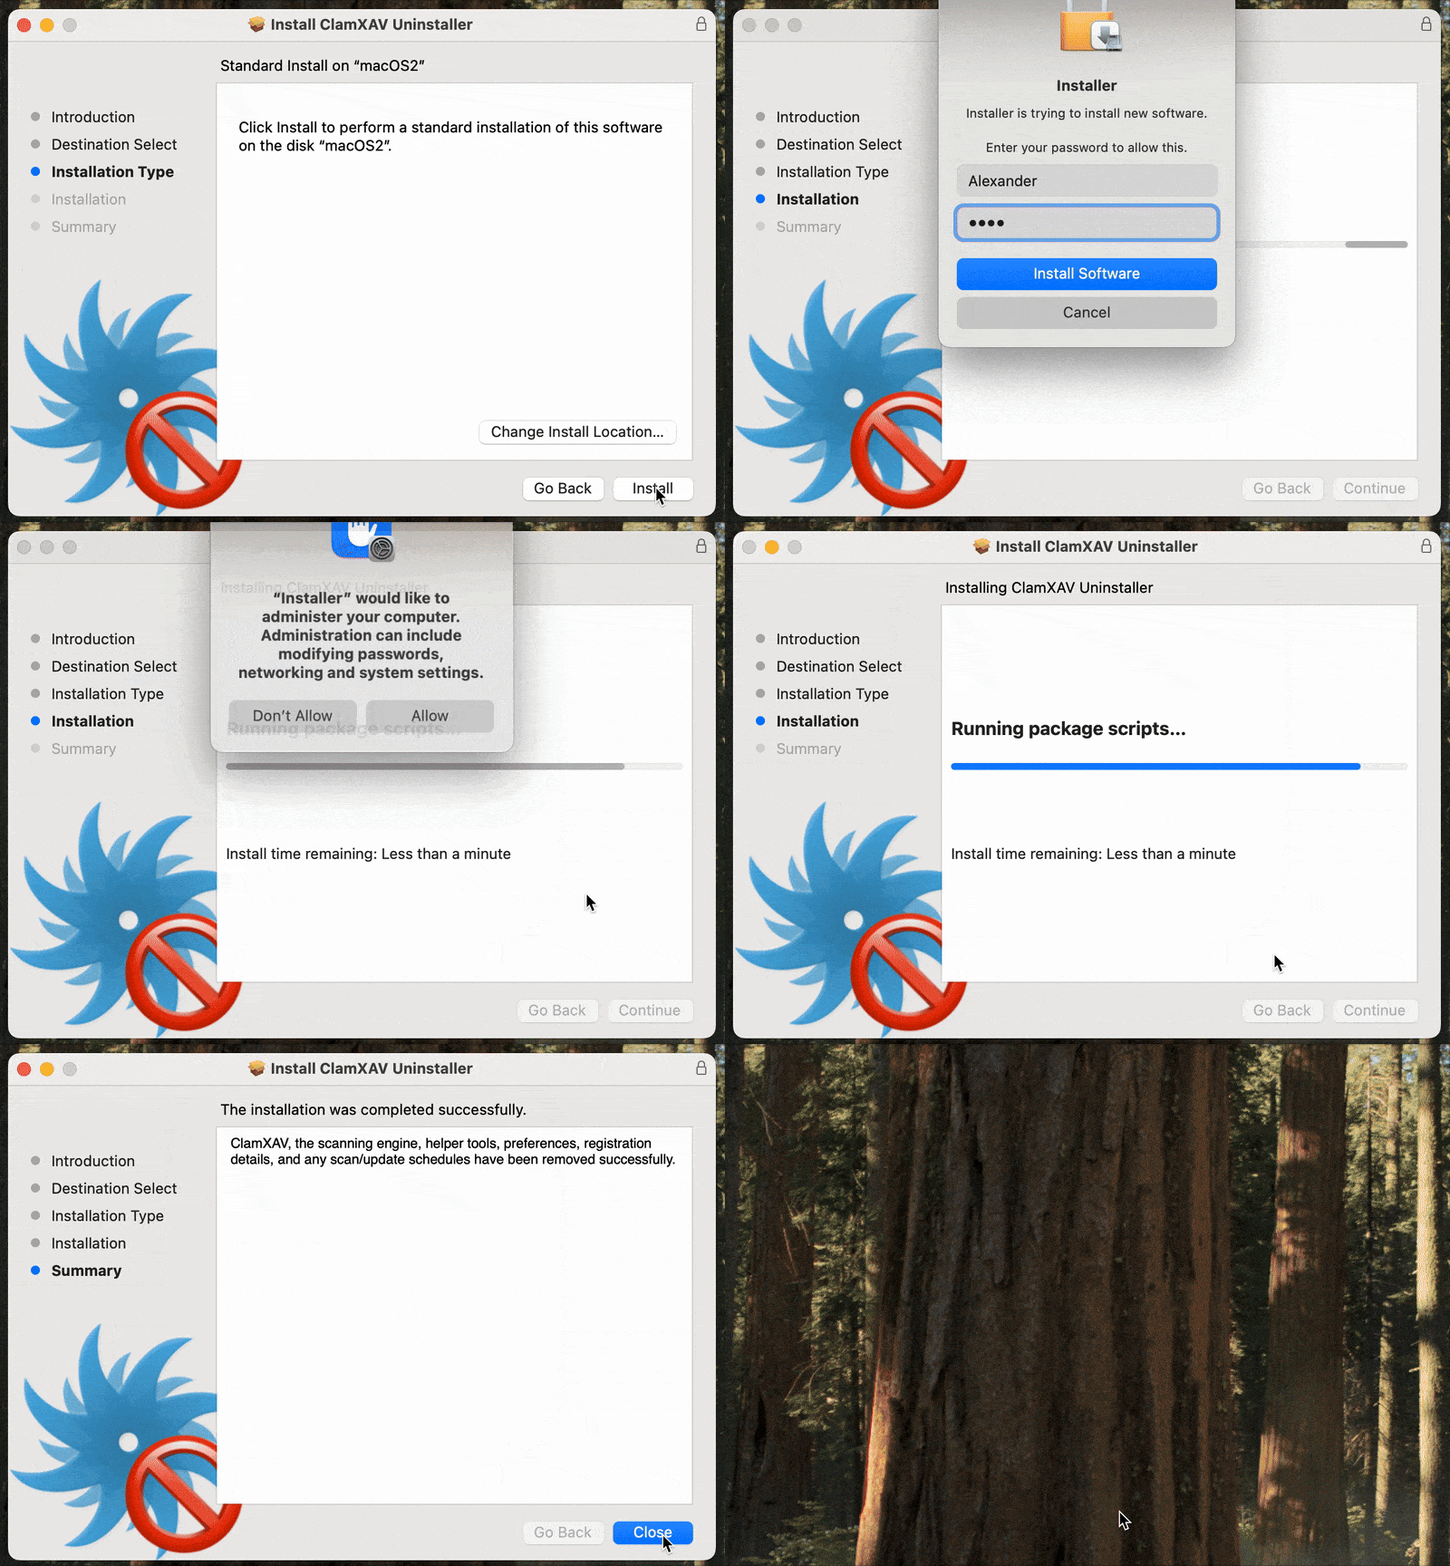
That’s it – ClamXAV will be removed from your Mac. Some traces will remain, but if your goal is simply to stop using the app or prepare for a reinstall, this method is the fastest way to do it.
How to delete ClamXAV manually
The manual method takes more time, but it ensures that you remove ClamXAV completely with all its service files. Also, the instruction below was tested with ClamXAV 3.9 on macOS 15.6, but should work with other versions of the app and macOS as well, including the future ClamXAV 4 and macOS 26.
Note:
If you have a paid version, make sure to deactivate your license first, as shown earlier.
Follow these steps:
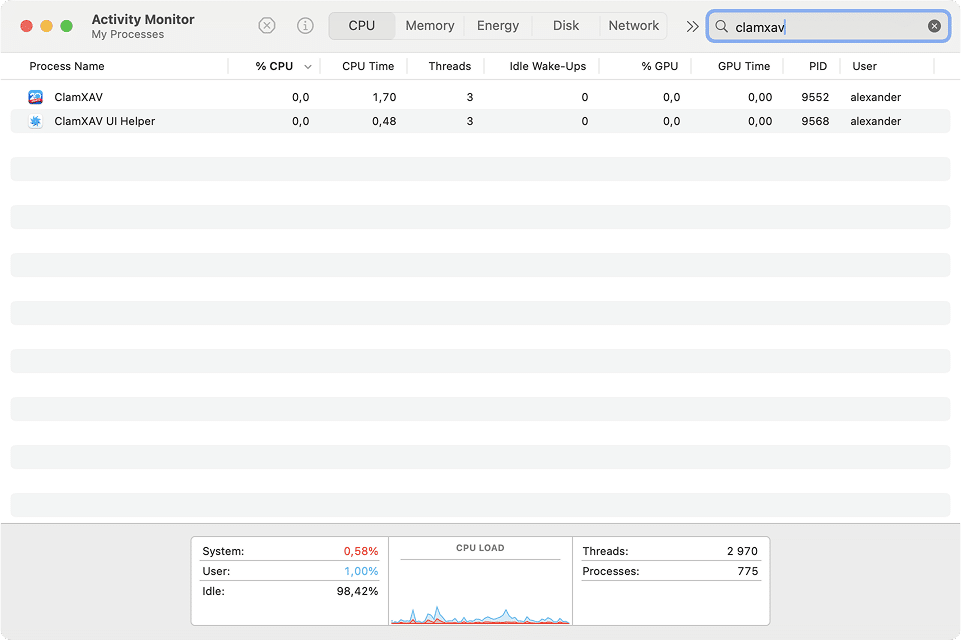
- Quit ClamXAV and stop its processes
- Open Activity Monitor from Applications → Utilities.
- Type in the search field.
ClamXAVCopy
- Select all related processes and click the Stop button (× icon in the top bar).
- Remove the main application
- Open Finder and go to the Applications folder.
- Drag ClamXAV.app to the Trash.
- Search for service files
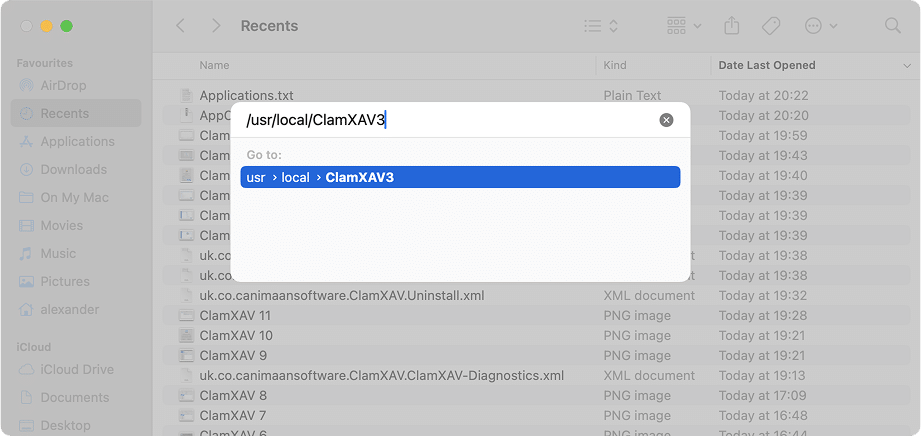
ClamXAV leaves behind support files in different system folders. To find and remove them:- In Finder, press Command+Shift+G.
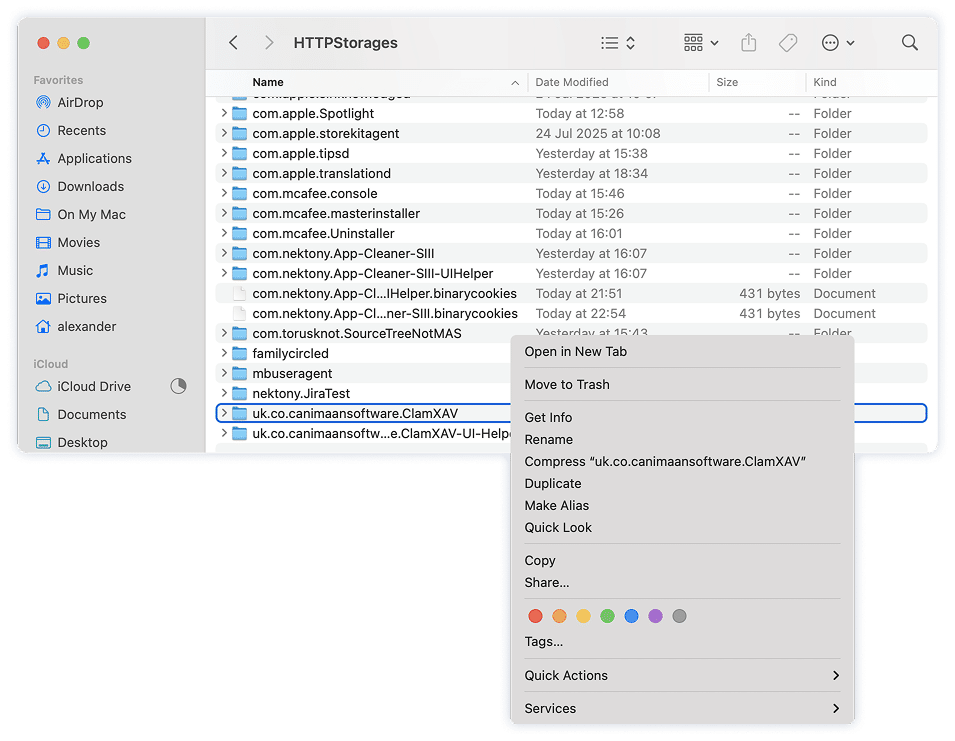
- One by one, open these folders and search for “clamxav”:
~/Library/Copy
/Library/Copy
/usr/local/Copy
/private/var/folders/Copy
/private/var/db/receipts/Copy
- Delete any files or folders found with “clamxav” in their name.
Note:
Make sure you’re performing the search within the current folder and not “On this Mac”.
- Remove one extra file
- In Finder, use Command+Shift+G to go to .
/private/tmp/Copy
- Locate and delete the file called .
clamd3.socketCopy
- In Finder, use Command+Shift+G to go to
- Empty the Trash
Once you’ve removed all files, empty the Trash to complete the deletion. - Restart your Mac
A restart ensures that all related processes are cleared from memory.
That’s it! You have manually removed ClamXAV and its leftover files. This method is slower than the other options, but it leaves your system completely clean.
Remove ClamXAV with App Cleaner & Uninstaller
The easiest way to remove ClamXAV completely is with App Cleaner & Uninstaller by Nektony. The app finds not only the main program but also all its service files, and lets you manage removal in different scenarios.
Important:
If you use the paid version, deactivate your license first as described earlier.
How to uninstall ClamXAV
- Start with closing ClamXAV and all its processes. For that, open Activity Monitor (either via Spotlight or Applications → Utilities) and search for processes. Stop every single one you can find (× icon in the top bar).
ClamXAVCopy
- Download and launch App Cleaner & Uninstaller and wait for the scan to finish.
- Type ClamXAV in the search field.
- Select ClamXAV from the list.
- Click Uninstall (or Remove if you have enabled the Expert Mode in the app).
- In the Review and confirm removal window, click Remove.
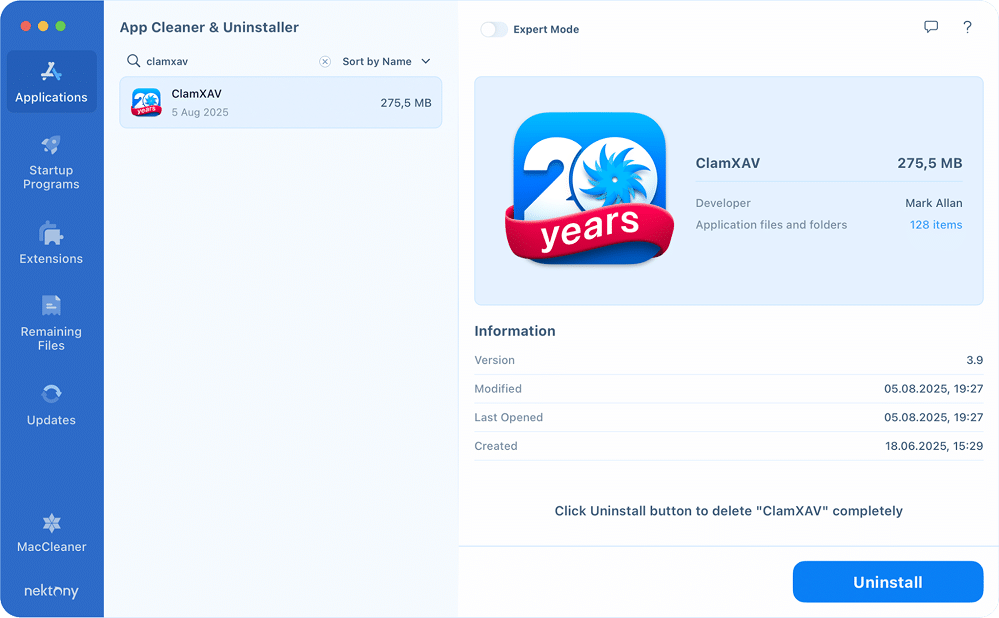
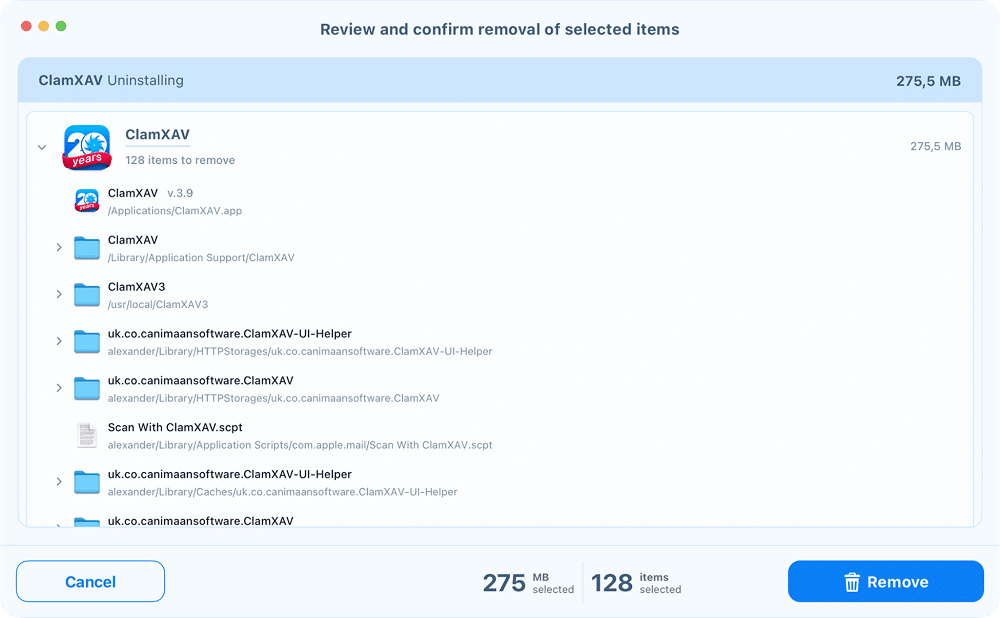
After that, ClamXAV will be uninstalled completely and thoroughly from your Mac.
How to remove leftovers after manual ClamXAV deletion
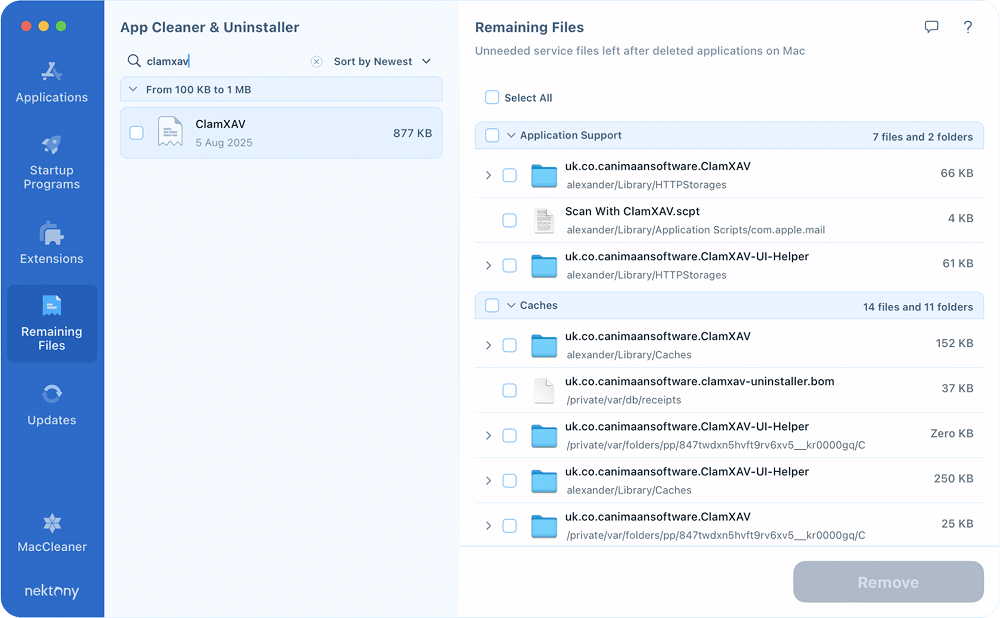
If you already dragged the ClamXAV app to the Trash but want to clear out its leftovers:
- Open App Cleaner & Uninstaller.
- Switch to the Remaining Files tab.
- Type ClamXAV in the search bar.
- Select all found items and click Remove.
How to reset ClamXAV to fix it
If your ClamXAV doesn’t work for some reason and you just want to fix it, resetting it to a clean state might help you out. Resetting removes all settings and service files but keeps the app itself installed. It’s the same as uninstalling and reinstalling the app, but faster.
- Launch App Cleaner & Uninstaller.
- Type ClamXAV in the search field.
- Right-click the app in the list and choose Reset Application.
- Confirm the action and let the tool finish.
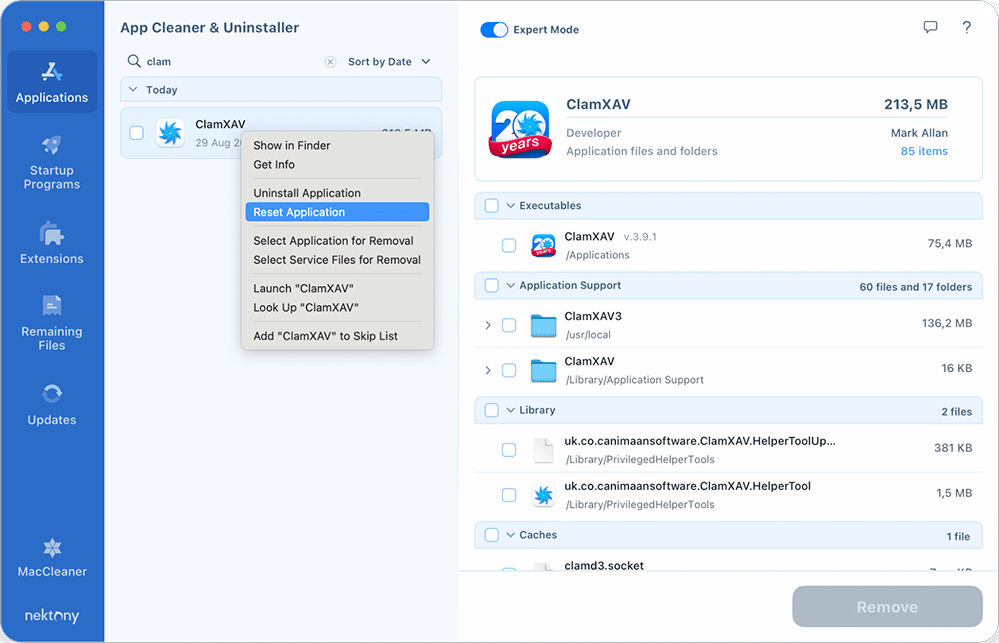
As you see, using App Cleaner & Uninstaller is the fastest and safest option. It requires just a few clicks, removes every trace of the app, and even gives you the option to reset ClamXAV without uninstalling it completely.
Final Note
It’s hard to believe that just this May 2025, ClamXAV marked 20 years of “Mac Antivirus Software Excellence.” For me, it feels like this app has been part of the Mac world forever. Still, everything has its end, and the life of your ClamXAV copy on your Mac is no exception.
The good news is that removing it is just as straightforward as using it. Whether you choose the official uninstaller, go the manual route, or rely on App Cleaner & Uninstaller, you’ll get the job done without much trouble. And speaking from personal experience, if you want the process to feel effortless, App Cleaner & Uninstaller is the option that makes it a true breeze.
