Despite the fact that Github is used mostly by computer geeks, we get many questions about how to completely remove the software. So today, we are going to share a full removal guide and explain how to uninstall GitHub for Mac.

Contents:
Uninstall GitHub manually
The manual method of app removal consists of two parts. First, you need to delete the app’s executable file. Then you have to find and remove its remains. Remains are service files of deleted apps that you do not need anymore. In short, remains are leftovers of apps that just take up useless space on your disk and can be safely removed. We’ll explain below how to delete them. Now, let’s start with the first step of manual GitHub uninstallation.
- Quit GitHub.
- Go to the Applications folder, then find and remove GitHub to Trash.
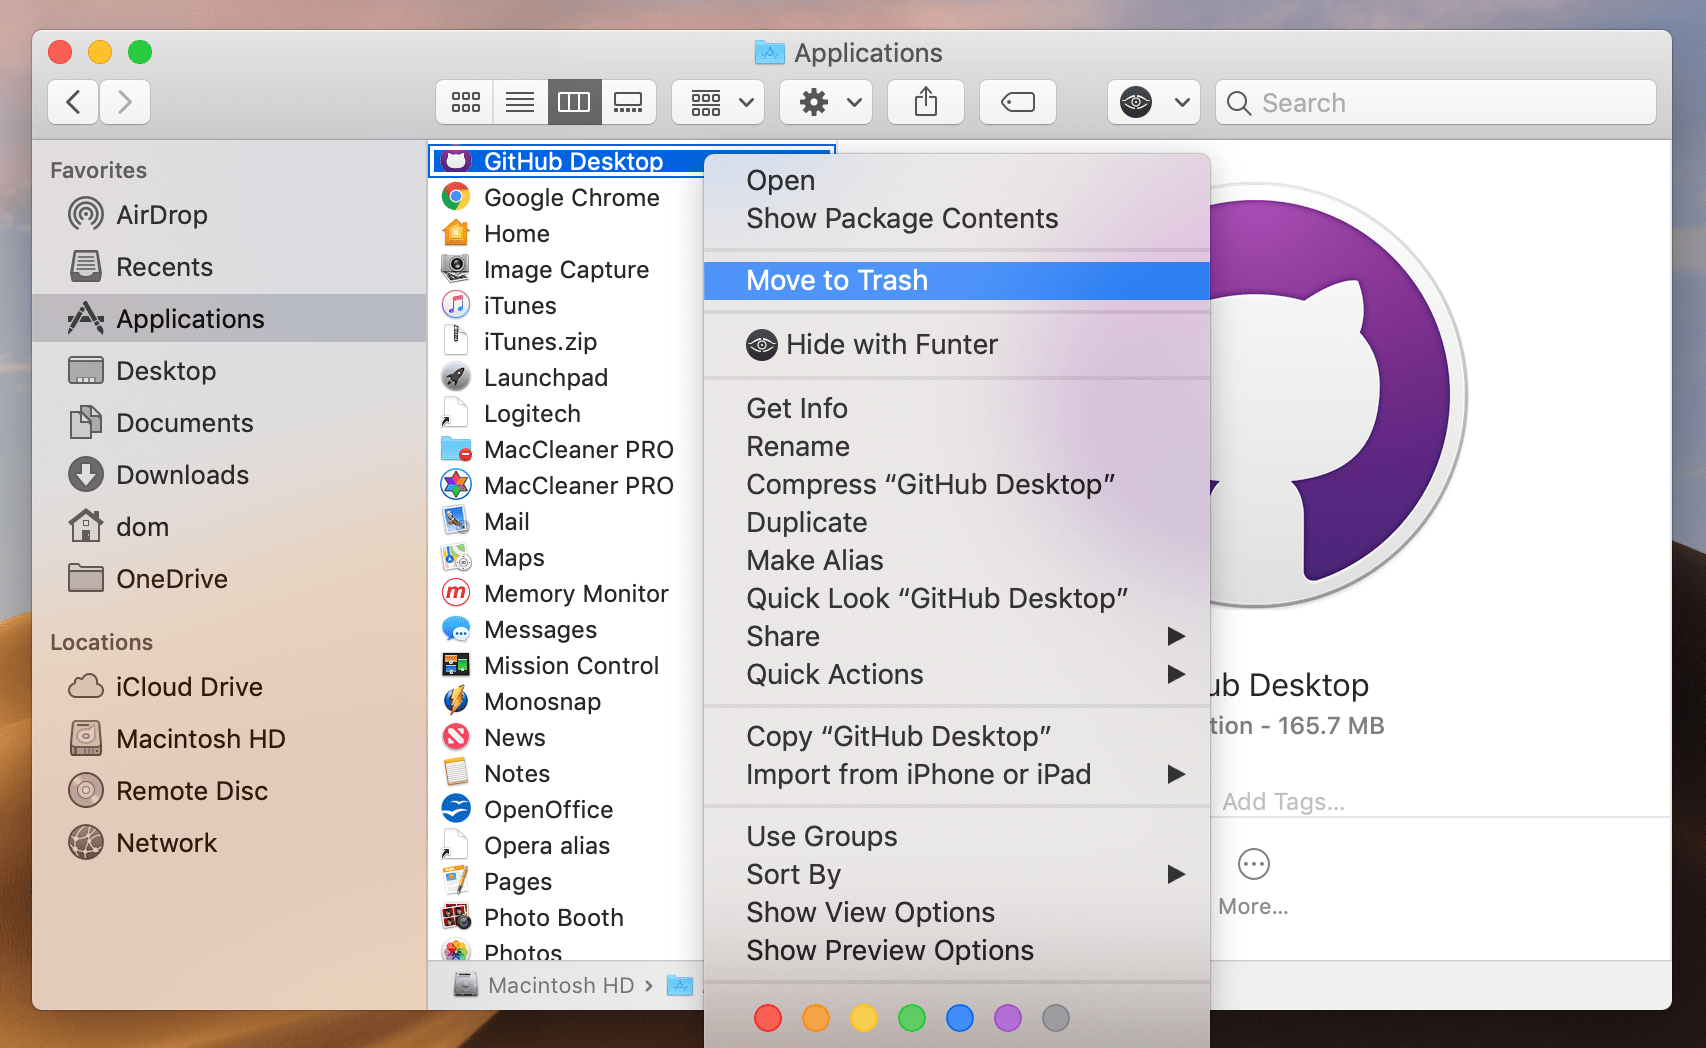
- Then go to the system Library folder, where all service files are usually stored. You can learn three ways to get to the Library or follow these steps: in the menu bar, click Go → Go to Folder… → type ~/Library in the search field → press Enter.
-
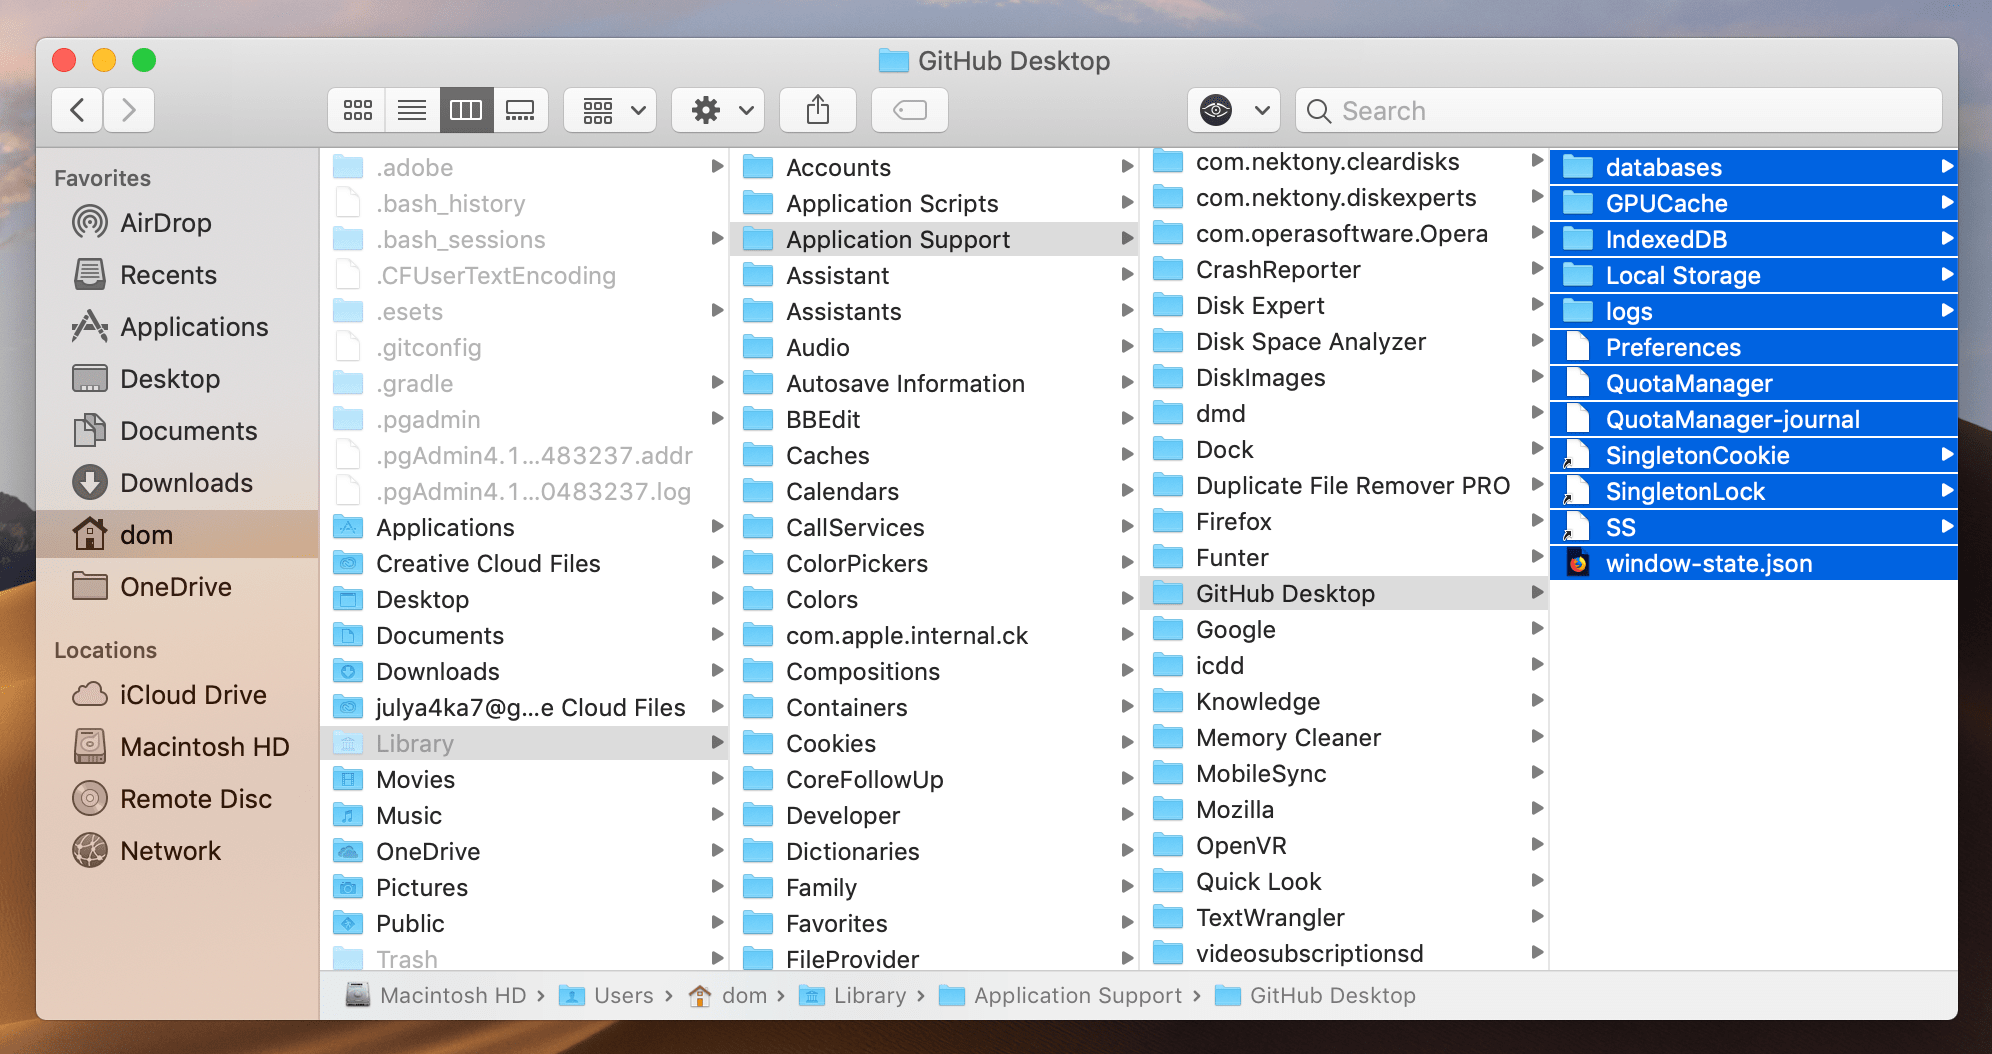
Then you will see the Library folder. Here you need to find and remove all files and folders associated with GitHub. We usually recommend checking the following directories:
- ~/Library/Application Support
- ~/Library/Containers
- ~/Library/Cache
- ~/Library/Logs
- ~/Library/Cookies
- ~/Library/Preferences
- ~/Library/Application Scripts
Here are some examples:
As you can see, it’s important to check each folder in the Library to find GitHub’s service files. Alternately, you have another option to automatically find and remove these files. Just use the app removal tool, App Cleaner & Uninstaller. Read on to learn more about it.
Remove GitHub using App Cleaner & Uninstaller
While with the manual method of app removal you need to search for support files by yourself, the application uninstaller can do it automatically and display the results in less than a minute. App Cleaner & Uninstaller is a special tool used to completely delete programs on a Mac in just a few clicks.
- Download and launch App Cleaner & Uninstaller.
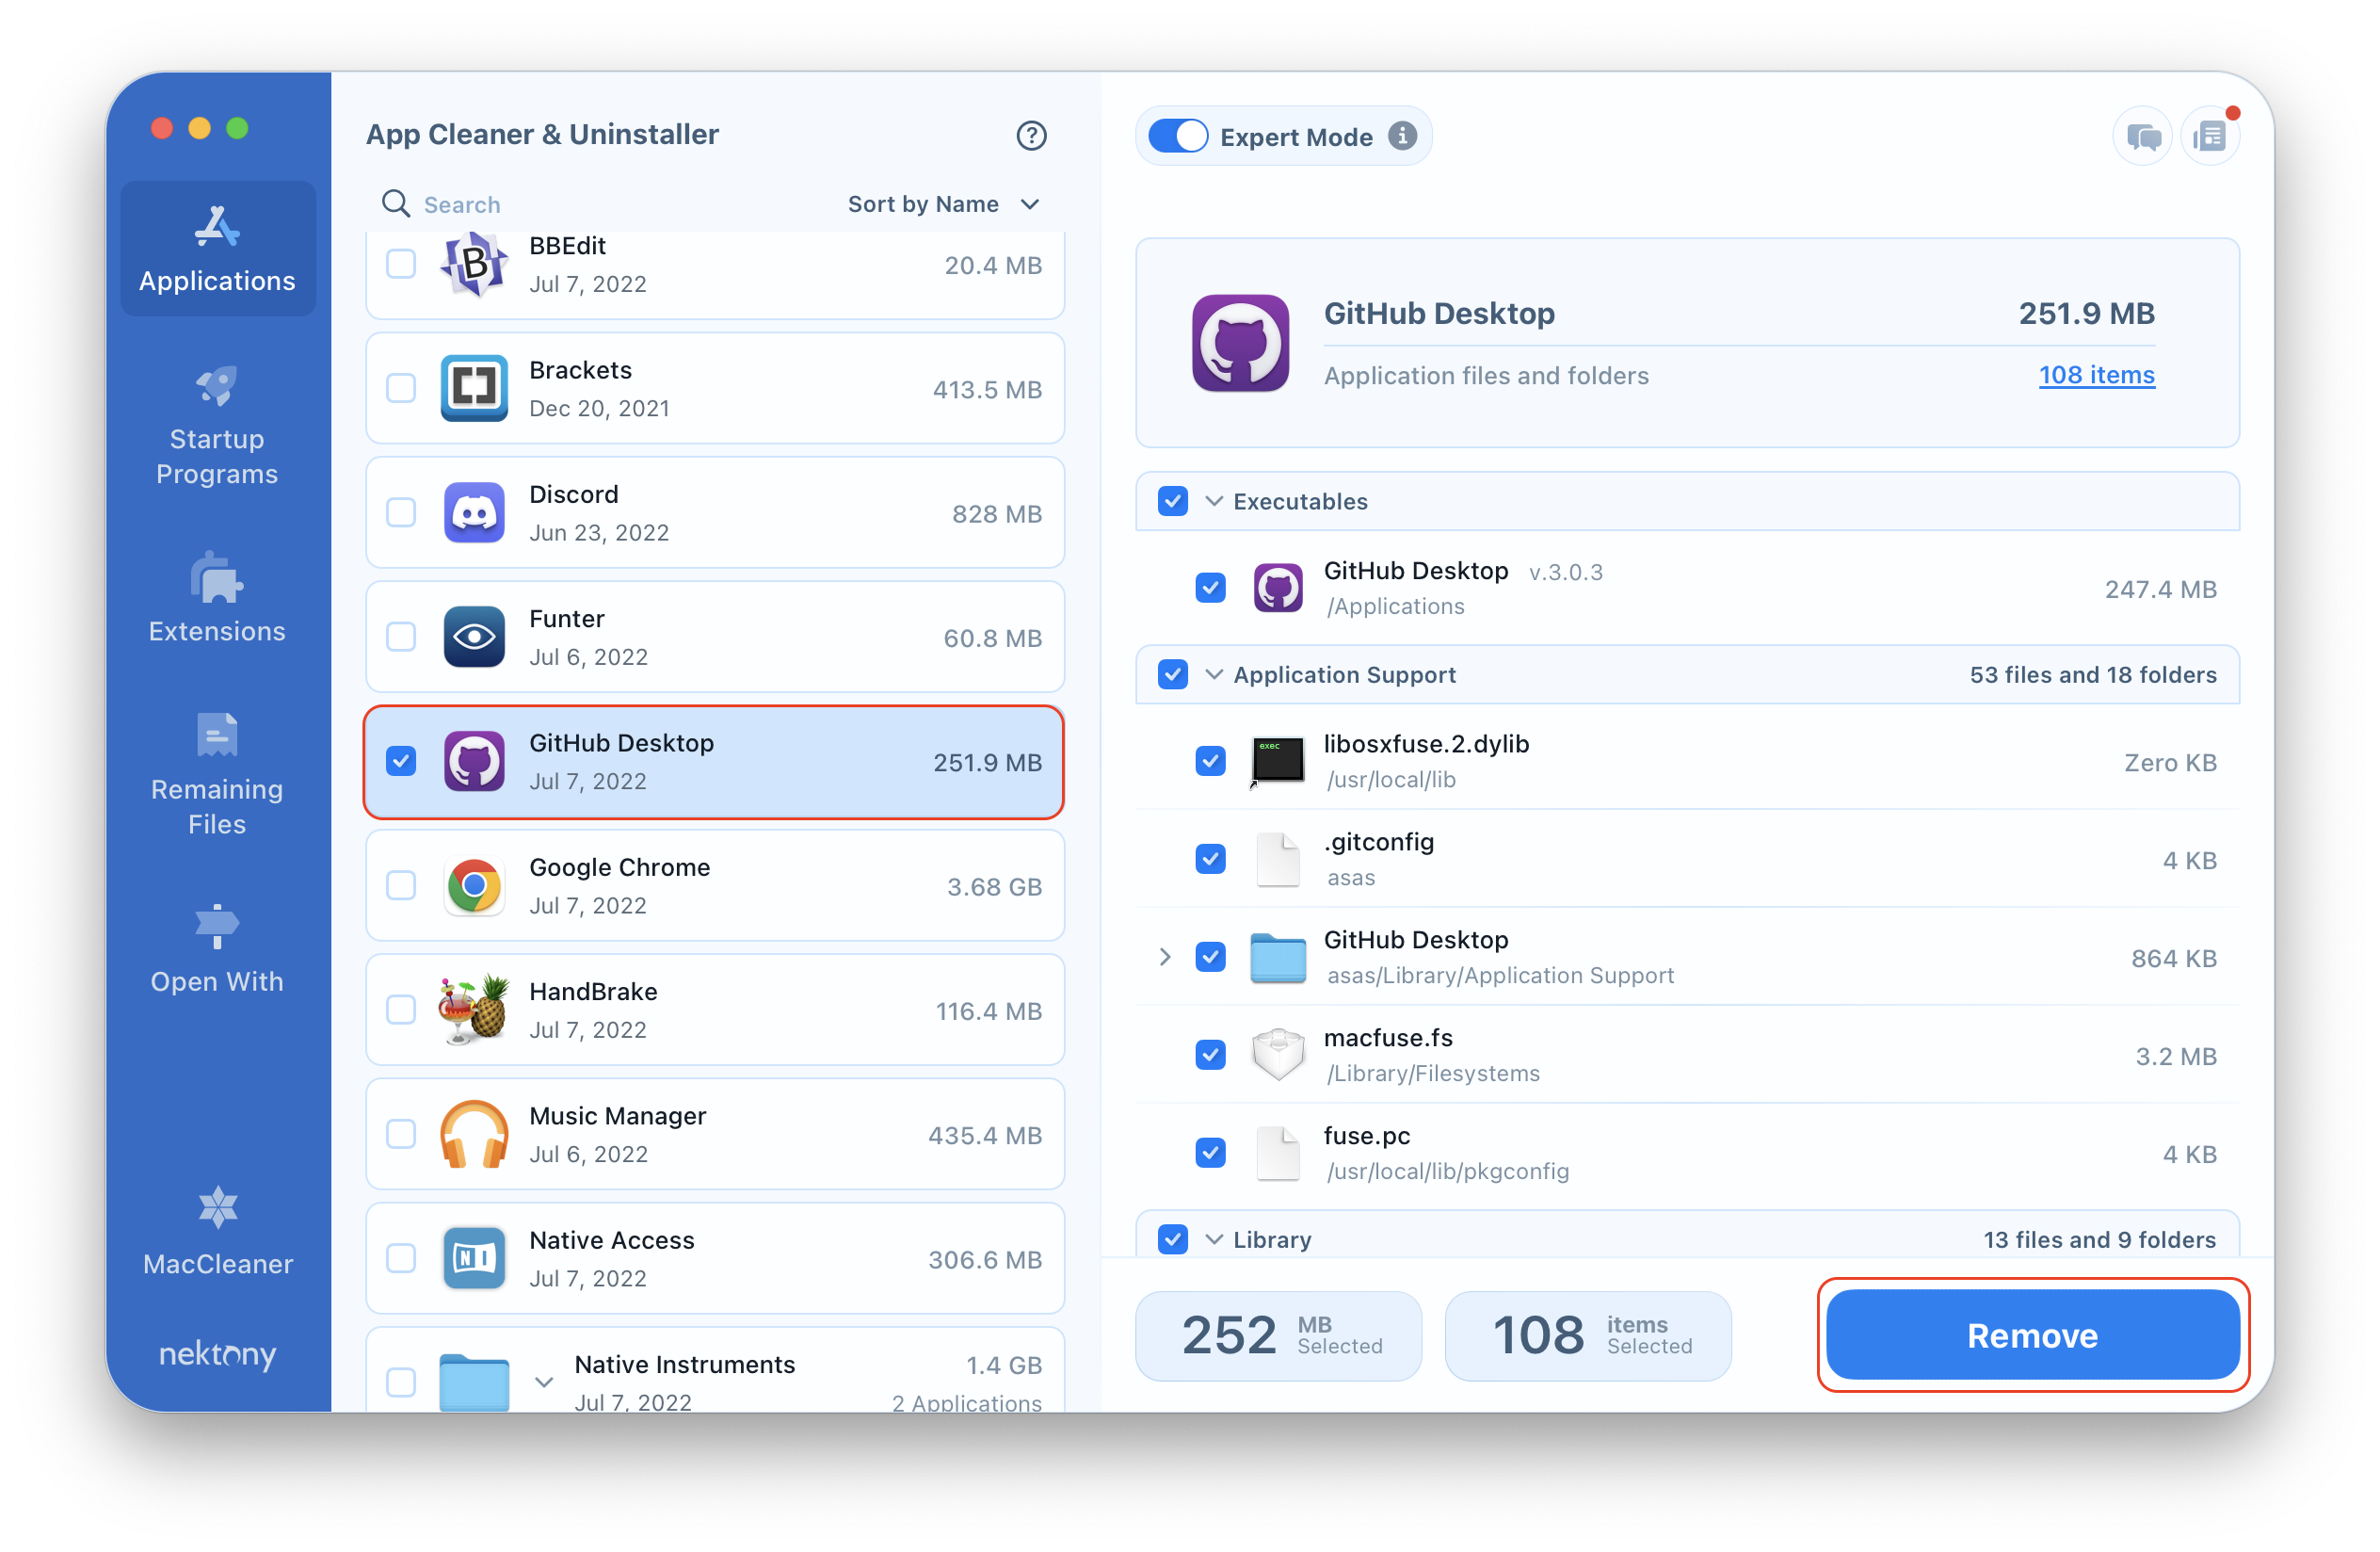
- From the list of apps, select GitHub. If you switch on the Expert mode, you can see its support files in the right panel.
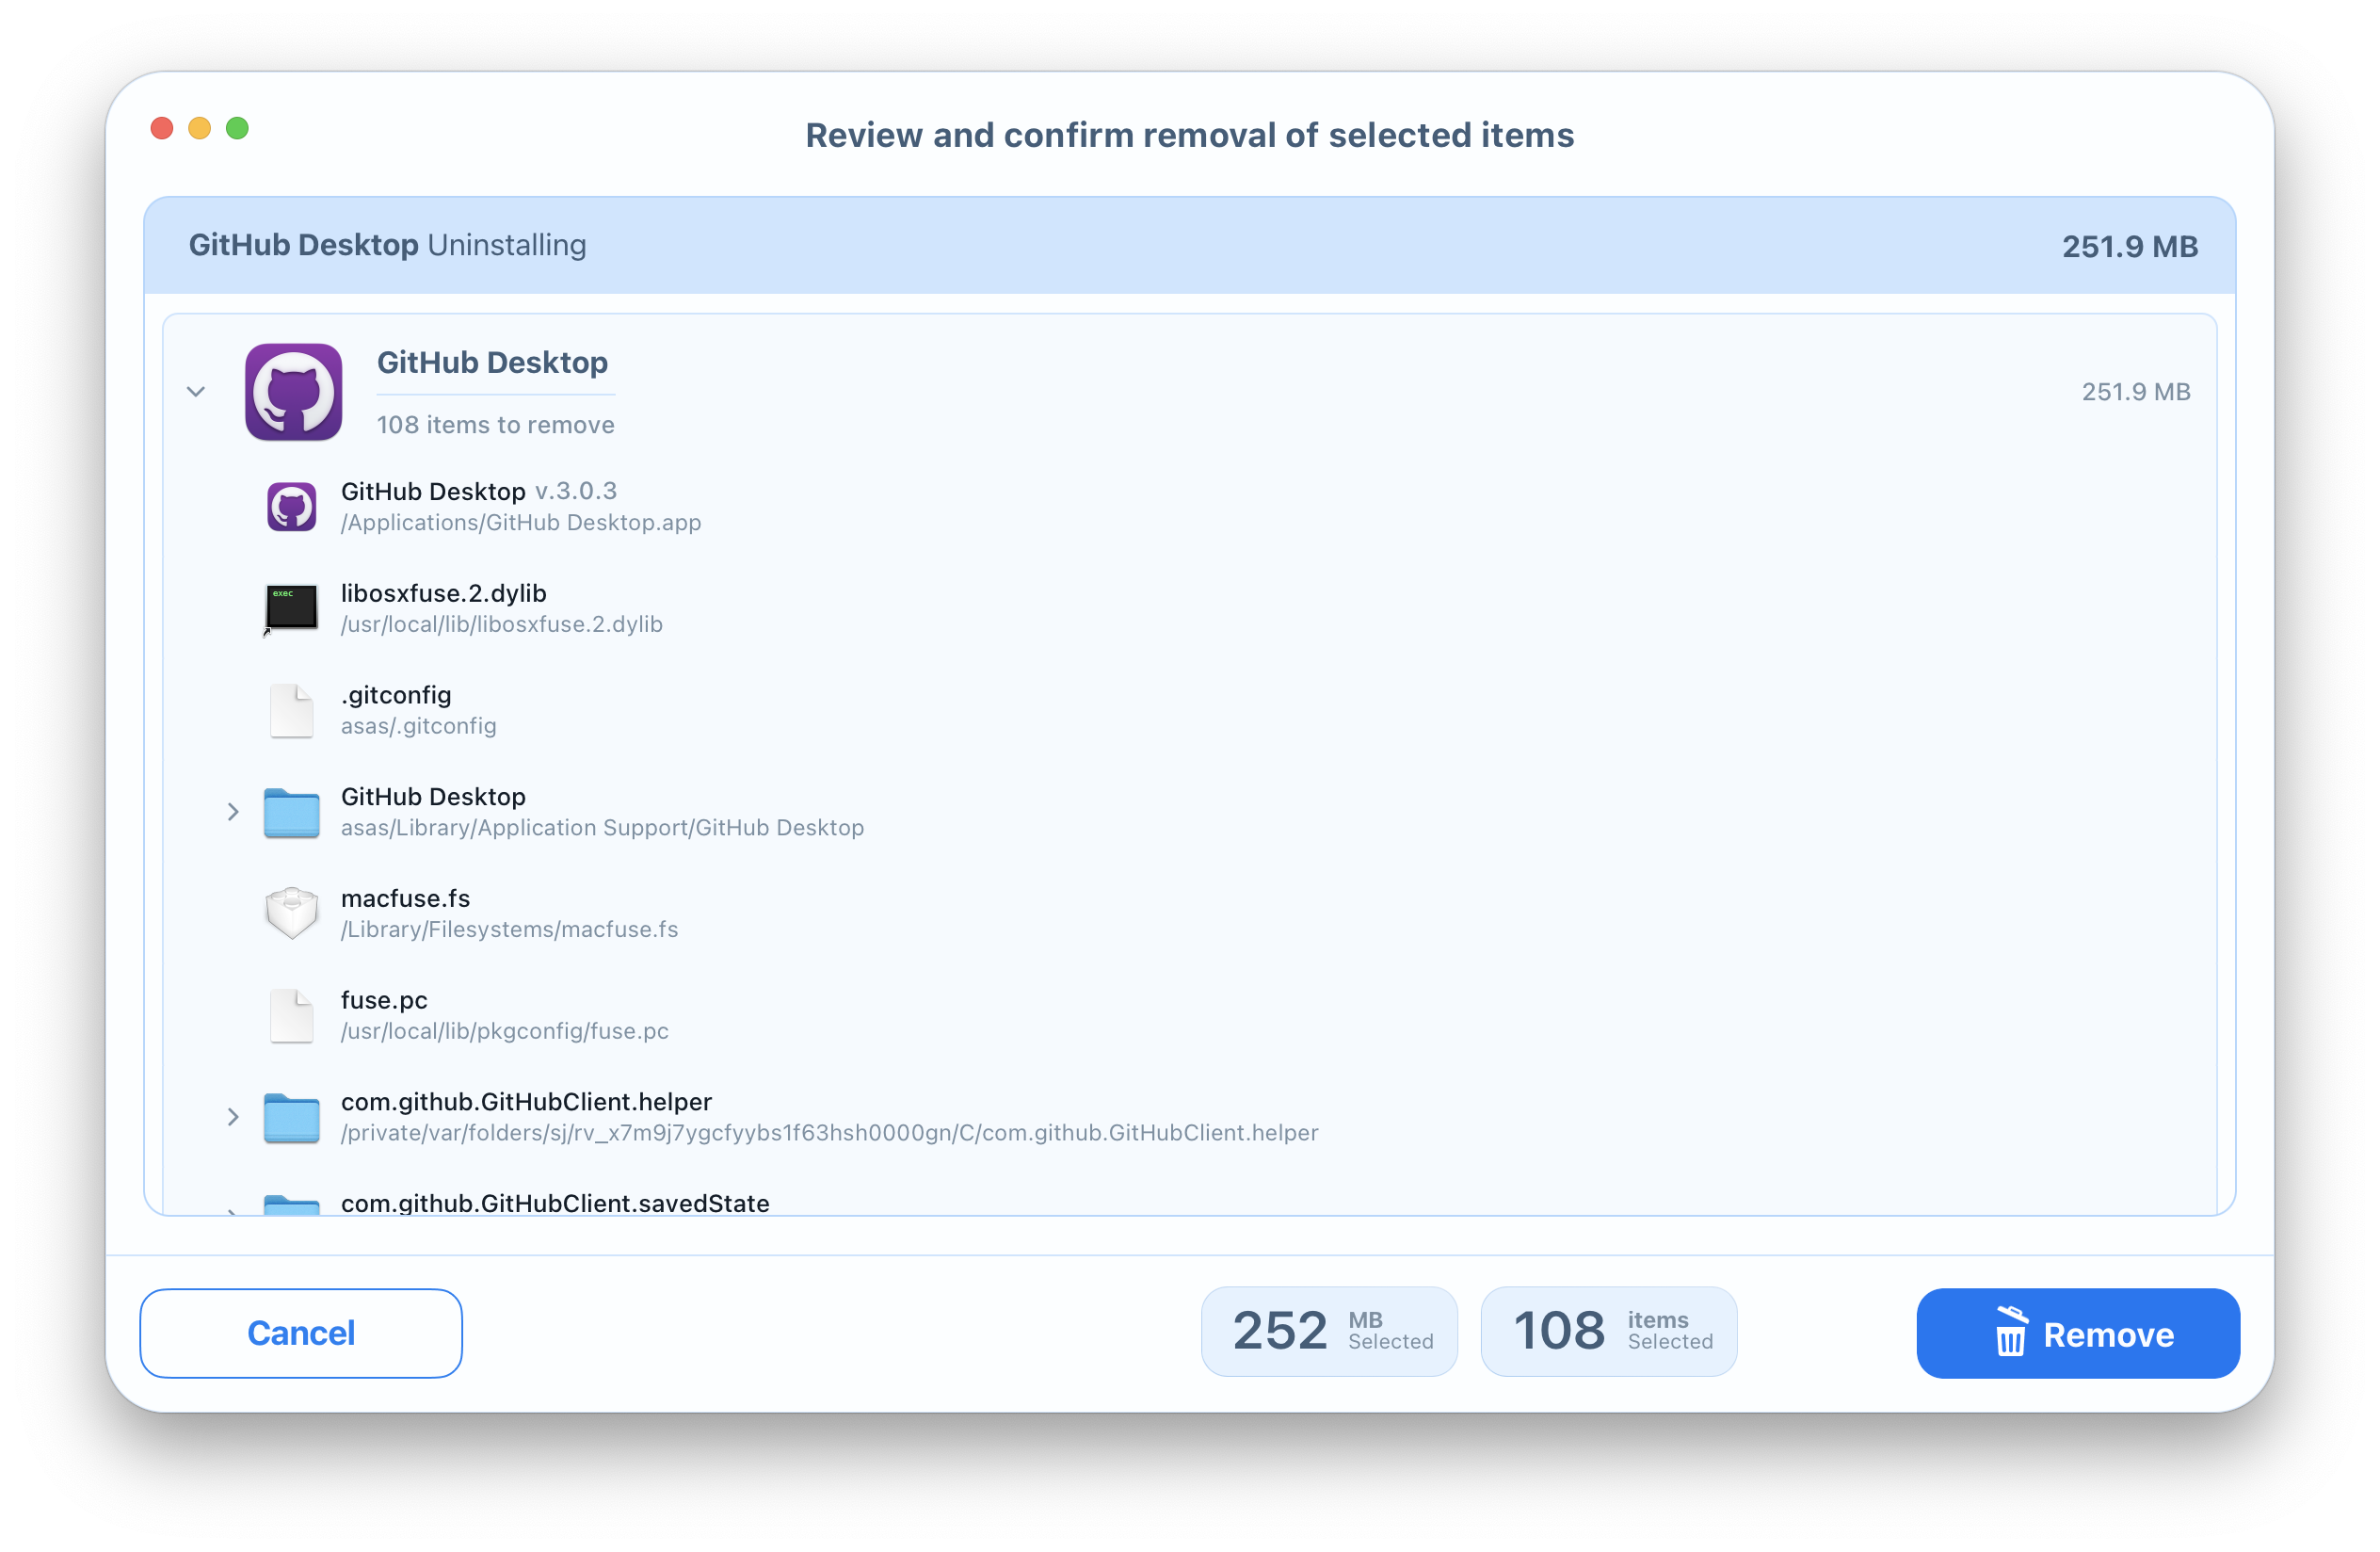
- Click the Remove button.
- Once again, take a look at the list of selected files. If everything is ok, confirm the removal.
Video Guide: How to use App Cleaner & Uninstaller
Conclusion
No matter which method you used to uninstall the app, the manual way or using a fast uninstaller, there are important steps to keep in mind before you finish. After uninstalling, one thing we always recommend is to empty Trash and reboot your Mac. This helps to prevent apps from creating kernel extensions and to keep from causing system errors in the future.


