Most Mac users have problems when trying to uninstall Avast Antivirus, Sophos Antivirus, MacKeeper or others. Often, even after uninstalling the antivirus software, its files still remain on Mac. In this article, we’ll tell you how to properly remove an antivirus software, what problems can be encountered and how to solve them.

The first and most important thing you should remember is never to remove antivirus software just from the Application folder in the Finder window. It may cause another set of problems:
- When you try to move the program to Trash, it may cause an error due to the fact that its files may be in use by another application or, most likely, the antivirus system services are still running. It is important to first quit the program and close all running processes.
- Further removal of the antivirus software can be difficult for the reason that in the first stage some necessary files have been deleted. Most Mac antivirus come with their uninstaller files (except for various apps that do not require installation). So it is impossible to remove the antivirus in this way.
Here are some quite frequently asked questions from users:
- I want to install a new antivirus software but cannot remove the old one.
- I have deleted the old antivirus software but I get the message that it is not deleted.
- I have removed the antivirus software but I can’t remove its kernel extension.
The reason for this issue is that almost any antivirus software penetrates the operating system very deeply during installation, and it is not always easy to find its service files even if you remove Application support files from the Library. It is very important to remove all leftovers of removed Antivirus for Mac that were used before.
Remove Antivirus Software Using its Uninstaller
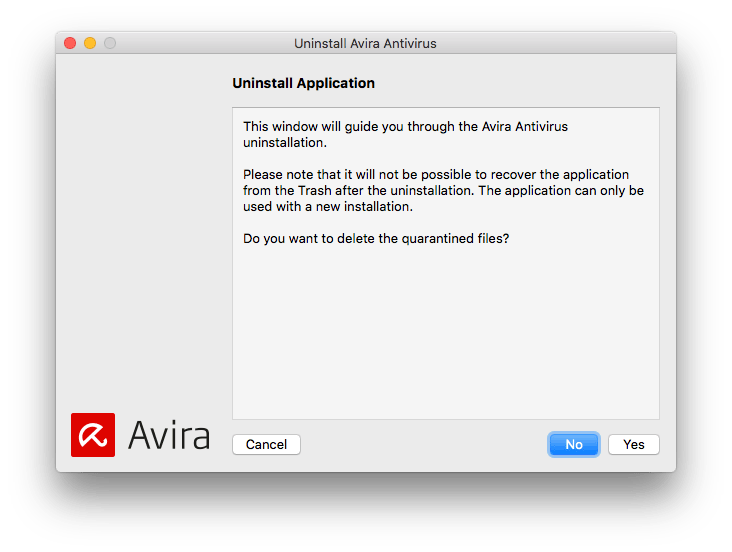
The most reliable way to remove the antivirus software from your Mac is to first visit the official support page of your antivirus developer and there check how to uninstall it correctly. Usually, the developers provide uninstaller for their programs.
But please note, some antivirus software tools create a kernel file and hide them in Extensions folder is deep subfolders. Also, they protect kernel files from being deleted. If you try to remove such a file to Trash, you will face a situation when Finder ignores the removal command. If you face such an issue, please learn how to remove a kernel extension on a Mac.
Remove Antivirus Software using App Cleaner & Uninstaller
Another way to uninstall antivirus software is to use third-party removal tools, for example, App Cleaner & Uninstaller by Nektony.
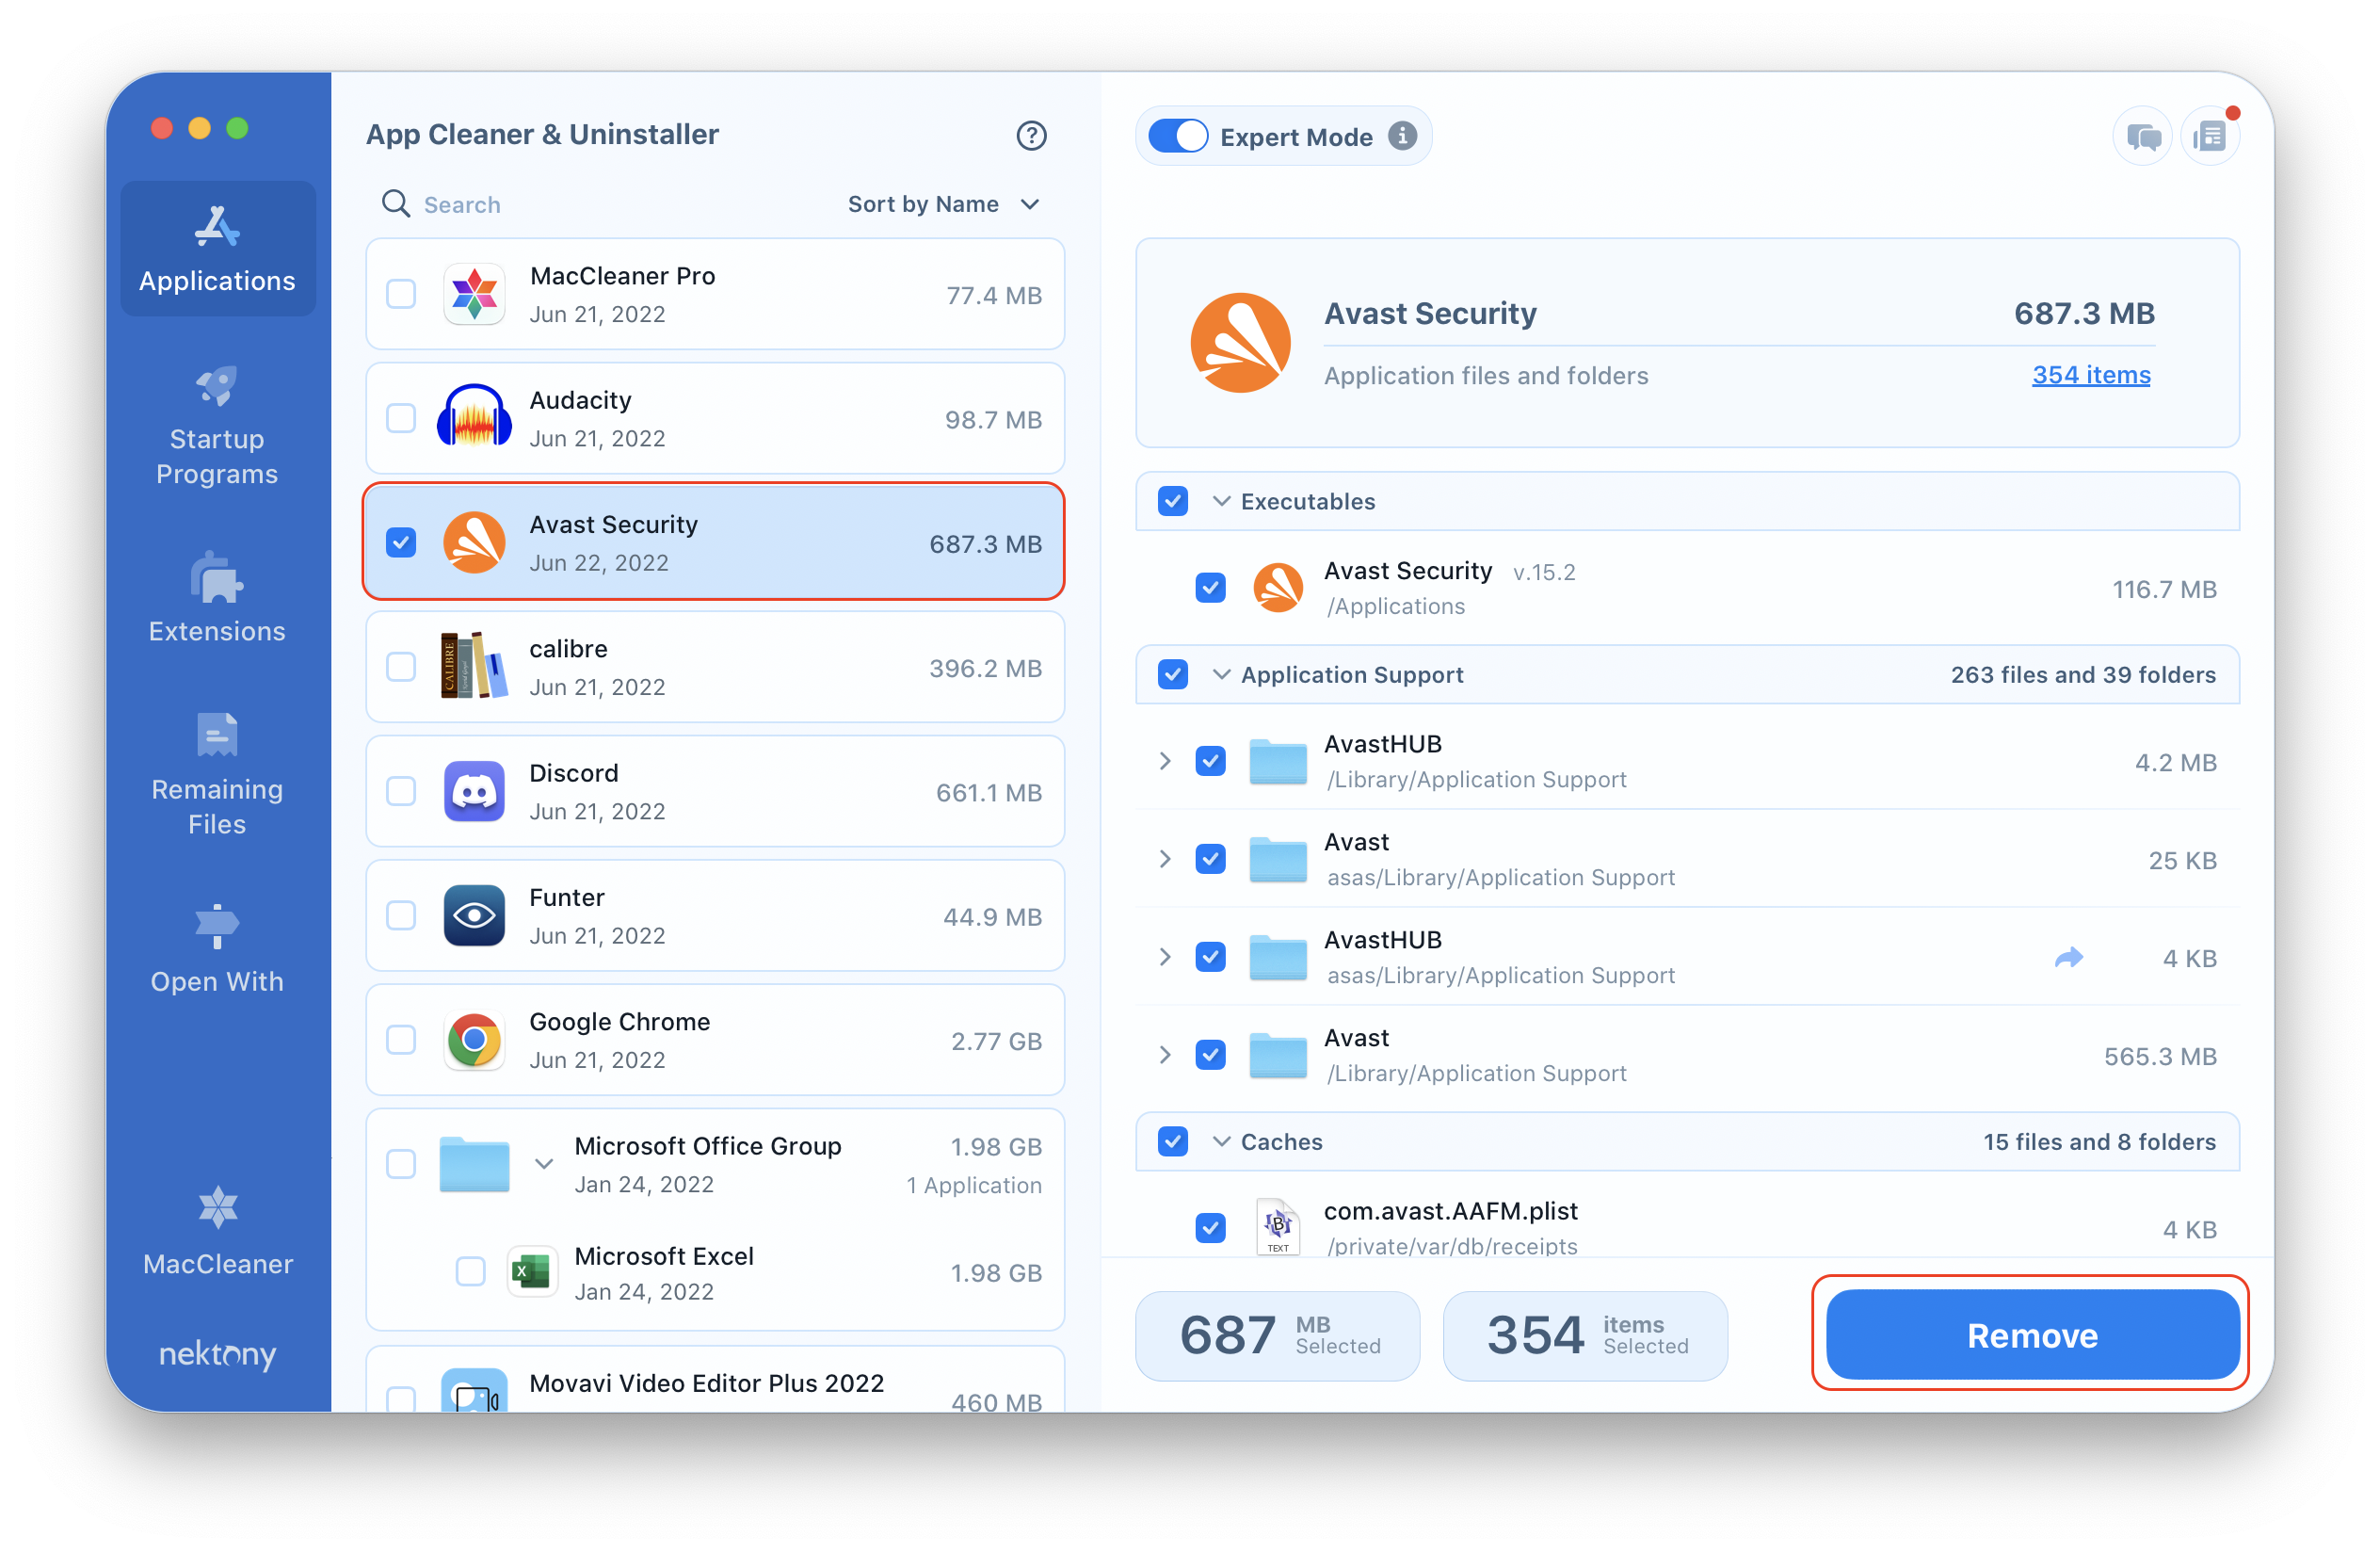
There are 3 easy steps to uninstall malware protection programs with App Cleaner & Uninstaller. But before you do so, it is important to quit the antivirus. Otherwise, the running processes in the background can create new files. You can also check for background processes with the help of Activity Monitor and close all related running processes. And only after this, uninstall the program.
- Launch the uninstaller.
- Find your antivirus app in the list of scanned apps.
- Select all files connected to the antivirus app and click Remove.
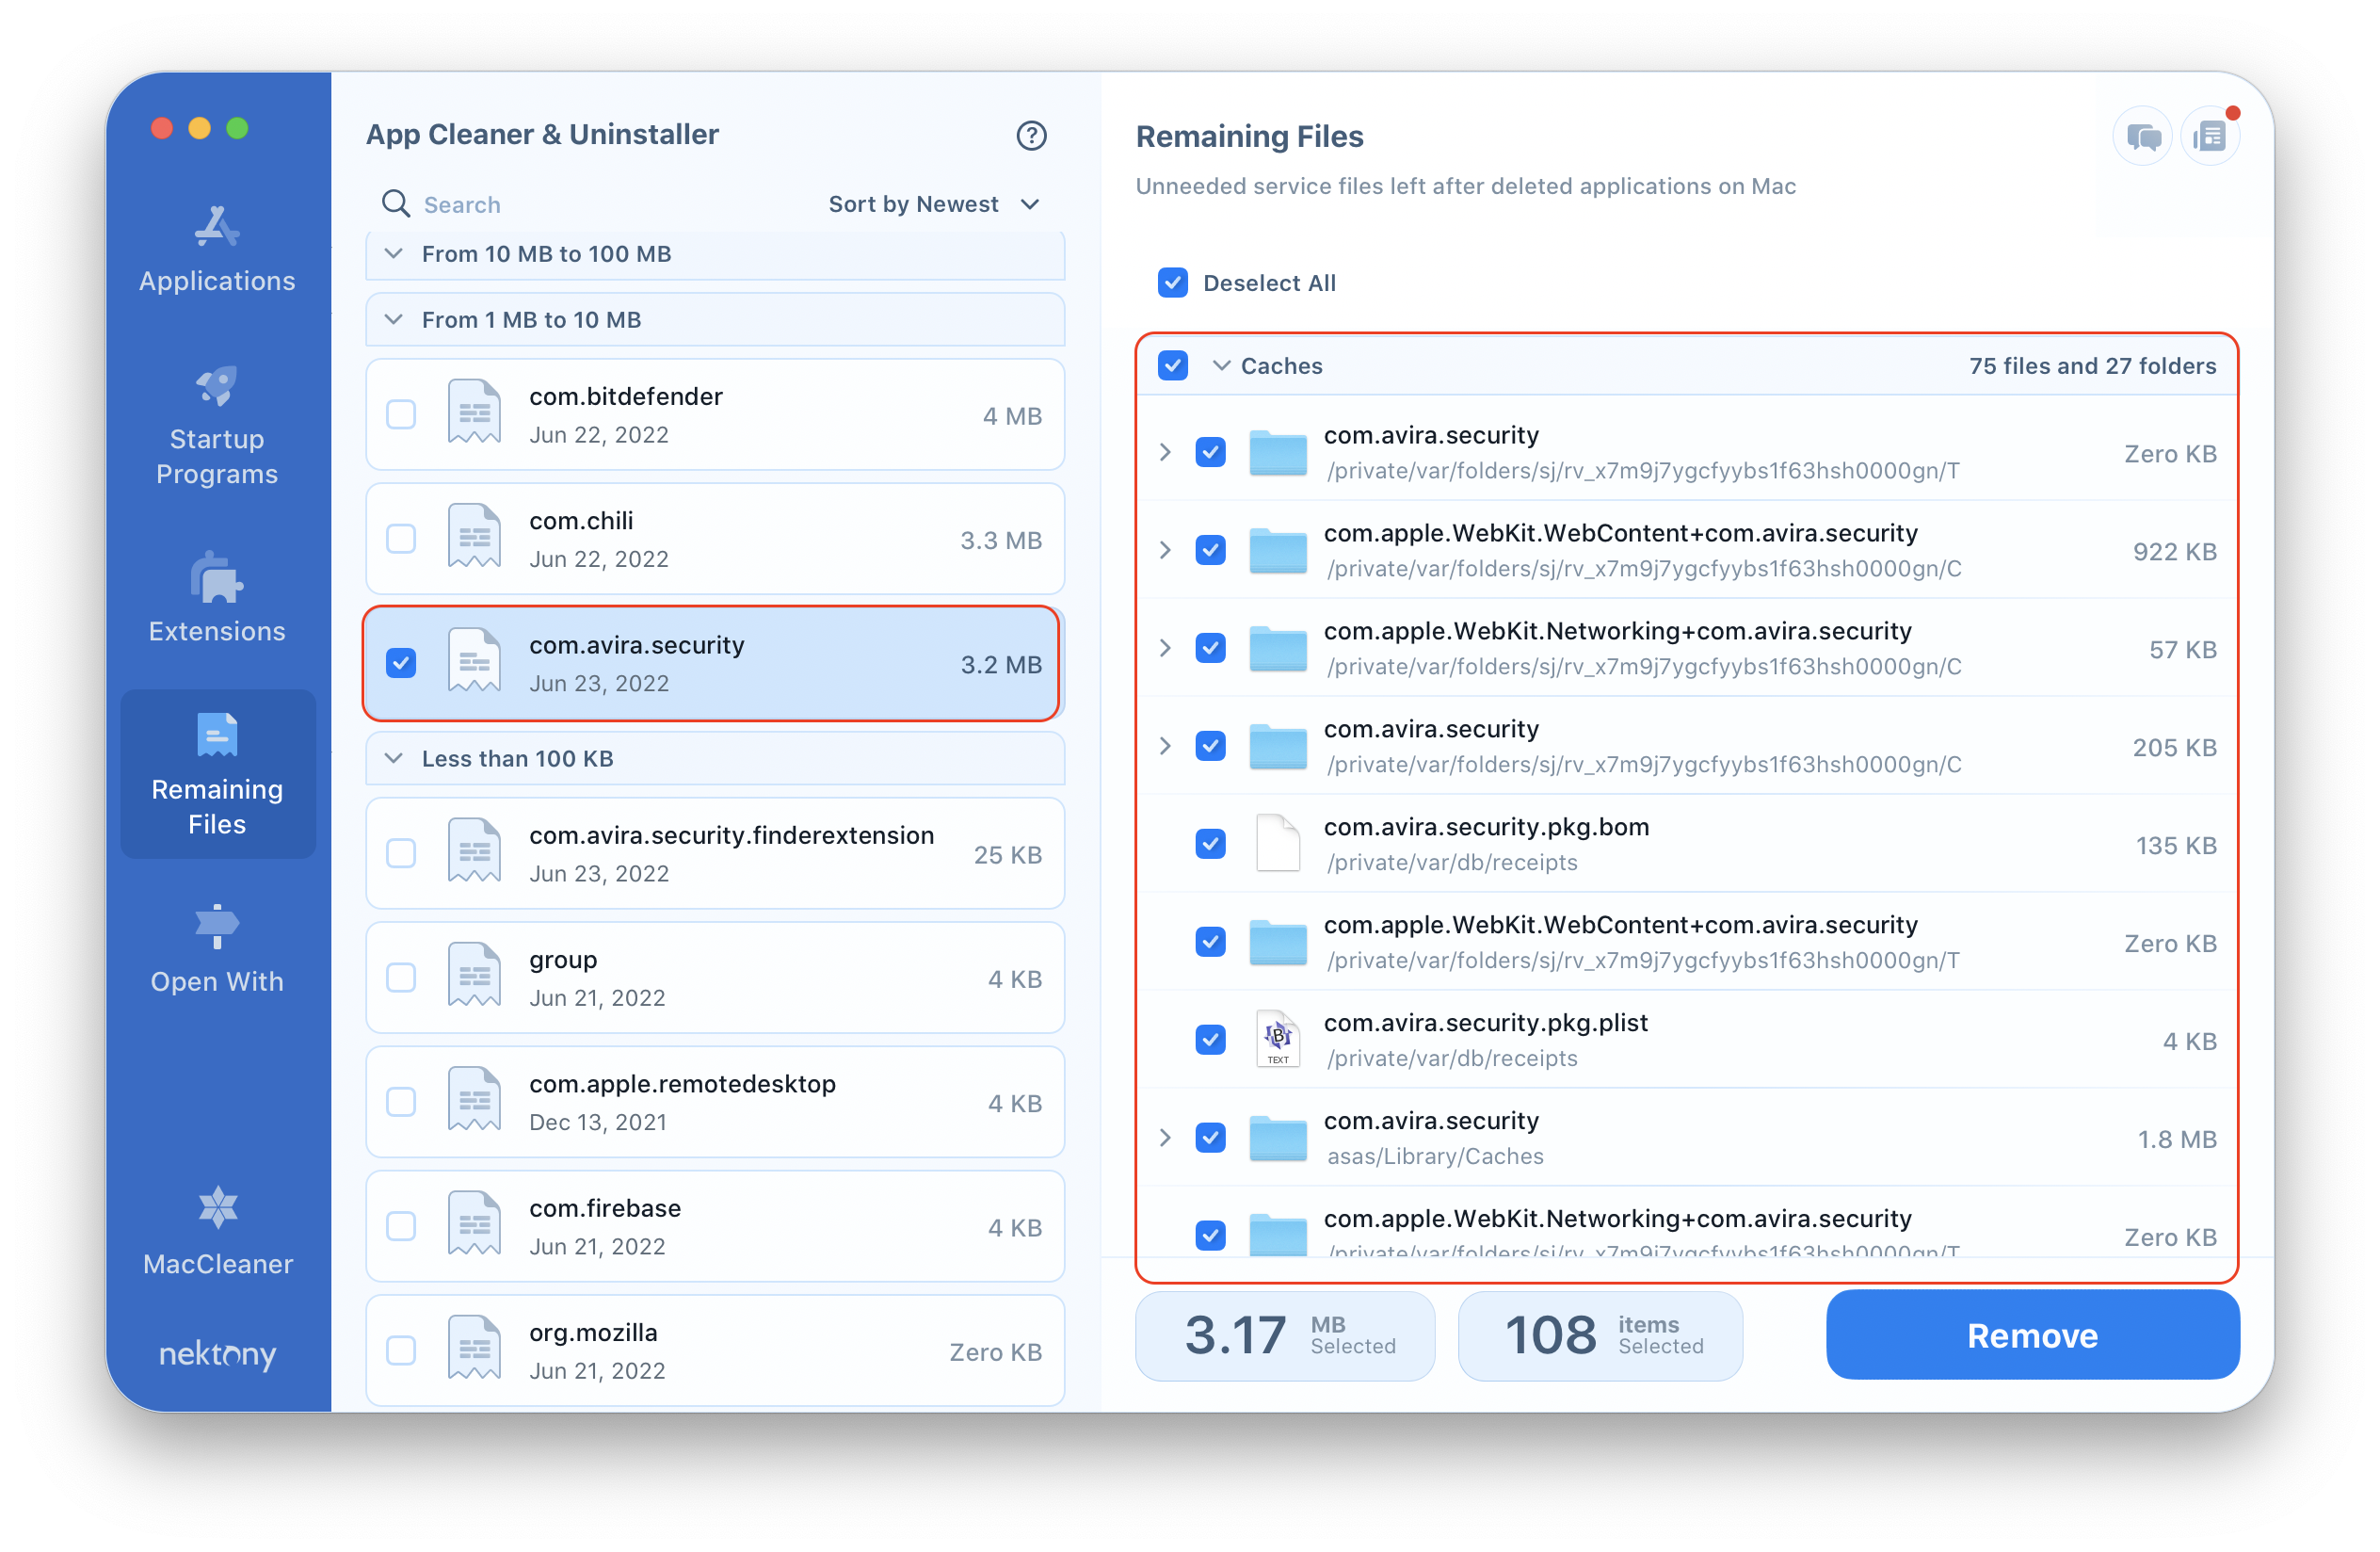
App Cleaner & Uninstaller allows you to find even the leftovers of already removed apps. So if you forgot to quit the antivirus, don’t worry. Just launch the uninstaller again and go to the Remaining Files section. Remove the service files of antivirus from there.
Then restart your Mac. The problem should be resolved.
App Cleaner & Uninstaller allows you to find and delete all the service files of apps. If the antivirus software doesn’t let to remove its kernel file even by App Cleaner & Uninstaller, remove it manually, as we described in the first part of this article.
