
This article provides a detailed tutorial on how to uninstall Bitdefender from a Mac. But first, you should know that the removal steps depend on which version of the antivirus you are using.

Contents:
- What is Bitdefender, and should I remove it?
- Uninstall Bitdefender Antivirus using its native uninstaller.
- Uninstall Bitdefender Antivirus using App Cleaner & Uninstaller.
- What to do when you can’t uninstall Bitdefender.
- Uninstall Bitdefender despite an “Unexpected error” message appears.
What is Bitdefender, and should I remove it?
Bitdefender for Mac is a software application that protects computers from viruses and other Internet threats. It provides a 30-day free trial, so most users can easily decide to have a try and install it on their Macs.
Well, actually the decision to protect a Mac is not bad. However, if the software doesn’t suit you for some reason, and you want to uninstall it, you may face a problem – it is not so easy to uninstall Bitdefender. If you enter the request “How to uninstall Bitdefender” on Mac, you will see that a lot of users are unable to uninstall Bitdefender completely. Here’s a typical one:
This application is not listed in my apps, nor does it ship with an uninstaller I can locate. Here’s what I tried so far in order to get it to stop running, so I could safely delete the program from disk, but it didn’t help:
- sudo ps aux | grep -i endpoint
- sudo launchctl list | grep -i bitdefender
- for each bitdefender product listed: sudo launchctl remove
- reboot
The application ran again after reboot.
(source –https://apple.stackexchange.com)
In fact, most antivirus software leaves junk files on the computer after being deleted. These files can be in the form of launch agents, login items and other system extensions. Some antivirus programs provide their own uninstallers that can clean up the system, but even they are not always helpful in solving the problem. We have already covered how to uninstall Avast, Norton and MacKeeper antivirus software. Today it’s time to tell how to completely remove Bitdefender from Mac.
Note: Since its update in June 2017, Bitdefender has changed its protection system. A special watching program has been implemented with Bitdefender, which restores its service files whenever you try to remove them. It has several protecting items, which don’t allow the program to be uninstalled completely. As a result, any sandboxed uninstalling tool can’t stop the Bitdefender’s aggressive protection system. But don’t worry, we have researched this issue and have found a solution for you.
How to uninstall Bitdefender with its native uninstaller
If you use the latest version of Bitdefender Antivirus, it is recommended first to use its own uninstaller to complete this task and then check the disk for its leftovers with App Cleaner & Uninstaller. The Bitdefender personal uninstalling item is usually downloaded automatically when you download the app. You can find it in the system Library folder following this directory:
/Library/Bitdefender/Central/Agent/BitdefenderUninstaller.app

- Before starting the removal process, you should turn off the Bitdefender autopilot and quit the program.

- Launch the Bitdefender uninstaller. You will see a popup window about application removal. Click the Uninstall button.

- The system will ask you confirm the process. Type your password and click OK.

- The uninstalling process will start automatically. It may take a few seconds to a minute to complete the task.
- When it finishes, click Close.


Well, you may think that was the last step in the removal process; however, it wasn’t.
Note
On the screenshot below, you can see the list of leftover files that we found after removing Bitdefender with its native uninstaller.
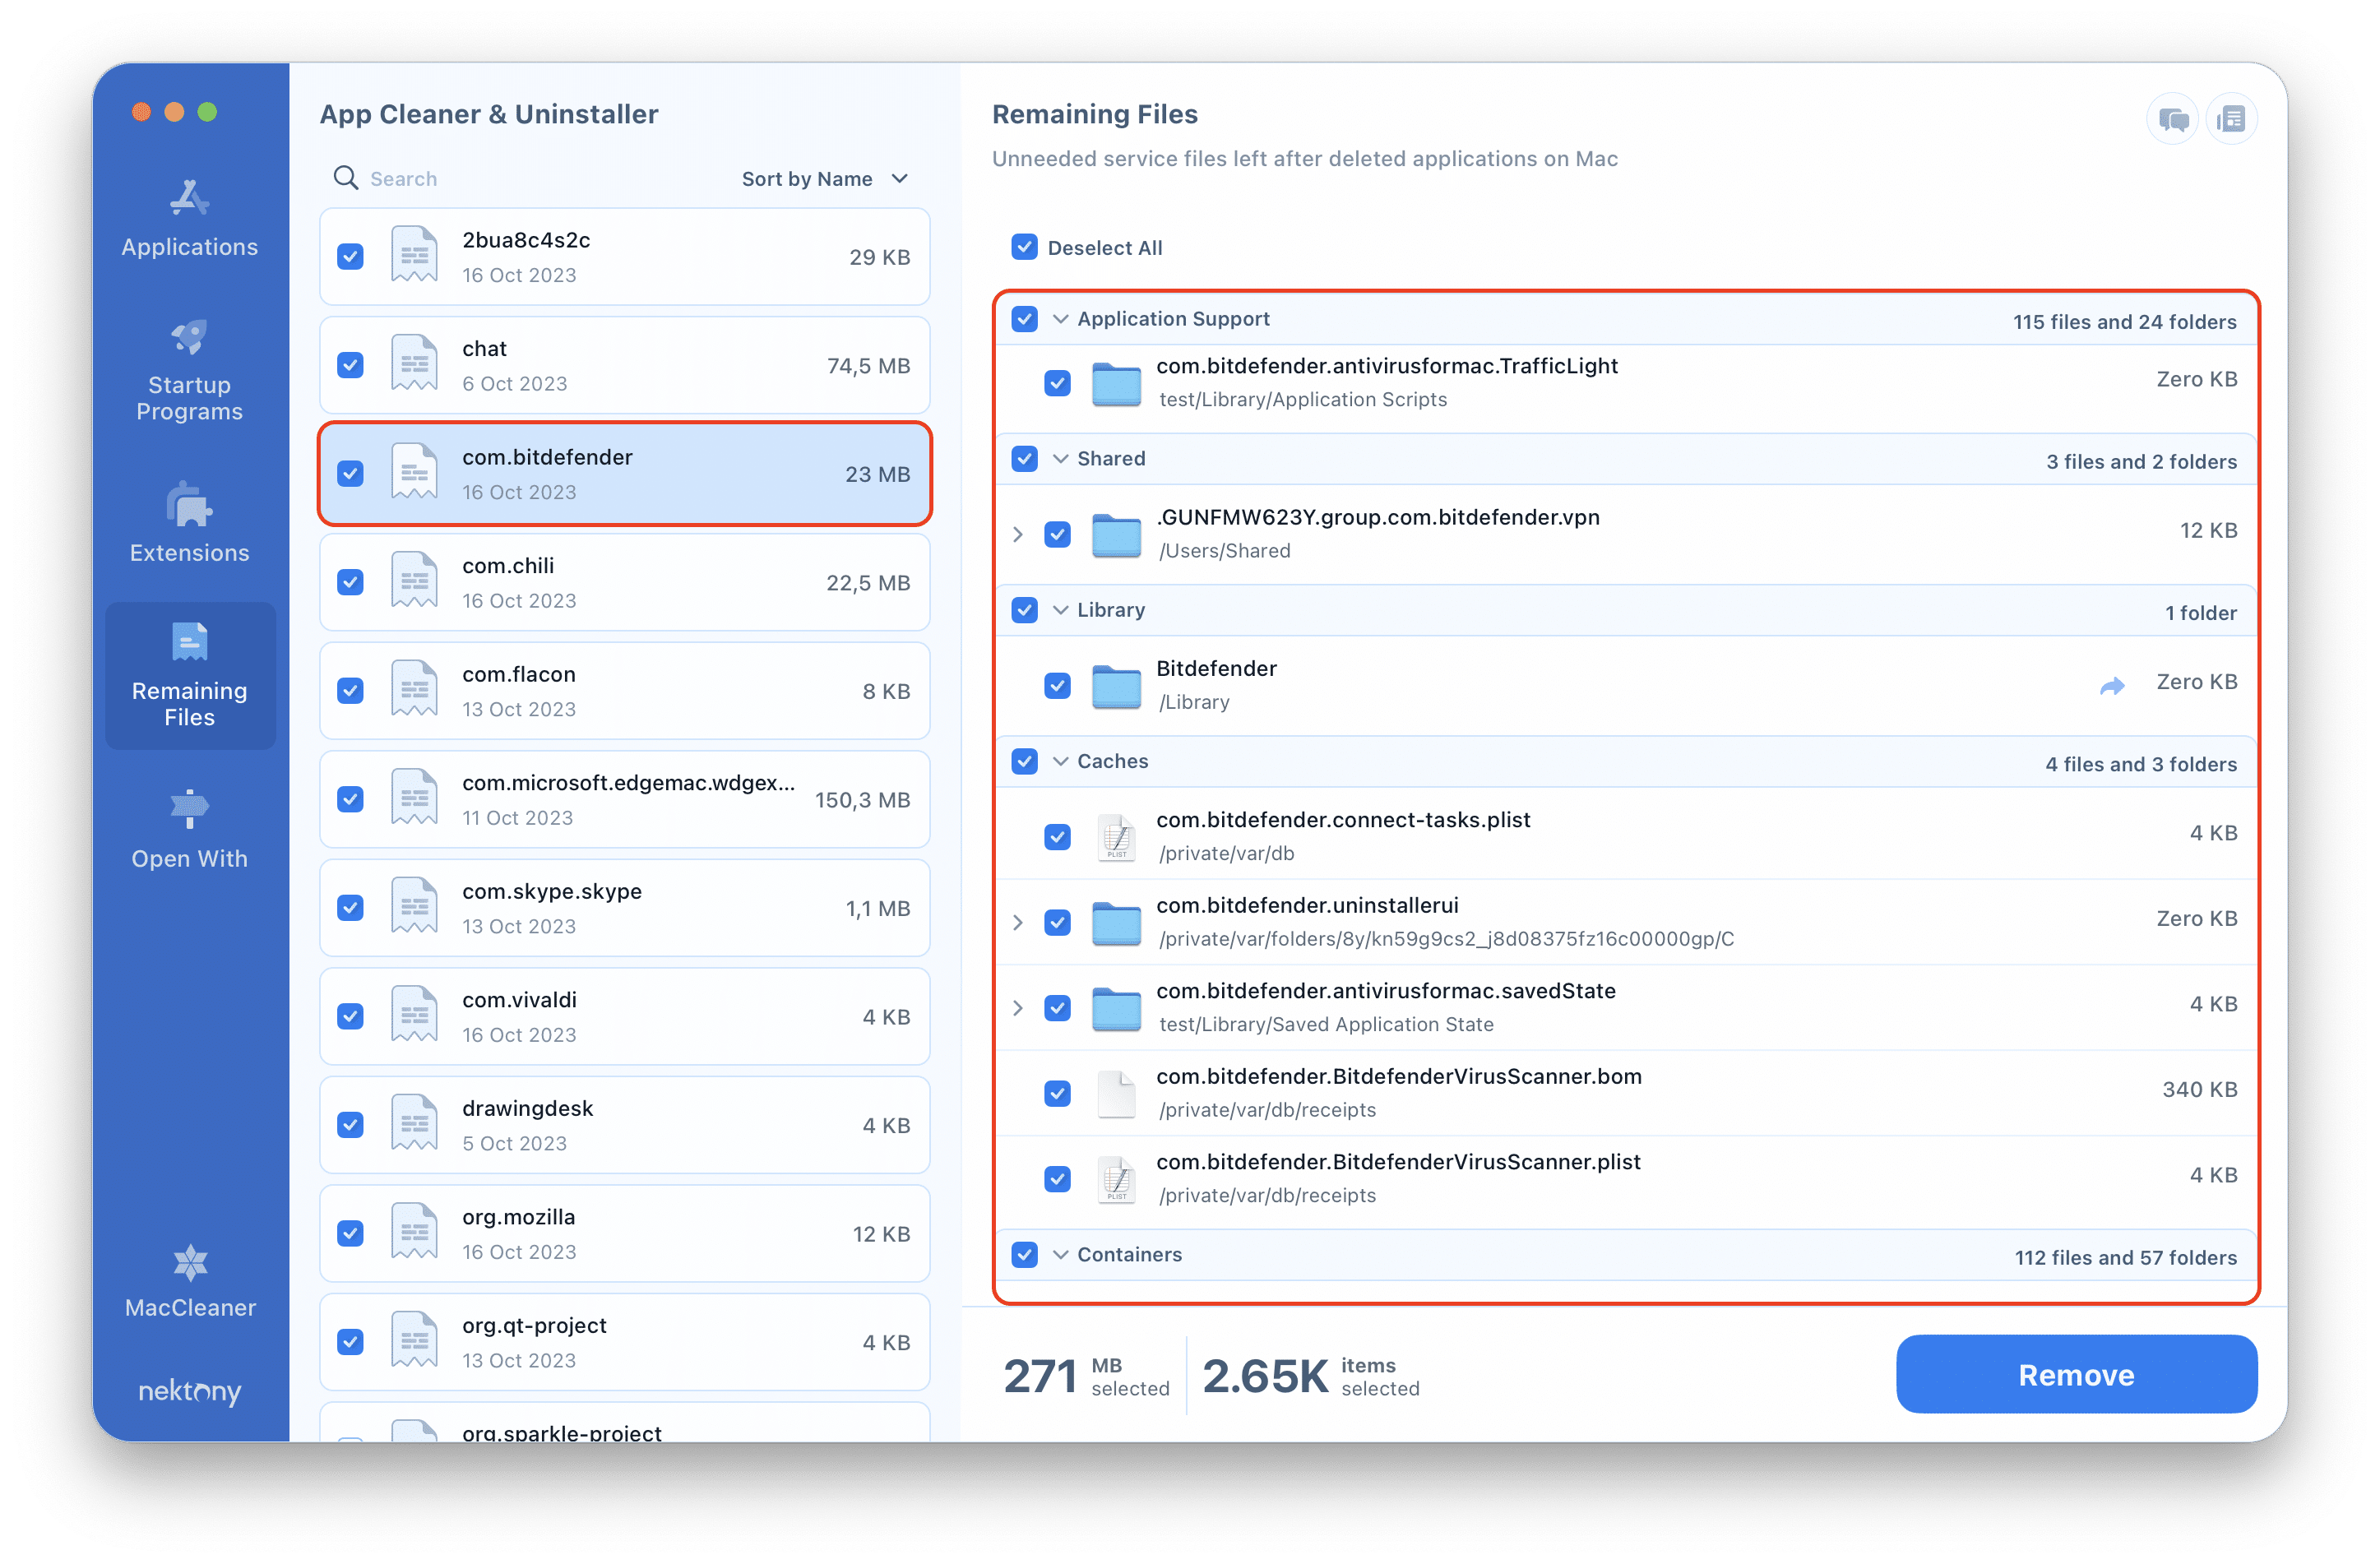
You can remove those leftovers with App Cleaner & Uninstaller or find and remove them manually.
To manually find Bitdefender-related files, open Finder → navigate to the Library and ~/Library folders and find and delete all files and folders related to the Bitdefender app.

Check the Application Support folder and find the Antivirus for Mac subfolder, which keeps the program’s service files (logs, quarantines, settings). Remove it, too.

Uninstall Bitdefender with App Cleaner & Uninstaller
App Cleaner & Uninstaller is a tool to uninstall applications on Mac completely, find remains and operate login items, launch programs, and other system extensions. It allows you to find all the system files that apps usually leave on your Mac when you remove them in the usual way. This means that with App Cleaner & Uninstaller you can get rid of all service files of Bitdefender Antivirus that may be stored in different rambling folders.
To uninstall Bitdefender using App Cleaner & Uninstaller just follow these three easy steps:
- Quit Bitdefender and close all its processes that may work in the background. For this, use Activity Monitor.
- Launch App Cleaner & Uninstaller and select Bitdefender Antivirus from the list of apps. Click to remove it.
- Preview the selected files and confirm the removal.

After these steps, Bitdefender Antivirus will be removed from your Mac.
What to do when you can’t uninstall Bitdefender
Sometimes, it may happen that even after following all necessary steps for antivirus removal, you face an error and can’t uninstall Bitdefender. The reason is that Bitdefender can create special files that Apple thinks are default system files. As a result, the application protects itself from being deleted.
In this case, the only way to uninstall Bitdefender is to disable the Apple System Integrity Protection. Here are the steps to disable SIP and uninstall Bitdefender:
- Restart your Mac and press Command+R key shortcut while the reboot is in progress.
- Your Mac will display a startup window in the recovery mode.
- Go to the Menu bar and click Utilities → select Terminal.
- Paste the following command in Terminal and press the Return (Enter) key:
csrutil disable

- The System Integrity Protection will be disabled.
- Then restart your Mac and delete the problematic files with App Cleaner & Uninstaller.


Uninstall Bitdefender despite an “Unexpected error” message appears
If you are trying to uninstall Bitdefender in the standard way you may face two possible issues:
- you get a message “Unexpected error”
- the Bitdefender Uninstaller doesn’t exist in /Library/Bitdefender/Central/Agent/BitdefenderUninstaller/
In this case, follow these steps to resolve the issue and uninstall the antivirus software.
- First, you should back up your drive in order not to lose important files.
- Then restart your Mac in a recovery mode. For this press and hold Command+R key shortcut while restarting until you see the Apple logo.
- Select Disk Utility and click to Continue.

- Select Macintosh HD.
- If your startup disk is mounted, skip this step. If not, click on Mount. It may require your administrator password.

- Close the Disk Utility.
- Go to the menu bar → Utilities→ Terminal.

- In the Terminal window type the commands provided below and press Return (Enter) after each command:
Please, make sure you type the commands exactly as you see them below. Pasting incorrect commands may result in data loss.
Use this command to make sure the Macintosh HD is mounted (there is a space after the LS)
- LS /Volumes/

You will see all the mounted volumes. Make sure your Macintosh HD is mounted. If not, quit Terminal, go back to Disk Utility and mount the startup disk.
Enter the following commands to see if you have the SelfProtect.kext extension in the Extensions folder.
- cd /Volumes/Macintosh\ HD/Library/Extensions/
- LS
NOTE: use the backslash \ and space if the startup disk name has two words. If there is one word in its name, you need to use the forward slash / and no spaces. For example, if the startup disk’s name is Macintosh HD, the command would be:
cd /Volumes/Macintosh HD/Library/Extensions/- rm -rf SelfProtect.kext – this command is used to delete the SelfProtect.kext Gefile.
- LS – type this command to check if the file was removed.

Then use the following commands to check if you have the Bitdefender folder and delete it.
- cd /Volumes/Macintosh\ HD/Library/
- LS
- rm –rf Bitdefender
- LS
Once the Bitdefender folder has been removed, restart your Mac in a normal mode.


After these steps we recommend that you check your Mac for remaining files of Bitdefender using App Cleaner & Uninstaller. Launch App Cleaner & Uninstaller → go to the Remaining Files section → select and remove the leftovers of Bitdefender.


