June 3, 2025
Uninstall Kaspersky on Mac
If you’ve landed here, chances are you’re looking for a simple, reliable way to remove Kaspersky from your Mac. I’ve got you covered with clear, step-by-step instructions that anyone can follow.
Why should you remove Kaspersky?
Before we dive in, let’s look at a few reasons why you might want to uninstall Kaspersky from your Mac.
Security concerns
- Back in 2015, Kaspersky antivirus was reportedly used by Russian hackers to steal sensitive files from the personal computer of a U.S. government worker.
- In 2024, the U.S. banned Kaspersky from selling its software over concerns about potential spying.
- Australia followed suit in 2025, banning it from all government devices for similar reasons.
- There’s even a whole Wikipedia article detailing Kaspersky’s reported ties to the Russian government.
User experience issues
- Kaspersky sometimes stays active or continues showing pop-ups even after you try to remove it.
- It can leave behind leftover files that slow down your Mac.
- It may clash with other apps, especially other antivirus tools.
- If you try to move it to the Trash, you might get an error saying the app is locked.
And although we’re talking Mac here, some Windows users have reported finding malware after uninstalling Kaspersky. Probably best to stay on the safe side, right?
Let’s move on to getting it off your Mac completely.
How to uninstall Kaspersky: three methods
First things first, this guide is based on the latest macOS Sequoia 15.5 and Kaspersky Premium 26.0.0.150, so you can be sure everything is up to date and accurate.
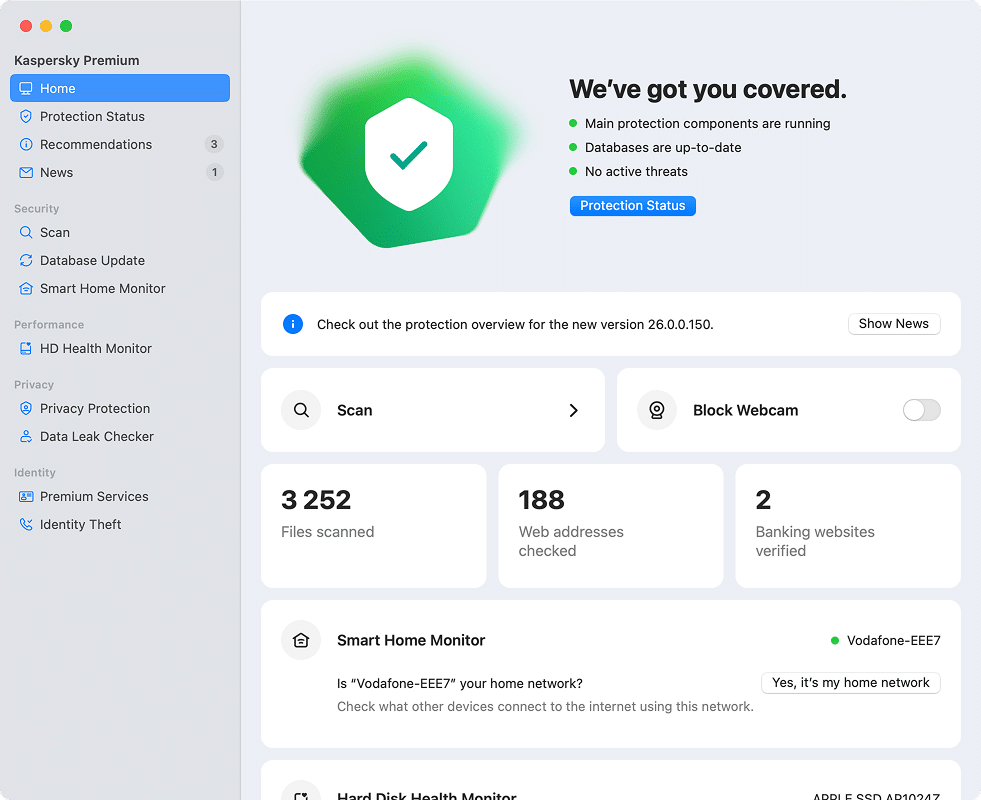
To remove Kaspersky from your Mac, you can go one of three routes. Pick the one that feels most comfortable:
| Method | Advantages | Disadvantages | Difficulty | Speed | Removal Thoroughness |
|---|---|---|---|---|---|
| Official Uninstaller | Quick and simple | Doesn’t always remove all files | ★☆☆ |
★★★ (very fast) |
★★☆ (partial) |
| Manual Removal | Full control, thorough cleanup | Time-consuming and requires some skill | ★★★ |
★☆☆ (slow) |
★★★ (complete) |
| Automatic Removal | Easiest option, just a few clicks | Requires extra software | ★☆☆ |
★★★ (very fast) |
★★★ (complete) |
Method 1: Delete Kaspersky using its native uninstaller
This is the official, straight-from-Kaspersky method:
- Head over to Kaspersky’s Support Page and download their uninstaller tool called kavremover-mac. It works for all their products. The page also includes separate earlier uninstallation guides for each of them.
- You’ll get a .tar archive. Double-click to unpack it, then open the *.dmg file inside.
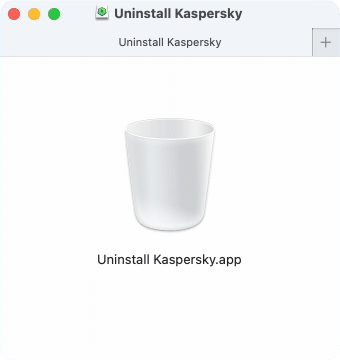
- You’ll see a small window with Uninstall Kaspersky.app. Launch it and follow the instructions.
That’s it!
Note:
Be aware: this tool often leaves behind hidden files and system components.
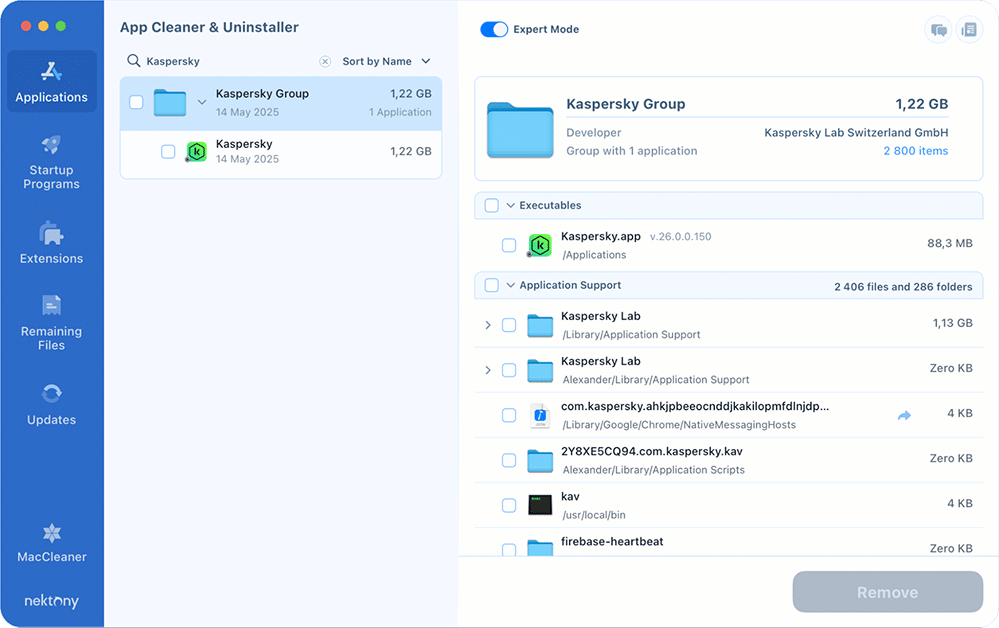
Here’s what I found on my Mac after running it using Nektony’s App Cleaner & Uninstaller:
~/Library/Application Scripts/2Y8XE5CQ94.com.kaspersky.kavCopy
~/Library/Application Support/firebase-heartbeatCopy
~/Library/HTTPStorages/com.kaspersky.kav_agentCopy
~/Library/HTTPStorages/com.kaspersky.kav.downloaderCopy
~/Library/Application Scripts/2Y8XE5CQ94.com.kaspersky.macCopy
~/Library/Application Scripts/com.kaspersky.kav.kaspersky_securityCopy
/private/tmp/kav_delayed_start_stderr.logCopy
/private/var/folders/v4/1n42g35d31v8bjztscsn5dmm0000gn/C/com.kaspersky.kavCopy
This might not be entirely Kaspersky’s fault. macOS security settings sometimes block full removal. Still, it means a bit of manual cleanup is necessary.
Method 2: Manual removal of Kaspersky
If you’re comfortable using Finder and poking around in hidden folders, this method gives you the cleanest result. (You can also use Terminal to delete these files; if that’s your thing, you likely know how it works already.)
In this guide, I’ll provide a full list of leftover files the official uninstaller often misses, along with a quick explanation of what each one does.
Note:
I used Kaspersky Premium (their most feature-rich version), so my file list may be longer than yours. Don’t worry if you don’t find some of these files – it just means Kaspersky didn’t create them on your Mac.
Step 1. Remove the app
If you haven’t already used the official uninstaller, begin by moving the app from the Applications folder to the Trash.

If your Mac says the app is locked and won’t let you remove it, open Terminal and run this command:
sudo rm -rf /Applications/Kaspersky\ Anti-Virus\ For\ Mac.app
Copy
This does the same thing but gives you the admin-level permission needed to remove it.
Step 2. Remove kernel extensions (.kext files)
Kernel extensions let apps dig deeper into your system. In Finder, head to the following list of files and remove:
/Library/Extensions/kimul.kextCopy
/Library/Extensions/klif.kextCopy
/Library/Extensions/klnke.kextCopy
/Library/Extensions/klsat.kextCopy
/Library/Extensions/mark.kextCopy
Note:
These may not be deleted right away as they’re protected by macOS’s System Integrity Protection. To remove them, you’ll need to temporarily disable SIP. We have a step-by-step guide on that: How to disable SIP
(And don’t forget to turn it back on when you’re done; the guide explains how to do that as well.)
Step 3. Delete caches and temporary files
These files are safe to remove because they’re just leftovers meant to speed up app performance. Find them using the search option in Finder and remove them:
/private/var/.com_kaspersky_iswift_journalCopy
/private/var/.com_kaspersky_ids_dropCopy
/private/tmp/Kaspersky Internet Security.BL.lockCopy
/private/var/.com_kaspersky_kav_reboot_counterCopy
/private/var/.com_kaspersky_ids_drop_sysextCopy
Step 4. Remove application support files
These folders store behind-the-scenes data and helper files. They’re no longer needed.
/Library/Application Support/Kaspersky LabCopy
~/Library/Application Support/Kaspersky LabCopy
/Library/Google/Chrome/NativeMessagingHosts/com.kaspersky.*.host.jsonCopy
/Library/Application Support/Mozilla/NativeMessagingHosts/com.kaspersky.light_plugin_*.kaspersky.com.host.jsonCopy
/Library/Application Support/Kaspersky Lab/Shared/klif.referencesCopy
/Library/Application Support/Kaspersky Lab/Shared/klnke.referencesCopy
Step 5. Clear containers and logs
Containers isolate app data. Logs keep a record of what the app did. Here’s what to delete:
~/Library/Group Containers/2Y8XE5CQ94.com.kaspersky.macCopy
/Library/Logs/Kaspersky LabCopy
~/Library/Logs/Kaspersky LabCopy
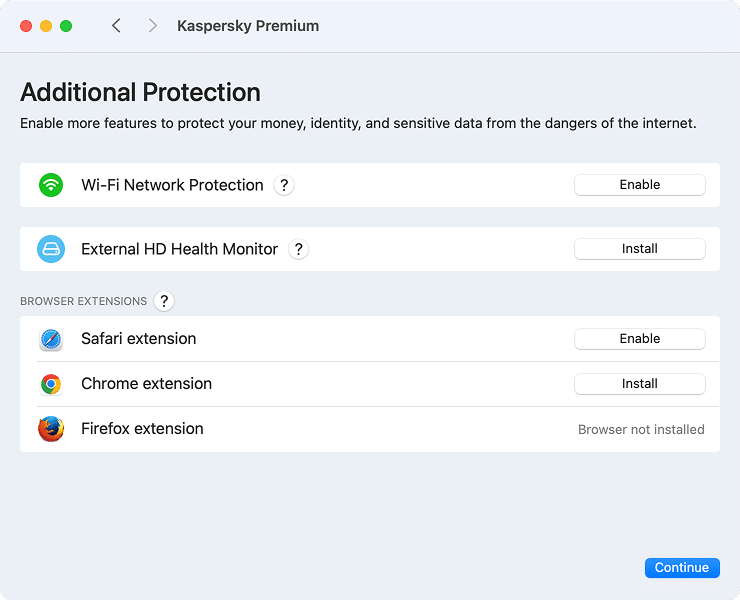
Step 6. Uninstall browser extensions
If you installed any Kaspersky extensions in Safari, Chrome, or Firefox, remove them manually through your browser settings.
Method 3: Automatic uninstallation
Not a fan of doing everything my hand? This one’s for you. Use App Cleaner & Uninstaller – a tool that handles everything automatically.
Steps:
- Download and open App Cleaner & Uninstaller.
- In the Applications list, find and select Kaspersky.
- Click Uninstall (or Remove in the Expert mode).
And that’s it! The app finds and deletes all leftover Kaspersky files for you.
Note:
If you’ve already uninstalled Kaspersky, just go to the Remaining Files tab to find anything it left behind and clean it up in one click.
Final Thoughts
Kaspersky is a Russian software company. While it set up a holding company in the UK, its main operations remain in Russia, a country long associated with state-sponsored cyberattacks, election interference, and digital espionage.
Whatever your reason for removing Kaspersky, it’s worth making sure it’s fully gone. With the methods above, you can clean up every trace and feel confident in your Mac’s security setup.
Also, if you ever want to uninstall another antivirus software, we’ve got you covered with separate guides for Avira, Sophos, and Trend Micro.


Very useful thank you.
It’s great to hear! Thanks.
I used to be able to find good info from your blog posts.