

Mac computers are known for their super-fast performance. For example, a comparison of Geekbench scores from 2006 to 2022 reveals a huge increase in both single-core and multi-core performance, particularly with the introduction of Apple’s silicon chip.
However, even with these advancements, over time, you might start seeing the spinning beach ball on your screen, which means your Mac is slowing down.
In this article, we will give you the reasons for a slow Mac and share tips on how to speed up your Mac.
Contents:
- Why is my Mac running slow?
- Important Mac performance statistics
- Steps on how to speed up a Mac
- FAQs
The reasons for a slow Mac
First, let’s take a quick look at the possible reasons why your Mac may become disappointingly slow:
| What’s slowing down a Mac | Solution |
|---|---|
| Outdated software | Update your applications and macOS |
| Full Startup Disk | Delete unnecessary files and applications |
| Too many startup programs | Disable unnecessary startup items |
| Insufficient RAM | Close memory-consuming apps |
| Malware attacks | Delete malicious programs |
| Having a lot of junk files | Clean up the cache and other junk |
| Hardware issues | Run Apple Diagnostics and test your hard drive |
| Using visual effects | Turn off visual effects |
Now, let’s turn to a complete guide on how to speed up your Mac.
Tip #1
MacCleaner Pro
Important stats about Mac’s performance
Here are some important statistics, about how a slow Mac impacts your productivity according to NY Post:
- Users can lose up to 30 minutes daily waiting for slow applications to respond, which accumulates to significant time over weeks and months.
- Approximately 60% of users report that lagging systems hinder their workflow, leading to productivity losses.
- The average Mac user has 708 unread emails and 298 unused apps or folders, leading to 41% of a system running slowly.
- The cumulative waiting time can increase cognitive load, causing users to lose focus and diminish productivity by up to 25% during peak hours.
Steps to make Mac run faster
Below, we are going to share the tips on how to manually speed up your Mac. Also, you can watch a quick video how to fix a slow Mac.
1. Keep your software up to date
Please note that keeping your macOS and apps up-to-date helps not only to protect you from being hacked, but also allows your system to function correctly. You need to regularly check your macOS system for updates as well. For this do the following:
- Open System Settings.
- Click General in the sidebar.
- Select Software Update in the right panel.
- Here you will find the information about the version of macOS you use and updates available on your Mac.
- Enable “Automatically keep my Mac up to date” to allow the system to always check for updates, download new updates, and install updates from the App Store.

Also, check the installed apps for new updates on your Mac. All the apps should be optimized for the latest macOS to work smoothly and fast.
For the apps downloaded from the App Store:
- Open Mac App Store.
- Click Updates in the sidebar.
- Click the Update button for the outdated apps.

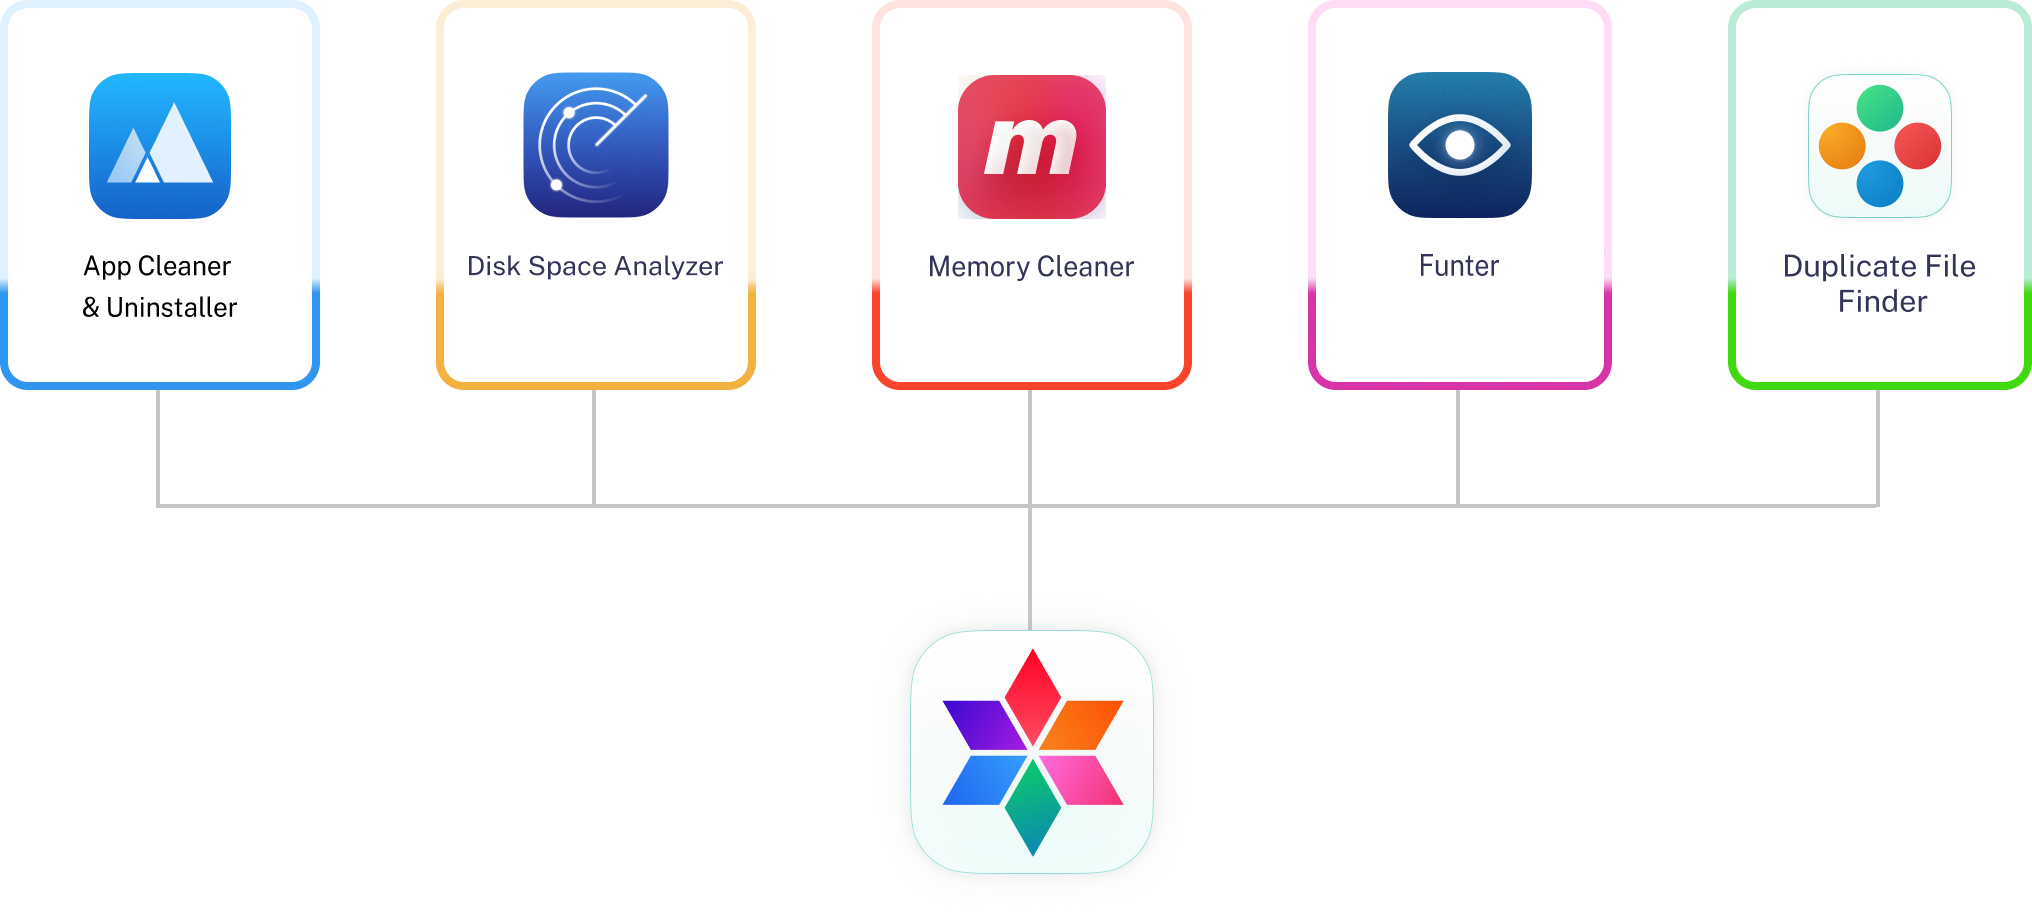
If you downloaded apps from the developers’ websites, you will need to update them separately or use App Cleaner & Uninstaller from the MacCleaner Pro bundle:.
- Open App Cleaner & Uninstaller.
- Click Updates in the left panel.
- Select apps that have the new version.
- Click Update and confirm.

2. Close memory-consuming apps
Every launched program on your Mac uses RAM memory. A large number of active applications can greatly slow down your Mac. To find and close heavy apps and make your Mac run faster, use the Activity Monitor app.
- Launch Activity Monitor.
- In the CPU tab, sort tasks by CPU usage.
- Find the most demanding processes and click to close them.

Alternatively, you can use one of the tools of MacCleaner Pro – Memory Cleaner. This app shows not only the memory usage of apps but also allows RAM to be cleared and inactive memory to be freed up.

3. Clear cache
Each program on macOS creates cache files and stores them on the local disk. Over time, the total size of caches will increase significantly. Moreover, sometimes for various reasons, this data can be damaged, or you may have removed apps, but their cache remains on your Mac. As a result, your Mac runs slowly. We recommend that you periodically clear the cache to speed up your Mac.
Here’s how to manually clear cache on a Mac:
- Open Finder and press Command+G key shortcut.
- In the search field enter the following location: ~/Library/Caches and press Enter.
- Go to each folder and clear cache files here. Please, be accurate and make sure you don’t need those files.

And again, with MacCleaner Pro, you can safely clear all cache with just a few clicks. Just launch MacCleaner Pro, select Caches in the Clean Up section, and click to remove them.

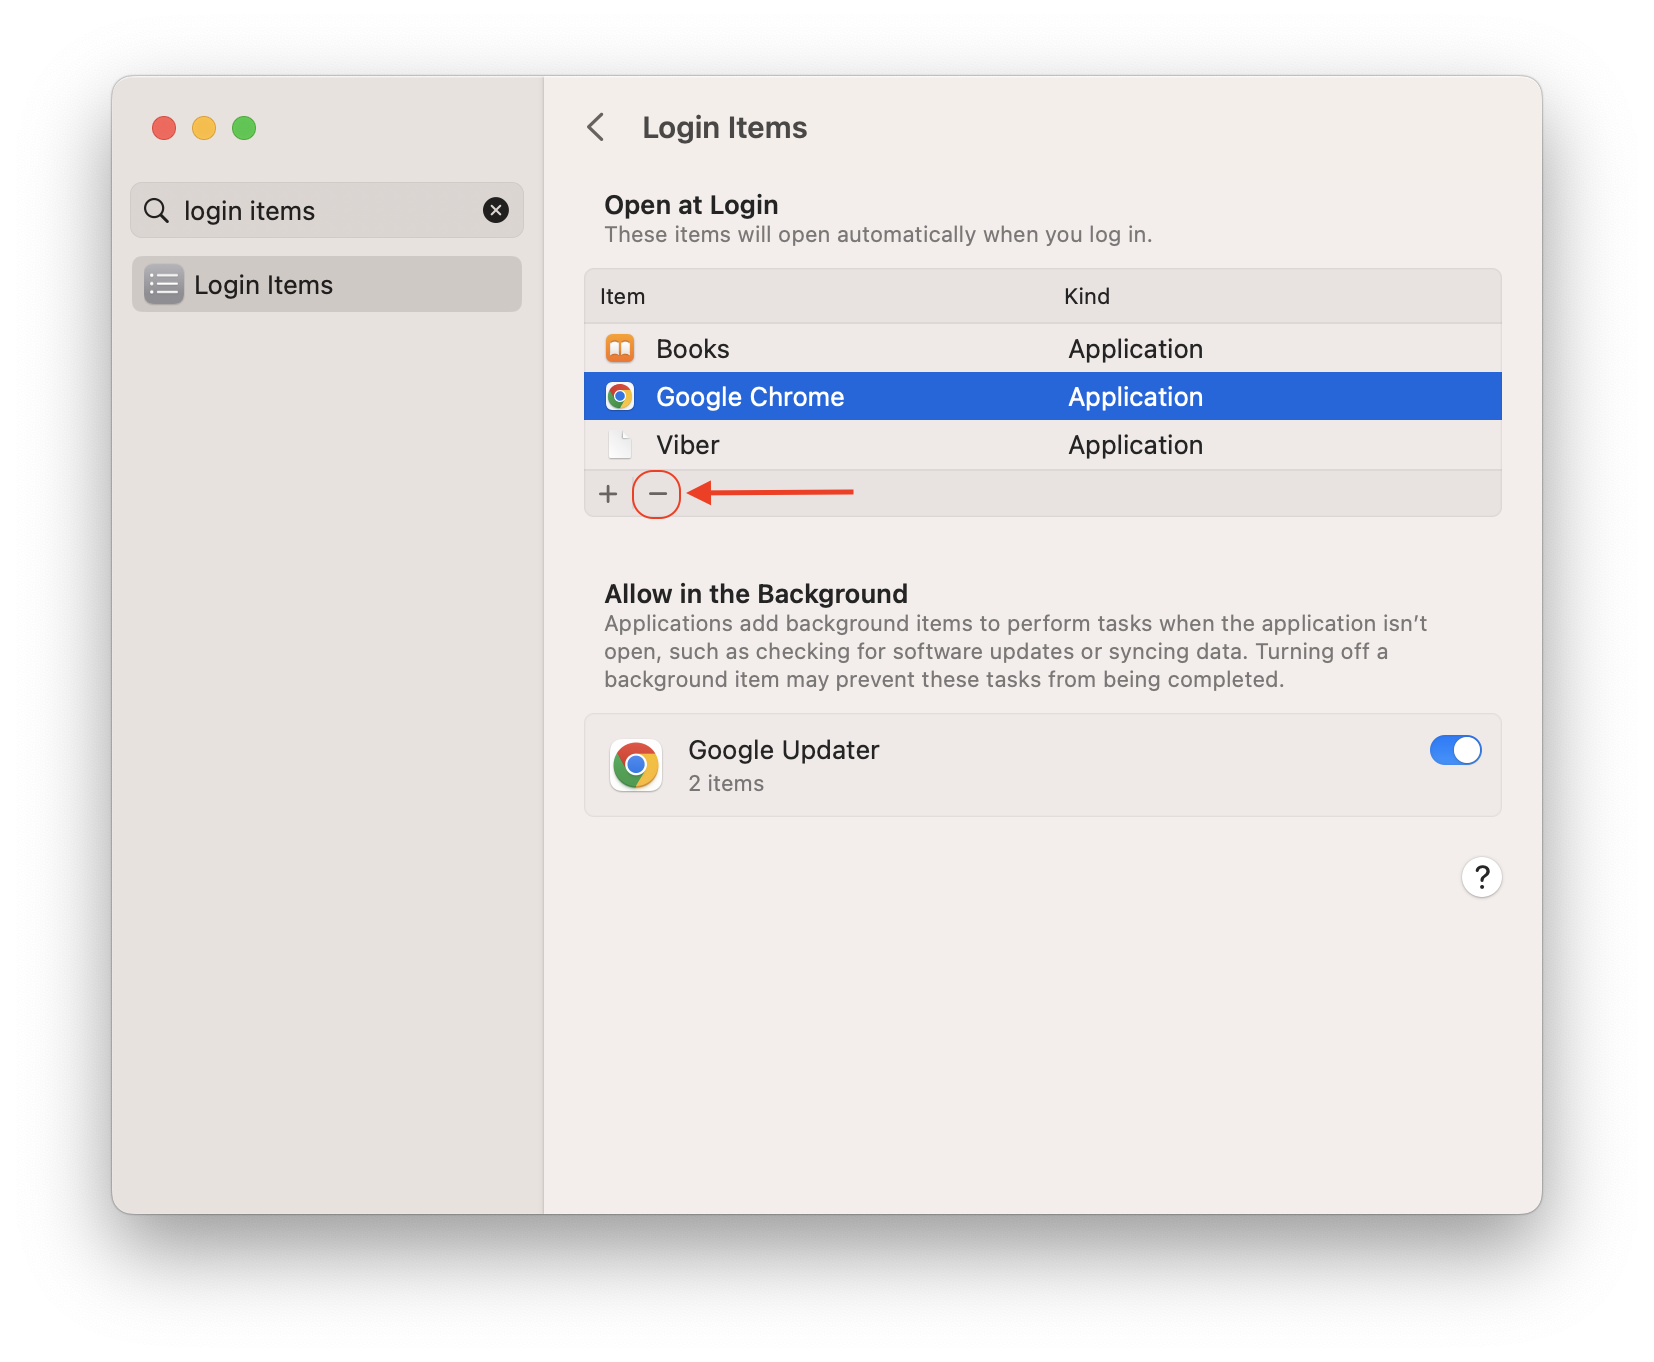
4. Disable startup items
Some applications launch automatically after your Mac starts up or reboots. As a result, you have multiple apps running and your Mac’s performance will decrease. To stop apps from running automatically at Mac login and causing the system to run slow, follow the steps below:
- Open System Settings.
- Go to the General section.
- Click Login Items.
- Select unneeded startup programs and click to remove them.
5. Disable unneeded widgets and extensions
Widgets are mini-programs that are constantly running in the background. A big number of used widgets also makes your Mac slow, as they usually eat up a great deal of RAM memory. You should take a look at them and get rid of unneeded widgets.
Steps to disable extensions on Mac:
- Open System Settings.
- Click Privacy & Security in the sidebar.
- Scroll down and click Extensions.
- Click Added Extensions.
- Disable unneeded extensions by unchecking the checkboxes under the applications.

6. Delete browser extensions
Your browser may start to slow down because of a large number of installed extensions. Some extensions may even be used as malicious software that changes your start page or the search engine or allows annoying advertising pop-ups. So, if you want to speed up your Mac’s performance, you should remove unused or rarely used browser extensions.
Here is how to disable or remove extensions for different web browsers.
For Safari users:
- Open Safari → in the menu bar click Safari → select Settings.
- Switch to the Extensions tab and click to uninstall unneeded extensions.


For Google Chrome users:
- Open Chrome.
- In the menu bar, click Chrome → select Settings.
- Click Extensions on the left.
- Take a look at the list of all installed extensions and remove unneeded ones.

For Mozilla Firefox users:
- Open Firefox.
- In the menu bar, click Firefox → select Settings.
- Click Extensions & Themes on the left → Extensions.
- Click the settings icon next to each extension (three dots icon) and select Remove.

7. Uninstall unused applications
Over the years, you’ve likely littered your Mac with applications you no longer use or need. Remember, that a lack of free disk space impacts on your Mac’s performance. That’s why you should remove unused apps.
- Open Finder and go to the Applications folder.
- Skim the list of your apps and remove unneeded ones to Trash.

- Keep in mind that, even if you empty your Trash then, the apps’ support files still remain in your Library folder. They are called app leftovers. So then you need to find all the cache, logs and other service files and remove them as well.

Please note that with MacCleaner Pro you can completely uninstall apps, find app leftovers, remove extensions, and manage startup items much more easily than doing it manually. Just launch a special tool, App Cleaner & Uninstaller, from the bundle and perform these tasks with just a few clicks.

8. Clean up unnecessary icons from your desktop
Too many icons on the screen can adversely affect macOS performance. The reason is that macOS treats each icon as a separate window. The impact may be negligible, but when you have a large number of icons, it slows down your Mac significantly. Thus, to speed up your Mac, remove files from the desktop or move them to another folder.

9. Remove malware
Your Mac is a secure device, so there is no need to install an extra antivirus program. However, there are different malware programs on the net that could harm your Mac. If you notice that your Mac is behaving strangely, for instance, its performance becomes very slow for no reason, or if there are uncontrolled advertisements in your browser, there may be malware on your Mac.
To keep your Mac safe, use only the App Store and trusted official websites to download software, instead of using torrent trackers and websites full of aggressive advertising.
10. Remove large unused files
Large and unused files just clog your Mac’s hard drive space. If there is low free disk space on your Mac, it also makes your system run slow. You should skim all your folders step by step and delete the biggest files. Here is how to manually find the biggest files on your Mac.
- Launch Finder.
- In the menu bar, click File → select New Smart Folder.
- Click the plus “+” icon.
- Customize the search filter by size, greater than, and type the size of files you want to find.
- Take a look at your large files and remove unneeded ones.


Using New Smart Folder is OK for finding big files, but it may take hours. Keep in mind that MacCleaner Pro can help you find the list of large unnecessary files more quickly and easily. For this, use the Disk Space Analyzer app from the bundle.
Disk Space Analyzer will scan your Mac hard drive, analyze your disk space usage and provide a convenient diagram to find the large files and folders on your Mac. Also, the app displays the list of top 30 big files and provides a special option to easily operate these big files.

11. Move media files to external storage
Photos, videos, and music files take up significant space in your Mac storage. Having a low free disk space negatively affects Mac’s performance. Use cloud storage services or set up a separate storage device for storing your photos, music, and videos.
12. Clean up your Mac hard drive from other junk files
We call junk all the files that are unnecessary, and they take up useless space on your Mac hard drive. Duplicate files, logs, downloads, Trash, localization files – all of them are junk files. You should find and remove such files to recover some disk space and help your Mac run faster.
The good news is that you can easily find all types of junk files again with MacCleaner Pro.
13. Check your Internet connection
A slow or unstable internet connection can make your Mac feel sluggish, especially when browsing or using online applications. Here’s how to check and improve your internet connection:
- Restart your router. For this, unplug your Wi-Fi router, wait for 30 seconds, and plug it back in. This can resolve connectivity issues.
- Reconnect to Wi-Fi. Click the Wi-Fi icon in the menu bar → select “Turn Wi-Fi Off,” wait a moment, and then select “Turn Wi-Fi On.”
- Contact your ISP. If issues persist, reach out to your Internet Service Provider to ensure there are no service problems.
14. Disable visual effects
Visual effects can consume system resources, impacting performance. Reducing these effects can enhance speed.
How to disable visual effects:
- Go to System Settings.
- Select Accessibility in the left panel.
- Choose Display.
- Enable Reduce Transparency to minimize visual effects.

15. Delete unnecessary widgets
Using too many widgets may require high CPU and RAM. Here’s how to delete unneeded widgets:
- Swipe left from the right edge of your Mac’s screen.
- Right-click on any widget and click the Edit Widgets button at the bottom.
- Click the “-” button next to the widget to remove it.

16. Turn off iCloud syncing
On the one hand, iCloud syncing can help you free up space on your disk. On the other hand, it consumes bandwidth and system resources. Try turning off iCloud syncing for non-essential apps:
- Open System Settings.
- Click on your Apple ID at the top of the sidebar.
- Click See All the Saved category.
- Turn off syncing for apps that don’t require it.

17. Reset your PRAM
PRAM holds small bits of important system settings that your Mac uses during startup and operation, like screen resolution, Startup disk preference, or recent kernel panic information. Resetting PRAM will help you restore default settings and fix some glitches. Here’s how:
- Shut down your Mac.
- Turn on your Mac and immediately press and hold Option+Cmd+P+R for about 20 seconds.
- Your Mac will restart, and in System Settings, you’ll see that the settings have been reset.
18. Restart your Mac
Regularly restarting your Mac can clear temporary files and free up system resources.
- Click the Apple logo in the menu bar.
- Choose Restart…
- Confirm by clicking Restart in the window that appears.

19. Run Apple Diagnostics
Apple Diagnostics is a built-in tool on your Mac that checks for hardware issues. When you run it, the system scans your Mac’s hardware components and detects issues with RAM, battery, thermal sensors, logic board, and Wi-Fi module.
How to run Apple Diagnostics:
- Shut down your Mac.
- Disconnect all external devices (except keyboard, mouse, display, and power).
- Turn it on and immediately press and hold the D key.
- Release the key when you see a screen asking for your language.
- The diagnostic test will start automatically and take a few minutes.
- After the scanning, you’ll get a message saying whether no problems were detected or an error code with a brief description.
20. Add more RAM
Adding more RAM is one of the most effective ways to improve your Mac’s performance. However, not all Macs allow RAM upgrades.
Mac models that support RAM upgrade:
- iMac (non-Retina models, pre-2021)
- Mac mini (pre-2018 models)
- MacBook Pro (2012–2015 non-Retina)
- Mac Pro (all models)
The modern Macs with Apple silicon chips or Retina displays have soldered RAM, and you can’t upgrade RAM on them.
What is the best way to speed up a Mac?
Now you know why your Mac can be slow. We provided the manual steps to clean up your disk, disable extensions, widgets and other items to speed up your Mac. Yes, the manual way of removing some files takes up a lot of time. Therefore, you can read our comparison article to find the best Mac cleaning software for yourself, which can do these tasks much faster.
Luckily, you can perform all these tasks automatically with the help of MacCleaner Pro. MacCleaner Pro is a set of tools to free up disk space and speed up a Mac.
MacCleaner Pro
Frequently asked questions
Does wiping your Mac make it faster?
Yes. Cleaning a Mac and making more free space on your disk can significantly help you speed up your Mac. Removing junk files will recover valuable disk space. If it’s not enough, you can also find old unused large files and remove them or migrate them onto an external drive.
Does resetting your Mac make it faster?
Resetting a Mac means that all your data will be removed, and all the settings will be restored to the state when your Mac was first turned on. If the reason for a slow Mac was a cluttered disk, too many startup programs, then yes. Resetting a Mac can help your Mac run faster.
Does the Time Machine slow down Mac?
When the first time you make a backup with Time Machine, this can significantly slow down your Mac. However, the future backups should not affect your Mac’s performance because Time Machine backs up only minor changes after the previous backup.
Why is my Mac suddenly running so slow?
One of the most common reasons for a slow Mac is a lack of free space on your startup disk. Also, such reasons as using old, outdated software, having a large number of startup programs automatically running at Mac login, malware attacks, and low RAM make your Mac run slowly.