Going to replace your old printer with a brand new model? That would also mean you would need to delete printer drivers from your Mac, which can be confusing at times. This is because the process of removing a printer from a Mac is not the same as uninstalling standard applications. Per request from our users, we have written this guide to explain how to delete printer drivers with a step-by-step screenshot tutorial.
Contents:
- 1. How to manually delete printer drivers from a Mac
- 2. How to delete HP printer drivers from a Mac using HP Uninstaller
- 3. How To delete printer drivers from a Mac using App Cleaner & Uninstaller
How to manually delete printer drivers from your Mac
Follow these steps to delete printer drivers:
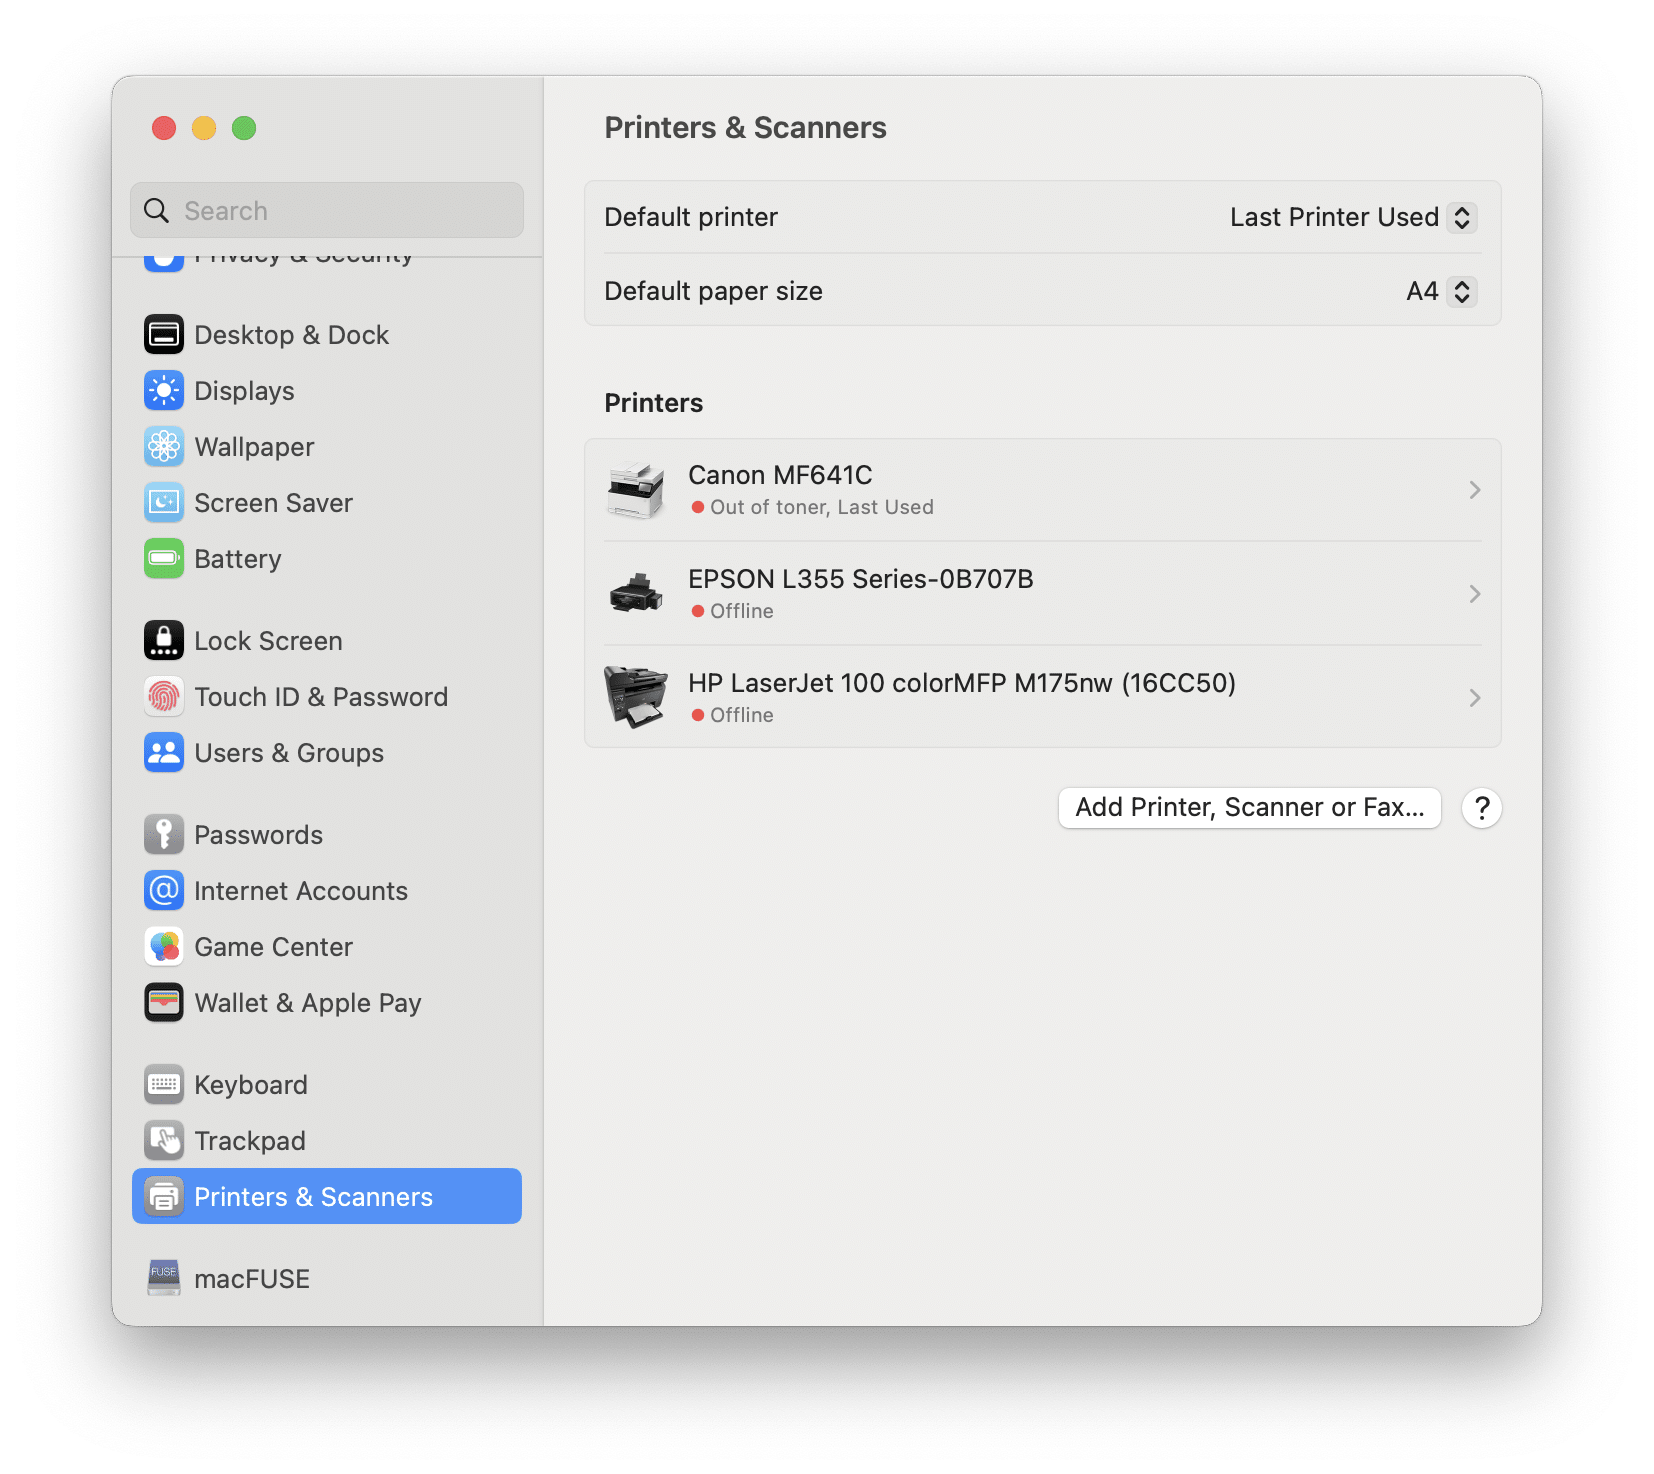
- Open Mac System Settings.
- Click on in the sidebar.
- Click on the machine you want to delete and click the Delete button.
- Confirm uninstalling the printer from your Mac.
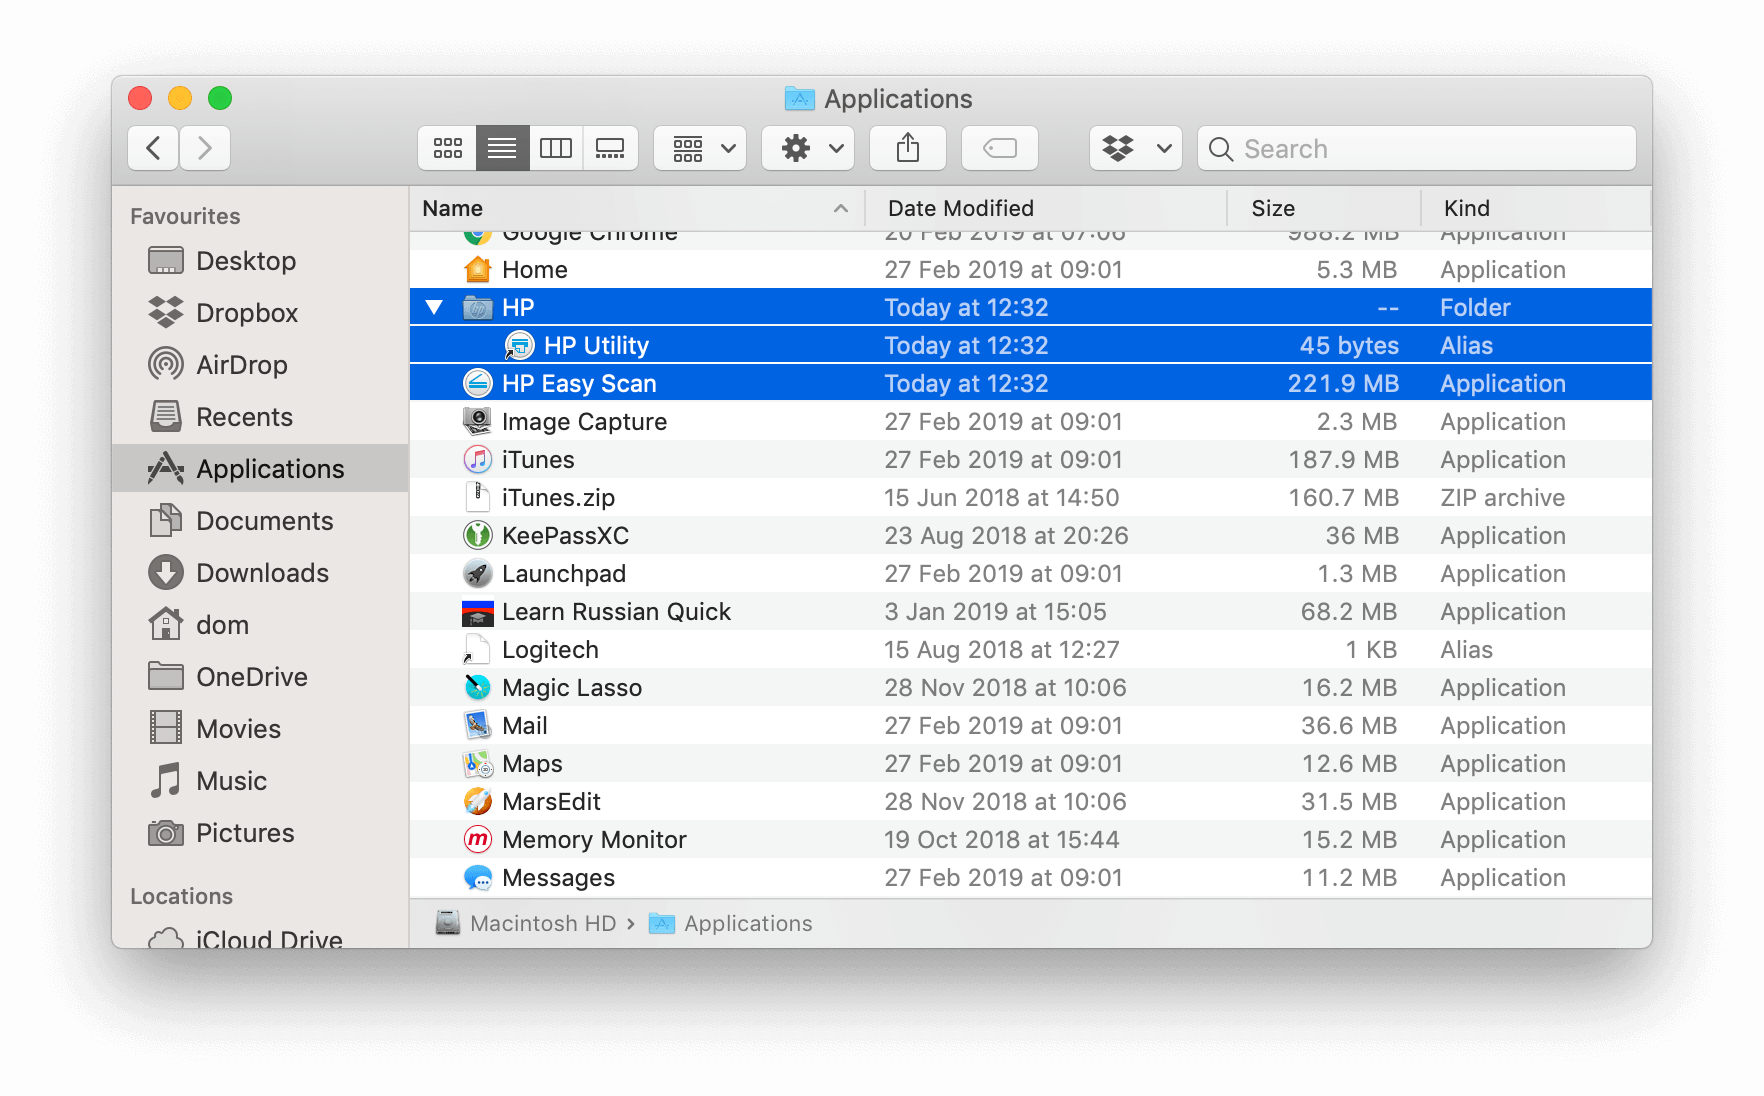
- Open and go to the folder.
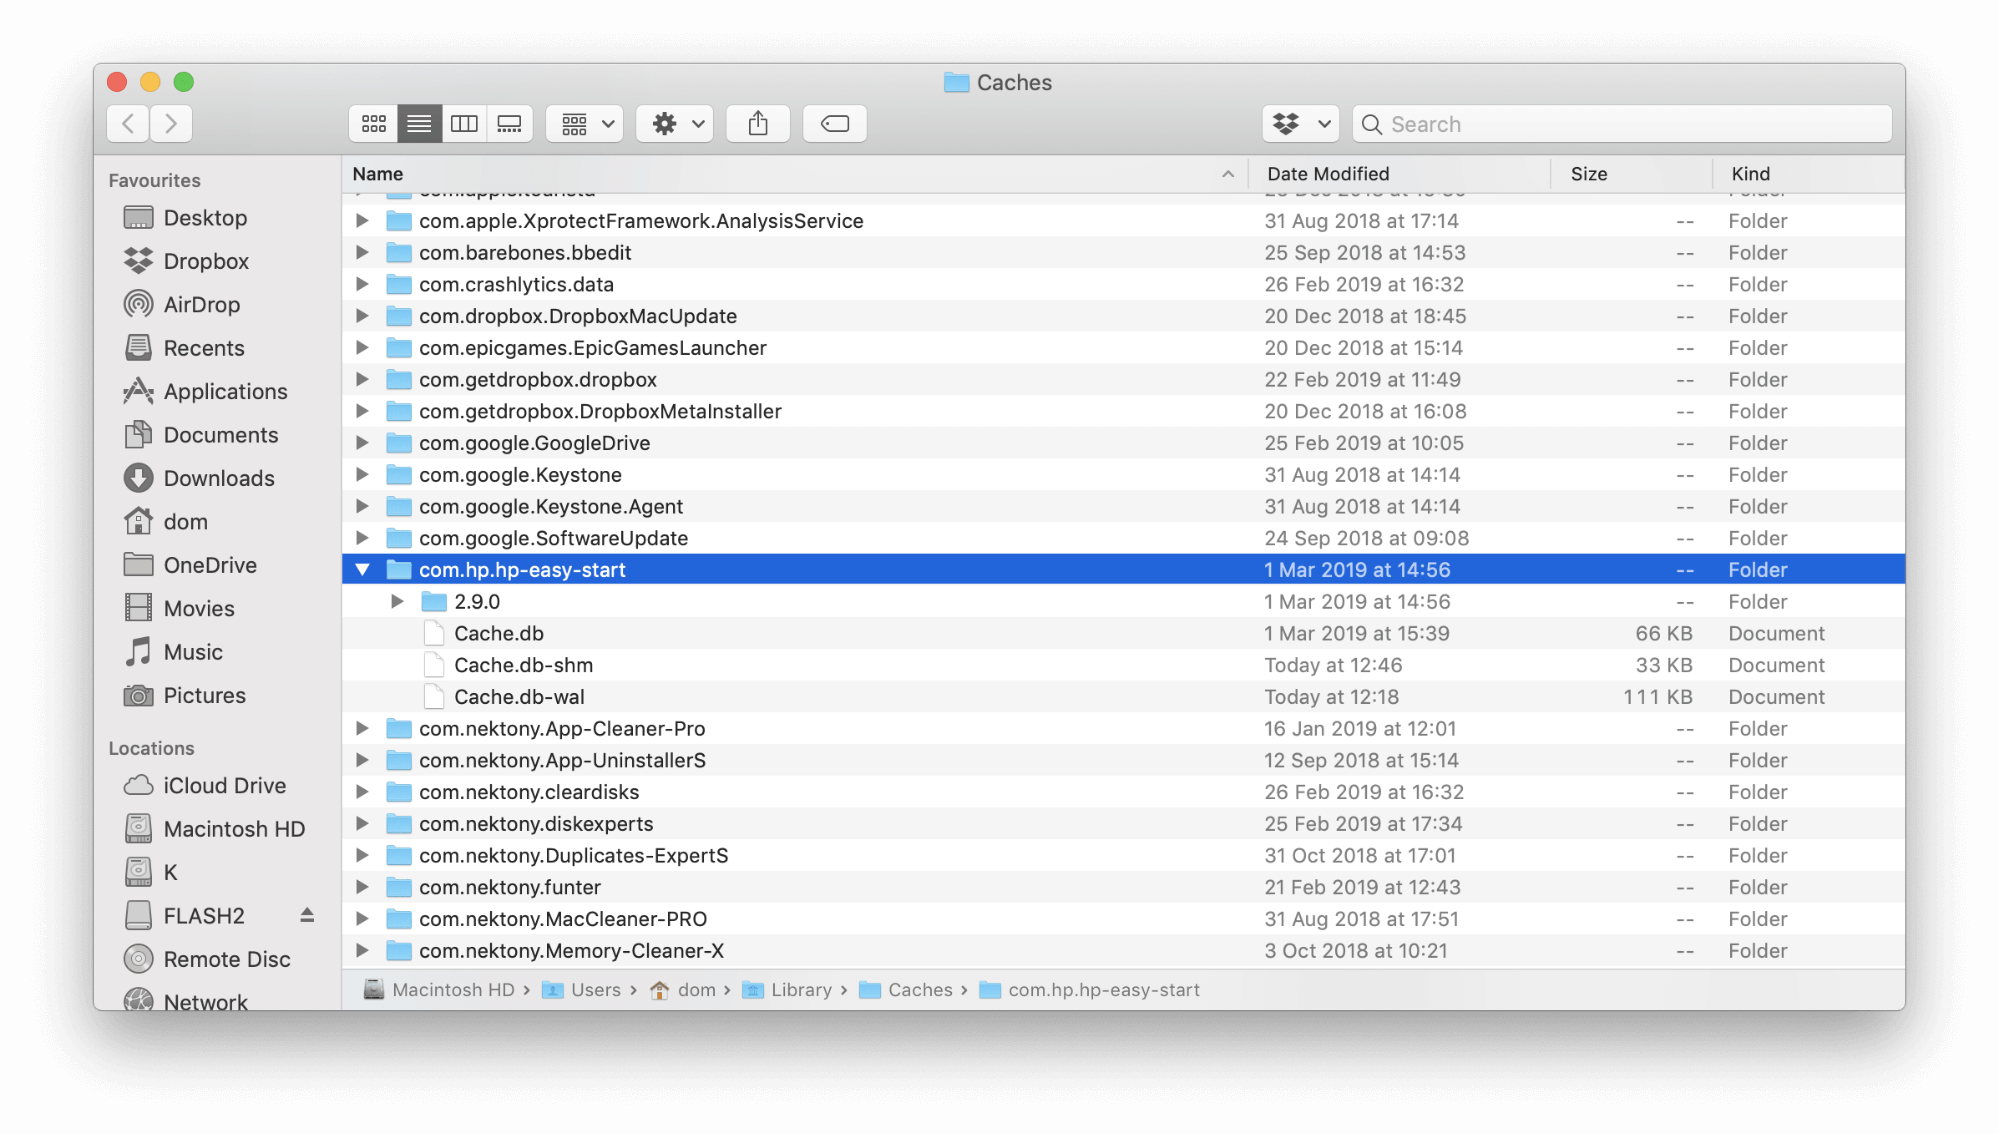
- Depending on your printer’s manufacturer, your related files may be named differently. You will need to move them to . Here is an example, specific to HP printers:
- Once that is done, you will also need to delete any cache and service-related files to your printer manufacturer. Usually, those files can be found in the following folders:
~/Library/Cache
~/Library/Preferences
~/Library/Logs
~/Library/Application Support
~/Library/Containers
~/Library/Printers
Please note that you will also need to delete the driver software from the printer manufacturer. In order to completely delete printer drivers, follow the steps below:
Don’t forget to clear your Trash afterwards in order to make sure that the apps have been deleted completely.
If you find the manual removal method time consuming for you, keep reading this article. We’ll explain two more methods on how to uninstall a printer on your Mac.
How to delete printer drivers using HP Uninstaller
HP Uninstaller is an official application provided by the printer manufacturer. You can use the utility to uninstall your HP printer driver. If you have a different brand of printer, please find the brand’s official website to locate the software needed to uninstall their products.
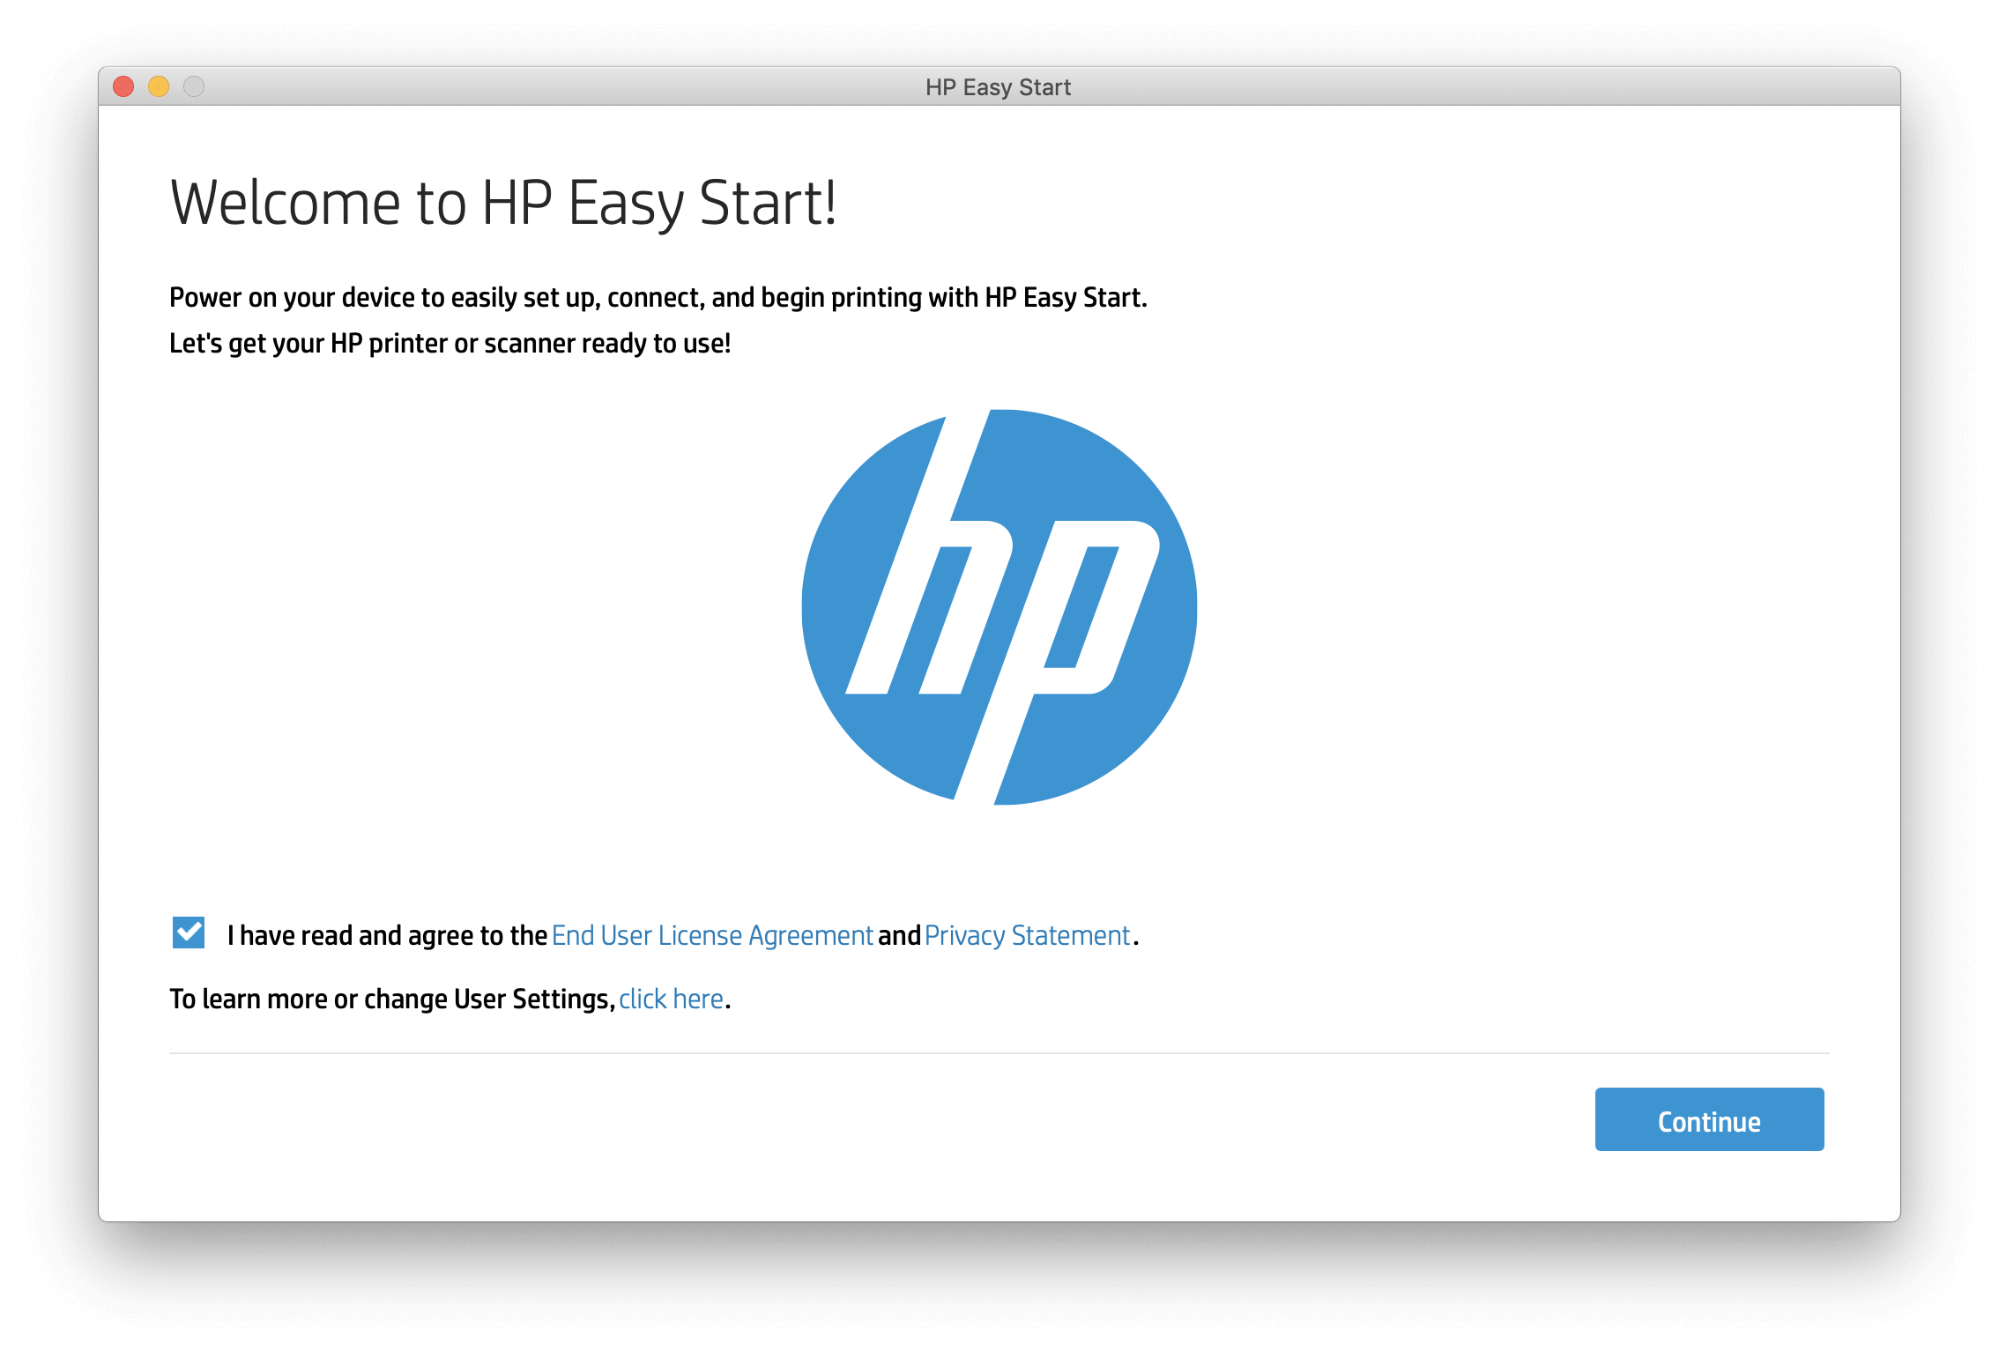
- Launch on your Mac (you can download it from the official website).
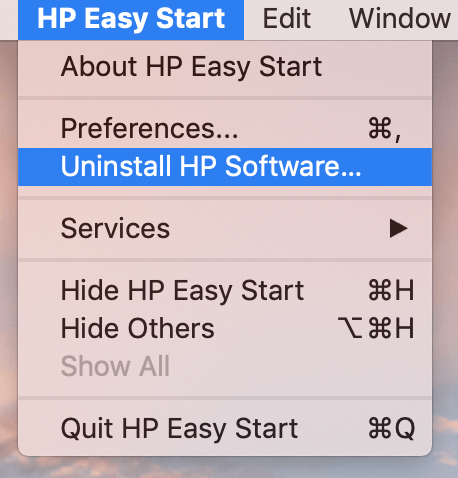
- Proceed to click on in your menu bar above and then select
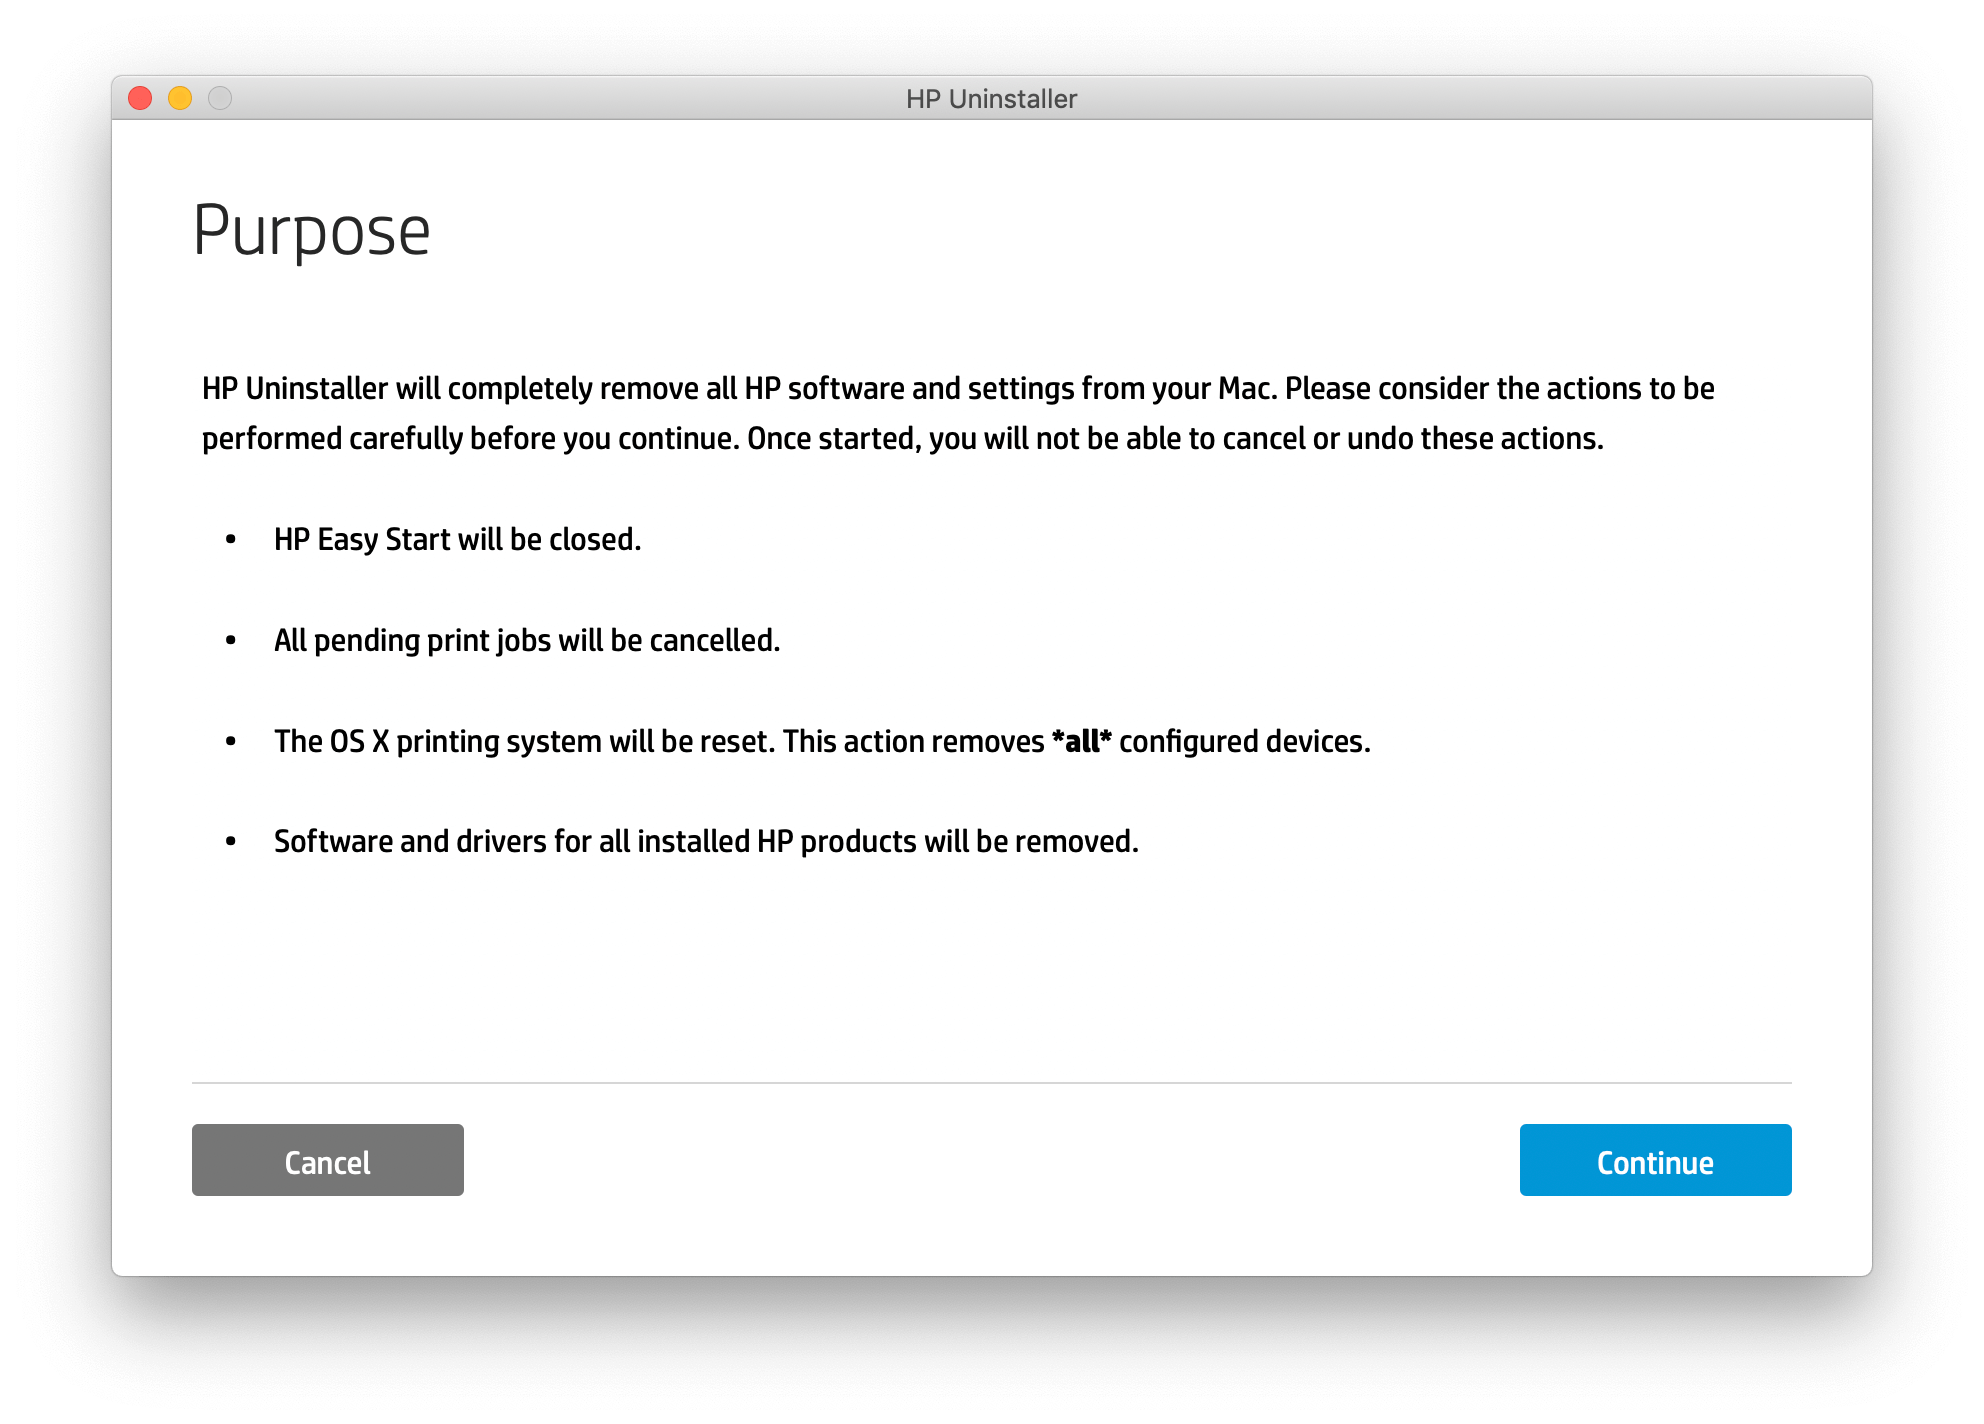
- Follow the required for the HP uninstalling steps.
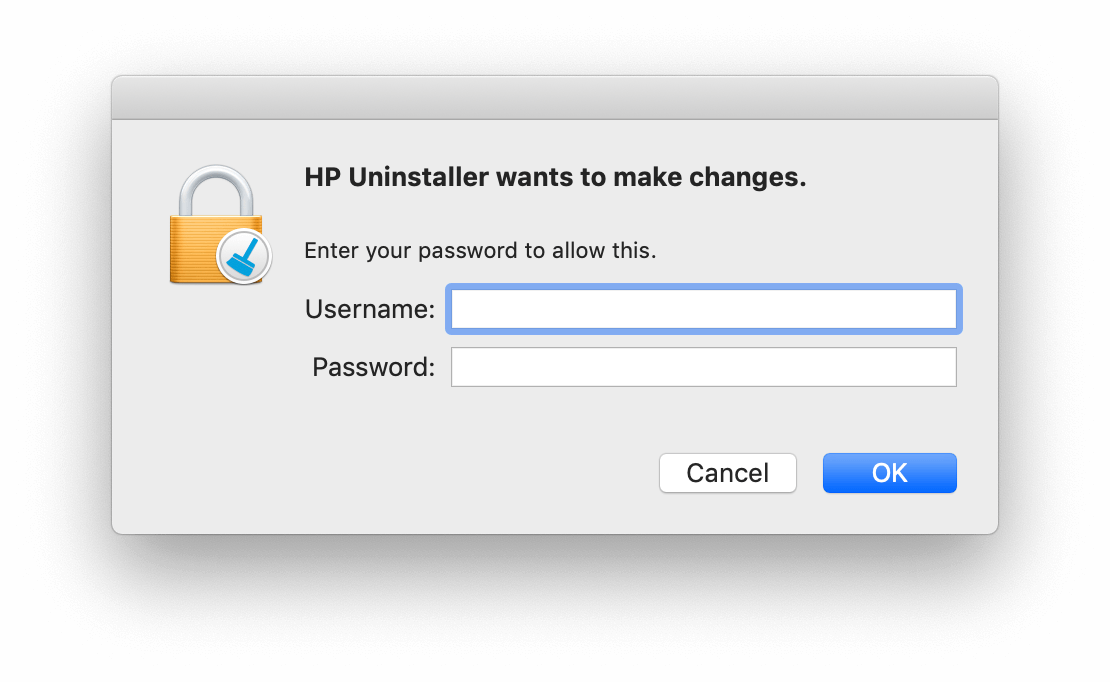
- If prompted, provide your username and password to grant permission to make changes.
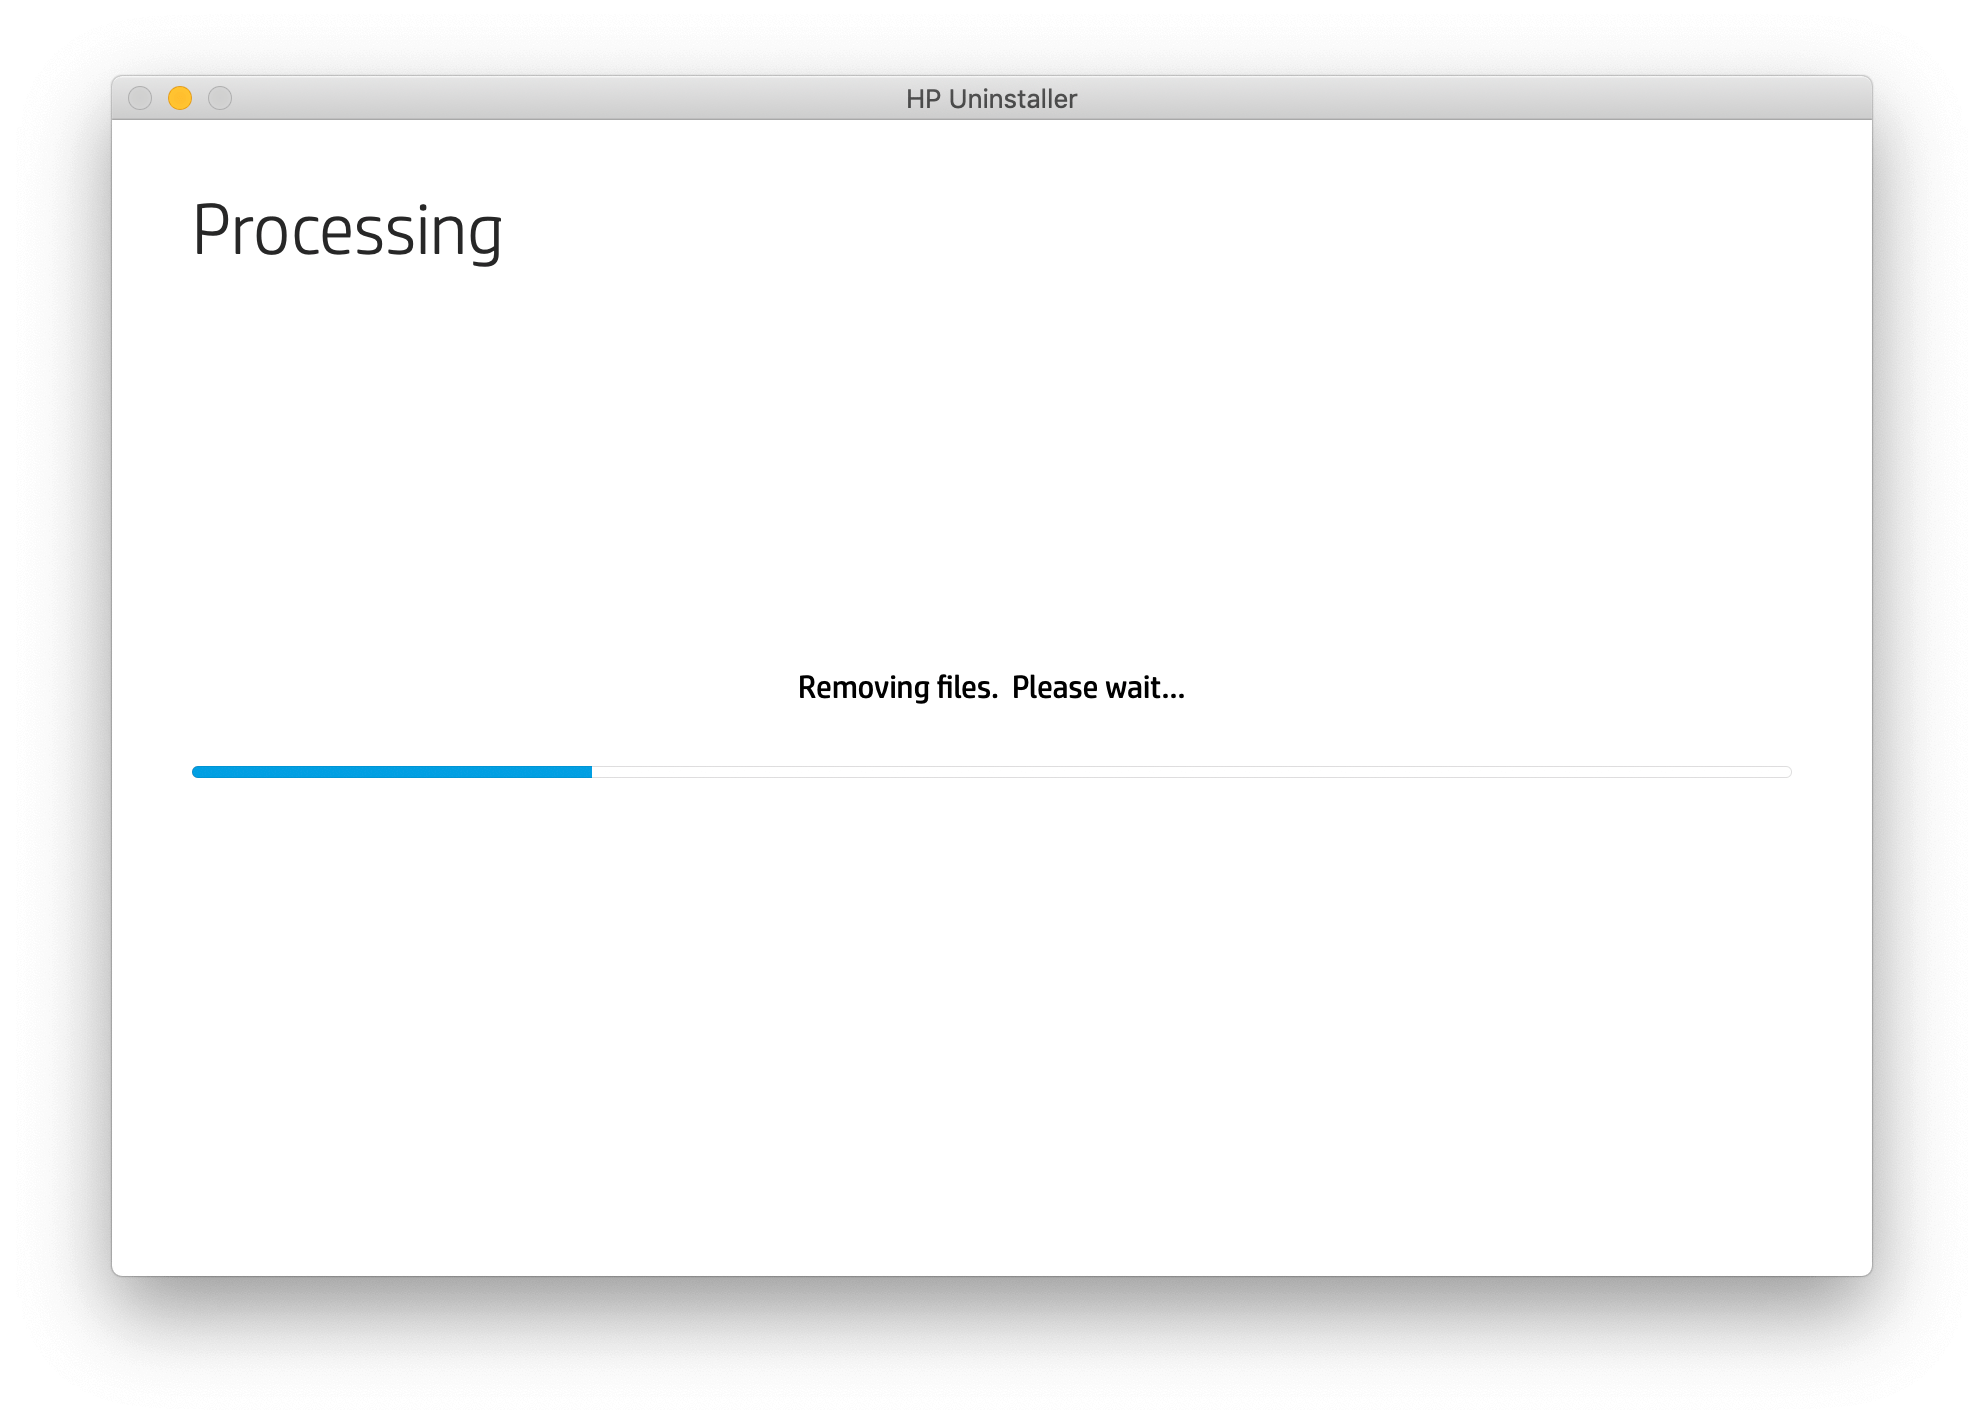
- Allow up to a few minutes to erase your files.
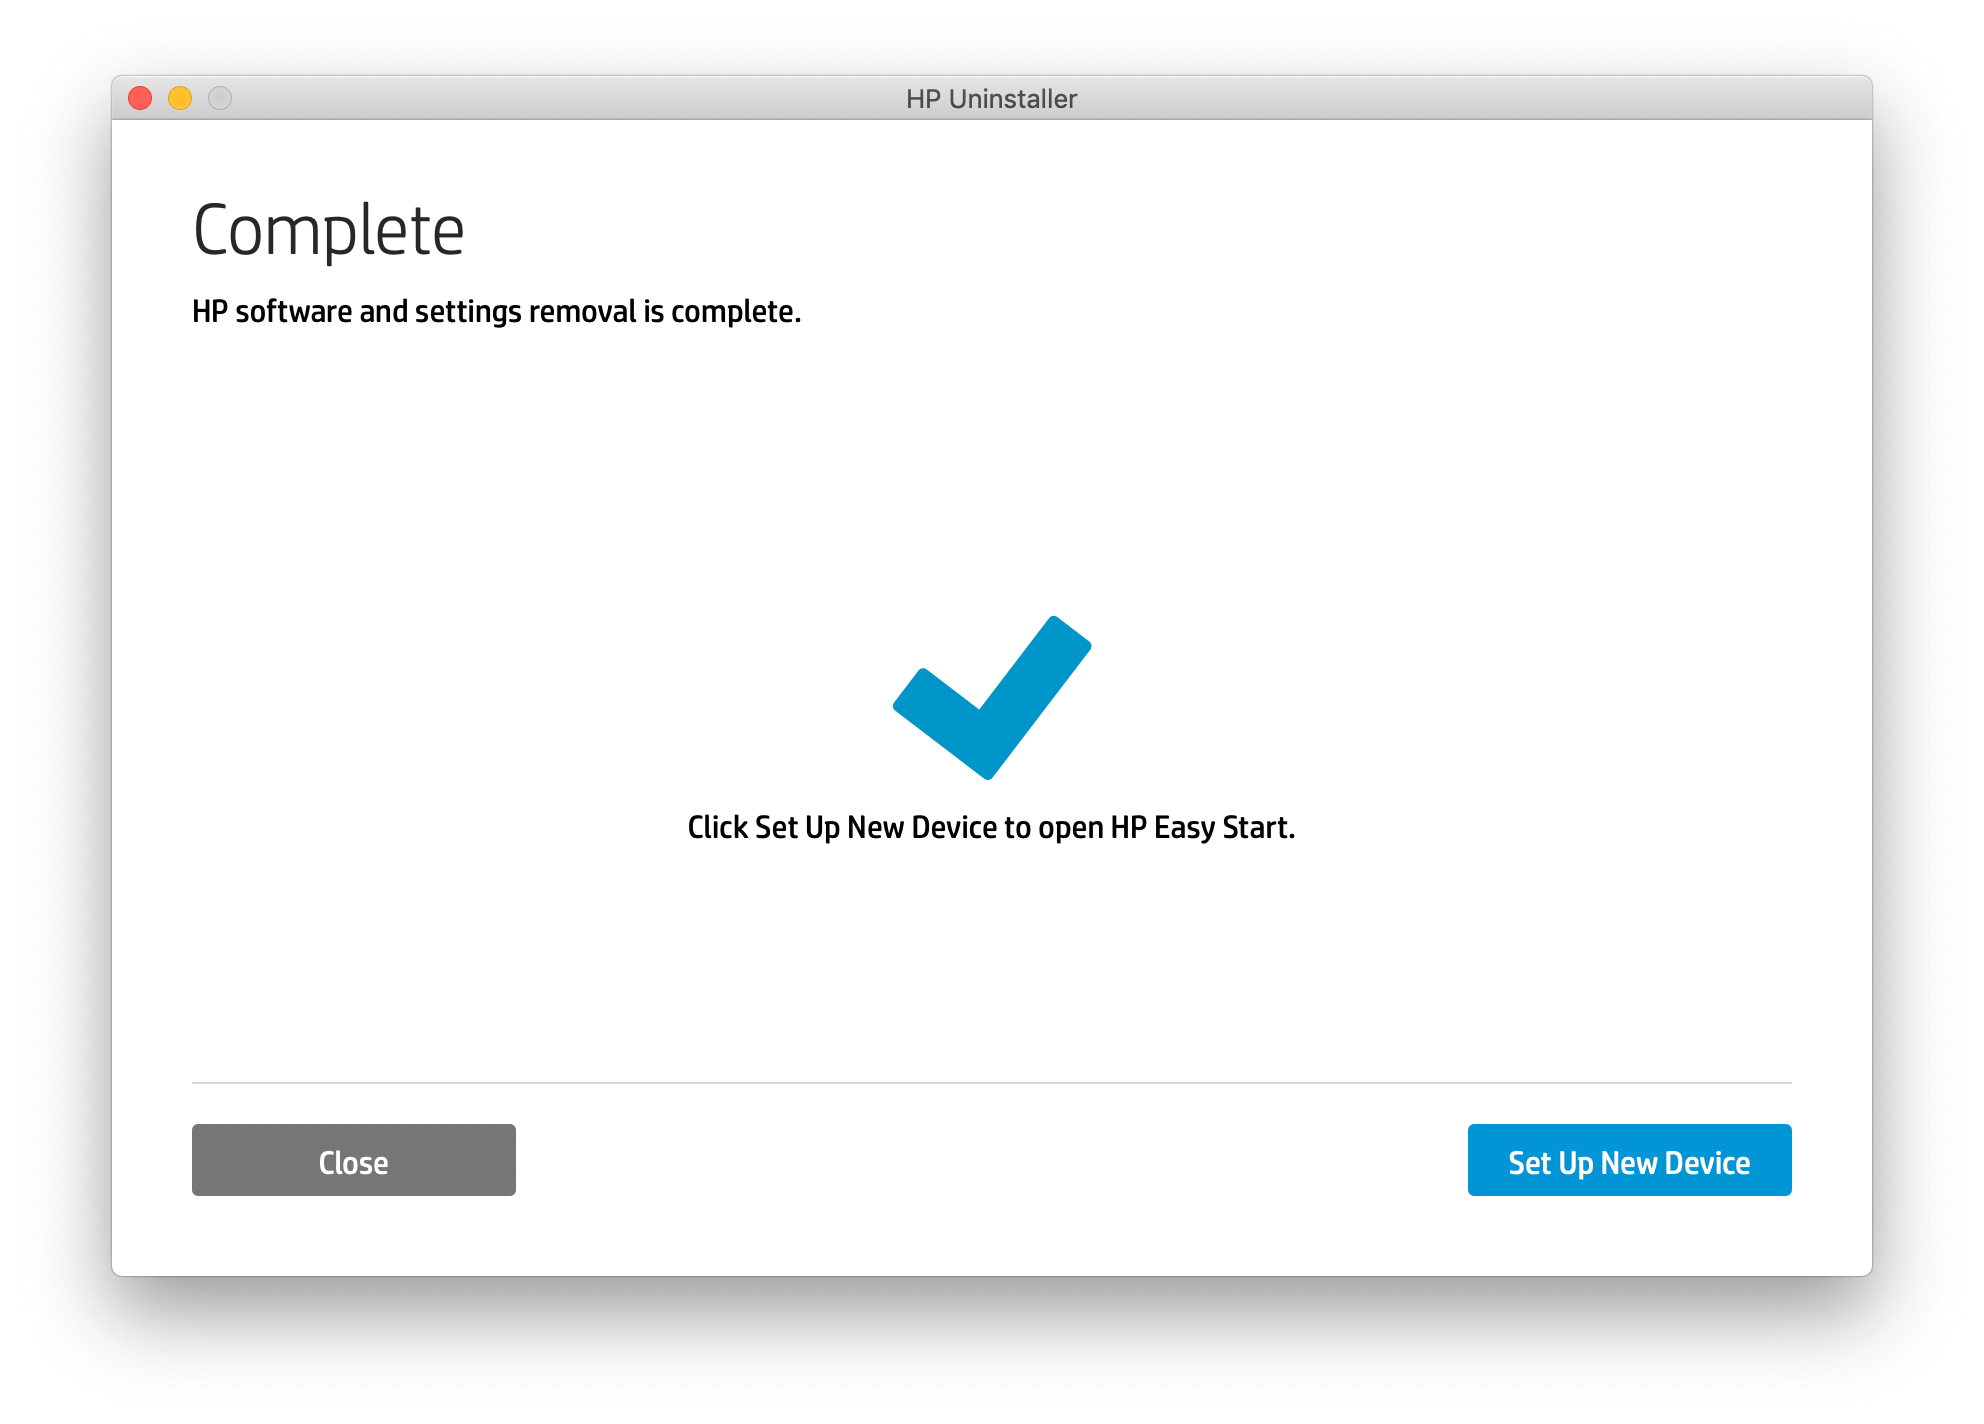
- If you wish to reinstall your HP software, simply click on and follow the instructions.
Unfortunately, even by using the official method provided by HP, you will still need to delete remaining cache & service files by yourself. As mentioned previously, see the following folders to locate them on your computer:
~/Library/Cache
~/Library/Preferences
~/Library/Logs
~/Library/Application Support
~/Library/Containers
~/Library/Printers
How to delete printer drivers from Mac using App Cleaner & Uninstaller
With the utility App Cleaner & Uninstaller, the whole process of uninstallation becomes quick and easy. Once set up, your entire computer is scanned for any related files that were originally installed with the app. This uninstalling tool detects all supported files saving you time and headache. Follow the steps below:
- Download and launch App Cleaner & Uninstaller.
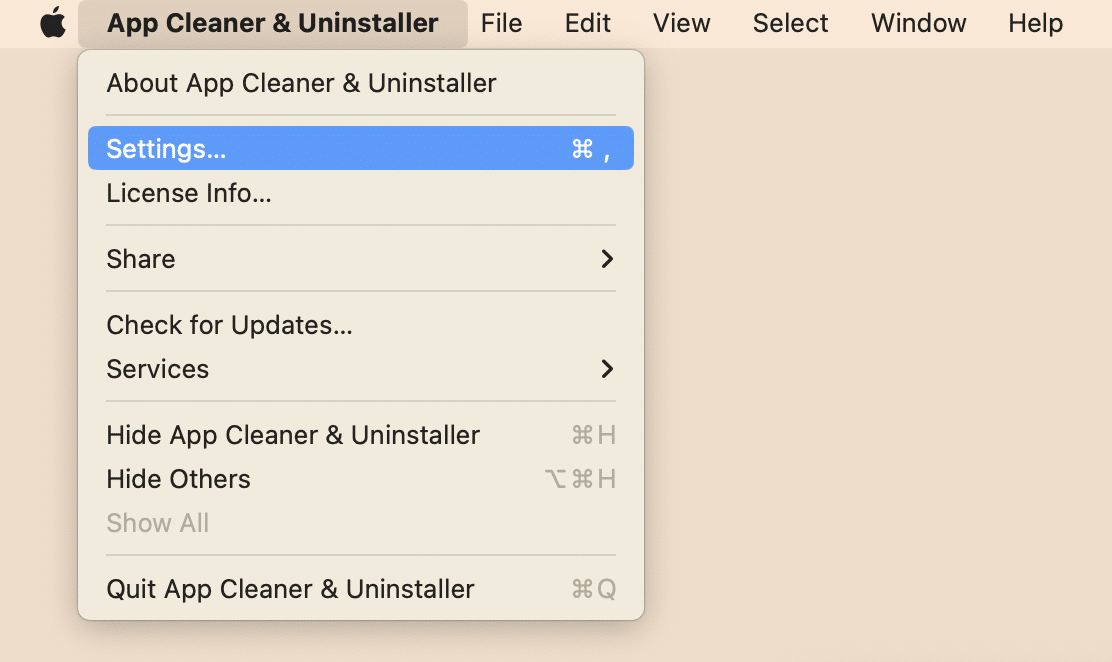
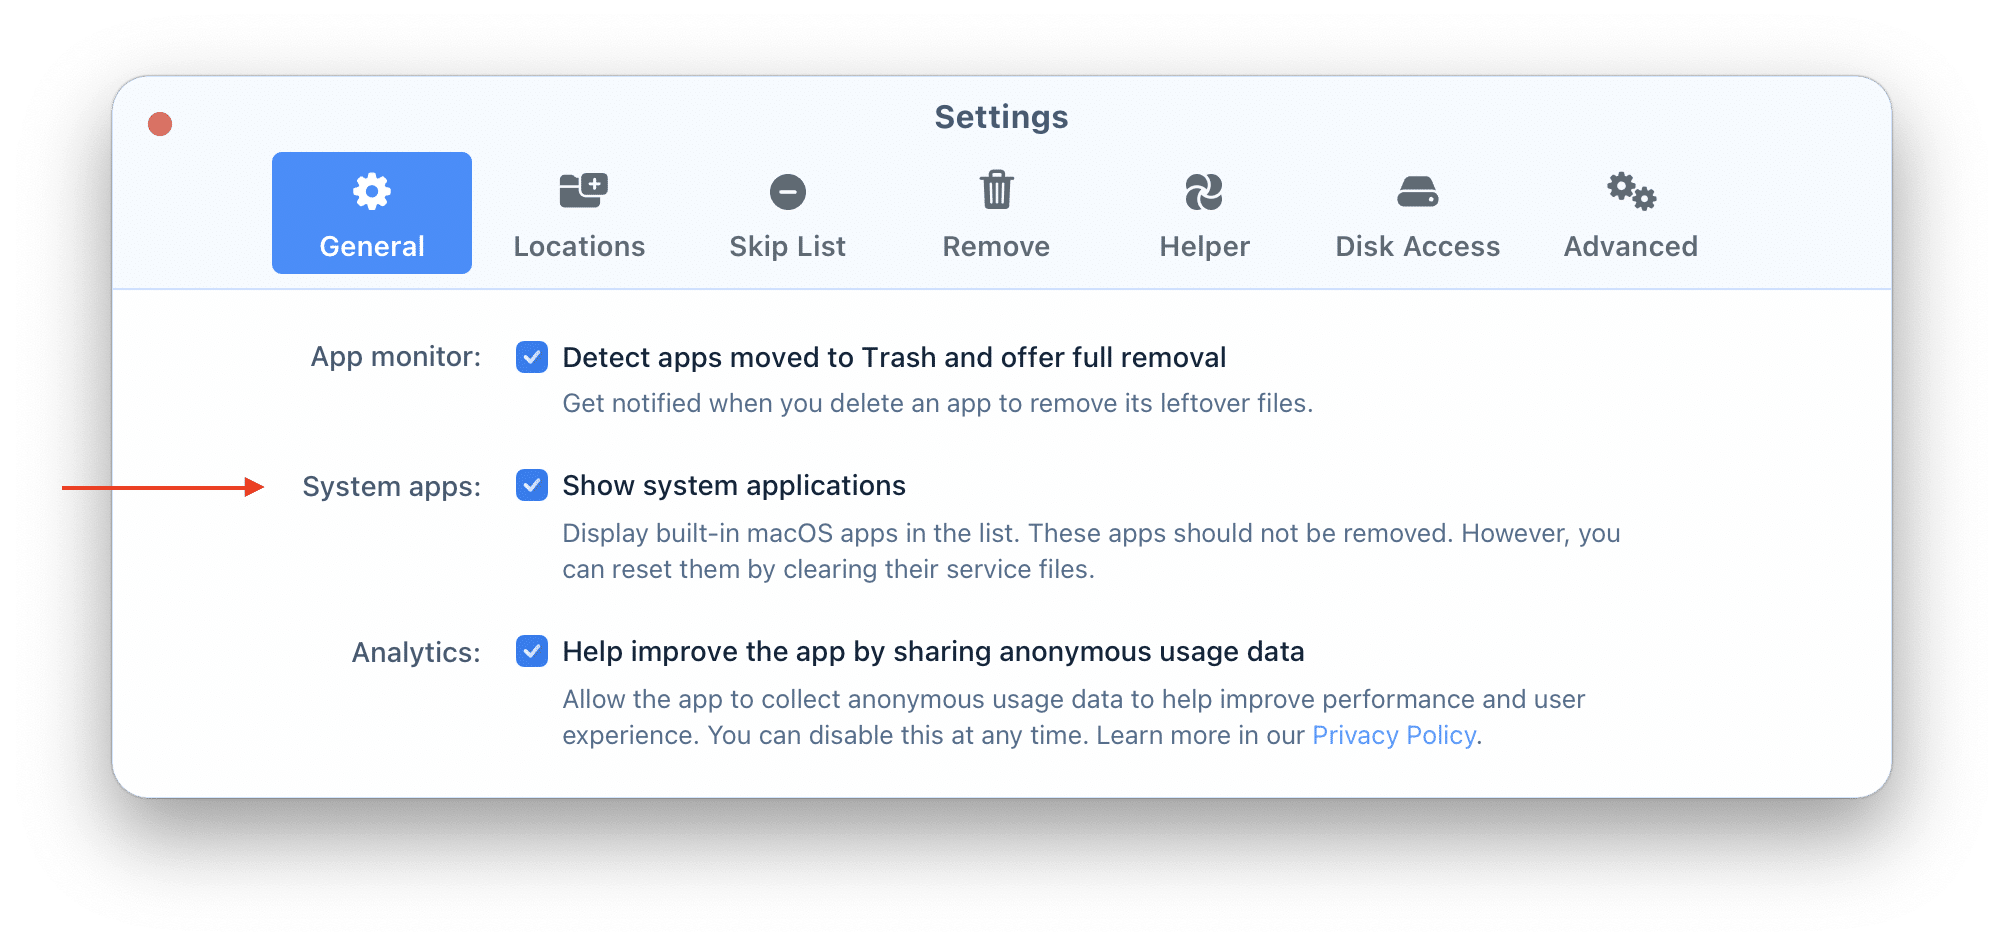
- As the HP products are recognized as mandatory system files by macOS, you will need to enable the Display System Applications feature temporarily for the process of uninstallation. For this, click on App Cleaner & Uninstaller Pro in the menu above and go to its .
- Enable Show system applications .
*Please don’t forget to switch this option off after you finish the uninstallation. - Select all of the applications related to your printer manufacturer. In our case, that would be HP Smart printer.
- Click to remove the printer and confirm the action.
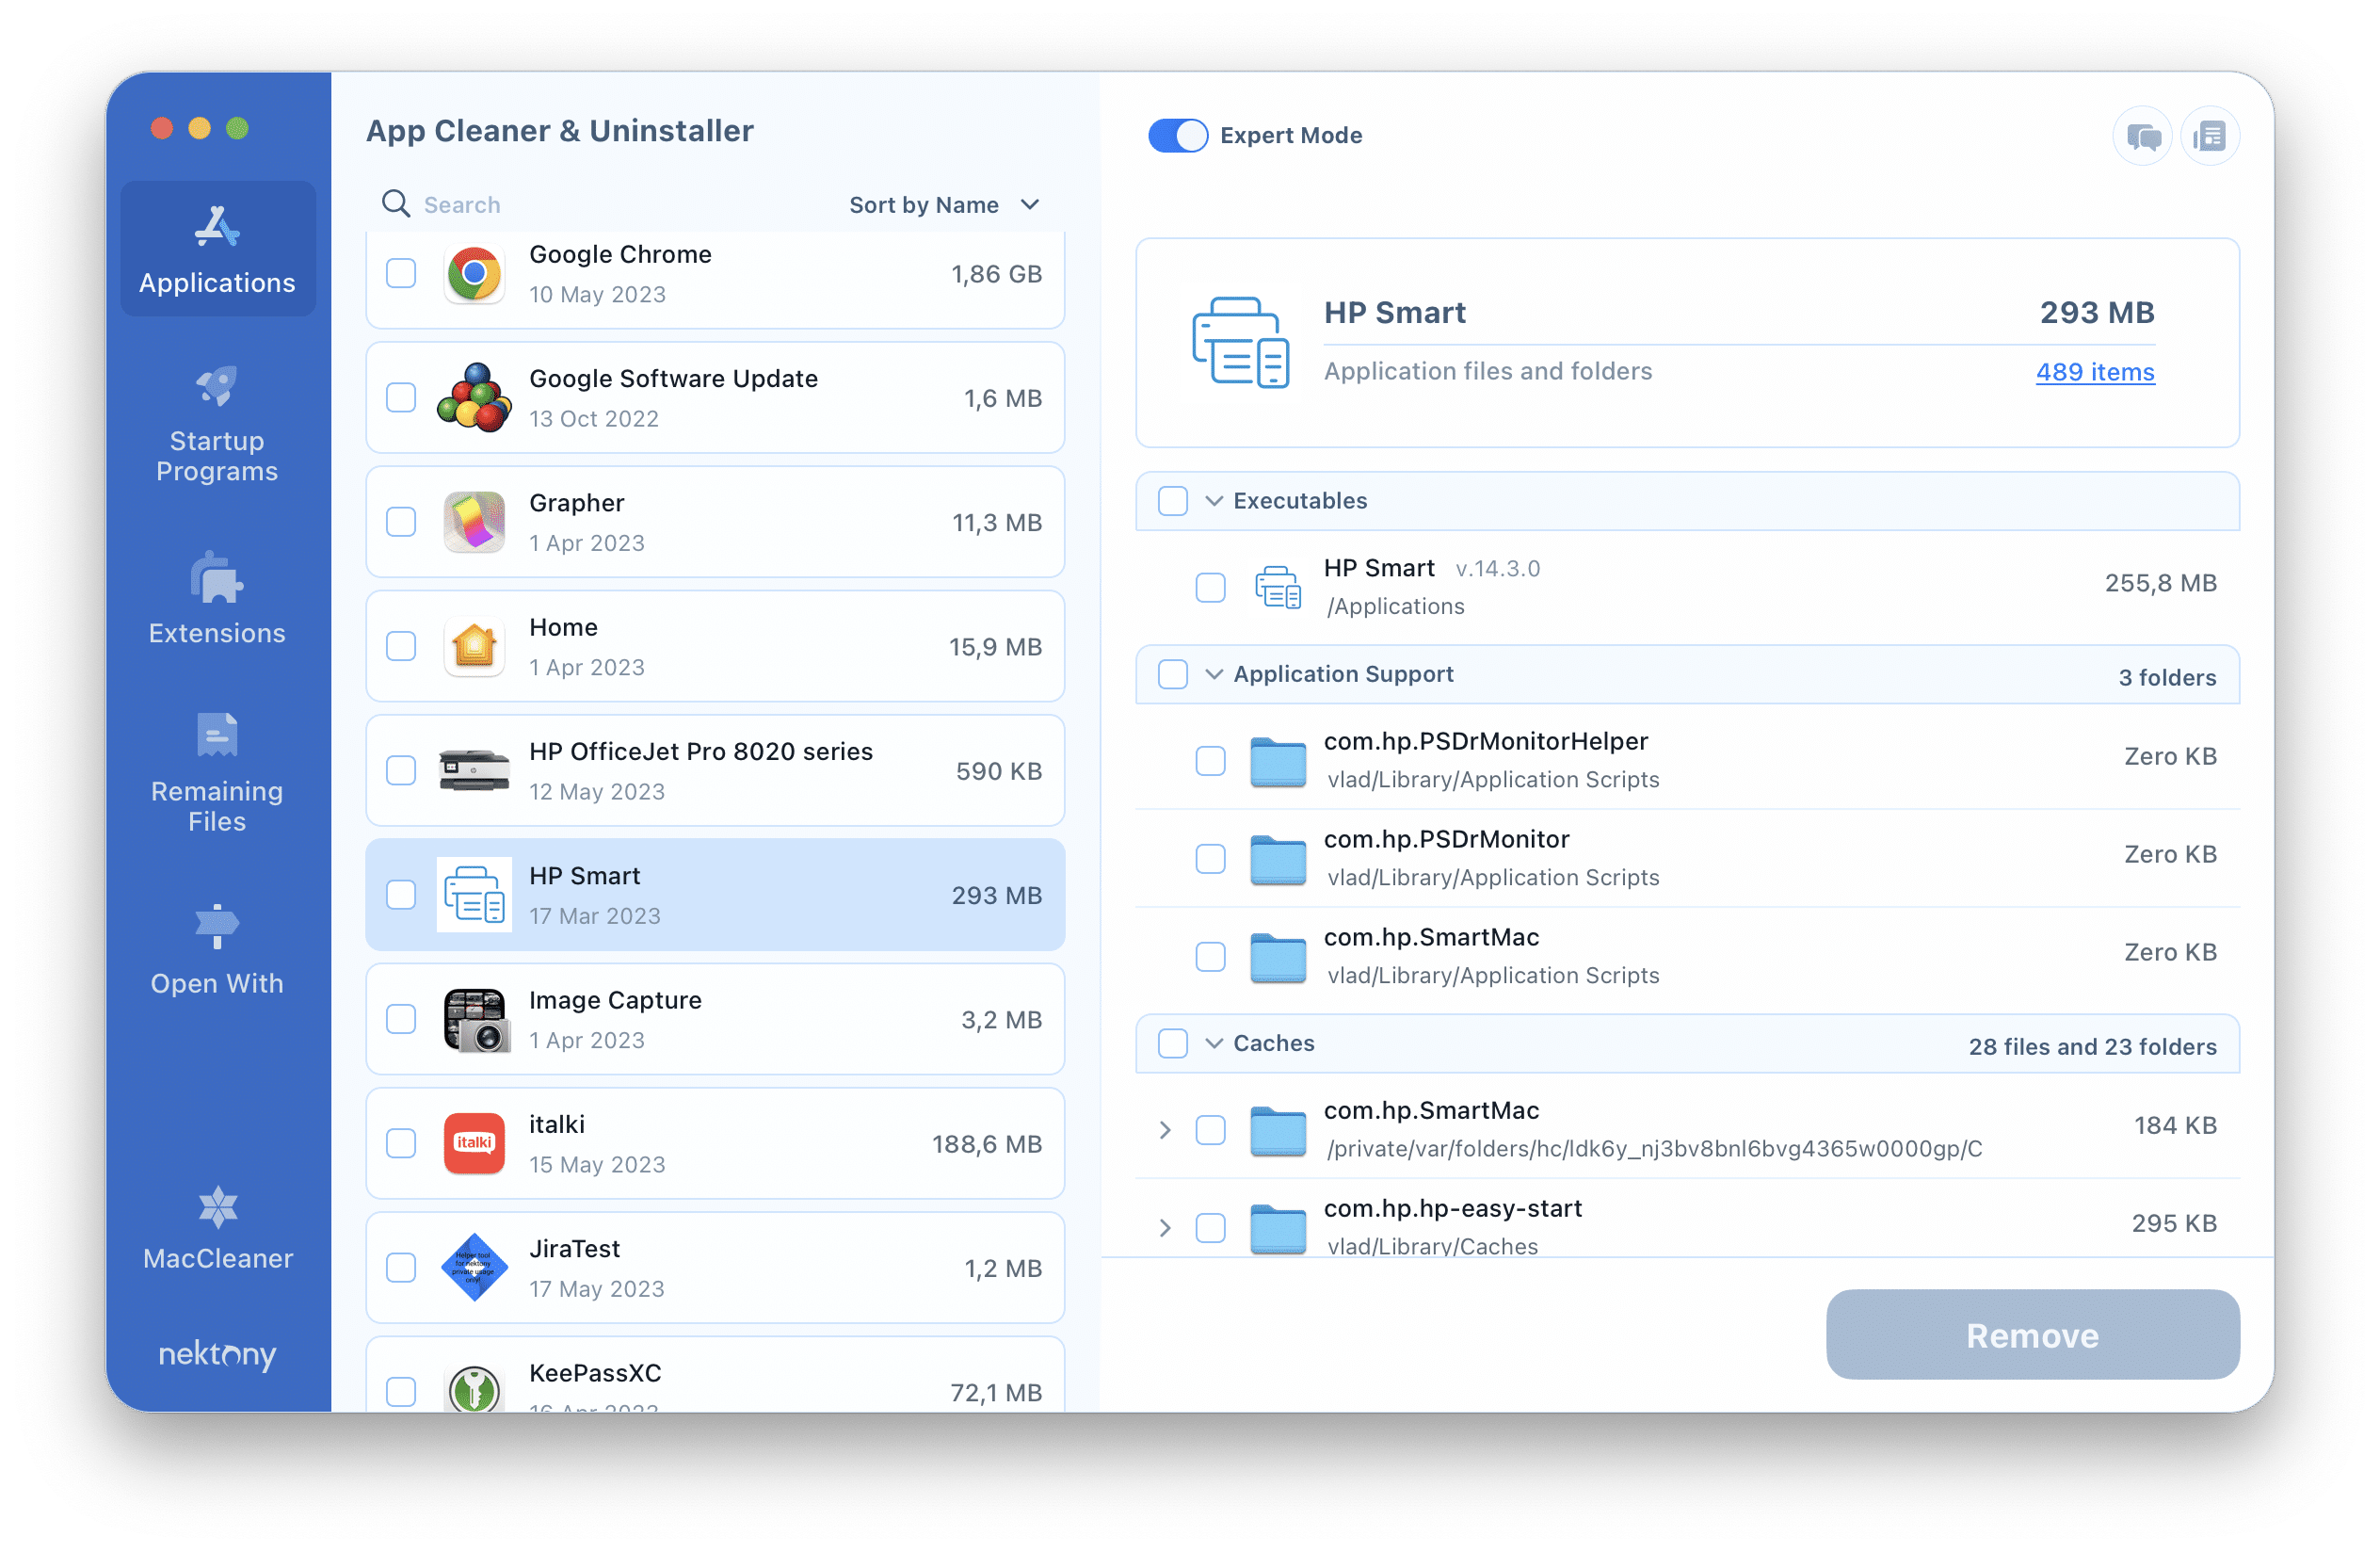
And that’s it! All of the files related to your Printer Manufacturer have been permanently deleted from your macOS in just a matter of a few clicks.
Now, simply remove the machine from → . If you still have not done that, just check the step-by-step guide in the first section of the article.
Conclusion
As you can see, uninstalling HP Printer products, either manually or using their internal software, is hardly a straightforward process. In order to have the programs completely erased, you still need to delete any remaining service files or cache on your own. This is practically the same for all other printer manufacturers.
On the other hand, if you use App Cleaner & Uninstaller, you will have a complete overview of all the folders and files related to the program, even if they are located in hidden folders.
