The Photos app, which is a Mac built-in image editor, is a convenient free photo editing software tool that helps you edit pictures easily. Most users jump straight to the conclusion that, in order to properly edit an image, you first have to purchase sophisticated third-party software. To make a point about this, we’ve decided to dedicate this article to show you what the native editor is capable of. Read on to learn how to edit photos on Mac without Photoshop or any other third-party software.

Contents:
1. How to edit photos on a Mac through the Photos app.
2. How to apply photo filters via the Photos app
3. How to crop a picture with the Photos app.
4. How to markup photos with the Photos app
How to edit photos on a Mac through the Photos app
Photos is an app that comes pre-installed on Mac computers and allows you to organize, edit, and share your photos and videos.Photos also has powerful editing tools that let you enhance, crop, rotate, filter, and adjust your photos. Follow the steps listed below to start editing photos on your Mac:
- Launch the Photos application.
- Navigate the photo you want to edit and double-click it.
- Click on Edit in the top right corner.

You will see various windows that you can use as a great Mac image editor.
Let’s first take a look at the Adjust feature.
How to edit pictures on Mac with the Adjust feature
The Adjust feature allows you to modify the light, color, and black and white settings of your photos.
Use the Adjust feature of the Photos app, to change the colors, increase or decrease balance, make the image both bigger and smaller as well as a few other useful functions.
Go through the tools on the right to modify and play with the light, brightness, curves, and others. You can use them to make significant changes to your photograph.

Click Done when you are finished.
If you want to revert to the original photograph, click Reset Adjustments.
How to apply photo filters in the Photos app
With Filters, you can choose to apply various effects to the photo and compare the differences between them. If you don’t want to spend too much time editing pictures, photo filters come in very handy as you can change the tone of your picture in just a few clicks.
- Open the Photos app.
- Double-click the photo you want to edit.
- Click the Edit button in the top right corner.
- Go to the Filters section.
- On the right-hand side, you will see the list of all available filters.
- Click on the filter name and preview the result.
- If you like the new colors of your photo, just click Done.

If you change your mind about the filter, you can always revert to the original photograph by clicking on Revert to Original on the top or using the Cmd+Z shortcut.

Note
The application finds duplicate and similar photos on your Mac as well as any other type of duplicate files.

Duplicate File Finder
How to crop a picture in the Photos app
Cropping is similar to applying photo filters. Keep in mind that you can always cancel any changes that you’ve made by clicking on the Reset button, or otherwise Revert to Original. Just see below how easy it is to crop images.
- Open the Photos app.
- Navigate the image you want to crop and double-click on it.
- Click the Edit button in the top right corner.
- Go to the Crop section.
- Adjust the photograph to the size you need by using the Aspect and Flip features. The
- Flip feature allows you to rotate the photo. The Aspect feature provides a wide range of automatic sizes or allows you to select custom size for your picture.

- Finish your editing by clicking Done.

How to markup photos with the Photos app
If you wish to make some notes to your picture, add text and even draw whatever you want on the image, you can do it with the Markup feature.
- Click on the “Manage” icon on the top right corner.
- Select Markup.

- The Mac image editor will switch you to the mode where you can apply all the above-mentioned effects.
- Once you have finished, click Save Changes.


Conclusion
Now you know how to use Photos on Mac as a quick and free image editor. Although there are numerous software solutions to learn how to edit pictures professionally, we still believe that the native editor is worth a shot. Why? Simply because of its simplicity and the fact that you don’t need to spend much time to get the hang of it.
Whether you are a photo filter type of person who wants to see instant changes with the click of a button, or you prefer to play with the editing features yourself, you can always give the Photos app a try at absolutely no charge. And, if you have created tons of similar looking or duplicate photos, use a free application Duplicate File Finder to remove unneeded copies.
FAQ about the Photos app on Mac
How to import pictures to the Photos app?
To edit photos on a Mac through the Photos app, you will need to import a photograph to Photos so that you can use it as a Mac picture editor. This process is fairly easy and straightforward. Simply follow the step-by-step guide to import one or more images.
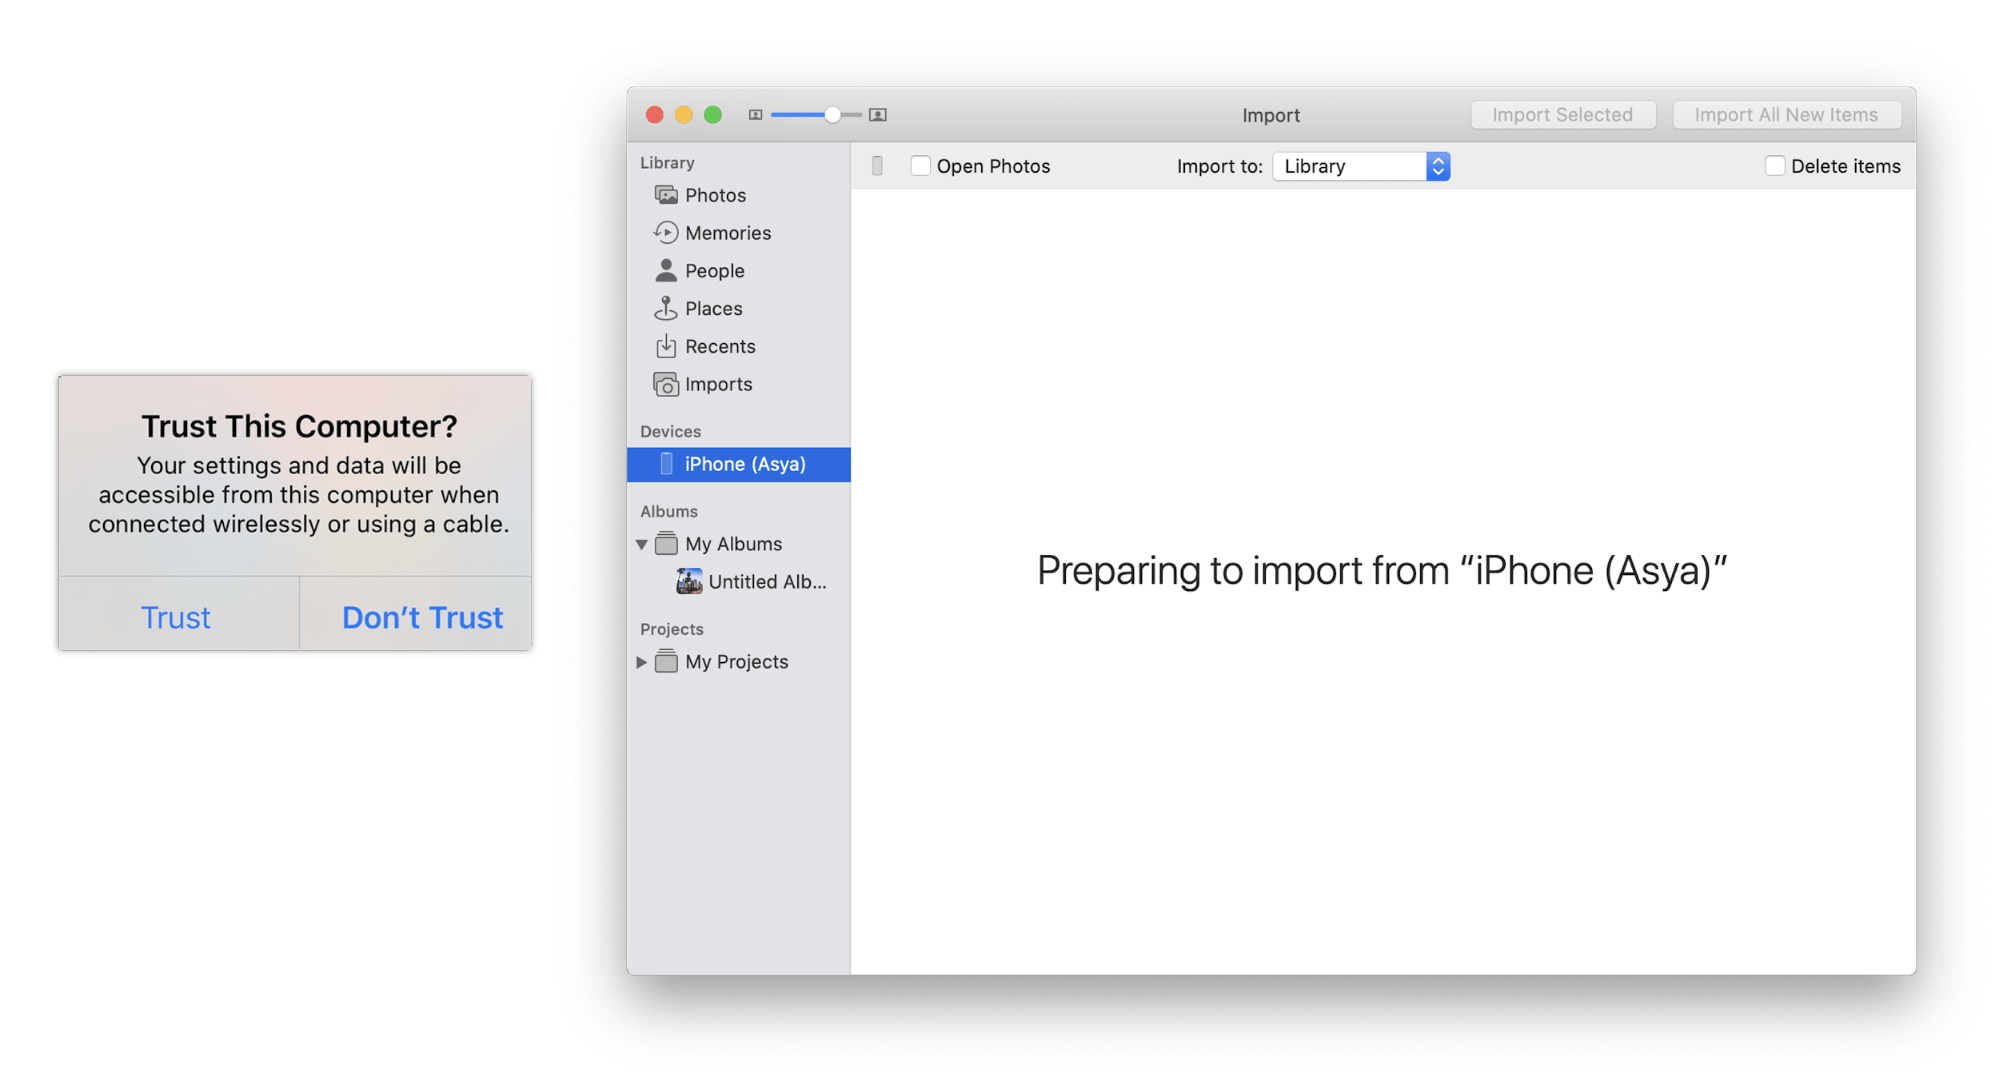
- Connect your iOS device to your Mac. You will see the model information appear in the left-hand menu.

- Tap “Trust this Computer” on your device. In a few seconds, the Photos app on your Mac will display all the photos of your iPhone.

- Select the photos that you would like to import through the app and click Import Selected in the top right corner.

- Check the box on the top which says “Delete items” if you want to have them deleted on the device after importing them.


If you want to import images to the Photos app from other folders on your Mac, just drag and drop them to the Photos app’s window.
If you wish, you can also separate your photographs into various albums and choose names for each image. Simply drag the photos down from the Import section to the album of your choice. Keep in mind that the album has to be created first.
Where are imported photos stored on Mac?
In macOS the imported images to the Photos app are located in the following hidden folder:
~/Pictures/Photos Library.photoslibrary/Masters/.
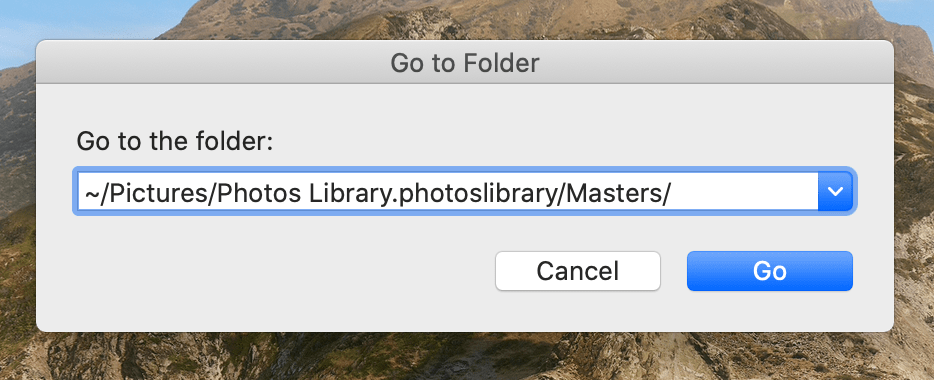
You can go to this folder by using the Go To Folder command from the Menu bar.
Note: to view the photos in the Photos app, you need to select Show Package content in the context menu.

Can I edit screenshots on Mac?
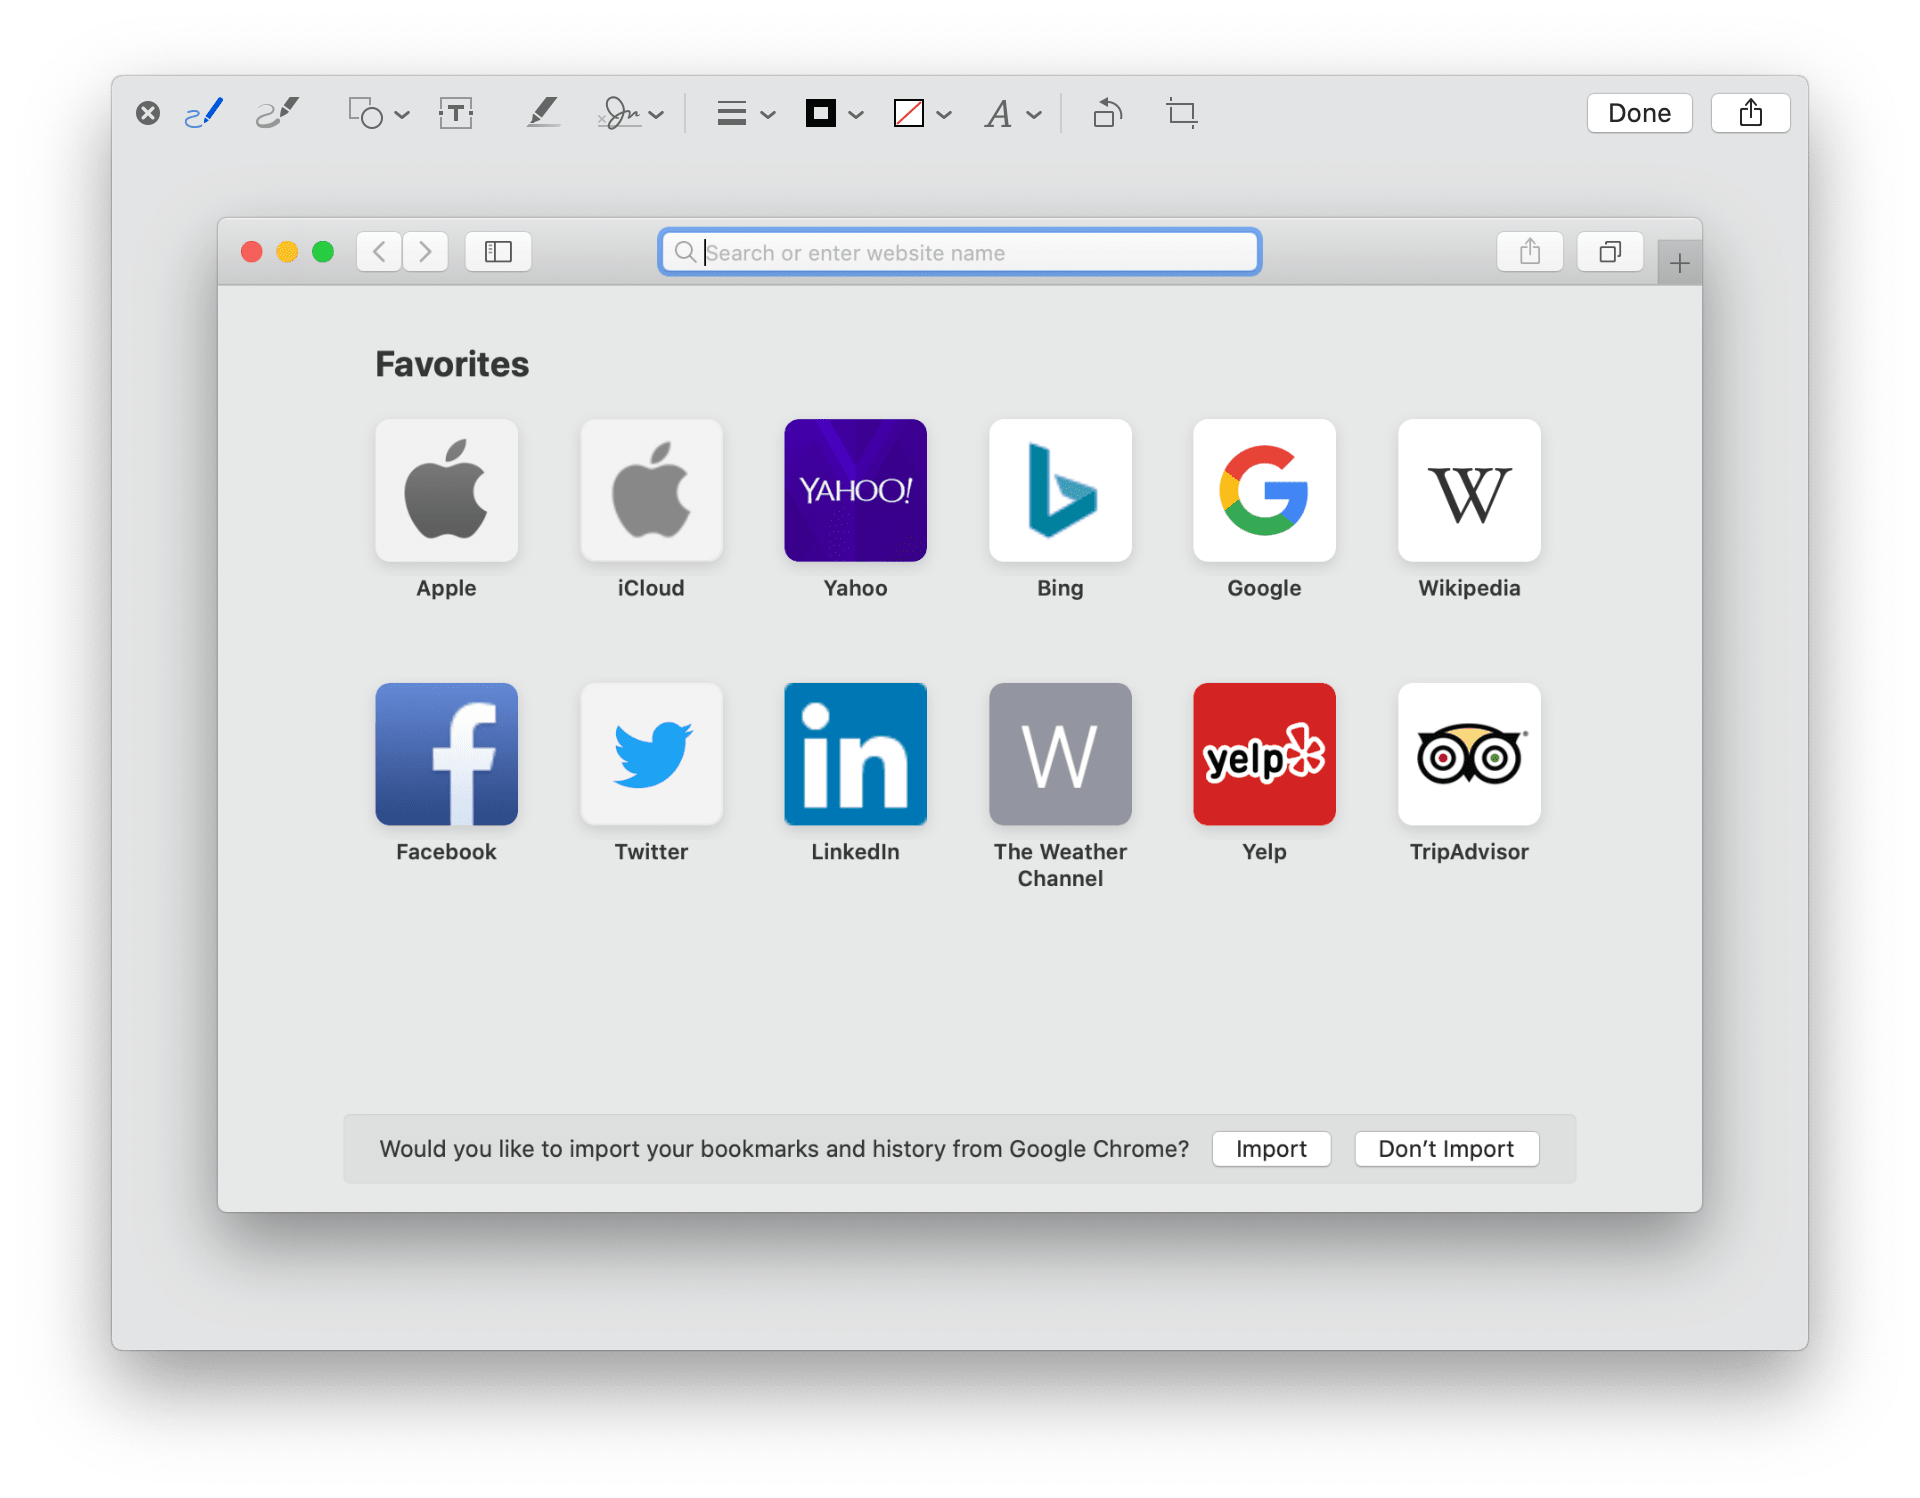
Yes, you can edit screenshots using the default Preview program in macOS. Here is how to quickly edit your screenshot on Mac:
- Open your screenshot in a preview mode. Just click the spacebar on it.
- Click the Markup icon.

- Here you can make some changes such as adding notes, cropping, drawing, rotating and so on.
- Once you have finished, click Done.

How to delete duplicates in Photos?
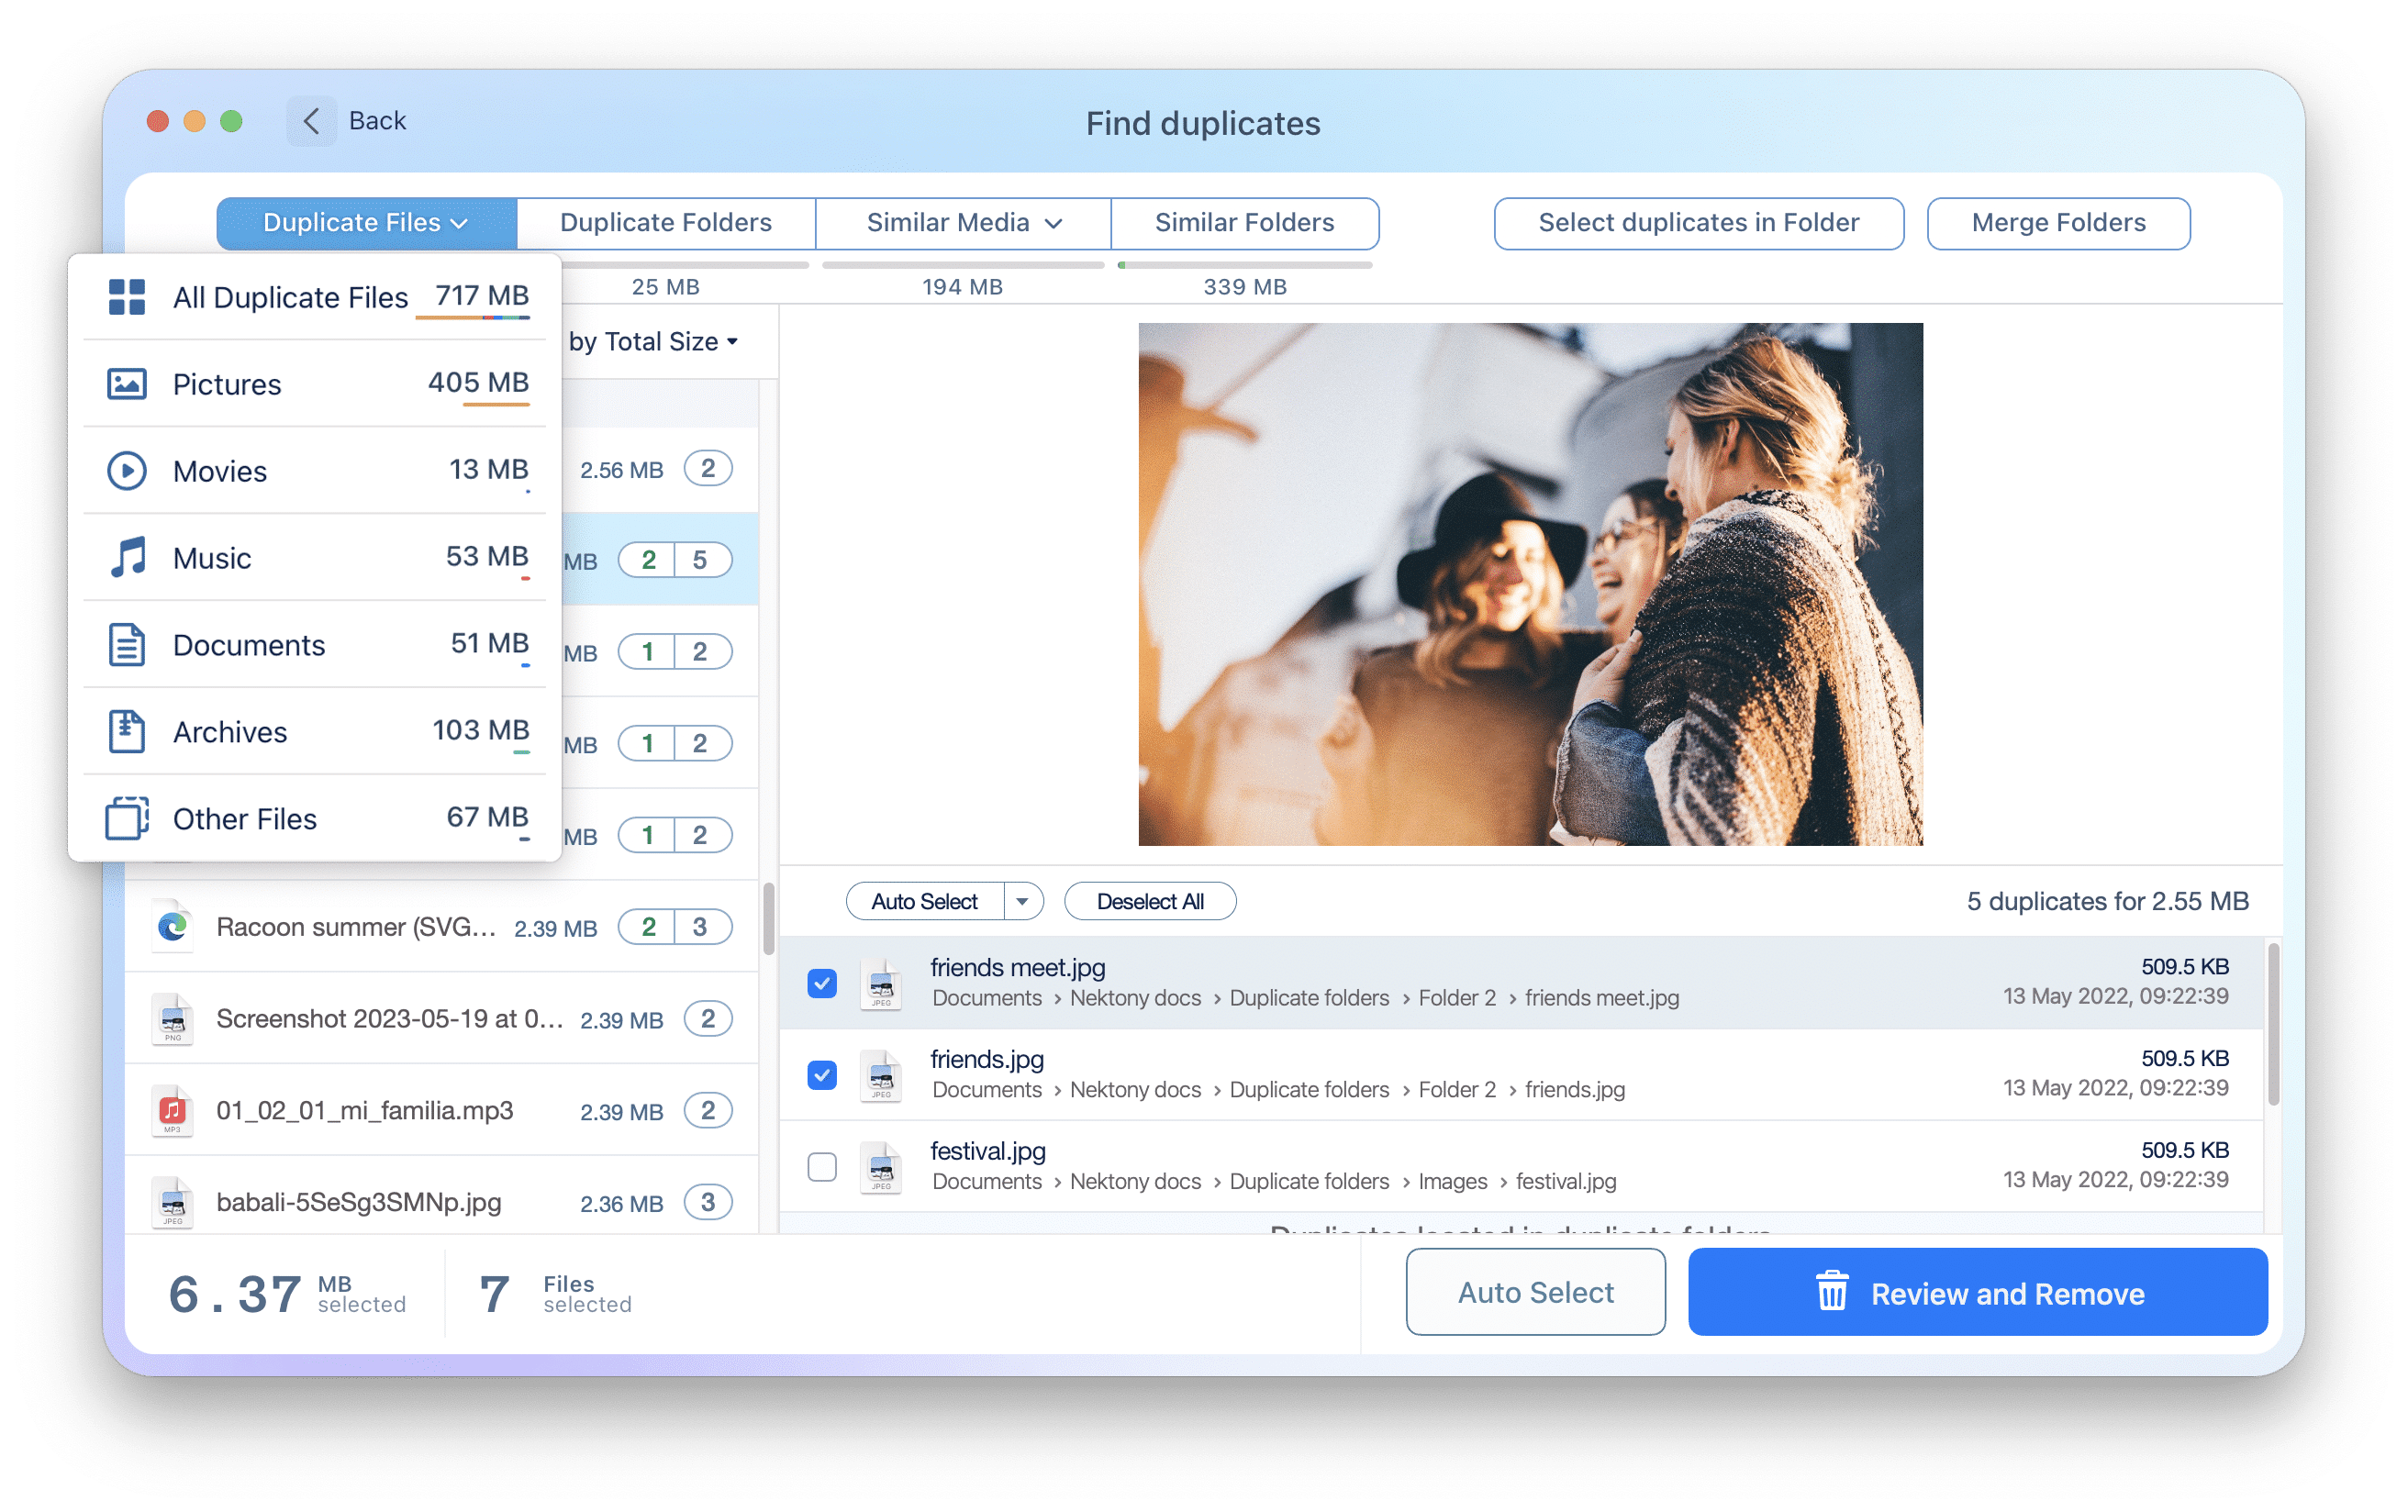
The Photos app does not provide an option to find duplicate images. However, you can find and delete duplicates in Photos using a special application Duplicate File Finder. Click this link to download the app. Just follow these steps:
- Run Duplicate File Finder.
- Click Choose Folder under the Plus button and select Photos Library.
- Start Scanning.
- Review the results of duplicates.
- Select unneeded duplicates.
- Click to remove them.