With every new macOS, Apple brings fresh features and important improvements. In a previous article, we explained how to prepare your Mac for macOS Sonoma upgrade. But if, for any reason, you want to go back to Ventura from Sonoma, this post is for you. We’ll provide a step-by-step guide on how to downgrade macOS Sonoma to the previous version of macOS.
Before we start, here’s a quick tip to make your Sonoma system run faster:
MacCleaner Pro
Steps to downgrade macOS Sonoma to Ventura on Mac
Step 1
Prepare your Mac to go back to macOS Ventura:
- If you’re using a MacBook, make sure it’s plugged into a power source.
- Check that you have a stable internet connection.
- Disconnect any external devices from your Mac except for the hard drive you want to use for a backup.
Step 2
Back up the data on your Mac
It’s always a good idea to back up your Mac’s data before you update or install a new system. This way, if something goes wrong, you can recover your files. Plus, one of the next steps involves erasing your macOS Sonoma, so having a backup is crucial.
You can transfer your data to cloud storage or use Time Machine to select to create a backup on an external disk.
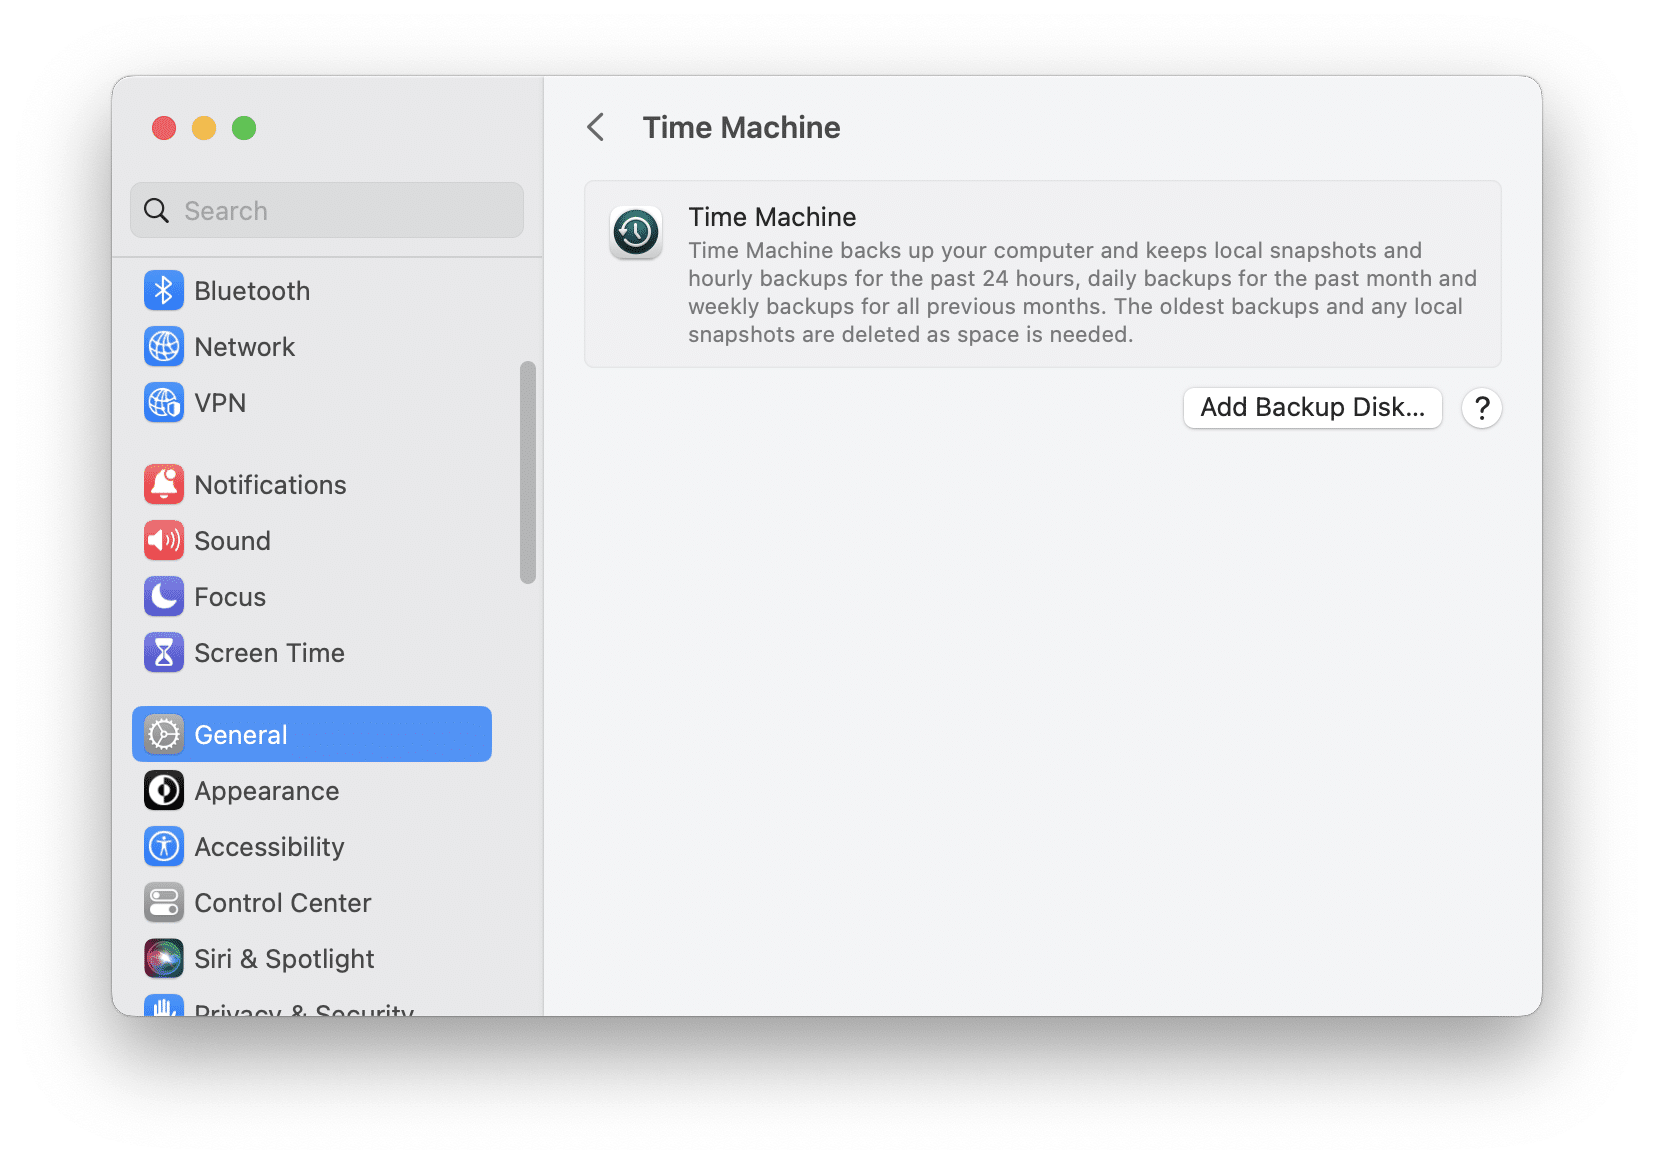
Here’s how to use Time Machine for backups:
- Open System Settings and go to the General section.
- Scroll down and click Time Machine.
- Click on “Add Backup Disk” and choose the disk.
Step 3
Download macOS Ventura or another system you want to use on your Mac.
You have a few options for installing a different Mac operating system:
- Recovering macOS from Time Machine backup. If you’ve been regularly backing up your Mac, you can likely restore a previous backup and go back to Ventura.
- Using the Internet recovery option. Apple provides a way to reinstall the original factory system from macOS recovery. Check Apple’s support page for instructions on reinstalling from macOS Recovery.
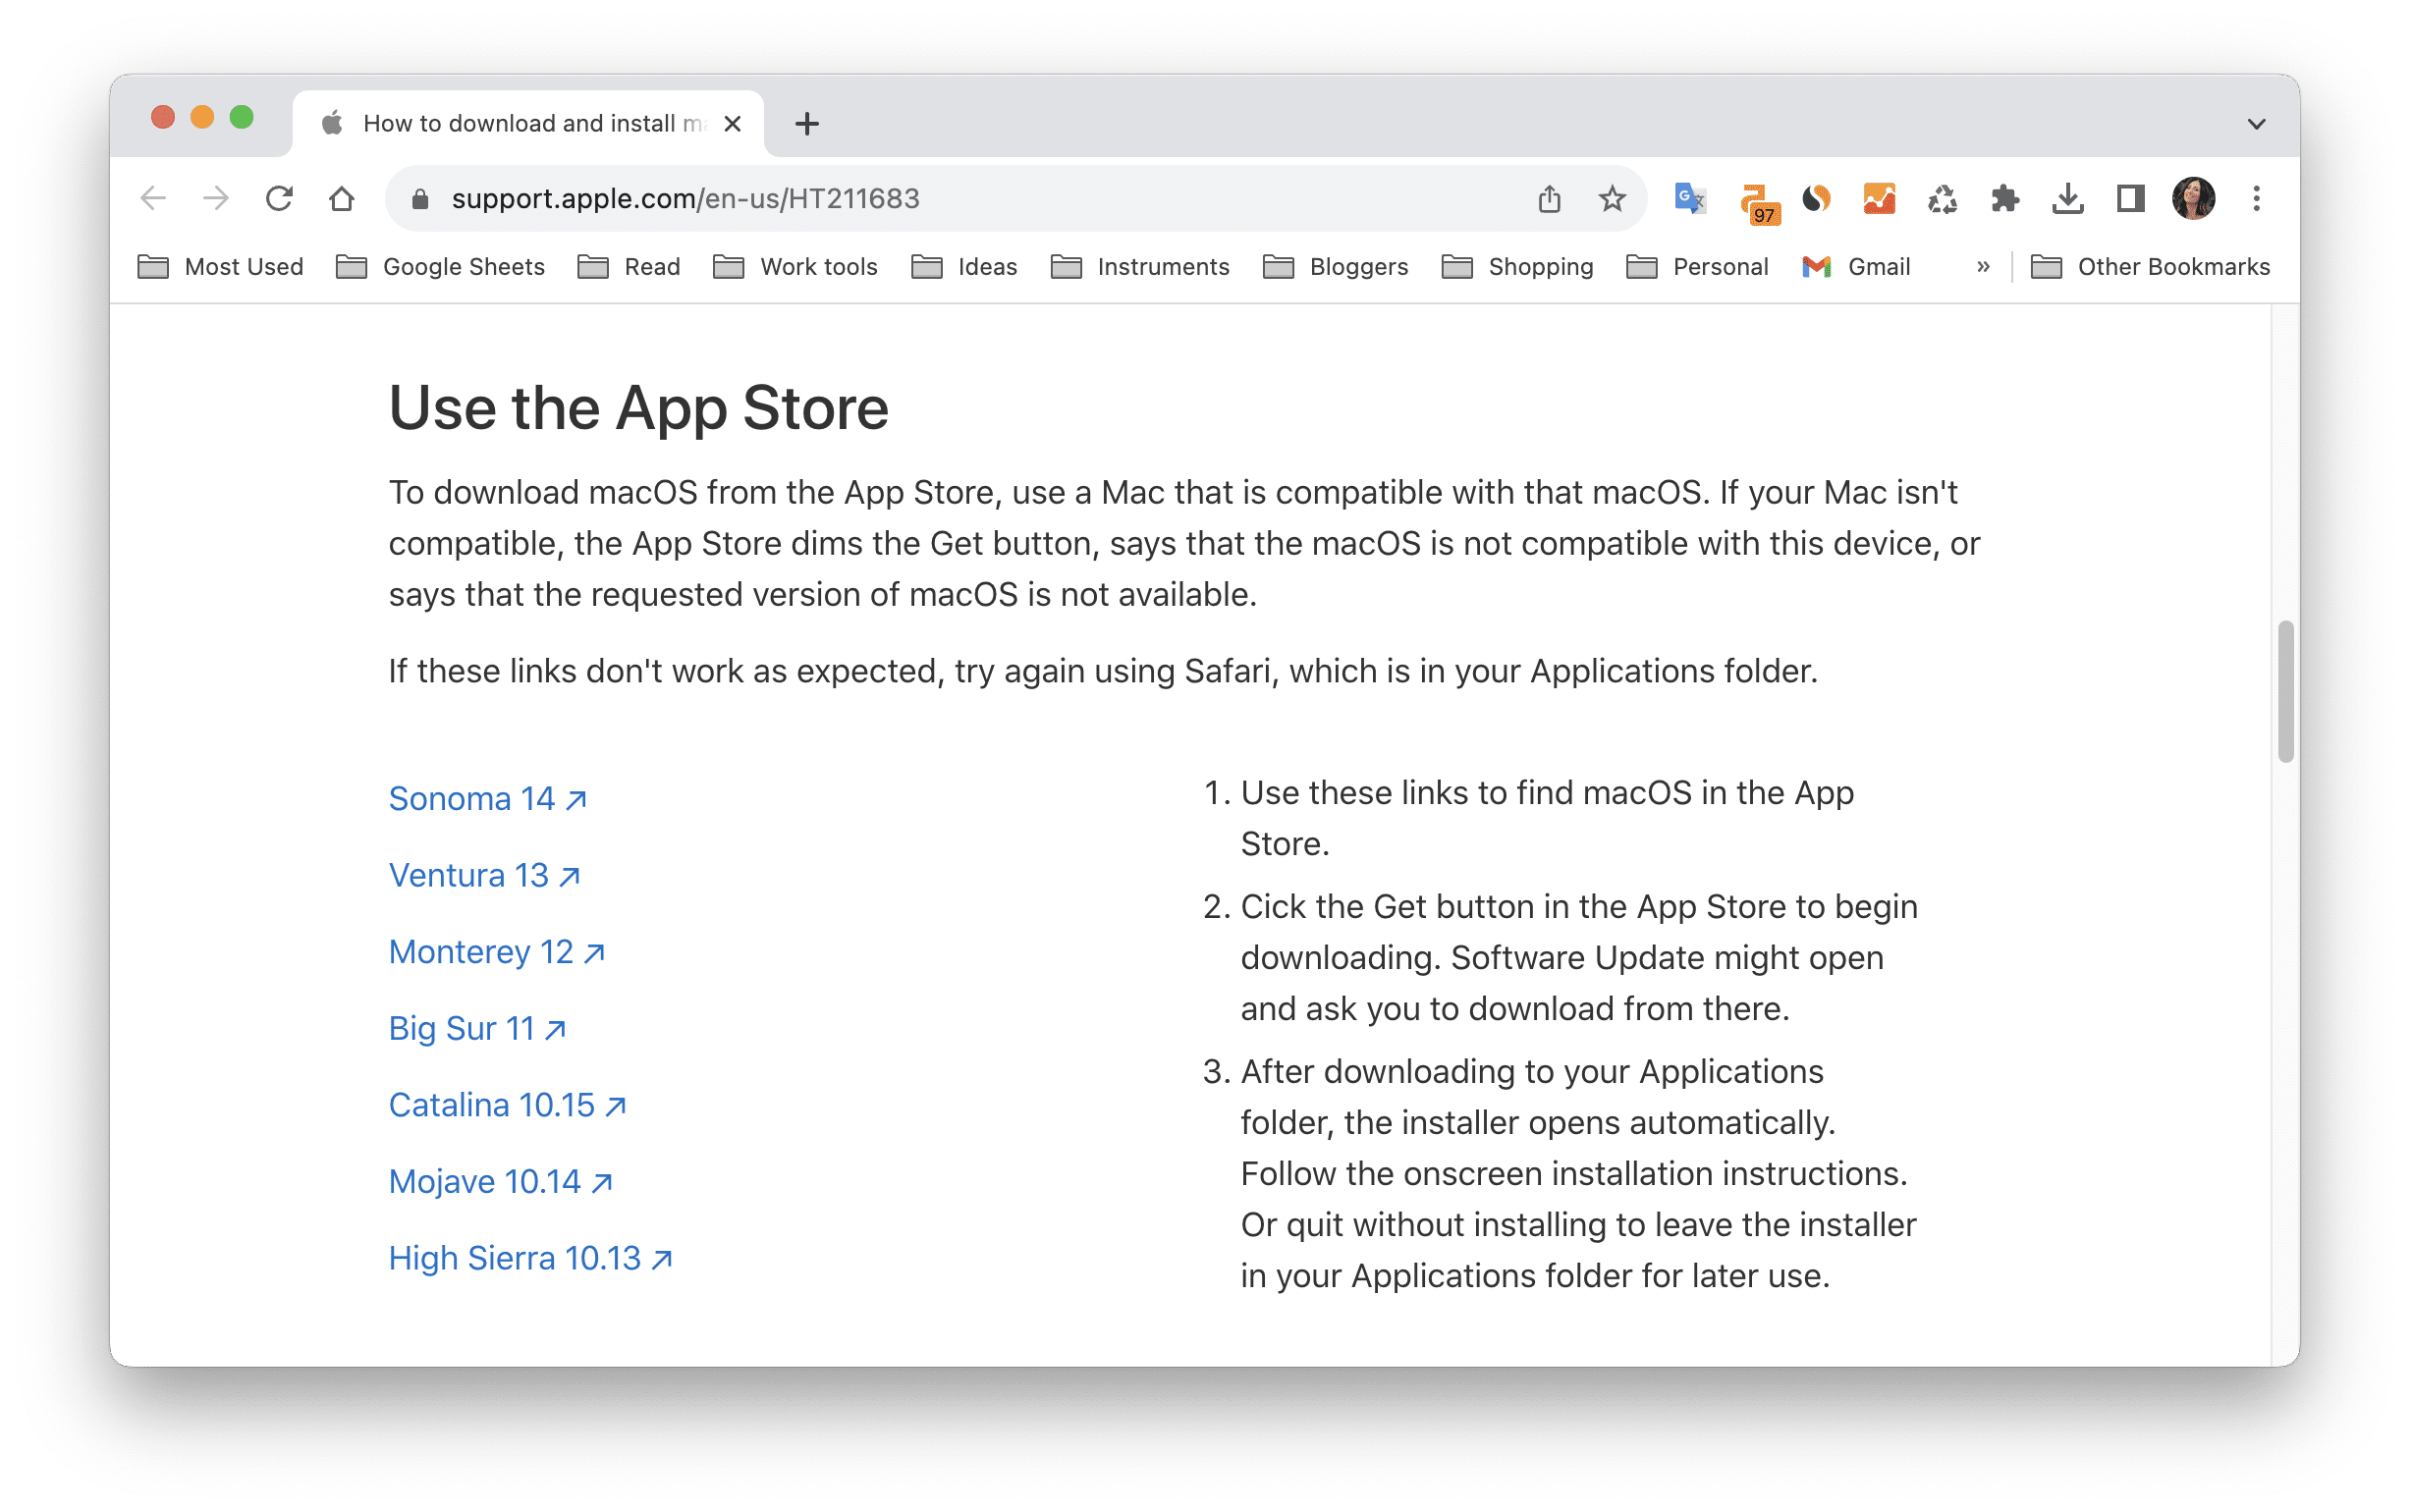
- Using a bootable installer. From this Apple website page https://support.apple.com/en-us/HT211683, you can download the previous versions of macOS. Download the one you need and save the installation file on an external drive.
Choose one of these options and move on to the next step to downgrade from macOS Big Sur.
Step 4
Erase Macintosh HD
Now, you need to erase macOS Sonoma to cleanly install the macOS version you want. This step is necessary because, by default, macOS allows you to install a newer macOS version over an older one but not downgrade to the older one. It won’t allow you to install an older system on top of a newer one. That’s why you have to erase macOS Sonoma completely.
Steps to erase Macintosh HD:
- Restart your Mac in Recovery mode. To do this, shut down your Mac, then press and hold the Command (⌘) + R keys while pressing the power button.
- In the macOS Utilities window, select Disk Utility.
- Click the Continue button.
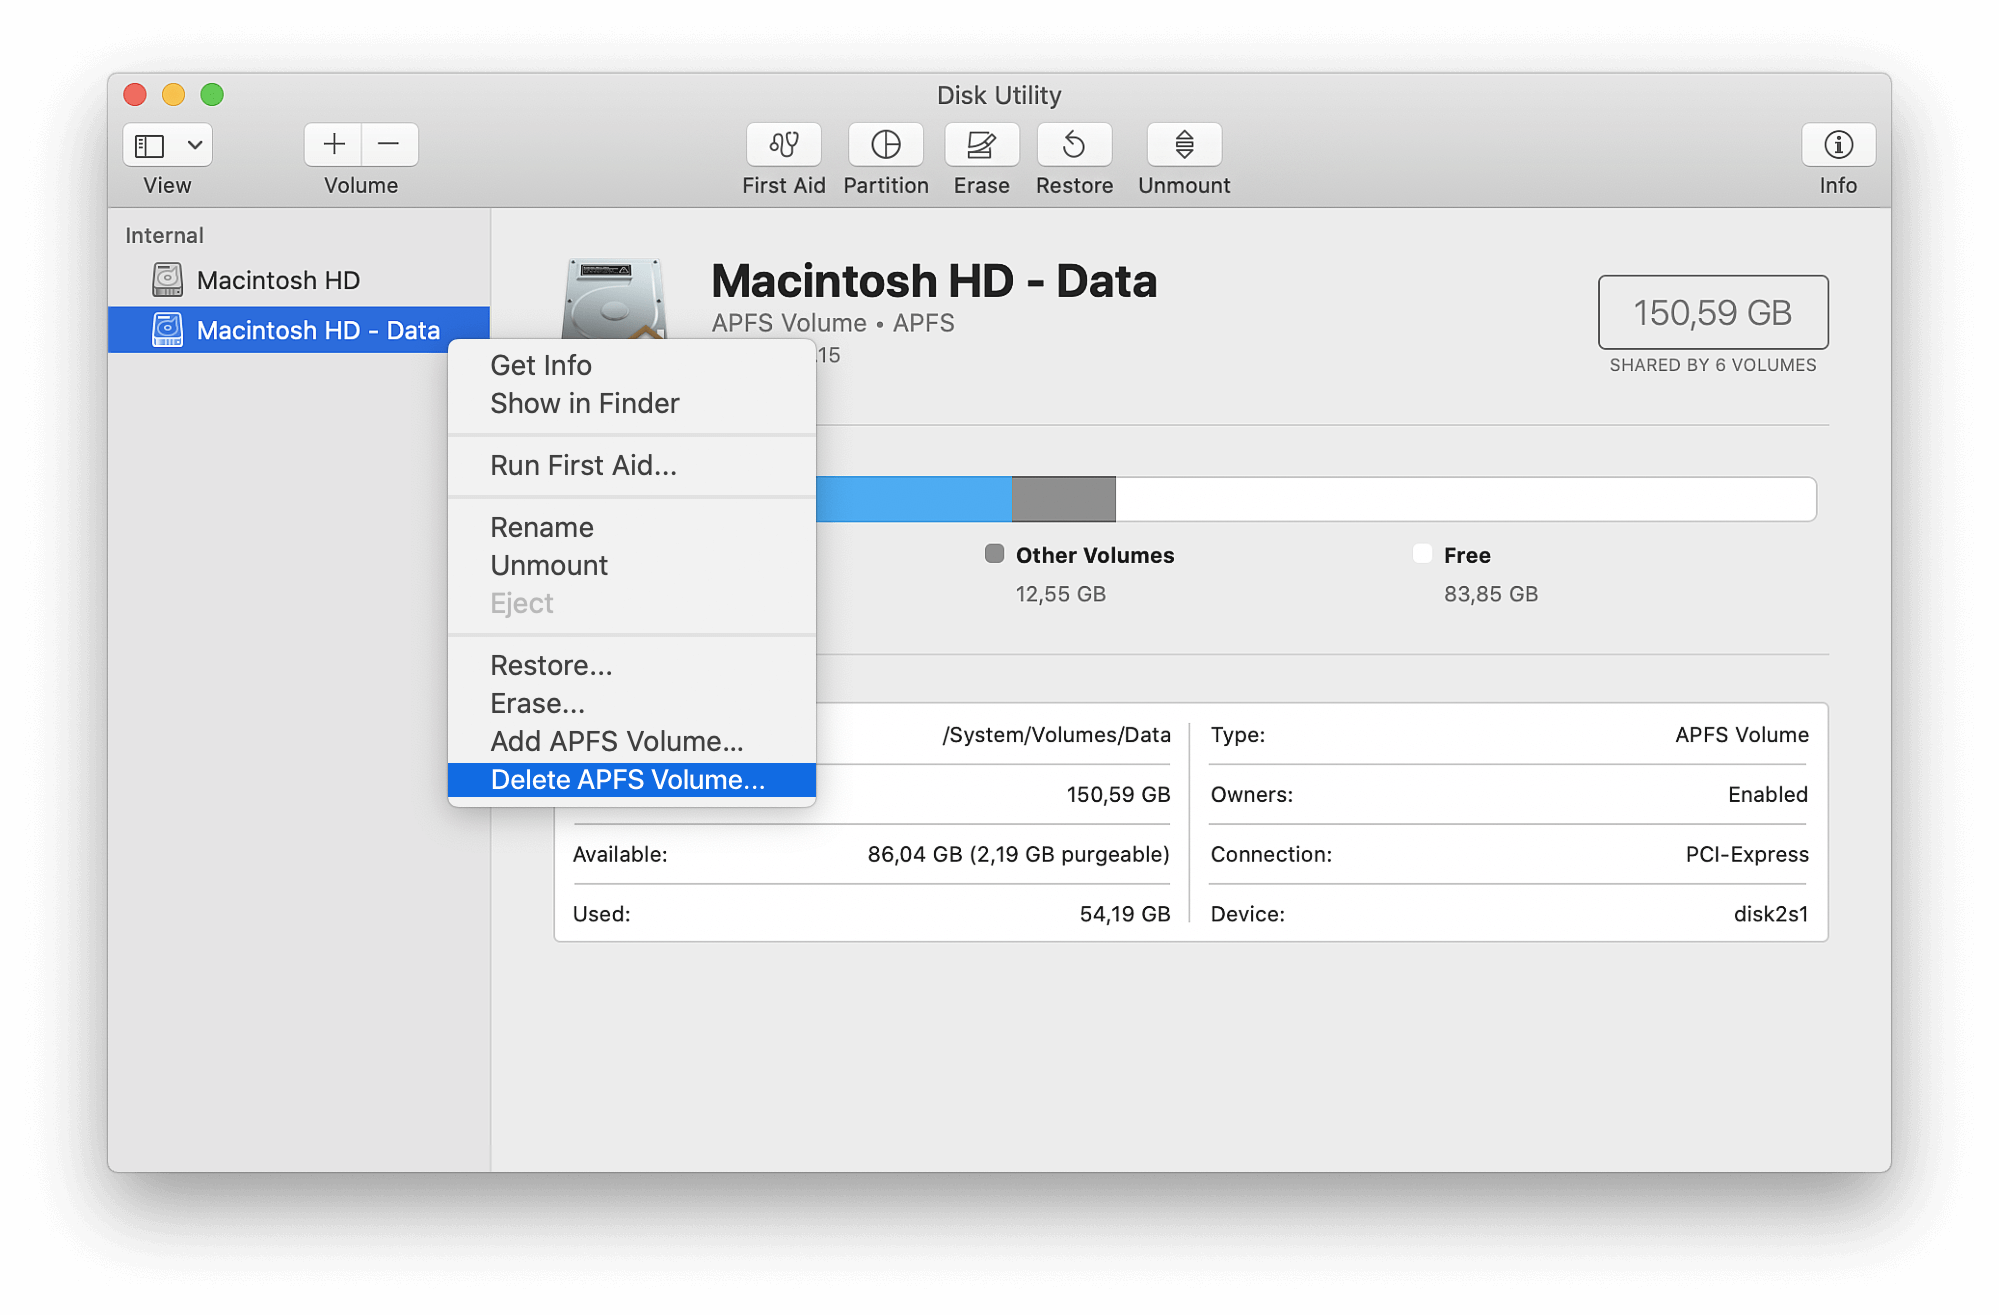
- In the Disk Utility window, right-click on “Macintosh HD – Data volume” and select “Delete APFS Volume” in the context menu.
- Then, select “Macintosh HD” from the sidebar and click “Erase.” You’ll need to provide a name, choose a partition map, and format.
- Restart your Mac in regular mode.
Step 5
Downgrade to macOS Ventura
Now, you’re ready to go back from macOS Sonoma to Ventura using one of the methods you chose in step 3.
Steps to downgrade macOS Sonoma using Time Machine:
- Connect the external drive with your backup to your Mac.
- Restart your Mac in Recovery Mode by pressing and holding the Command (⌘) + R keys during startup.
- You’ll see the Utilities window. Select “Restore From Time Machine Backup,” click “Continue,” and confirm.
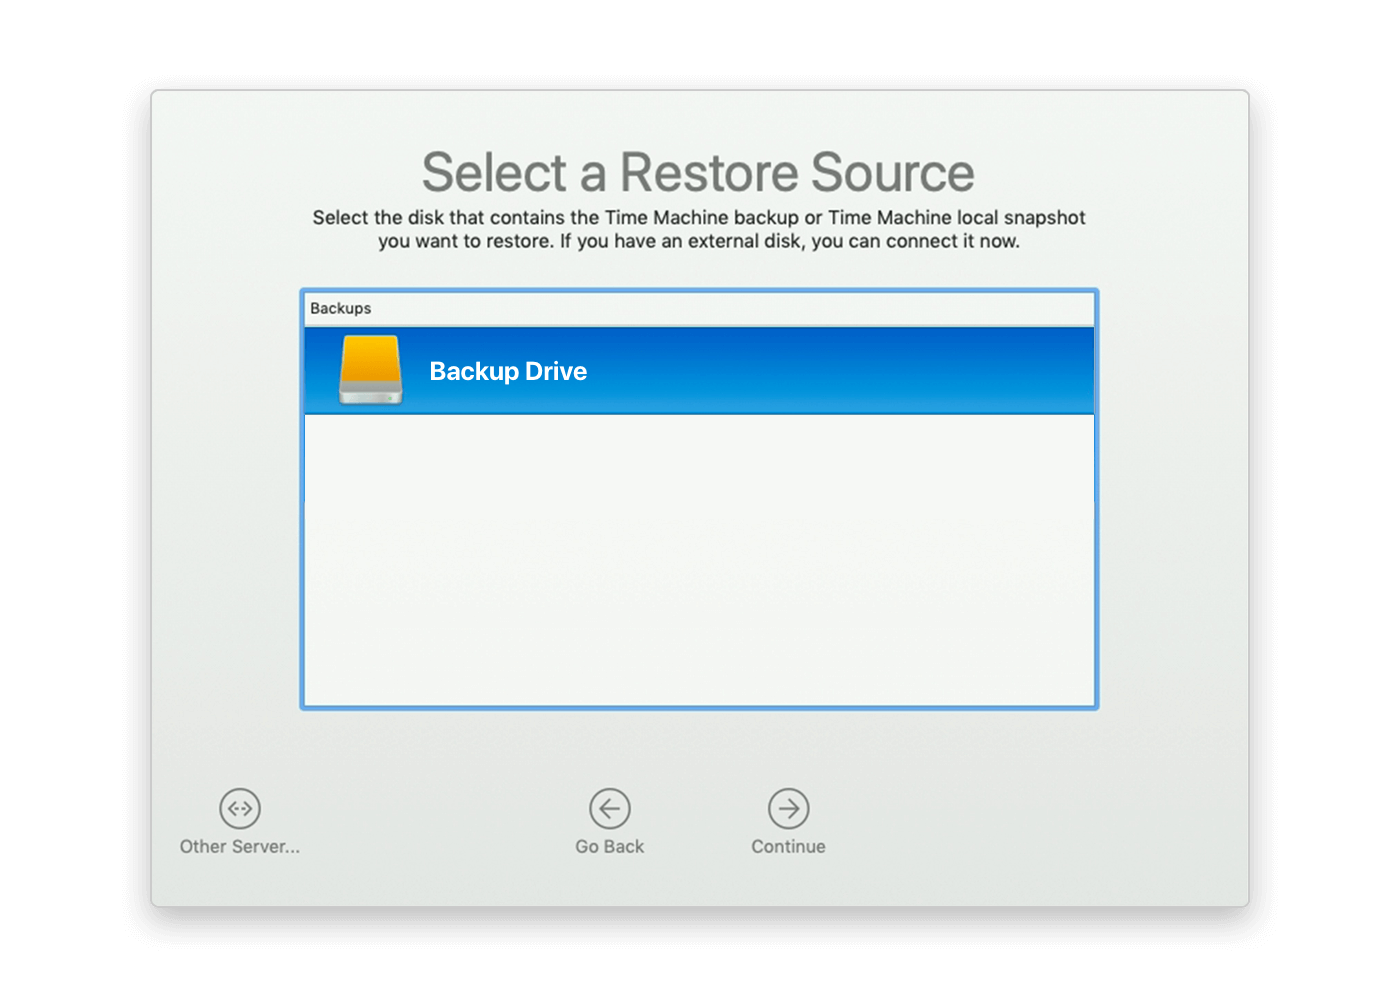
- Choose your Backup Drive, click “Continue,” select the backup version with macOS Ventura, and click “Continue” again. Finally, choose your Macintosh HD (startup disk) and click “Restore.”
- Once done, restart your computer in normal mode.
Steps to downgrade macOS Sonoma using Internet Recovery:
- Ensure you have a stable internet connection.
- Restart your Mac and, during startup, press and hold the Command (⌘) + Option + R keys.
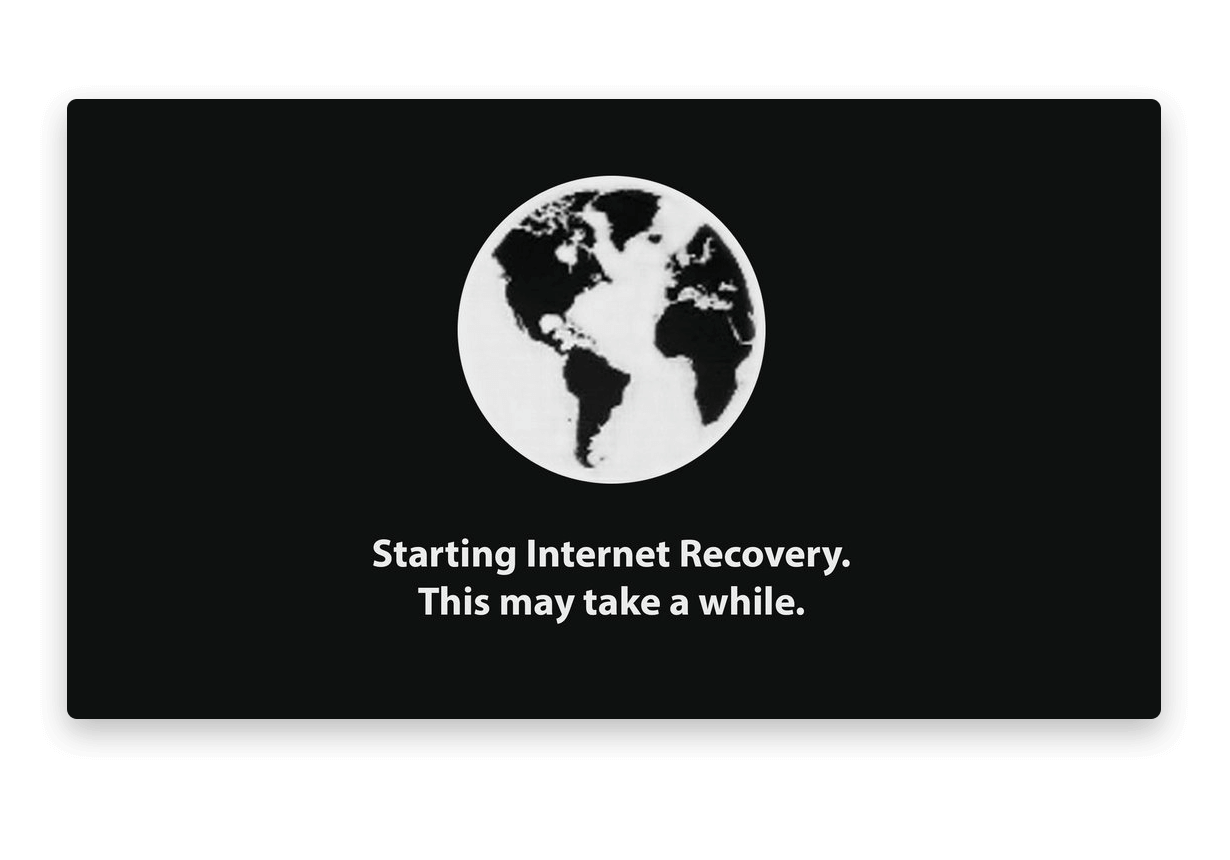
- A screen indicating Internet Recovery is starting will appear.
- Your Mac will check if the original factory-preloaded macOS is available and download it. Be patient; this may take a few hours.
- Once the macOS installation file is ready, you’ll see the Utilities window. Select “Reinstall macOS” and follow the on-screen instructions.
- After the installation of the alternative system is complete, restart your Mac.
Steps to downgrade macOS Sonoma using a bootable installer:
- Connect an external drive with the installation file to your Mac.
- Restart your Mac and immediately press and hold the Option key.
- You’ll see an option to select your external disk as the boot disk. Choose Boot disk.
- In the next window, click “Continue” to proceed.
- Follow the on-screen instructions to install the earlier macOS version you prefer.
- Once it’s done, restart your computer.
A quick reminder for improving macOS performance
Here’s how:
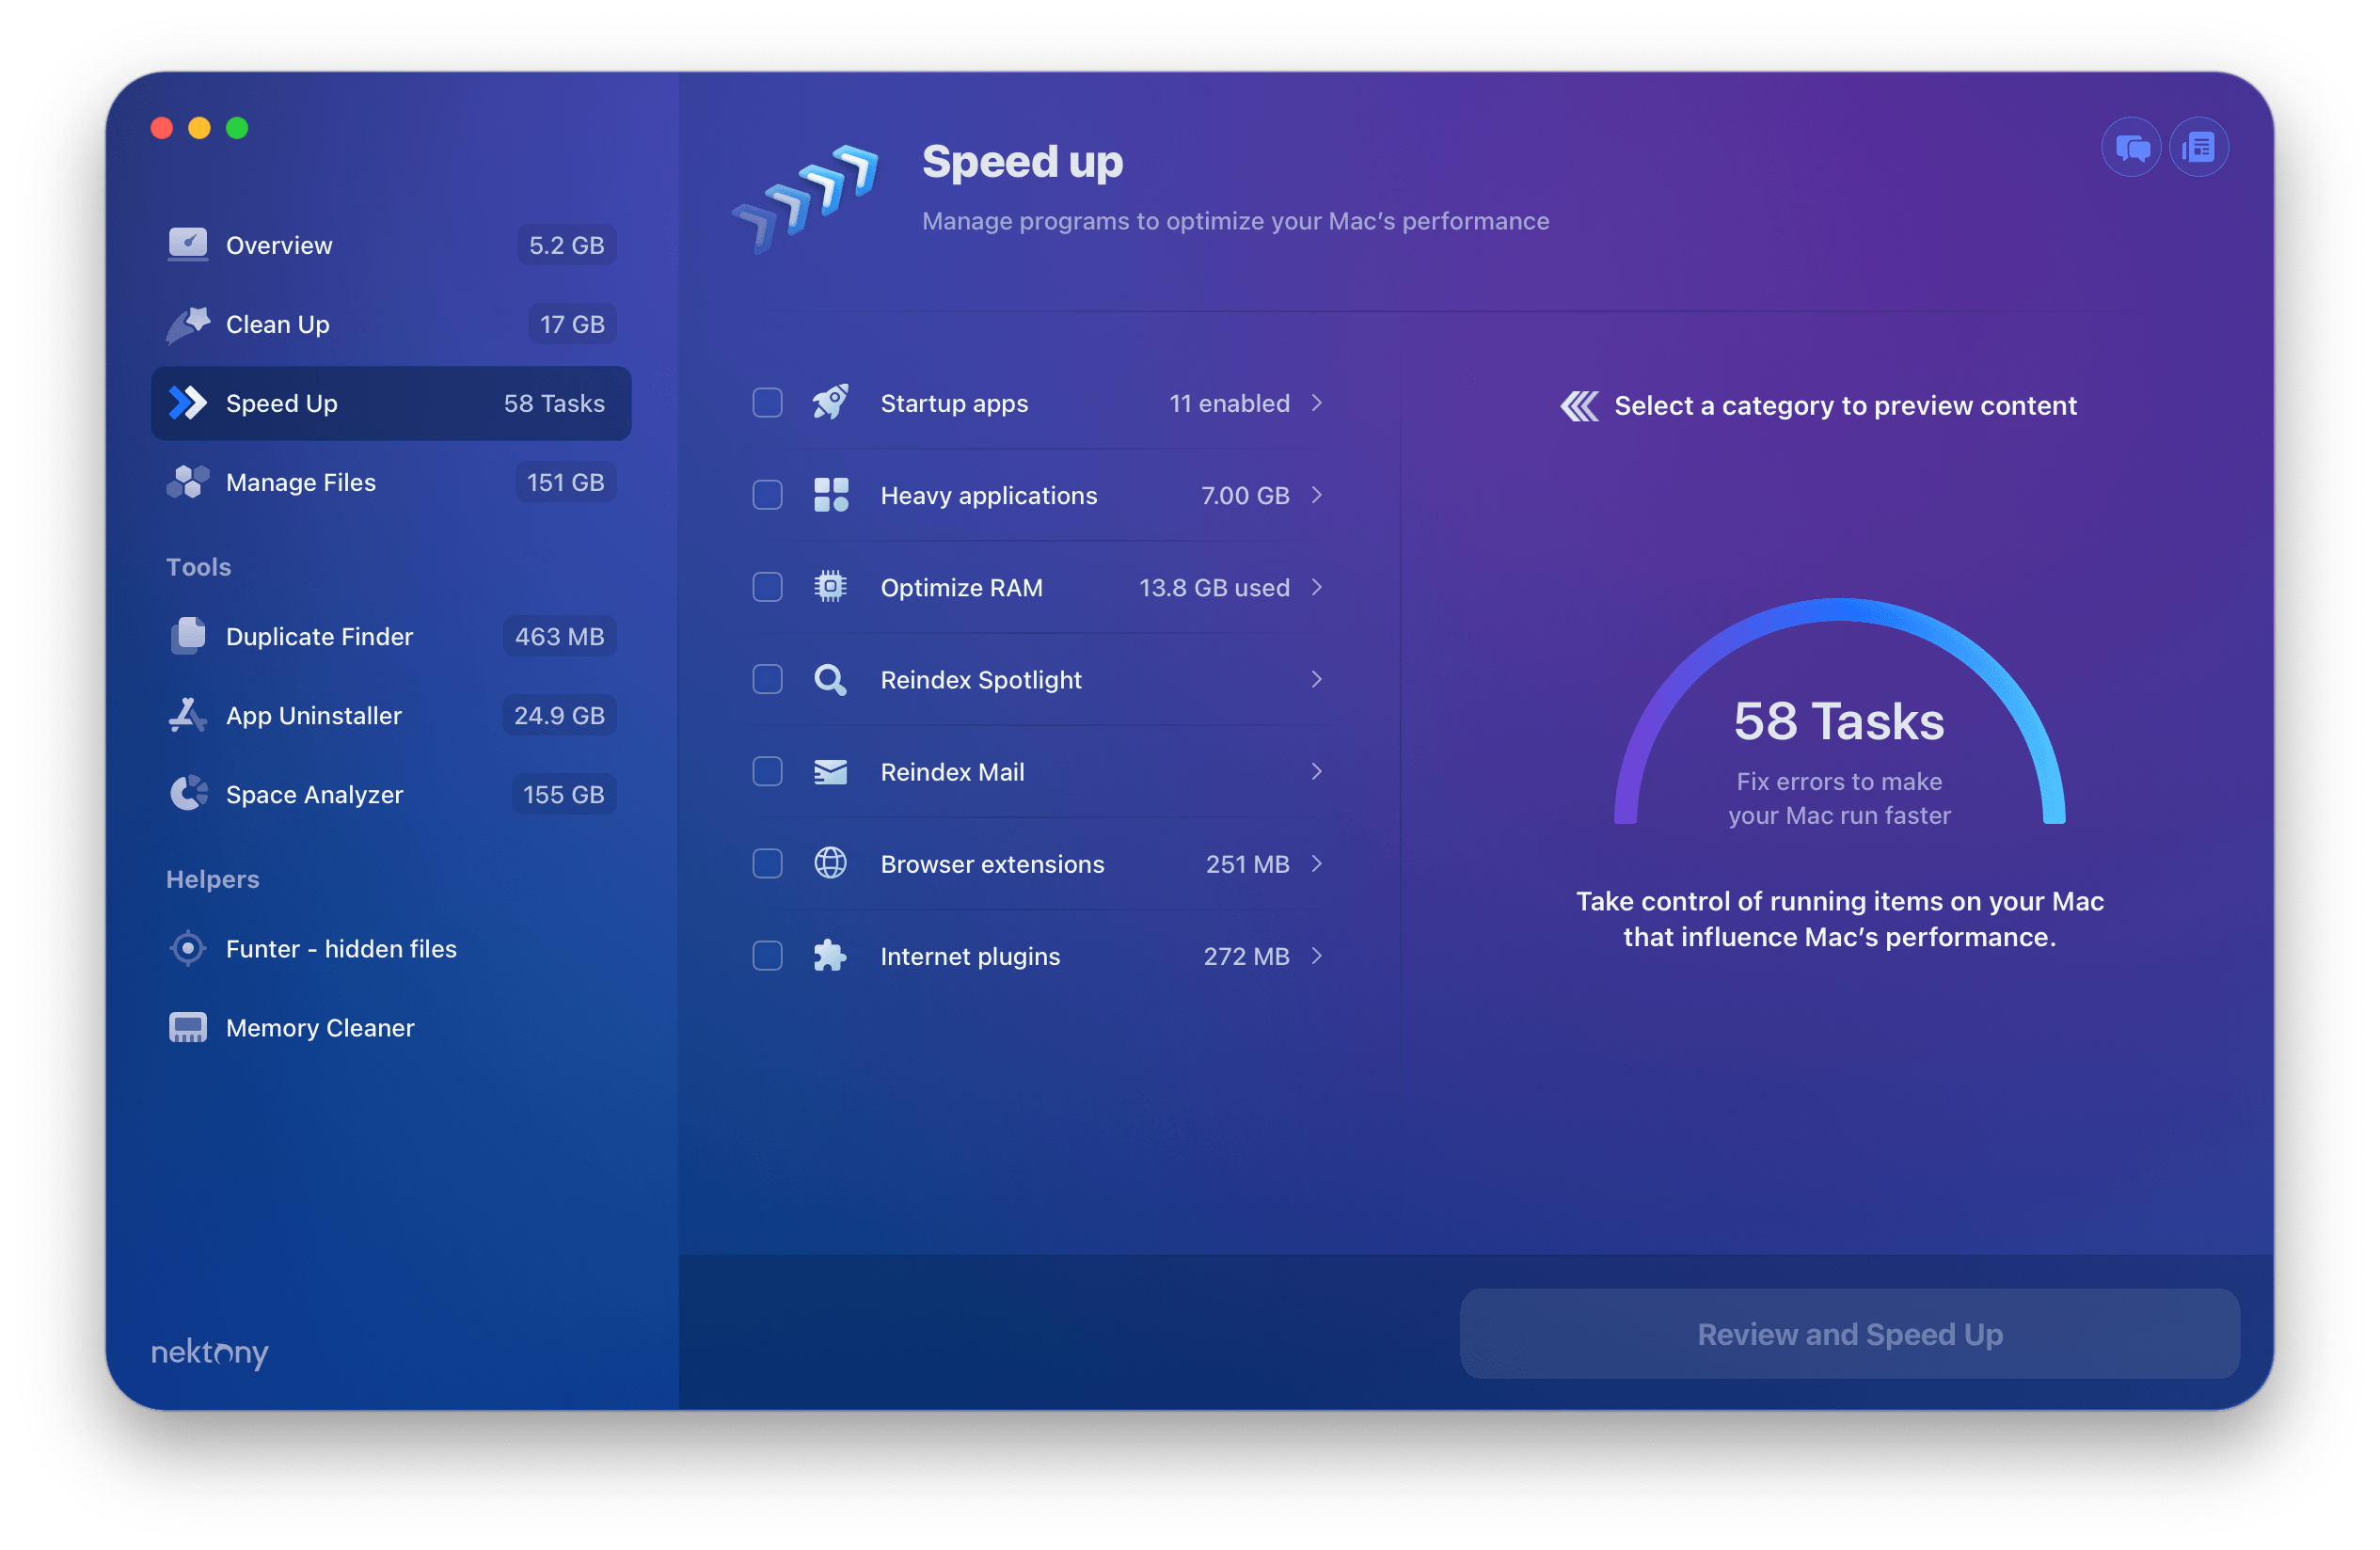
- Launch MacCleaner Pro.
- Go to the “Speed Up” tab in the sidebar.
- Review and select the options to optimize Mac speed.
- Click the “Review and Speed Up” button and confirm the tasks you want to run.
Conclusion
Now you know how to go back from macOS Sonoma. It might seem a bit complex at first, but if you follow our step-by-step instructions, you’ll find it easy to do. Always remember to create a backup before installing a different system; it’s your safety net for recovering your data. No matter which macOS version you use, we recommend that you regularly clean up your Mac from junk files to keep it always working smoothly. You can do this with MacCleaner Pro from Nektony.
