November 12, 2025
How to remove duplicate pictures from Photos Library
Duplicate pictures can quickly consume valuable disk space on your Mac. Even a few high-quality duplicates can take up gigabytes of storage. Optimizing your storage means getting rid of these unwanted, identical files.
Fortunately, there’s a free Duplicate File Finder app, which can help you easily detect and remove duplicate and similar photos from your computer.
Step 1: Ensure Photos Library is synced with iCloud
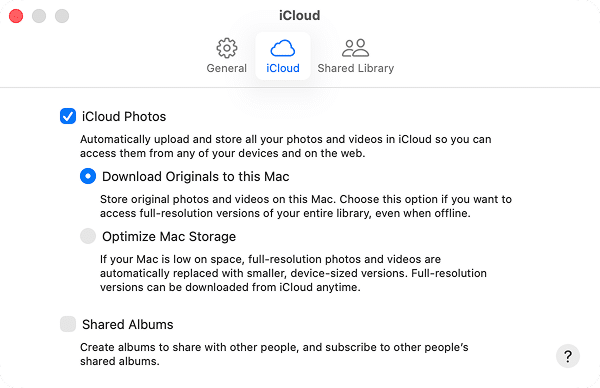
Before starting, if your Photos Library is synced with iCloud, ensure all originals are stored locally on your Mac. For this, Open Photos Settings, go to the iCloud tab, and enable the option “Download originals to this Mac.”
Step 2: Delete duplicates with Duplicate File Finder
Now you can delete duplicate photos from your Mac, using Duplicate File Finder. Complete the following steps:
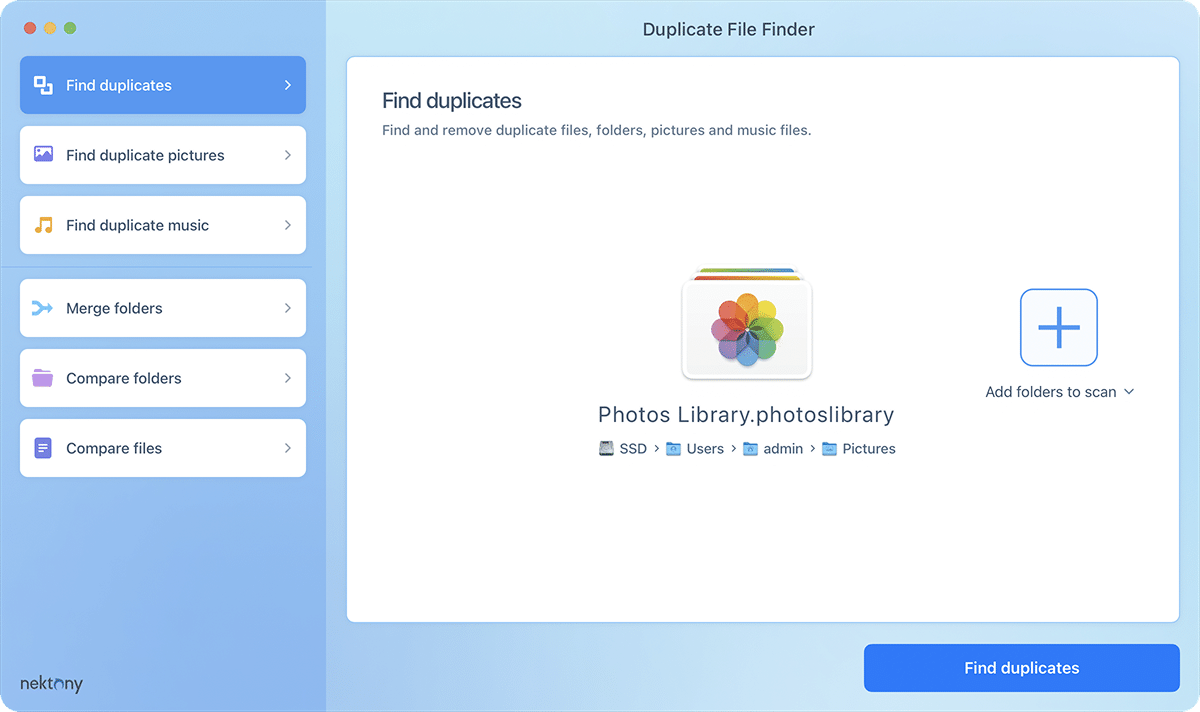
- Download and launch Duplicate File Finder.
- Add your Photos Library for scanning.
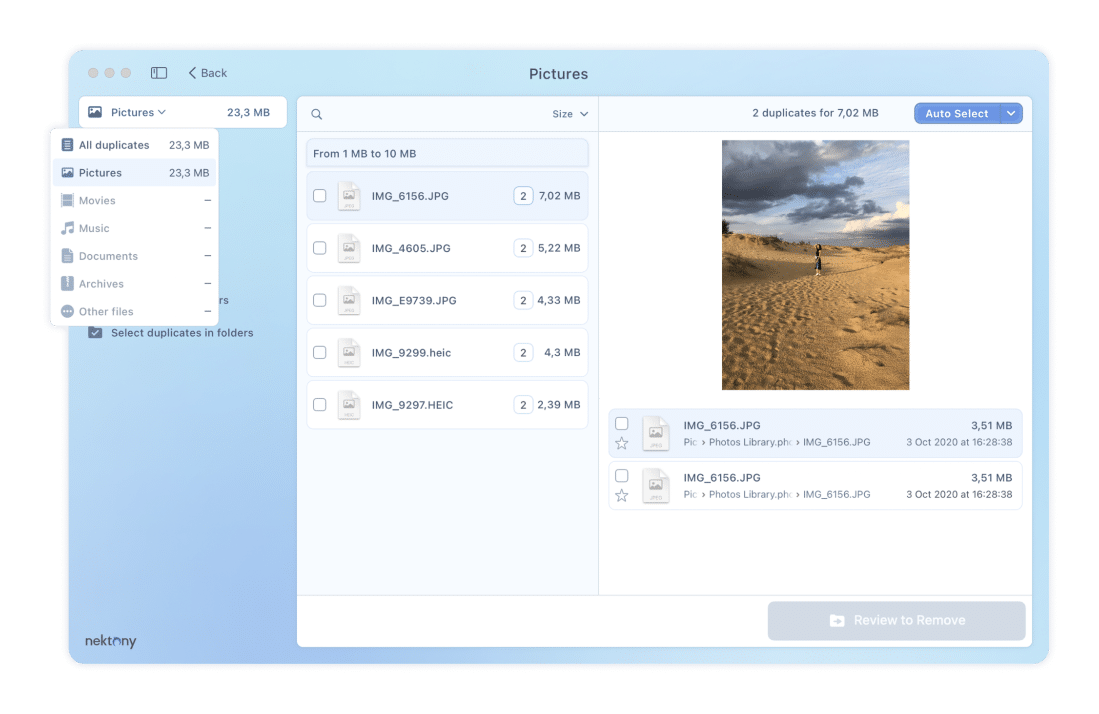
- Click Find Duplicates to search for duplicate pictures.
Note:
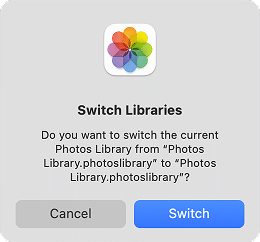
You can add multiple Photo Libraries to Duplicate File Finder and scan all of them in one session. However, when it comes to deleting duplicate photos, you may see a message asking you to switch Photos Library. Simply click the Switch button to open the required Library.
- Once the scanning is complete, you’ll see the list of duplicate photos in your Photos Library.
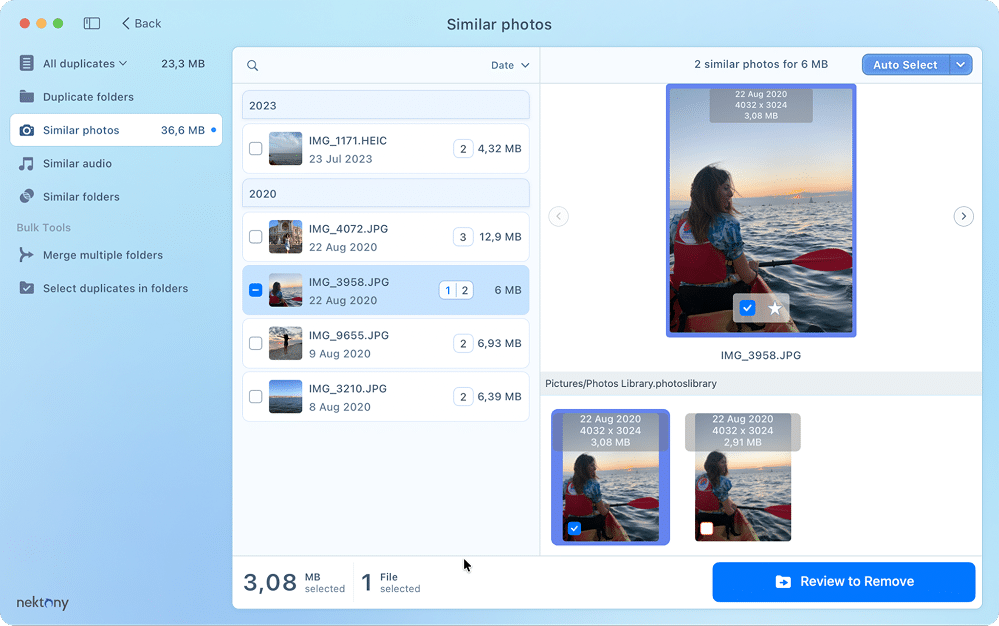
- You can also switch to the Similar Photos tab to review groups of nearly identical images (e.g., burst shots)
- Compare images and check the boxes next to the copies you want to remove.
- Then, click on the Review to Remove button → confirm.
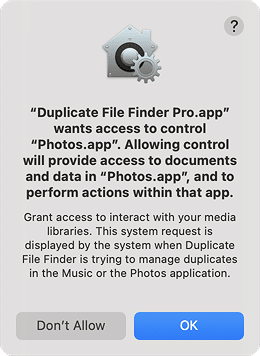
- The app will prompt you to grant it access to control Photos. Click OK to allow the removal process to proceed.
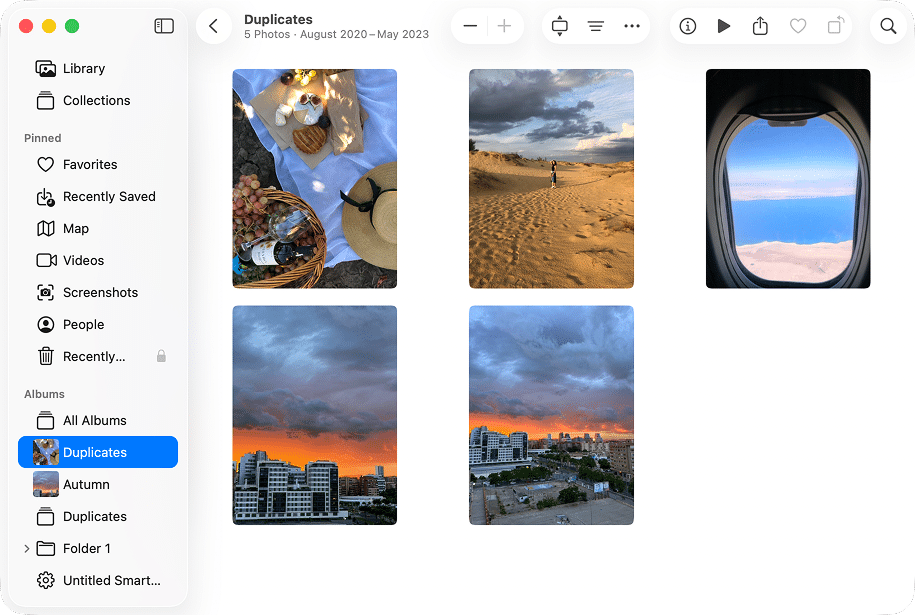
The application will then move the selected files to a specific album (often labeled “Selected Duplicate Photos” or “Duplicates”) within the Photos app.
Important
While the Duplicate File Finder app helps you to remove unwanted duplicate images, the Photos app securely stores your data and prevents it from accidental removal. So, all the pictures from the Photos Library can be removed from your Mac within the Photos app only. Go to the next step to completely remove the useless duplicate and similar pictures from the Photos app on your Mac.
Step 3: Finalize deletion in the Photos app (crucial step)
Due to the Photos app’s security specifications, a third-party application cannot permanently delete images from your Mac. It can only stage them for removal. The final deletion must be completed within the Photos app itself.
Follow these steps to permanently remove the staged duplicate and similar pictures:
- Open the Photos app.
- In the left sidebar under Albums, locate the “Duplicates” or similarly named album.
- Select all photos in this album (Press Cmd + A).
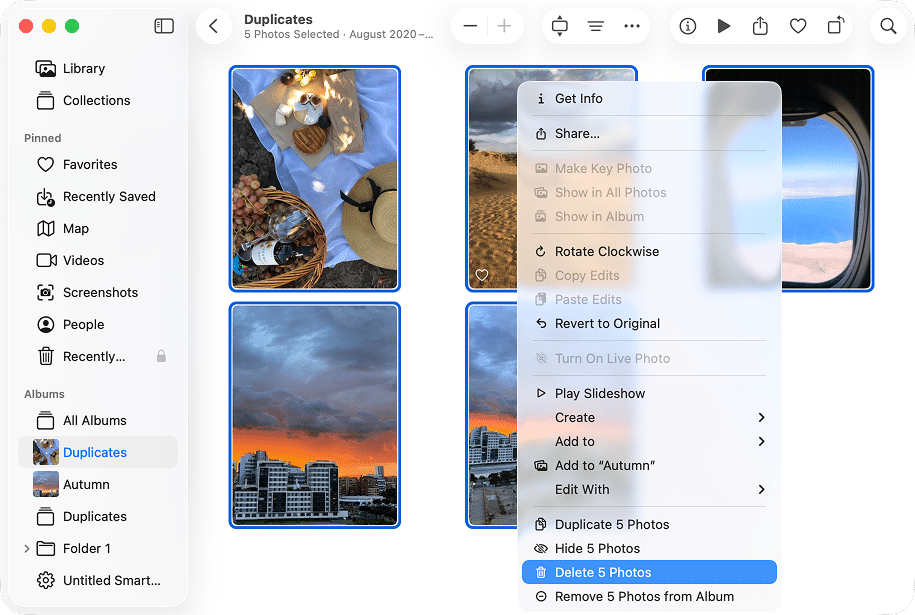
- Right-click on any selected photo and click Delete Photos from the context menu.
Important: macOS version specifics for deletion
- macOS 10.15 – 12: When opening the context menu (right-click), you must press and hold the Cmd key to reveal the “Delete Photos” option. Without it, the photos are only removed from the album.
- macOS 10.14 and earlier: Simultaneously hold Ctrl + Cmd when right-clicking if the Delete function does not appear.
- macOS 13 and later: The “Delete Photos” option is usually shown by default, and pressing the Cmd key is not required.
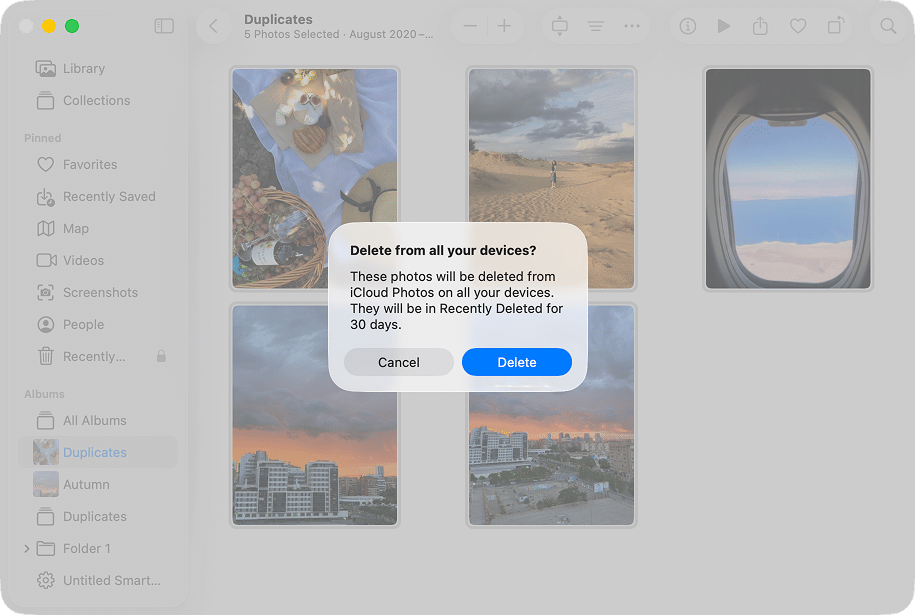
- Confirm the removal by clicking Delete in the pop-up window.
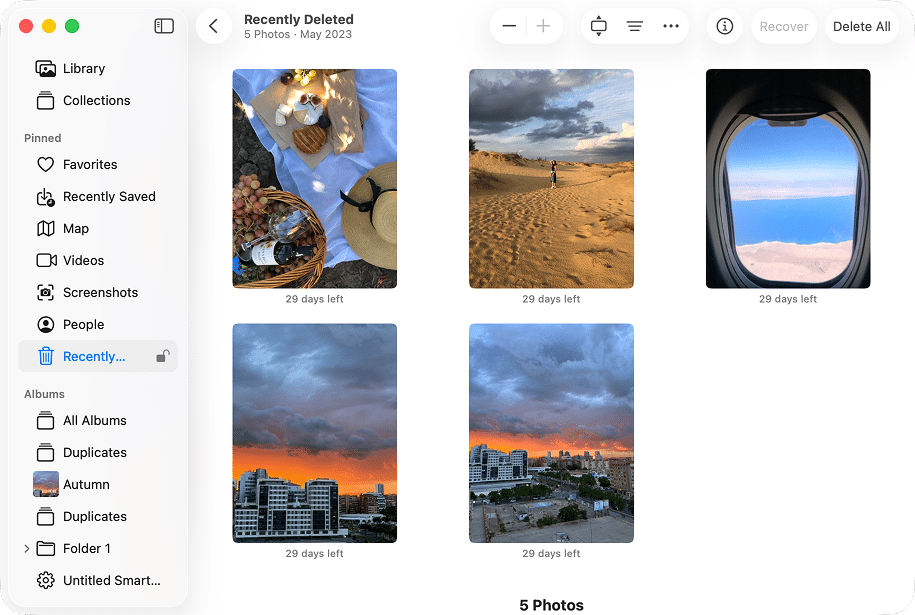
- By default, deleted images remain in the Recently Deleted album for 30 days.
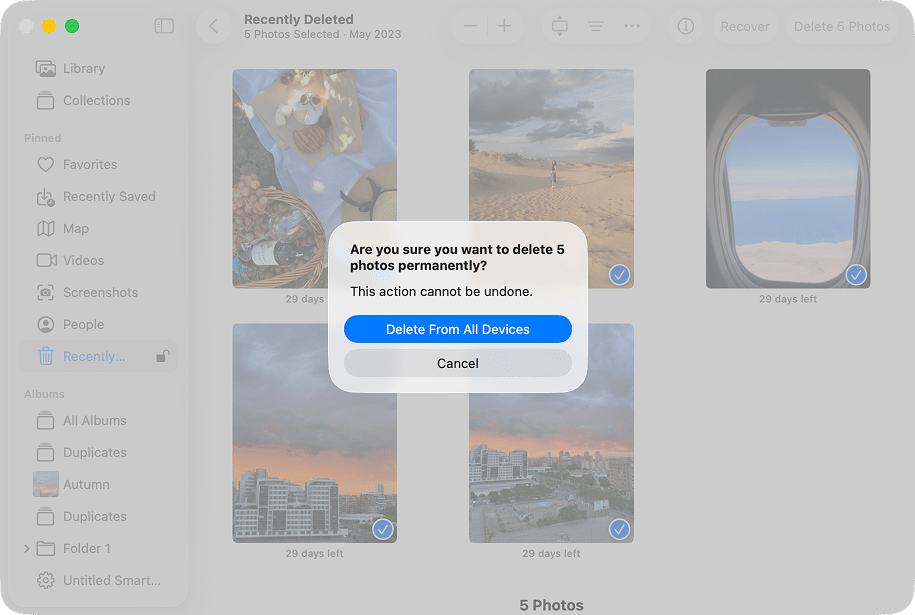
- To immediately reclaim the disk space Go to the Recently Deleted album → select the desired pictures → click the Delete button at the top of the window → confirm by clicking Delete From All Devices in the final prompt.
The Duplicate File Finder app efficiently identifies and stages duplicates, but the final action remains securely within the Photos Library, giving you complete control and peace of mind when reclaiming valuable disk space.
