Today, most users have transitioned to the online version of MS Excel: Google Sheets. If you also no longer need the Excel app on your Mac, then learn how to uninstall it correctly. We previously explained how to uninstall MS Office apps on a Mac. Today, we will share two ways to uninstall Excel on a Mac.

Contents:
What is Excel and why uninstall it?
Excel short details
Bundle ID: com.microsoft.Excel
Localizations: 30 languages
Released: 1987
Microsoft Office Excel is a spreadsheet program developed by Microsoft for Windows OS. It allows you to organize lists and databases, work with text, build graphs, create charts and diagrams, and store and analyze data. Excel is a widely used computer program. Using the functions of this program, you can perform various manipulations with numbers: add, multiply, divide, automate reports that can be automatically updated, etc. Excel is used for calculations and process automation.
However, you might have reasons for uninstalling Excel from your Mac. For example, in comparison with Google Sheets, it is difficult to work collaboratively in Excel. The data view function is available, but even for two users, it is difficult to change the same file at the same time. Also, you might want to use another program on your computer with the same functions. In this case, you should uninstall unused applications so that they don’t take up valuable space on your disk. This article will provide you with two methods on how to uninstall Excel correctly and completely.
How to uninstall Excel from your Mac manually
Typically, Mac users delete applications from the Application folder in Finder by just dragging and dropping their icons into the Trash. However, this method doesn’t remove the program from your Mac completely. Caches and application support files remain in the Library folder. You have to find and delete them to stop them from occupying your disk space. The guide below will provide the steps to manually uninstall Excel from your Mac.
How to manually uninstall Excel from your Mac:
- Quit the Excel app.
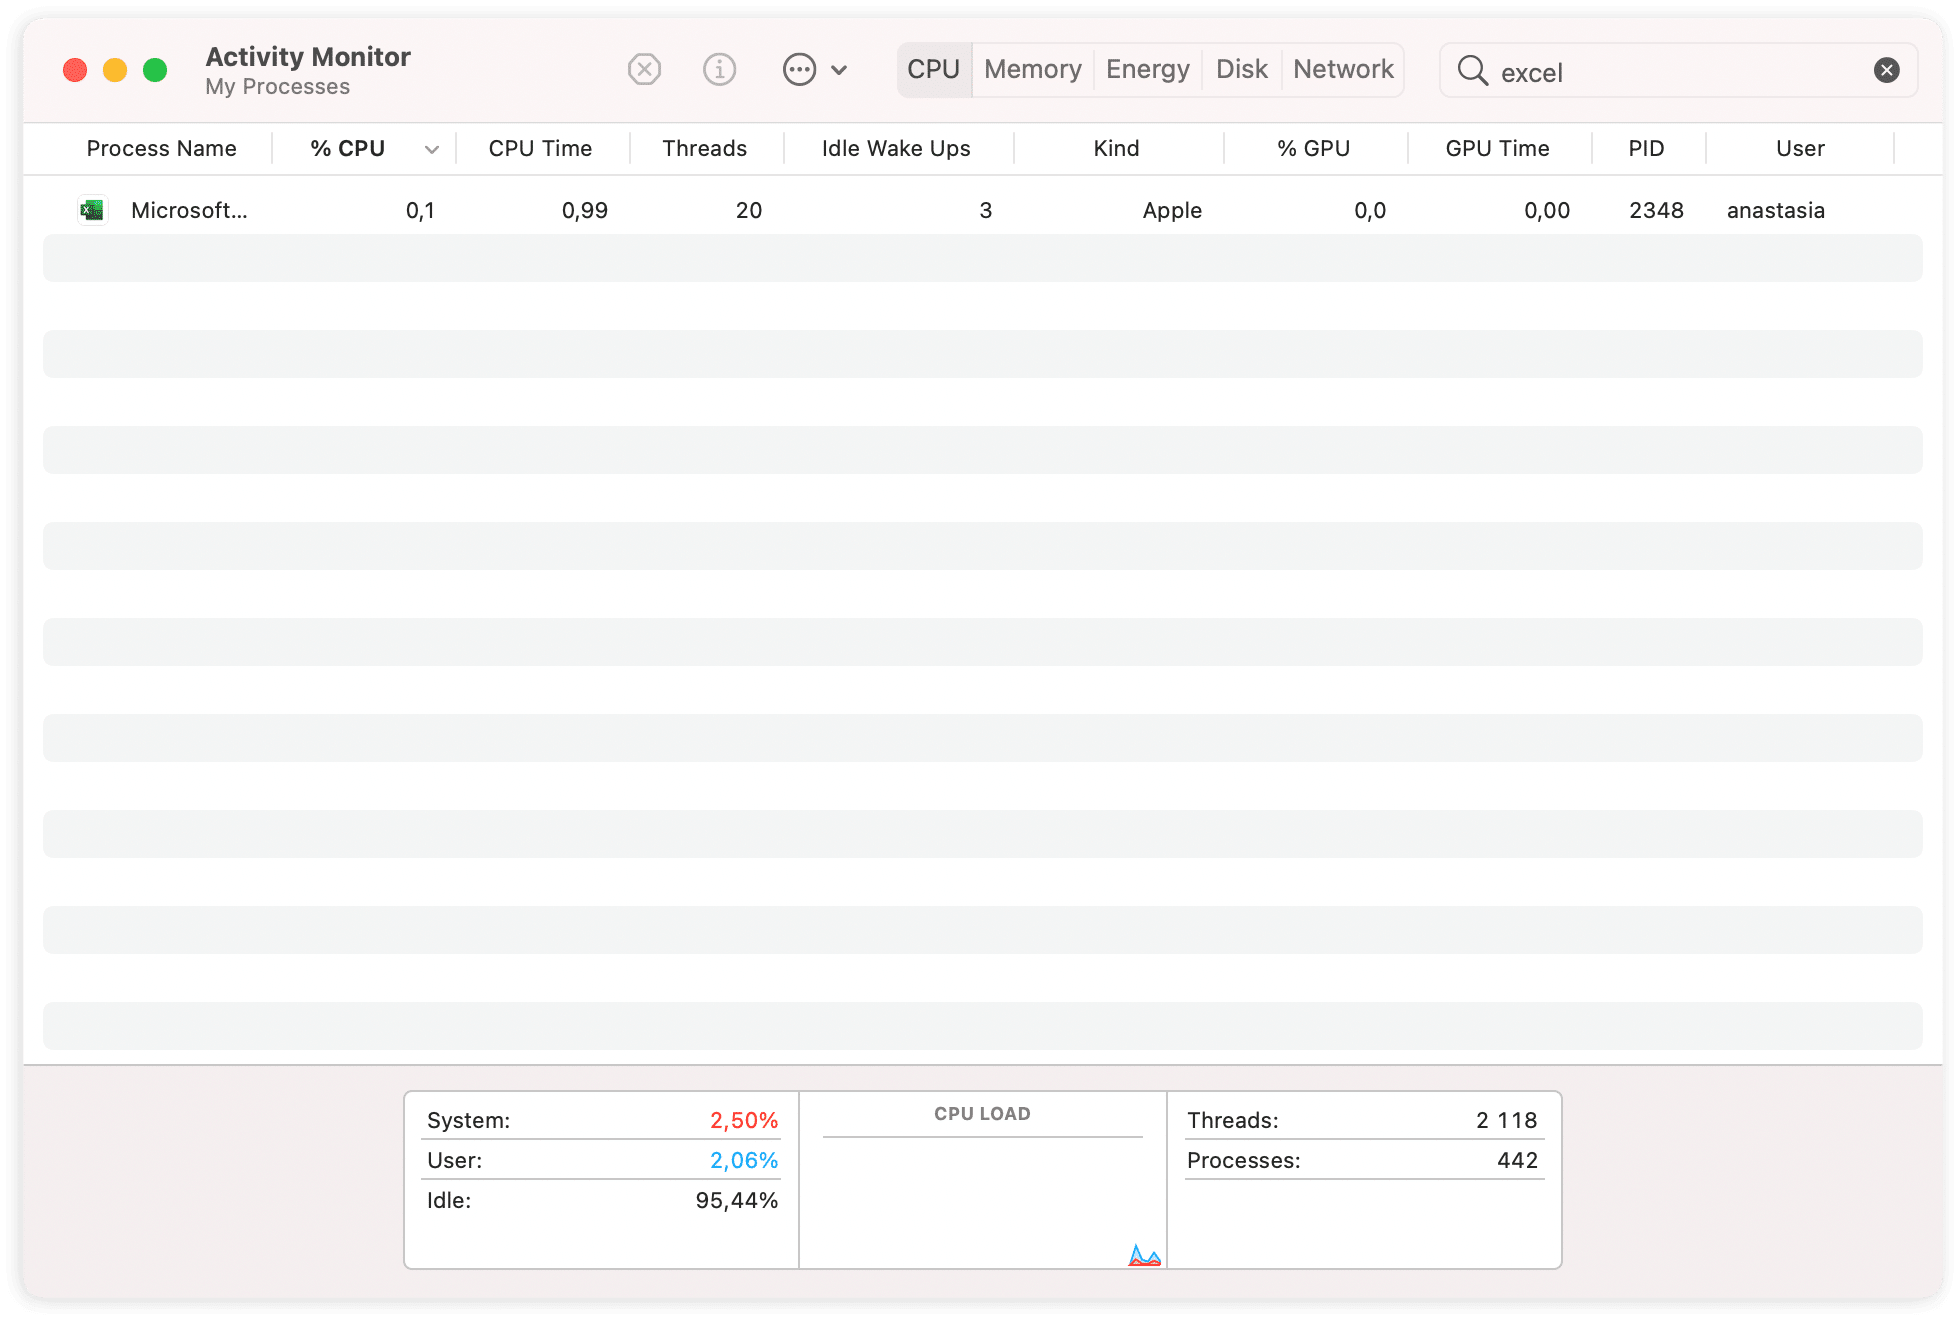
- Make sure that there are no processes related to Excel running in the background. For this, open the default Apple app Activity Monitor and close the processes related to Excel.
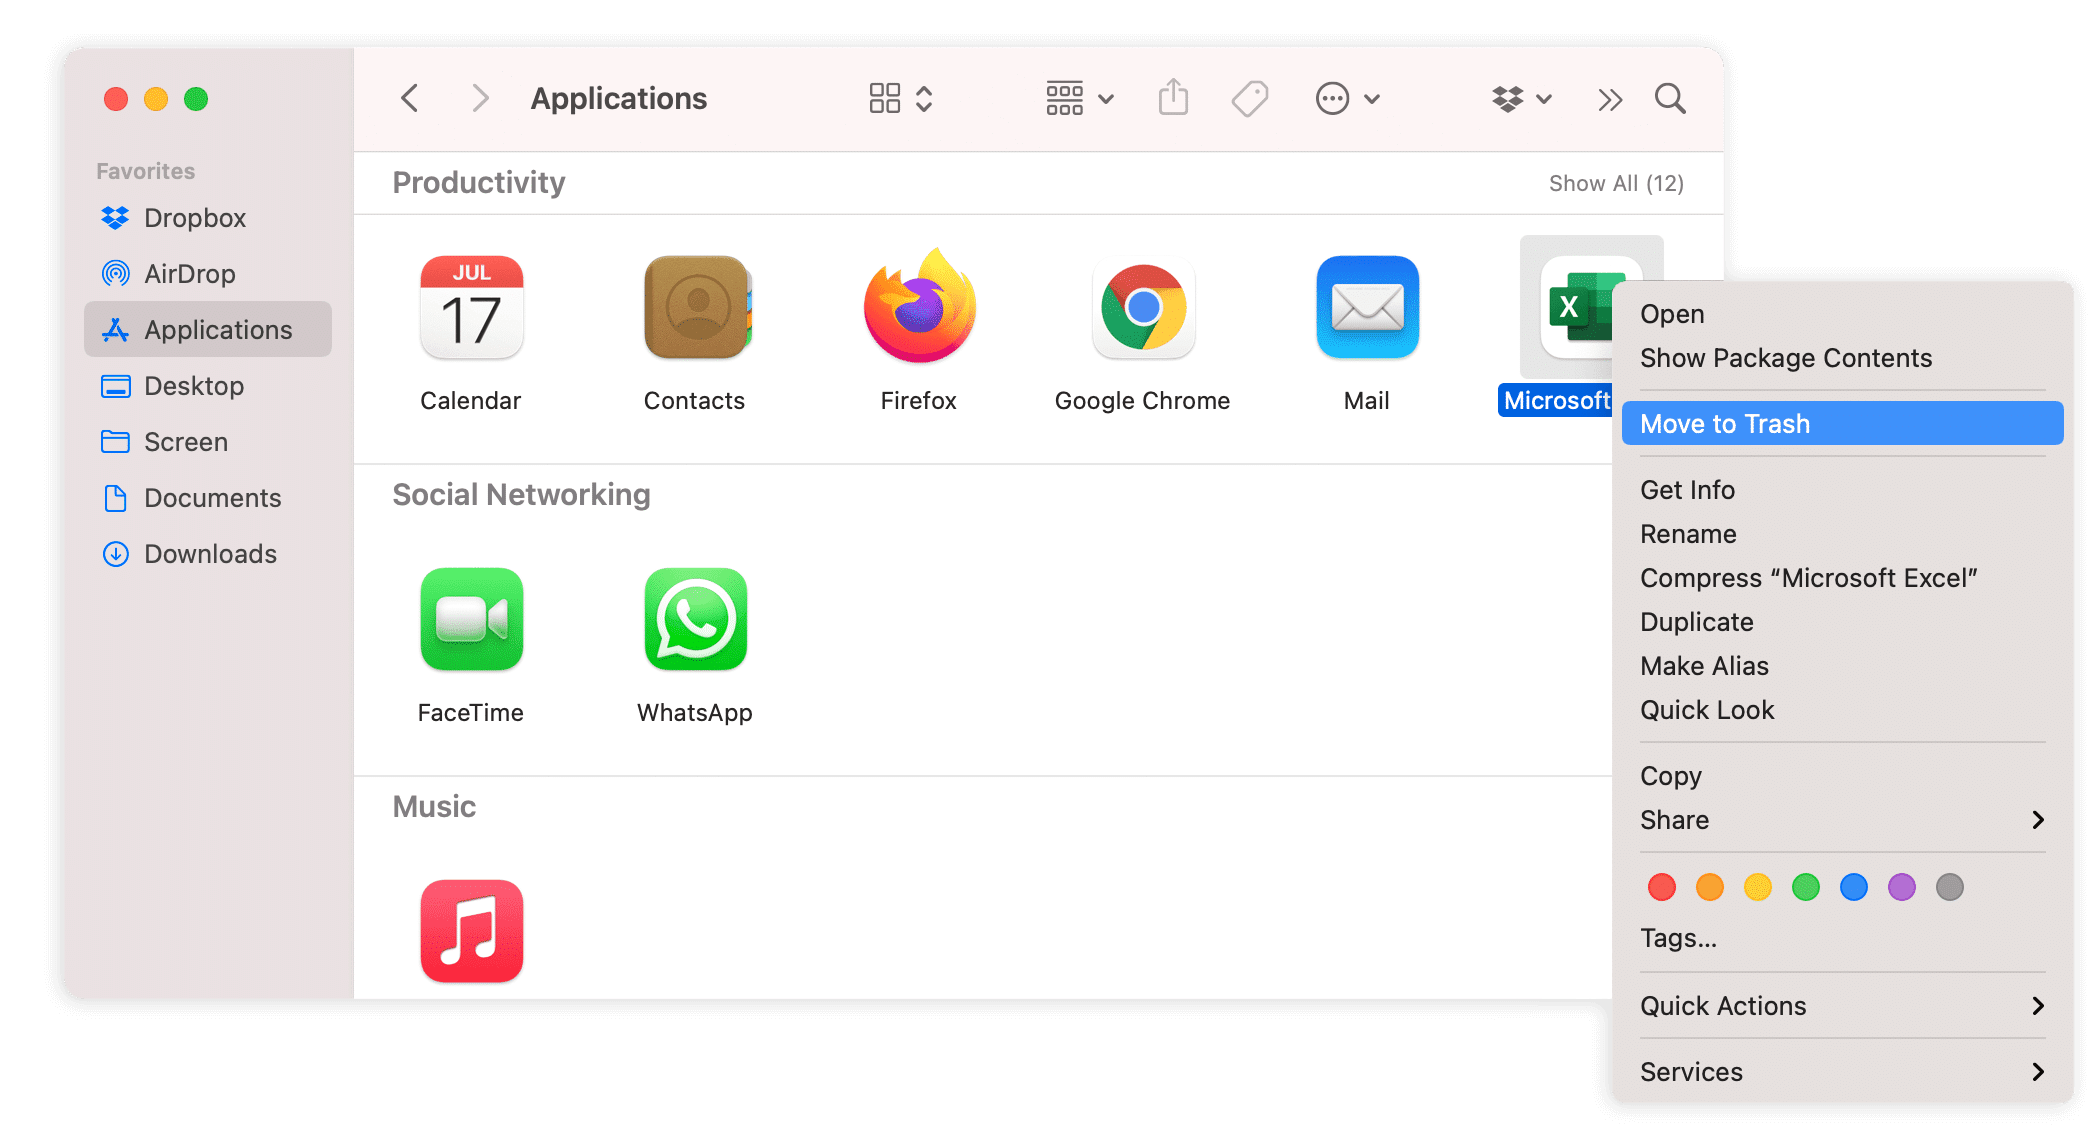
- Go to the Applications folder and remove the Excel application.
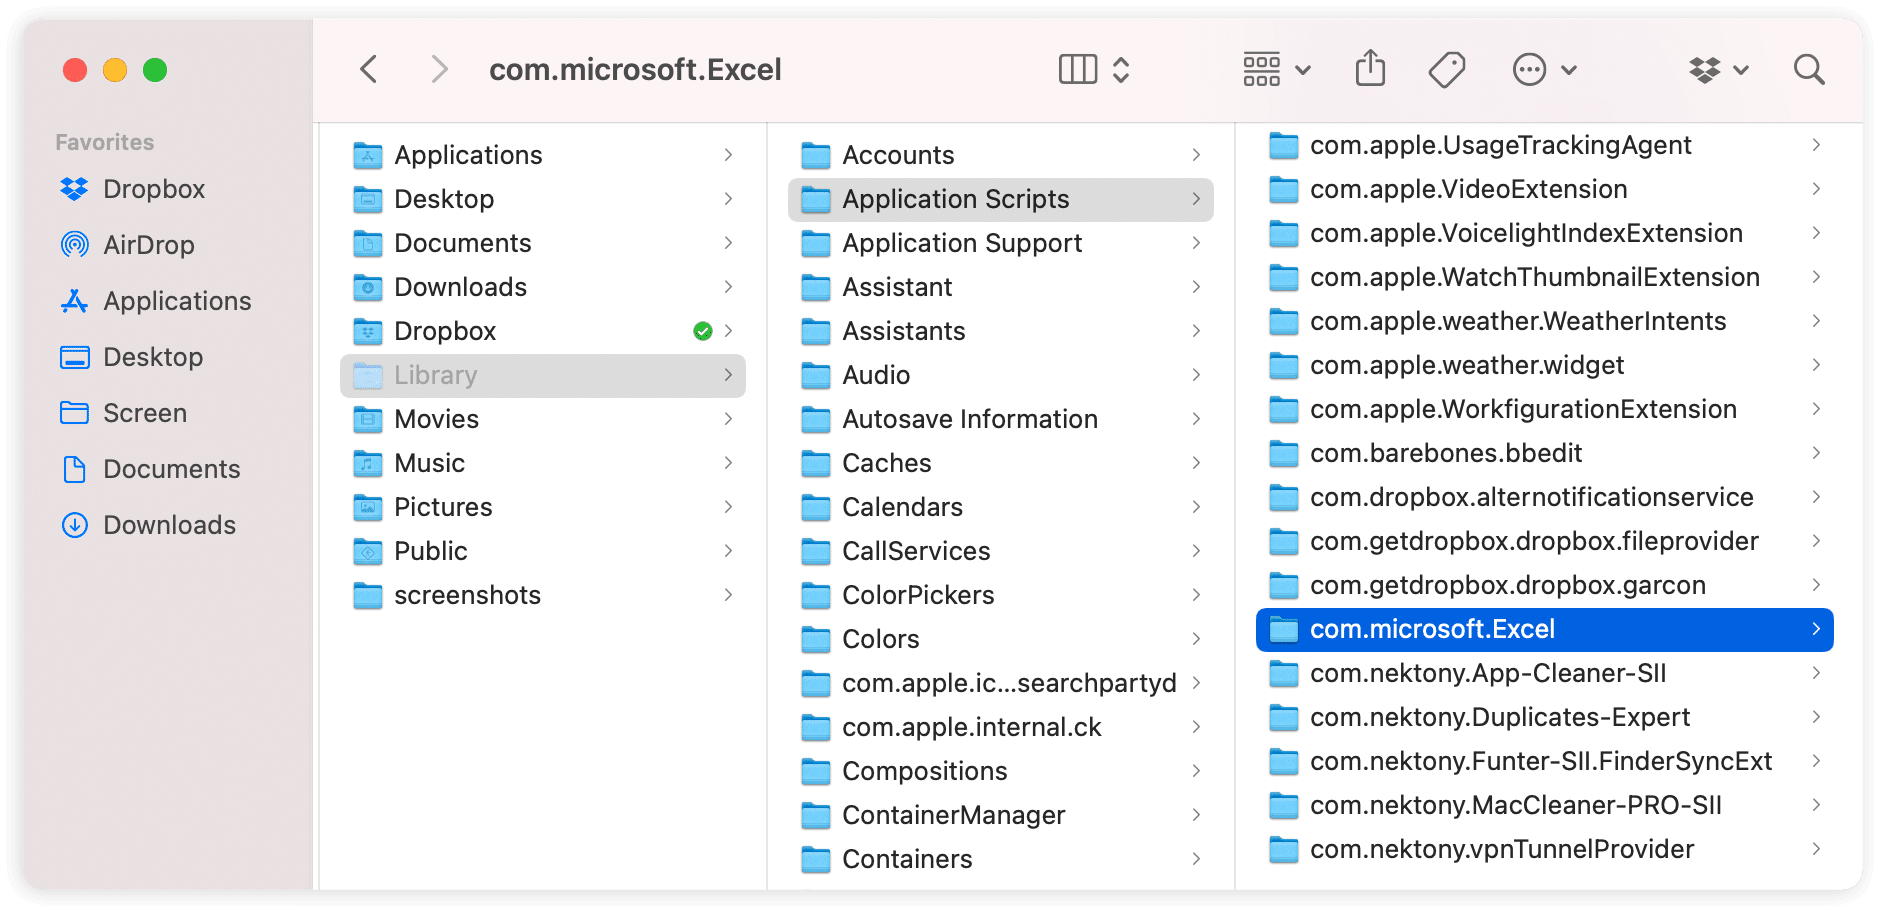
The next step is to find and remove all the leftovers of Excel on your hard drive. As we have mentioned above, each application creates service files when you use them and stores them on your hard drive. So, if you wish to keep your disk clean from unneeded files, you should uninstall apps along with their service files. The service files are usually stored in the Library folder. To find them, do the following:
- Press Command+Shift+G to find the Library folder in Finder.
- Type ~/Library in the window that appears and press Enter.
-
Сheck the following subfolders for Excel support files and remove them:
- ~Library/Preferences
- ~Library/LaunchDaemons
- ~Library/PrivilegedHelperTools
- ~Library/Preferences
- ~Library/Application Support
- ~Library/Receipts
- ~Library/Automator
- Empty your Trash bin after you remove all Excel support files.
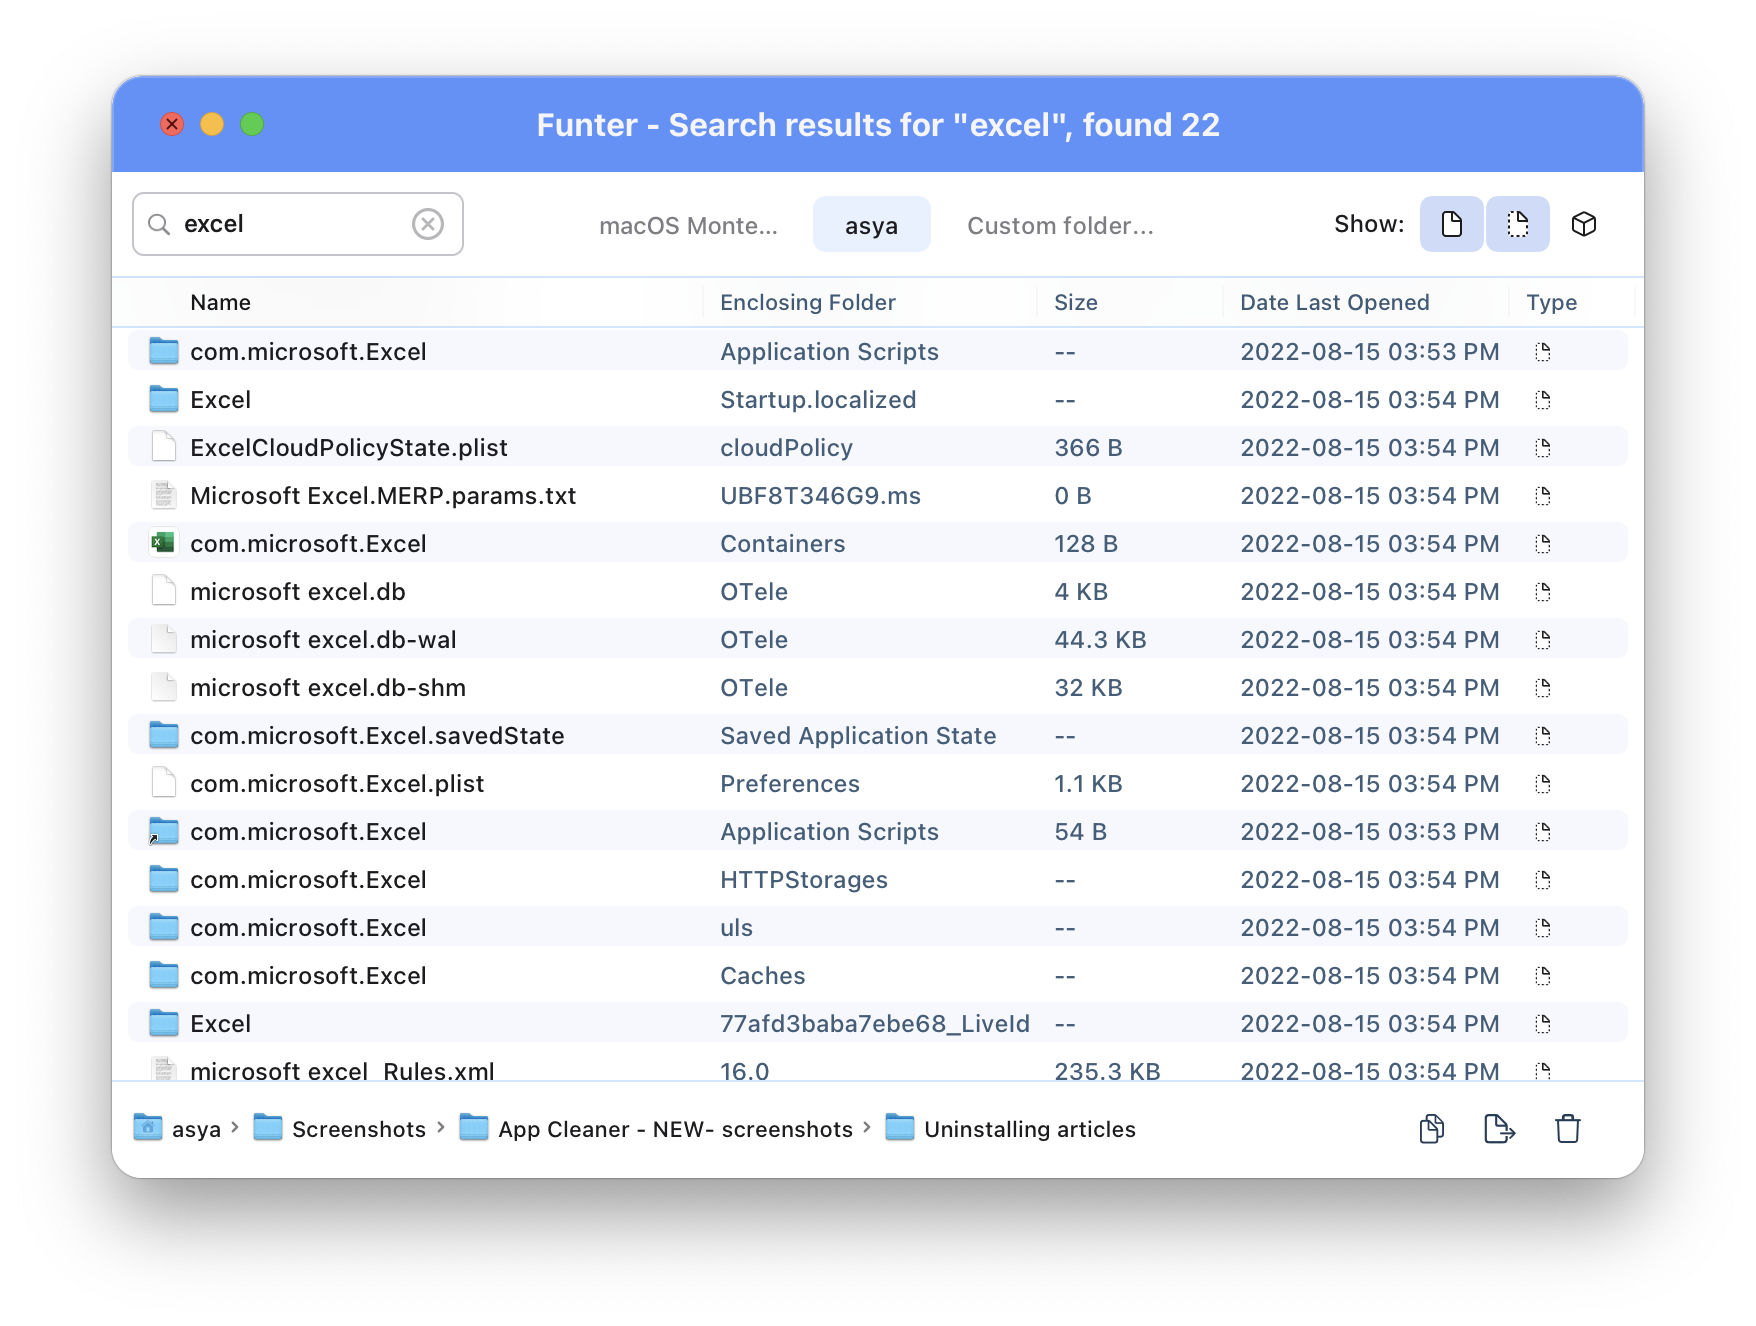
Please note, some files may be scattered on your disk. In order to find all hidden service files for Excel, we recommend using a free application Funter, which is designed to show and find hidden files on a Mac.
- Launch Funter.
- Click on Funter’s icon in the menu bar.
- Type Excel and press Enter.
- In a few seconds, you will see a list of all files which contain Excel in the name, including hidden files in your system.
- Don’t forget to Empty the Trash after deleting these files.
Now, you can be almost certain that you have uninstalled Excel completely.
If you want to be 100% sure that there are no leftovers from Excel on your disk, then use the Office removal tool—the App Cleaner & Uninstaller. Even if you have already removed the application manually, with the help of App Cleaner & Uninstaller you can find and delete its leftovers.
How to remove Excel using App Cleaner & Uninstaller
App Cleaner & Uninstaller is a software tool from Nektony that is designed to uninstall apps on your Mac completely, manage extensions, and remove apps’ leftovers. App Cleaner & Uninstaller finds all remaining files automatically and saves you time instead of searching for them manually.
Steps on how to uninstall Excel from your Mac with App Cleaner & Uninstaller
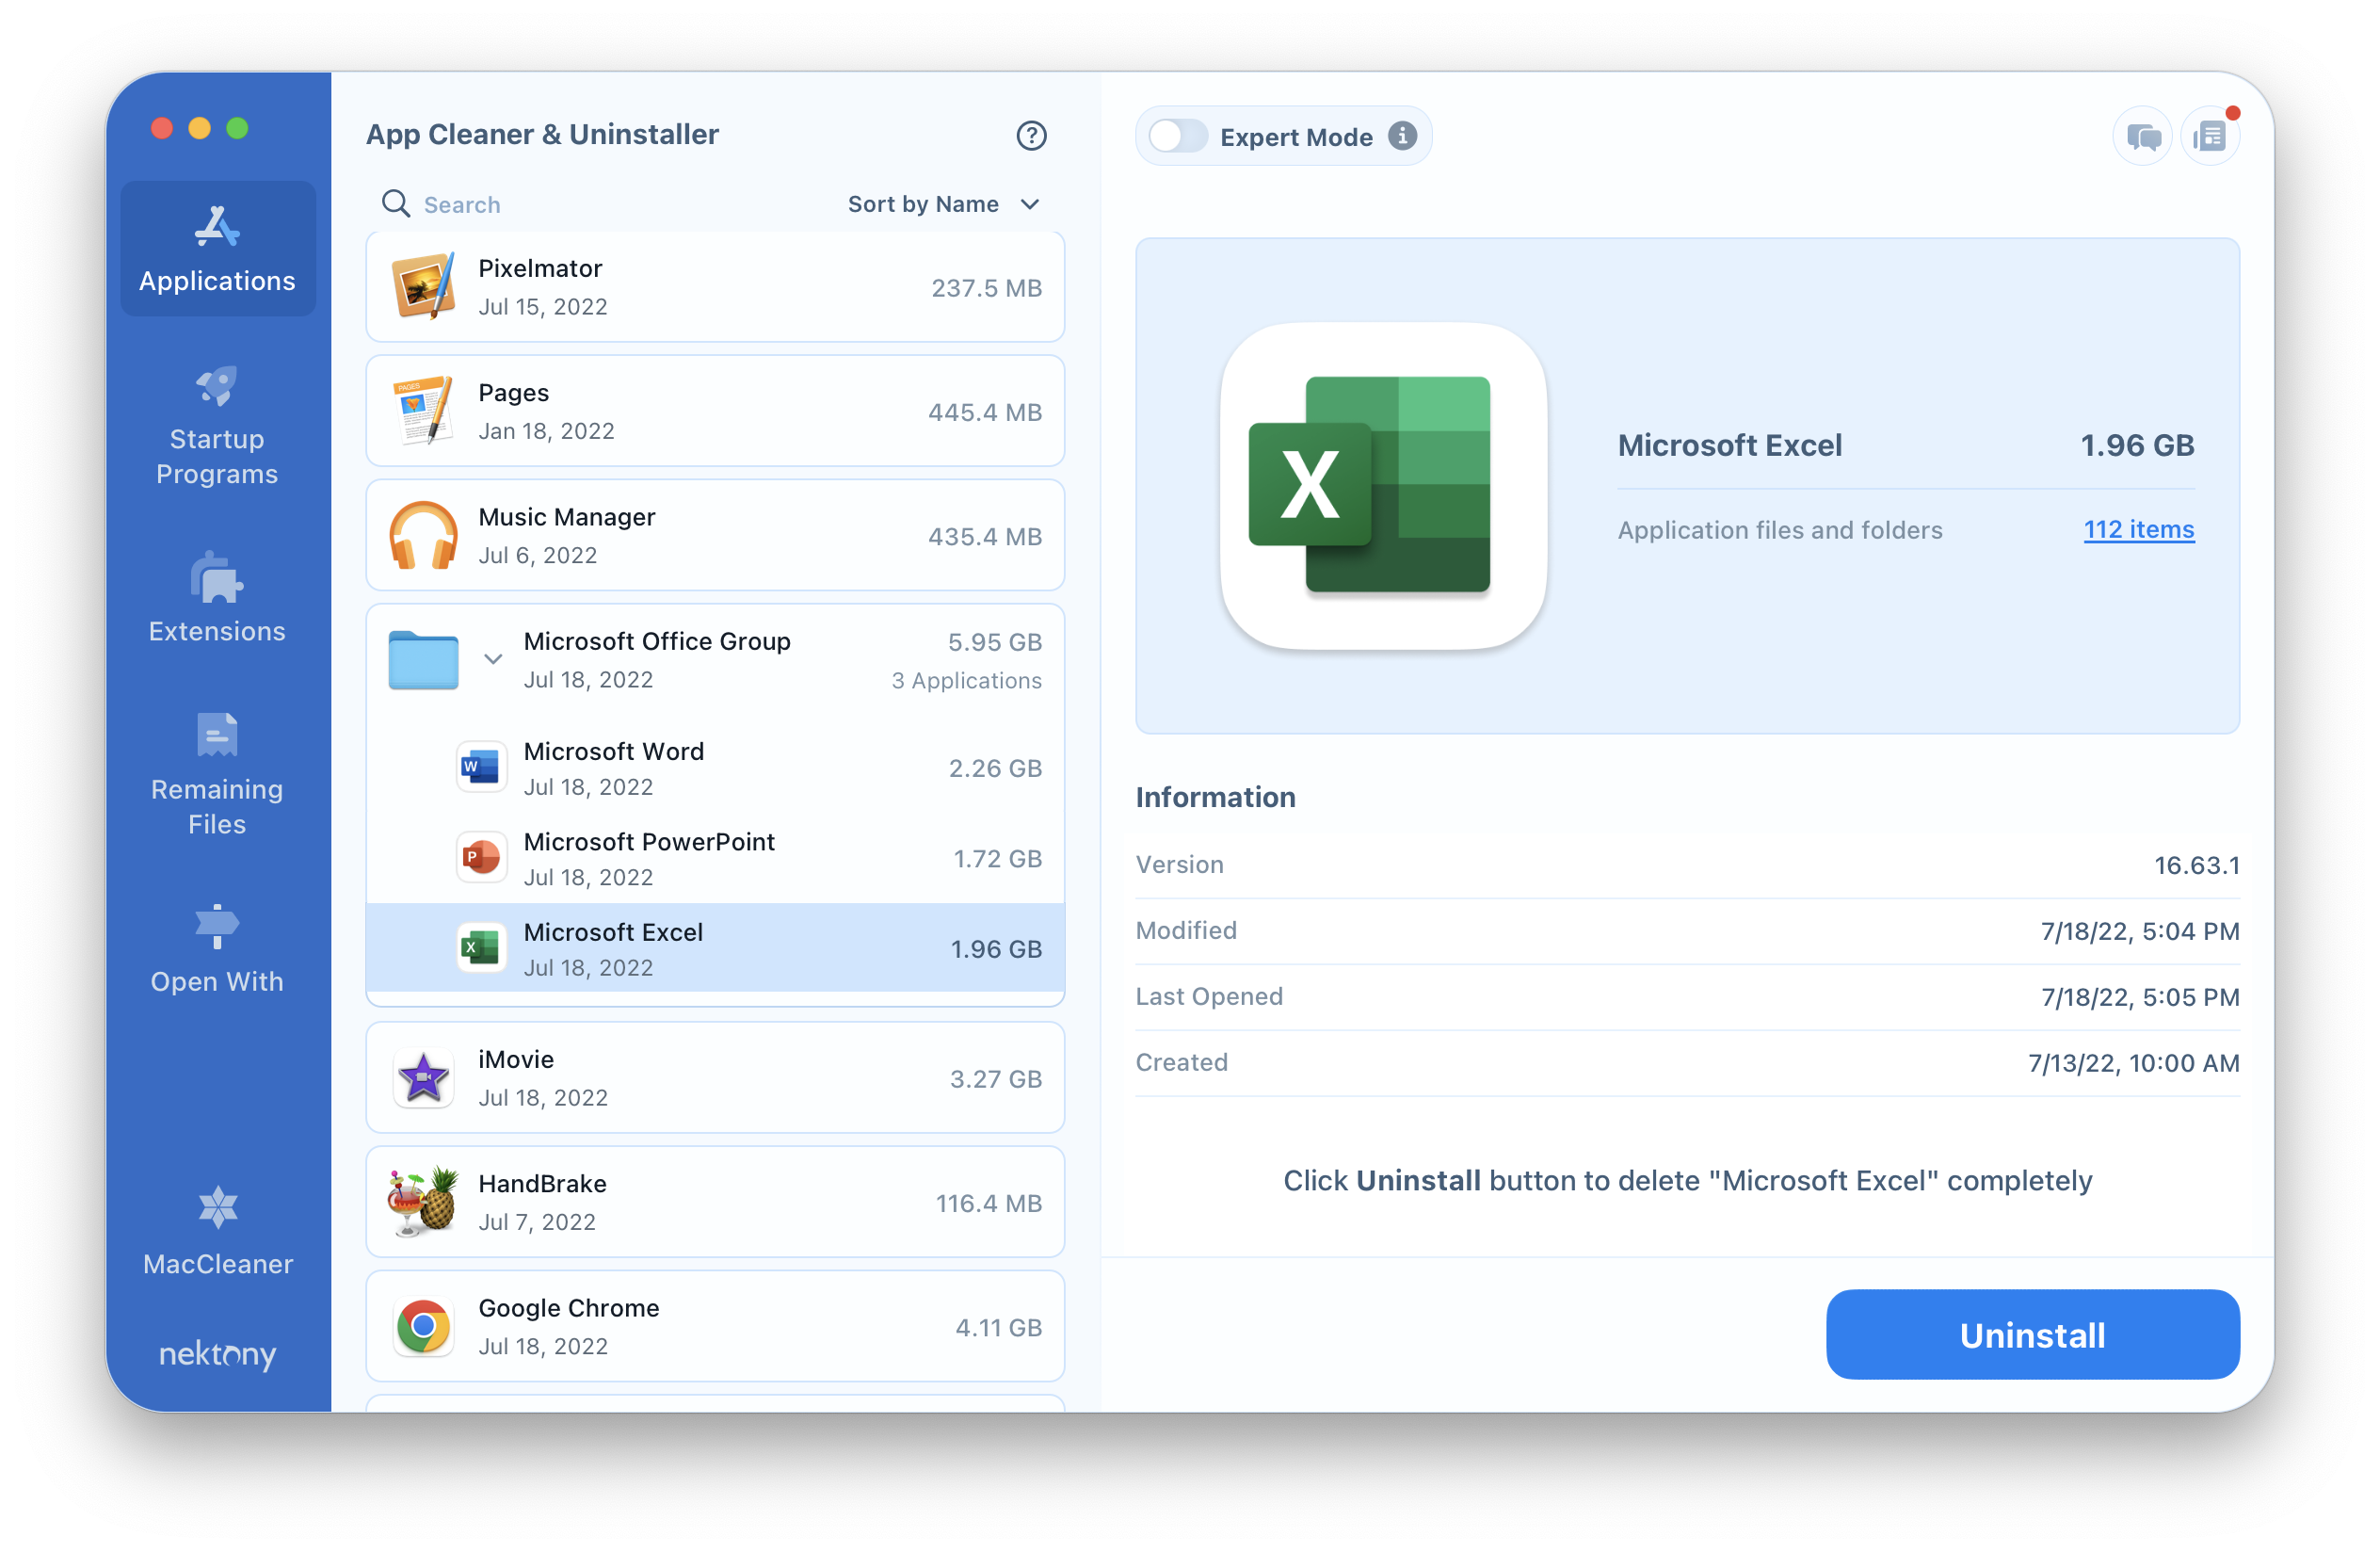
- Download and launch App Cleaner & Uninstaller. It will scan your Applications folder and display all the apps installed on your Mac.
- Select Excel from the list of apps.
- Click the Uninstall button.
- Сonfirm the removal of Excel.
If you have already removed Excel from your Mac, you can check if there are any service files left on your Mac. Just go to the Remaining files tab where you can find leftovers of deleted applications. Select unneeded files and remove them.
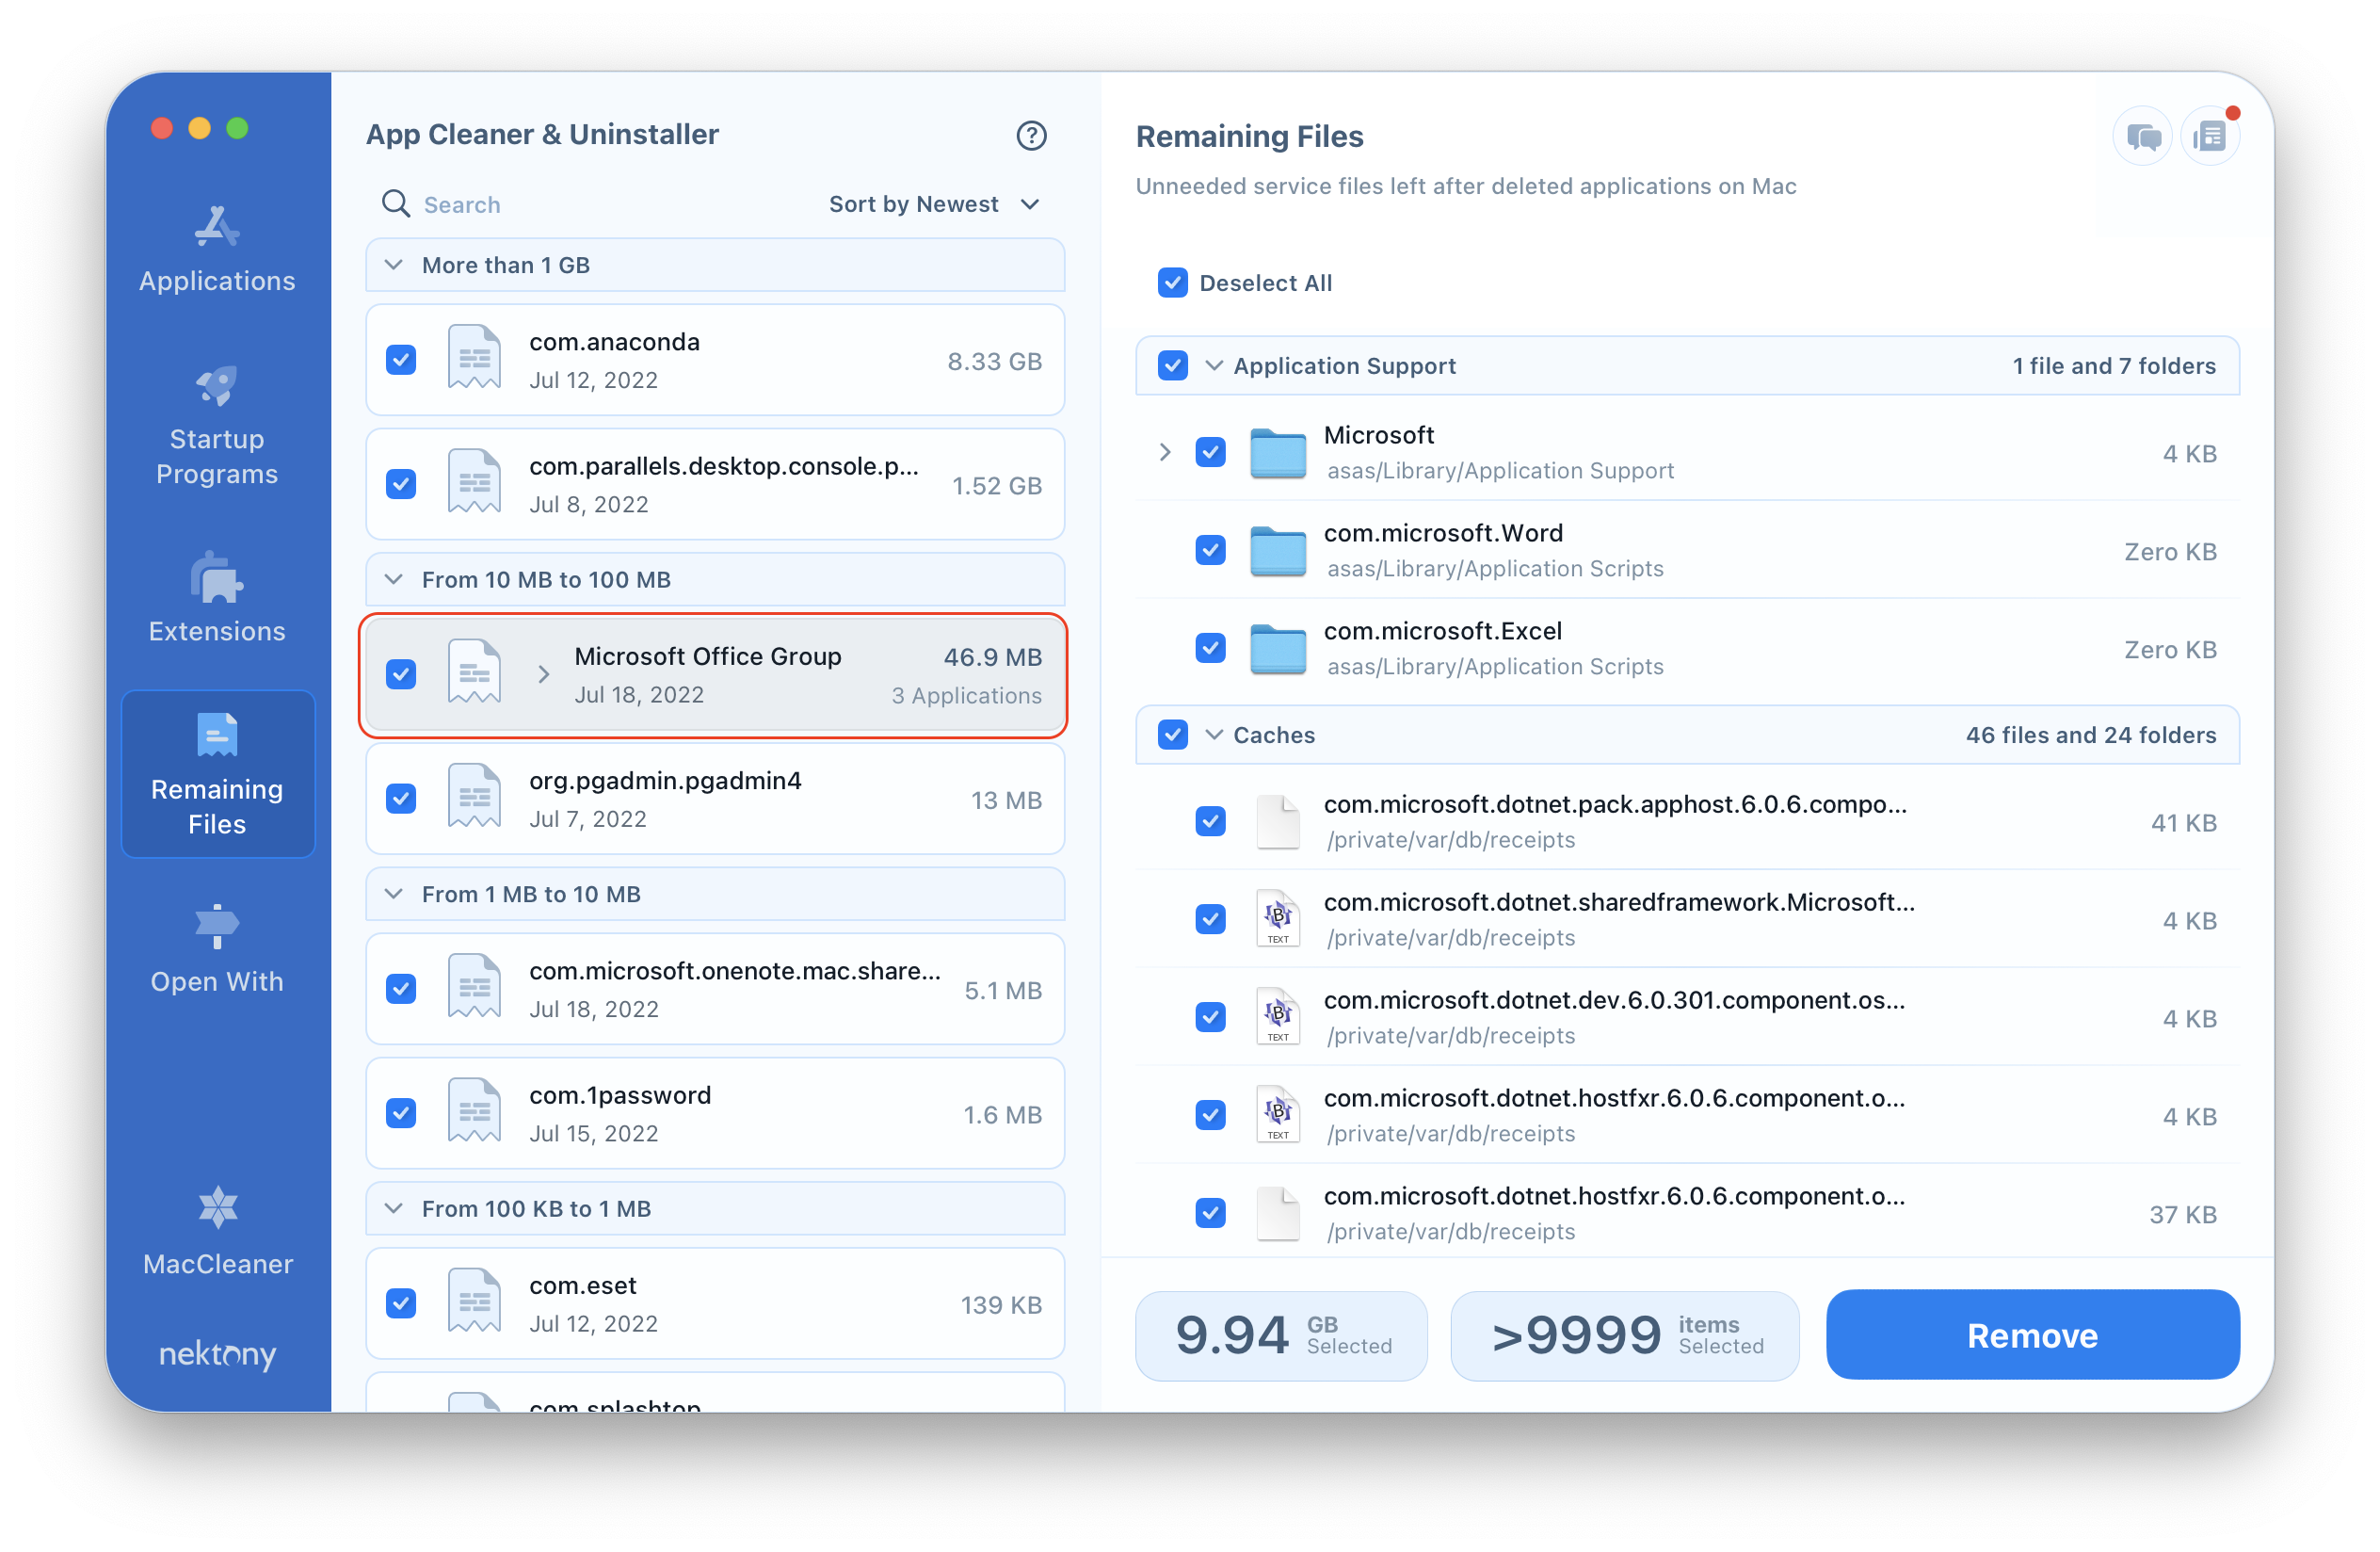
That’s all! As you can see, there are just a few clicks to uninstall any application from your Mac using App Cleaner & Uninstaller.
How to clear Excel cache on Mac
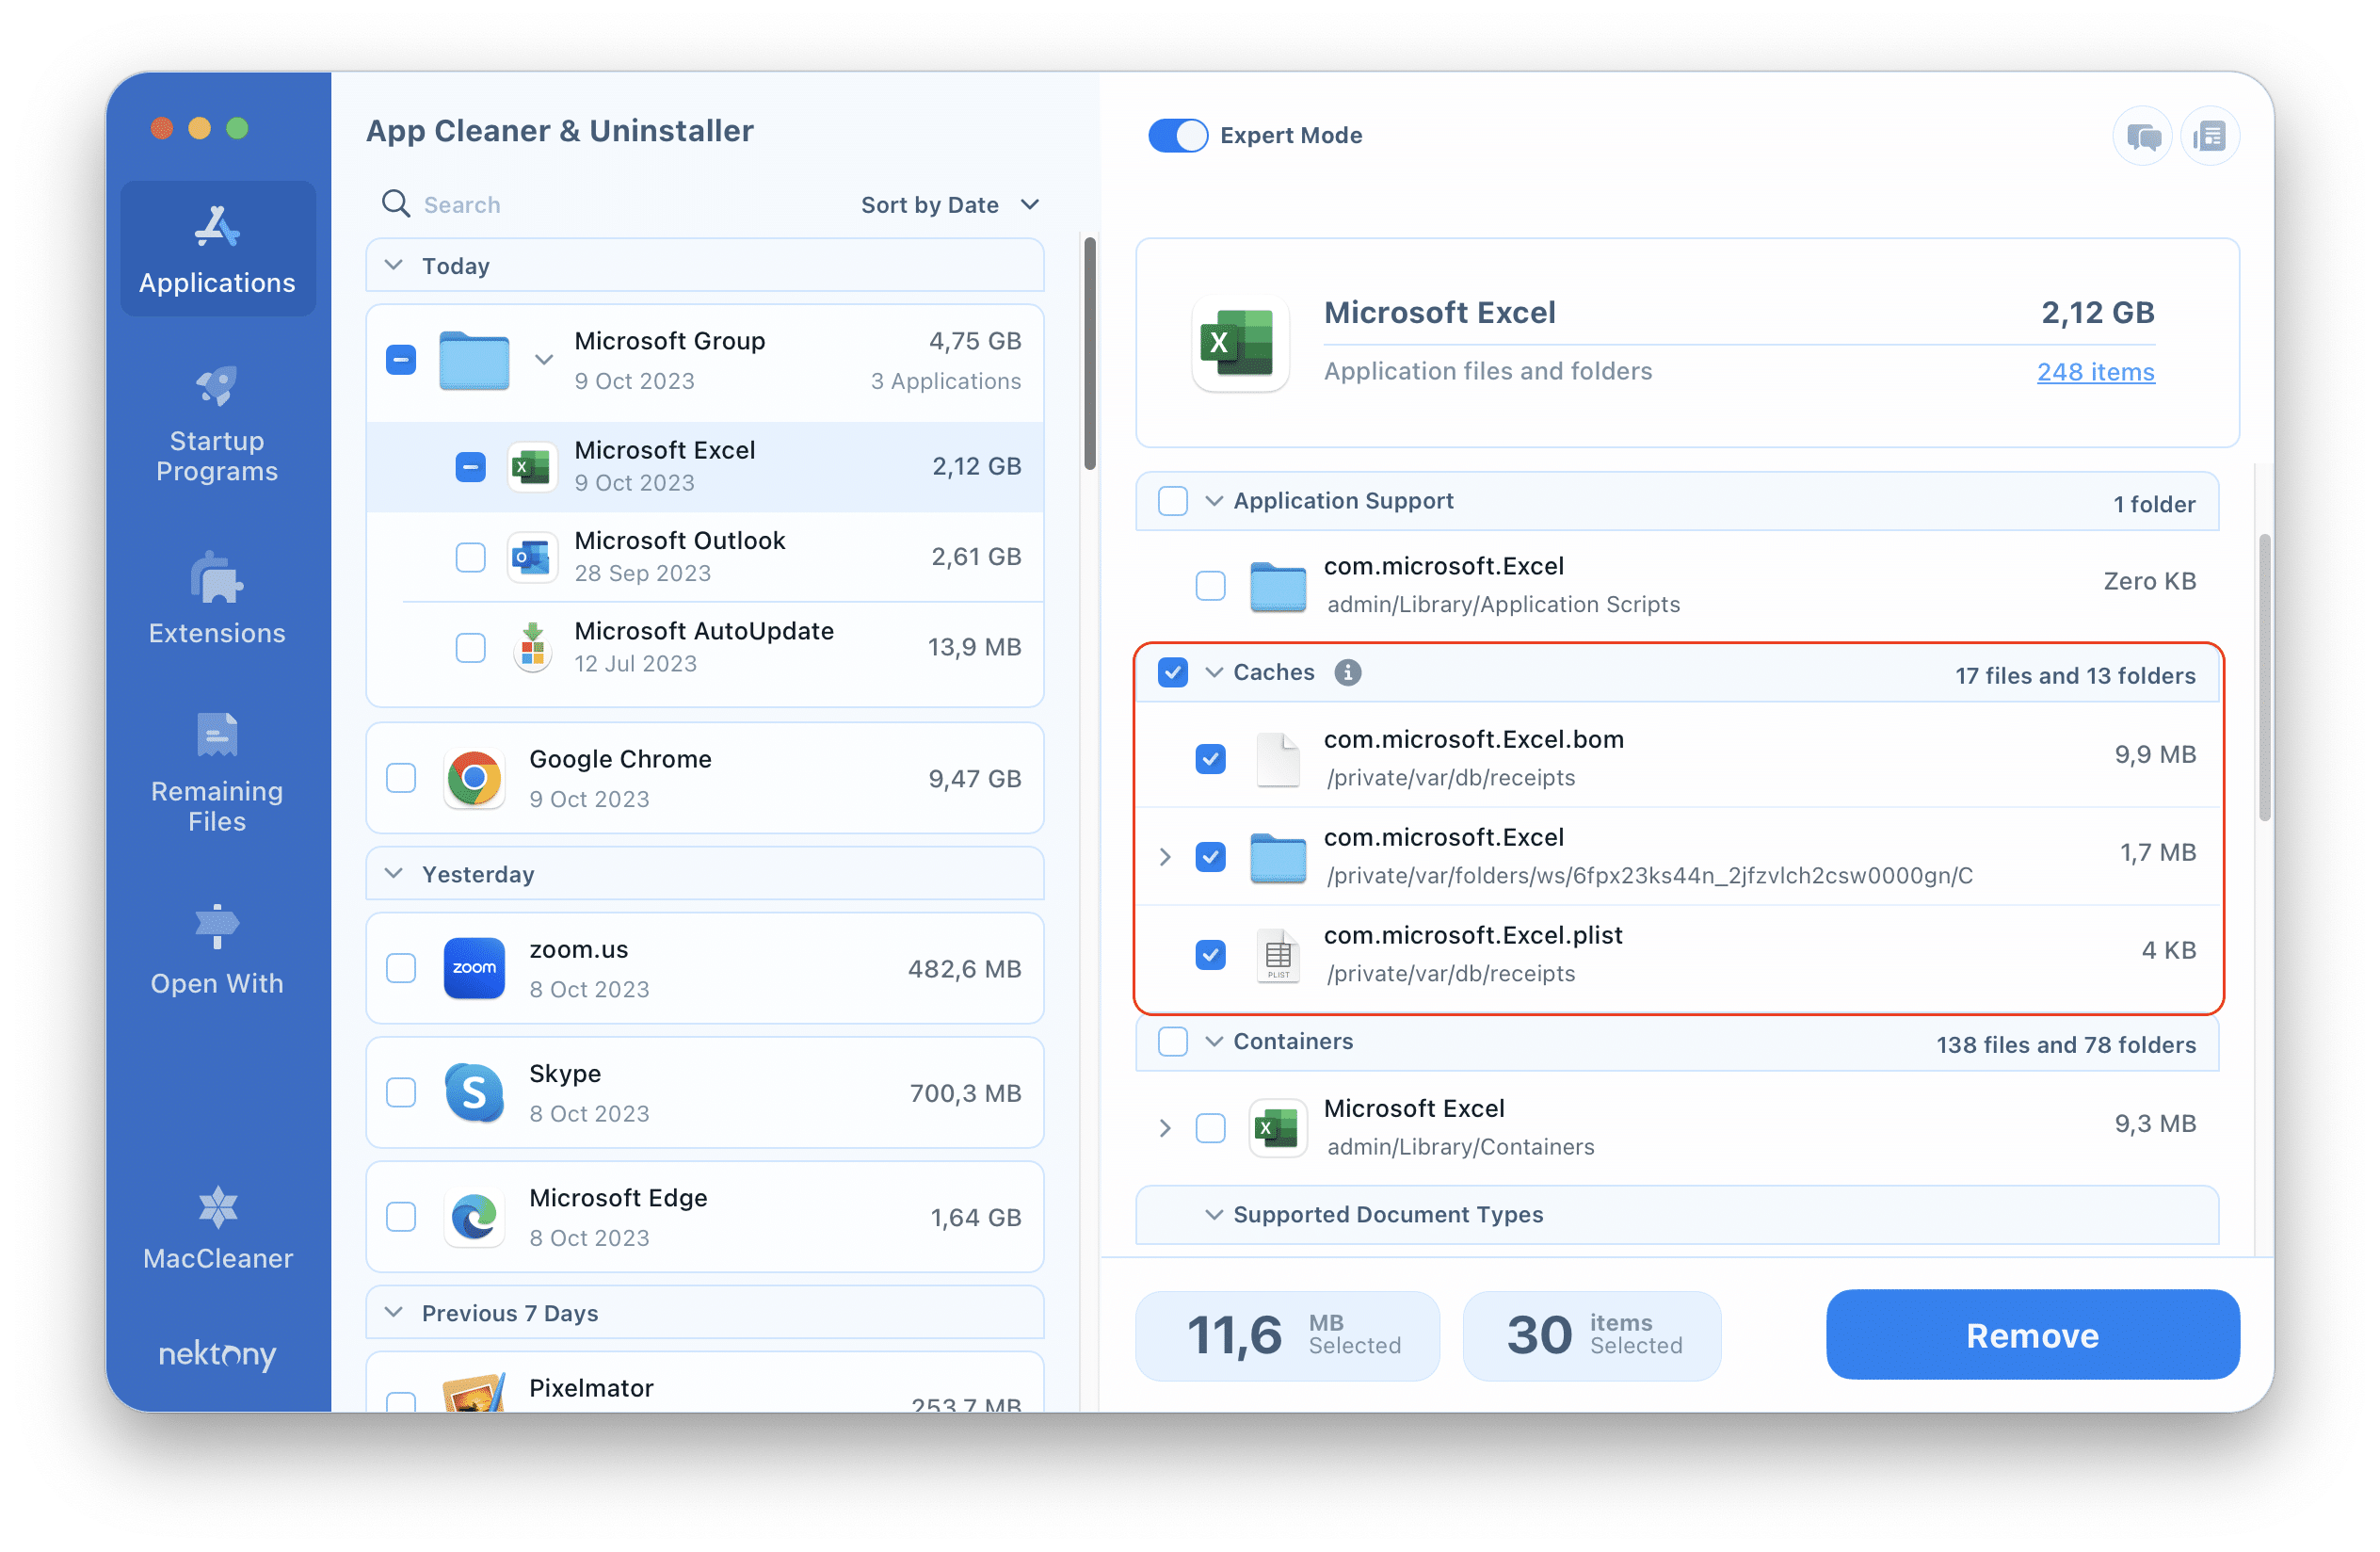
If you need to simply clear the Excel’s cache files, do the following:
- Close Excel on your Mac.
- Open App Cleaner & Uninstaller and switch on the Expert mode.
- Click Excel in the left panel.
- Scroll down in the right panel and select caches.
- Click the Remove button and confirm the action.
How to reset Excel
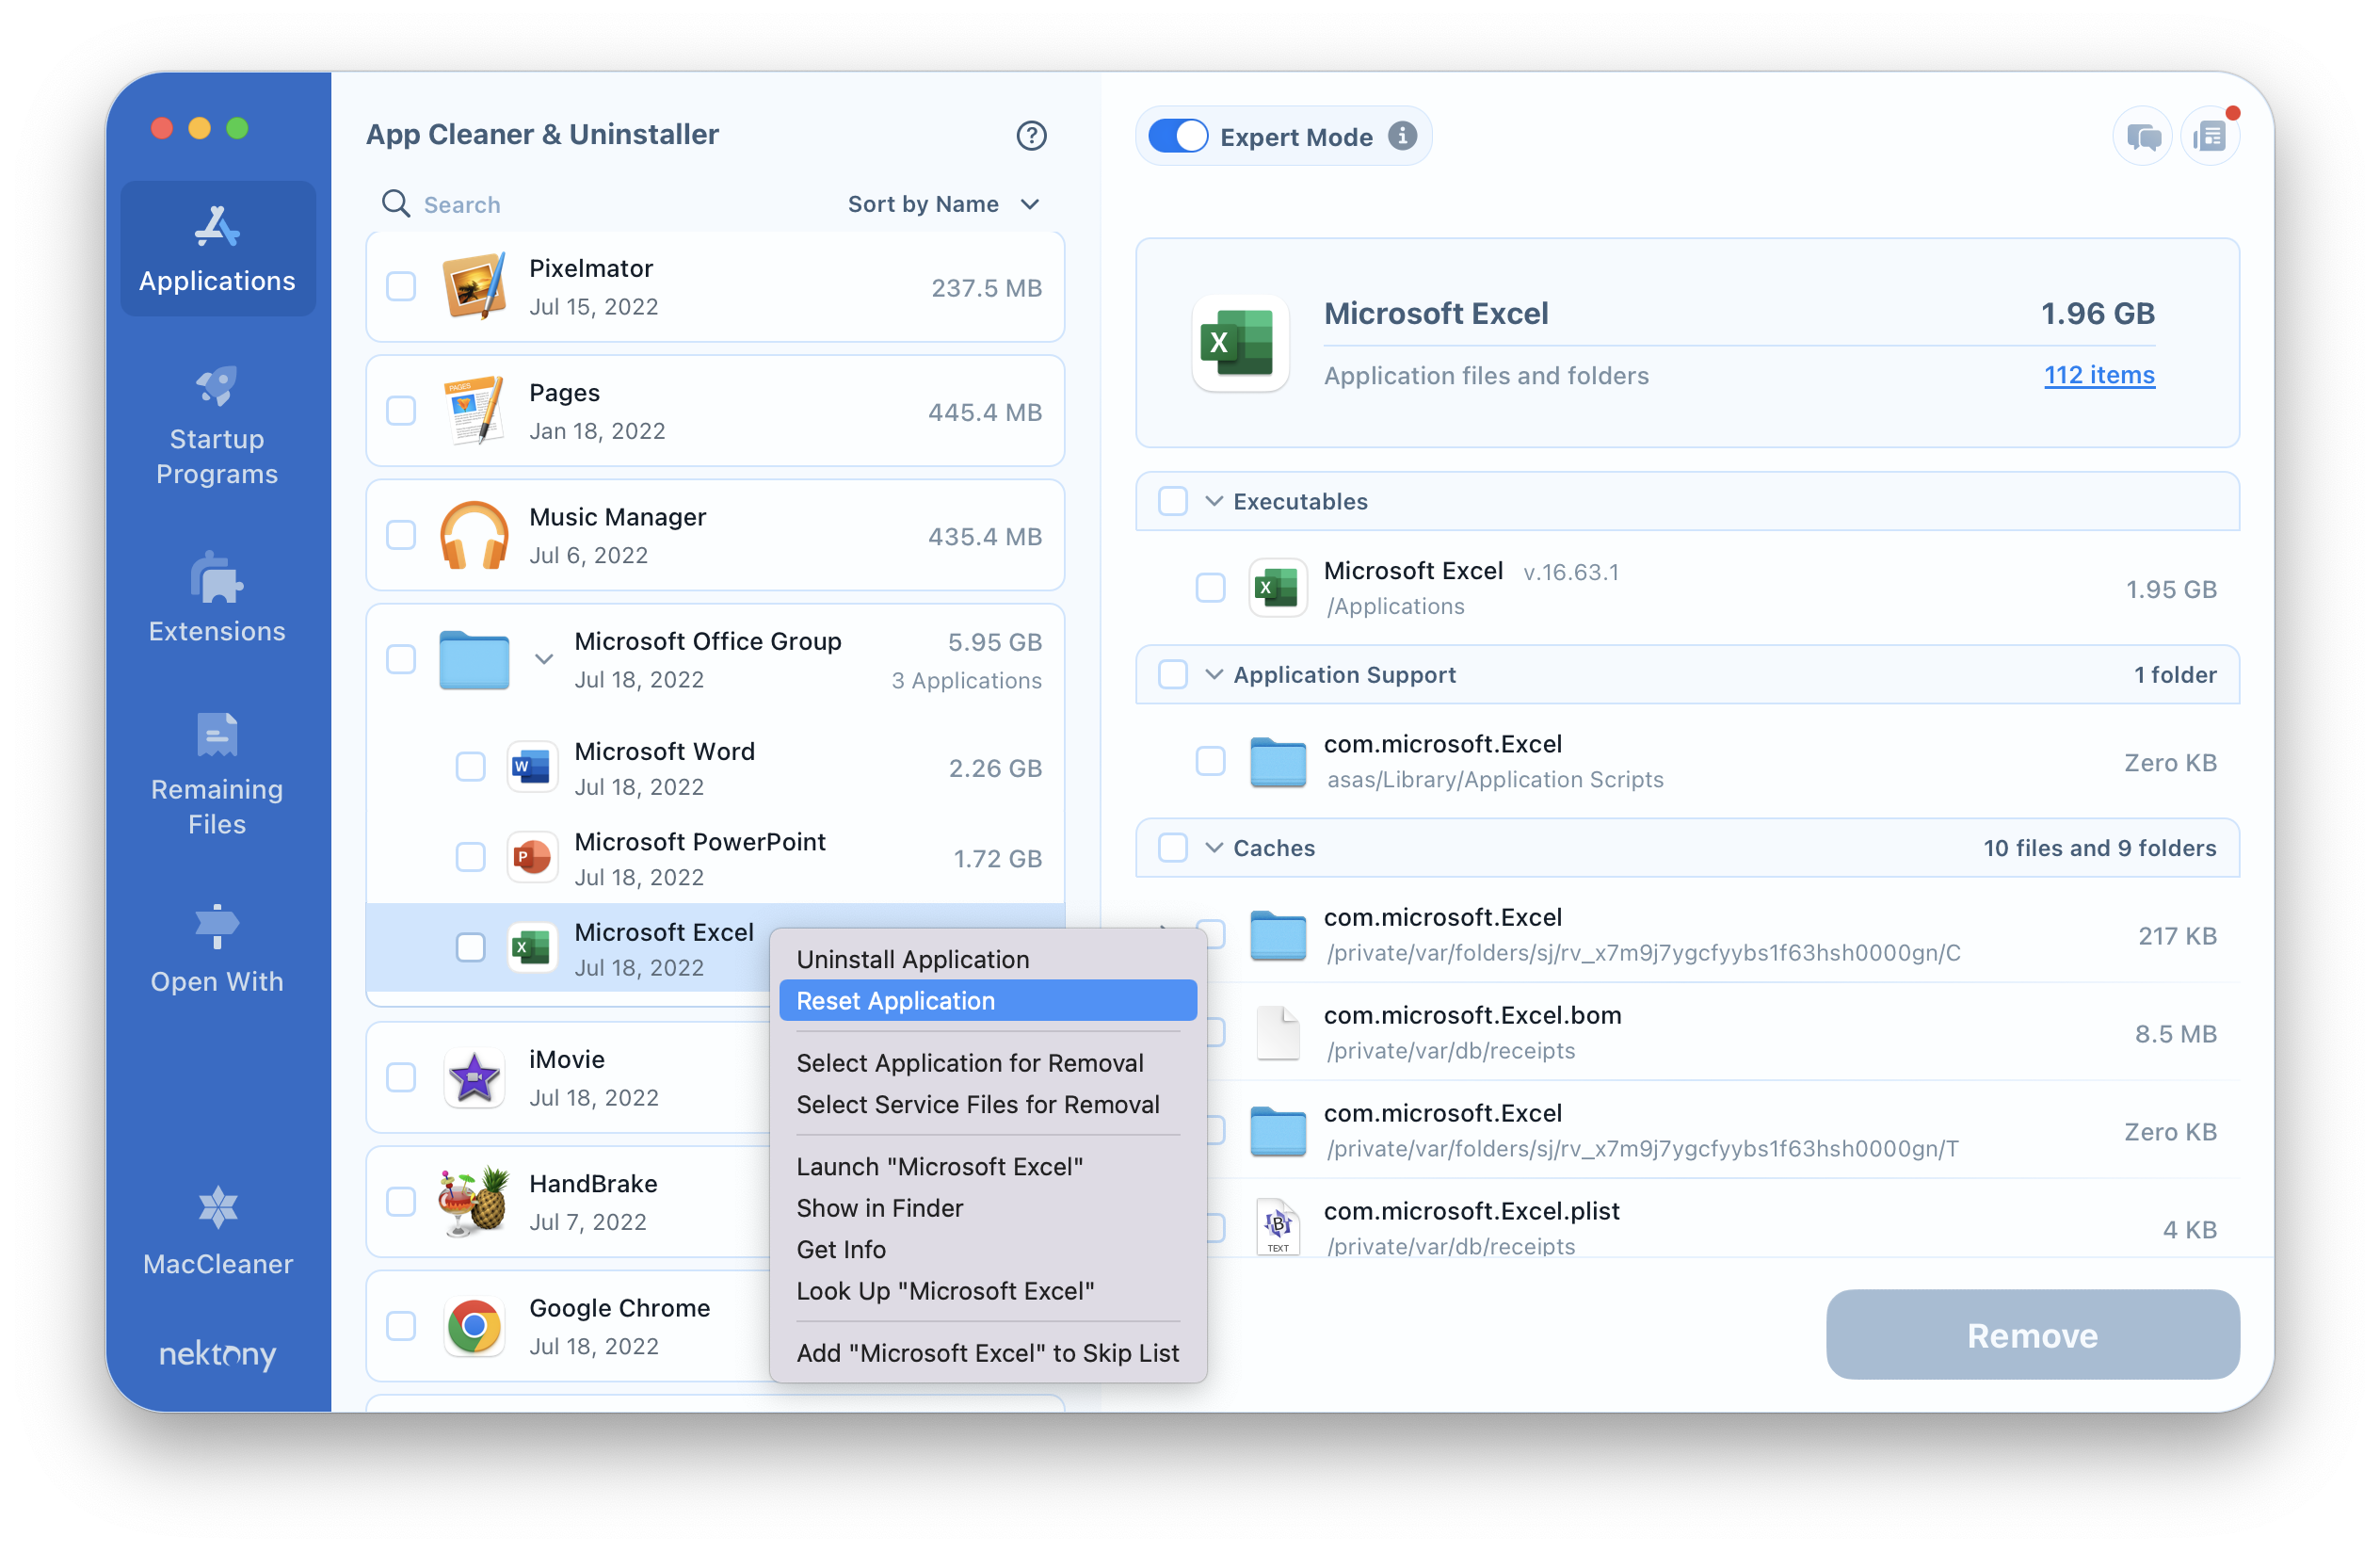
If Excel starts to work incorrectly, the program closes suddenly, or the app shows an error, you should reinstall or reset it to fix the issues. You can use App Cleaner & Uninstaller to reset Excel quickly. Follow the guide below to reset Excel with App Cleaner & Uninstaller:
- Launch App Cleaner & Uninstaller.
- Right-click on the Excel app and select Reset Application.
- Confirm the removal of its support files.
Conclusion
In this article, we showed you two ways to uninstall Microsoft Office Excel completely from your Mac. If you want to save time, we recommend using the automatic method with the help of App Cleaner & Uninstaller. This allows you to uninstall unneeded applications in a few clicks completely and safely.
