
If for some reason you want to remove JDownloader from your Mac, this article is for you. We will share three methods on how to correctly uninstall JDownloader from Mac.
Contents:
- Remove JDownloader using its native uninstaller.
- Uninstall JDownloader manually.
- Delete JDownloader using App Cleaner & Uninstaller.
How to remove JDownloader using its native uninstaller
When you install the JDownloader application on your Mac, it creates its uninstaller for future possible removal. So let’s learn how to uninstall JDownloader using its native uninstaller.
- Quit JDownloader.
- Run the JDownloader Uninstaller.app file. By default it should be stored in the following location:
Macintosh HD/Users/[current user]/bin/JDownloader (2.0)/JDownloader Uninstaller.app

- In the uninstallation window click on Next.

- Wait while JDownloader is removed from your computer. In a few seconds, you will see a message that it was successfully removed.


Besides the message that JDownloader was successfully removed from your Mac, this is not the last step for complete removal. We checked the macOS system and discovered the application’s leftovers, such as caches and preferences. Thus, you need to find and remove all files associated with JDownloader. Keep reading to learn how to uninstall JDownloader with all its support files.
How to manually uninstall JDownloader from Mac
Unlike other apps, JDownloader doesn’t actually appear in the Applications folder. The JDownloader’s all files are located in the following location:
Macintosh HD/Users/[current user]/bin/JDownloader (2.0)
Please, follow the steps below to manually remove JDownloader from your Mac:
- Open your Home folder and remove the “bin” folder from there.

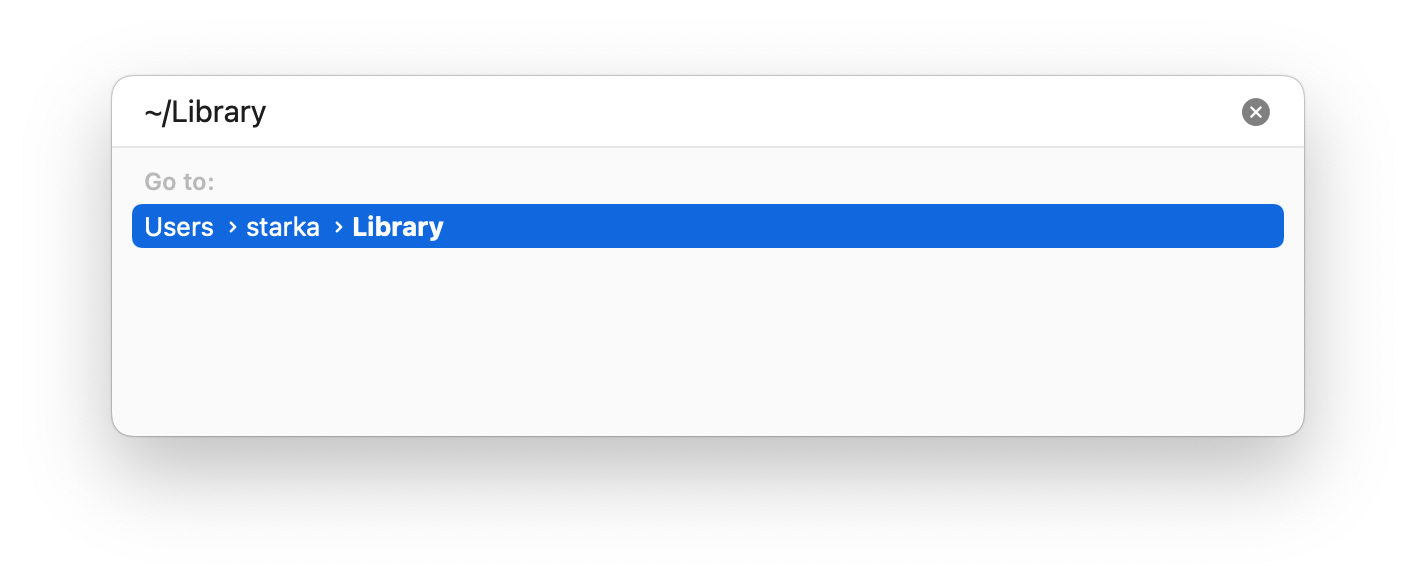
- Go to the Library folder. For this, in Finder press Command+Shift+G shortcut, and in the appeared search field type ~/Library. Press Enter.
-
Find and remove JDownloader’s support files. In our case we found the following files and folders:


You may have more or less support files. That’s why you need to carefully check folders that contain applications’ caches, logs, cookies, preferences, and other service files in the Library folder. However, there is a quick and easy way to find all JDownloader’s leftovers. Just use App Cleaner & Uninstaller.
Uninstall JDownloader using App Cleaner & Uninstaller
App Cleaner & Uninstaller allows you to uninstall any application from Mac completely and safely with all their support files.
- Launch App Cleaner & Uninstaller. It will scan your applications.
- Select the Jdownloader app from the list in the left partition of the window.
- Click the Remove button.

That’s it. As you can see on the screenshot above, App Cleaner & Uninstaller found all service files of JDownloader. They are displayed in the right section of the application window.
If you have already removed Jdownloader by deleting it with Trash but need to find its support files, please go to the Remaining Files section from the sidebar. All applications’ leftovers are found and displayed there. Just select org.jdownloader support files and click to remove them.

App Cleaner & Uninstaller is absolutely free to try. Download it right now and get rid of JDownloader on your Mac completely.


