
We have a great opportunity to capture every single moment around us. But our photos don’t always come out looking good. Skewed horizon, not enough light, or too much bright light can spoil the picture. To make your shots look great, you have to edit them. In this article, we will cover how to edit photos on your iPhone to make them look professional.
Contents:
- What is the best way to edit photos on iPhone
- How to edit photos to look professional on iPhone
- How to remove or change your edits on iPhone photos
- How to edit portrait and live photos on iPhone
- How to edit photos with third-party apps on iPhone
Tip 1 – Clean up iPhone storage, delete duplicate and similar photos
Phone Cleaner for Media Files
What is the best way to edit photos on iPhone
There are many photo editing applications for the iPhone. However, you don’t always need any additional applications to make the picture look professional–you can simply use the built-in iPhone Photo editor. It allows you to adjust exposure, create contrast, straighten up the image, or add ready filters to the photos. You also have the choice to select auto-adjust. All these functions can help you make your photos look more colorful, bright, and professional.
How to edit photos on iPhone to make them look professional
The first step to get a professional picture is to take a good shot. Then during the step of editing, you’ll have less work to do.
Before you start editing a photo, we recommend you duplicate your image. When you edit the photo, the original image will be replaced by the edited version. To keep both, you should create a duplicate. This way you can easily return at any time to the original version or create new edited photos with different processing. After you create a picture you like, delete unneeded versions.
To duplicate a photo on an iPhone:
- Open a photo in the Photos app.
- Tap on the Share icon in the left lower corner.
- Select Duplicate.

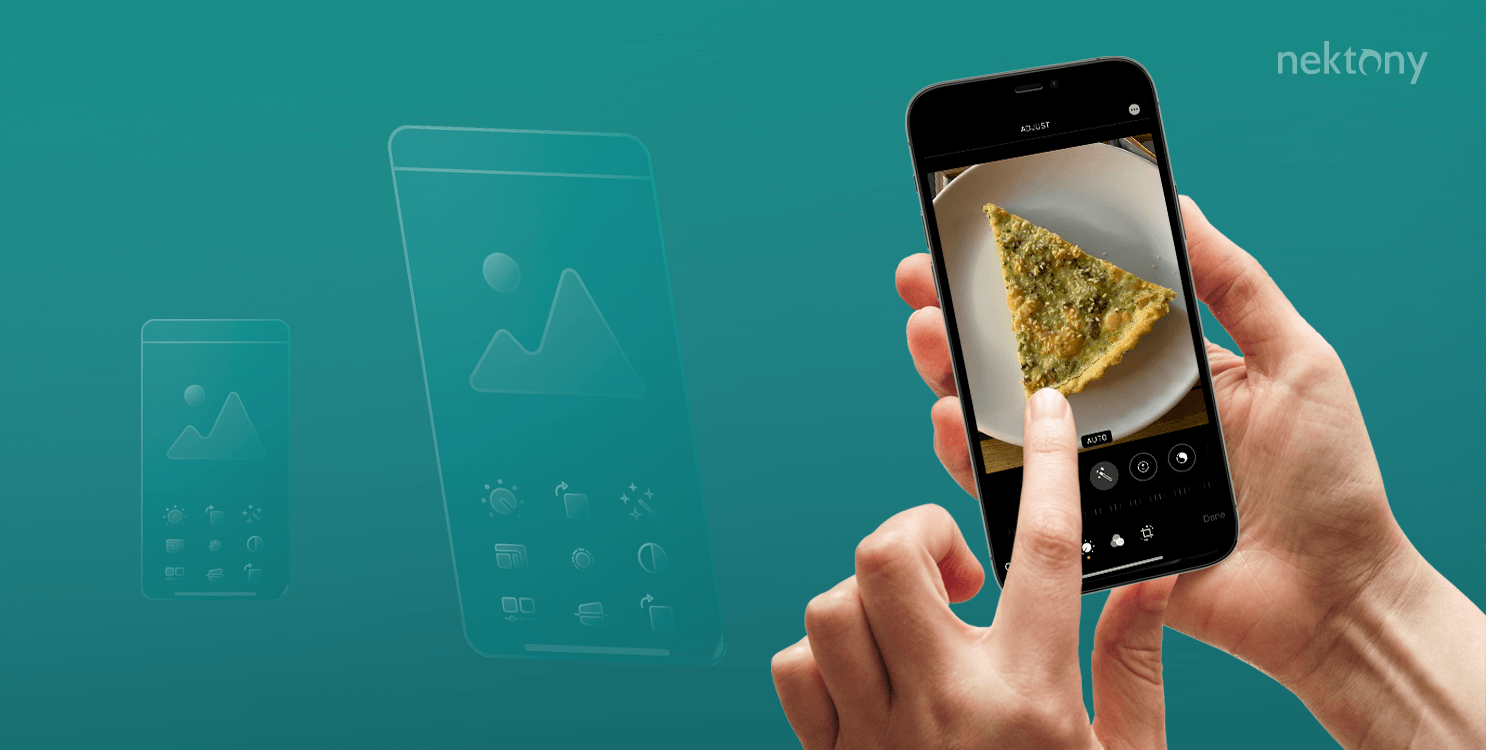
How to use the iPhone build-in editor for photos:
- Open the Photos app.
- Select the desired photo and open it.
- Tap Edit in the right upper corner.


You should then manage light adjustments. Here is a list of light-adjustment tools:
- Increase or reduce the amount of light on the photo by changing Exposure.
- With the Brilliance parameter, you can brighten or shade dark areas on the picture, adding more contrast to the photo.
- Highlight allows you to highlight the lightest parts of the picture or reduce light in overexposed areas.
- The Shadows parameter gives you the ability to manage the darkness of the shadows.

The next step is to change the color adjustments. Here is a list of color adjustment tools:
- To make the photo brighter, increase the Contrast.
- Brightness allows you to make the picture lighter or darker without changing exposure.
- You can manage the contrast by increasing the darkness of dark areas by using the Black point parameter.
- Saturation gives you the ability to play with the color of the image. You can change the bright loud colors to dull black and white or opposite.
- Vibrancy can amend the intensity of the dull colors.
- Make the general tone of the picture colder or warmer with the help of the Warmth parameter.
- Apply green or rose tint on the photo using Tint.

The last instrument is detail controls:
- Make the photo more detailed by increasing the Sharpening.
- Definition can make small adjustments to the contrast.
- Noise reduction – usually is used for pictures in low light to reduce the noise.
- Vignette is a black or white border in the corners of the picture.

You also can select Auto-adjust for quick color correction.

One more interesting feature you can find in the Photos app is ready filters. You can select the features you like most and apply them to any photo. You can change the intensity or add any parameters that we have already mentioned and create your unique processing.

How to remove or change your edits on iPhone photos
Note: even if you finish editing and save the changes, you can go back to the editing process and change any parameter you want or revert all changes.
To revert changes, follow these steps:
- Open the photo you edited in the Photos app.
- Tap Edit in the right upper corner.
- Tap Revert in the right lower corner.
- Confirm the action by tapping Revert to original.

How to edit portrait and live photos on an iPhone
Portrait and live photos on iPhones have additional editing features.
If the photo was taken in portrait mode, you have an opportunity to change the light to studio, contour, stage, stage mono, or high-key mono. Further, you can regulate the intensity of the light and change the strength of the blur background.

Of course, you can also adjust all standard light, color, and detail controls.
In case of editing a live photo, you can change the key photo and even crop its duration.

How to edit photos on an iPhone with third-party apps
There are lots of photo-editing applications for iPhones. The main distinguishing feature of third-party apps from the built-in editor is providing even more tools to change the colors on the photo, add text, put together two photos, etc.
Here are some of the popular photo-editing applications for iPhone users:
- Instagram’s Photo Editor.
- Adobe Lightroom: Photo Editor.
- PicsArt.
- Facetune 2.
Instagram’s Photo Editor
Instagram’s Photo Editor allows you to get more ready-made filters. To learn about all features, you can read the full article: How to use Instagram’s Photo Editor.

Adobe Lightroom Photo Editor
This photo editor has many interesting features. One of them is the ability to change separate colors on the picture and regulate their tone.

PicsArt photo editor
PicsArt can help you to add text to the picture. You can select fonts and even add stickers. It also allows combining two different pictures.

Facetune 2
The Facetune2 application can be incredibly useful when you edit portrait photos and want to do a detailed retouch, correct skin imperfections, or even change eye color.

Conclusion
Through this article, we have shown you how to edit photos on your iPhone. Now your photos will be even better. And if your iPhone storage is full you can use the free application Phone Cleaner for Media Files from Nektony to find and remove duplicate photos and your biggest media files.


