For whatever reason, you may want to hide some files on your Mac and limit access to them. In our previous article, we explained how to show hidden files on a Mac. Today, we provide the guide on how to hide files on a Mac desktop.

Contents:
1. How to hide files on a Mac with Terminal
2. How to hide files on a Mac with Funter
3. How to hide system files on Mac
4. How to create a hidden folder on a Mac
5. How to find hidden movies on a Mac
How to hide files on a Mac with Terminal
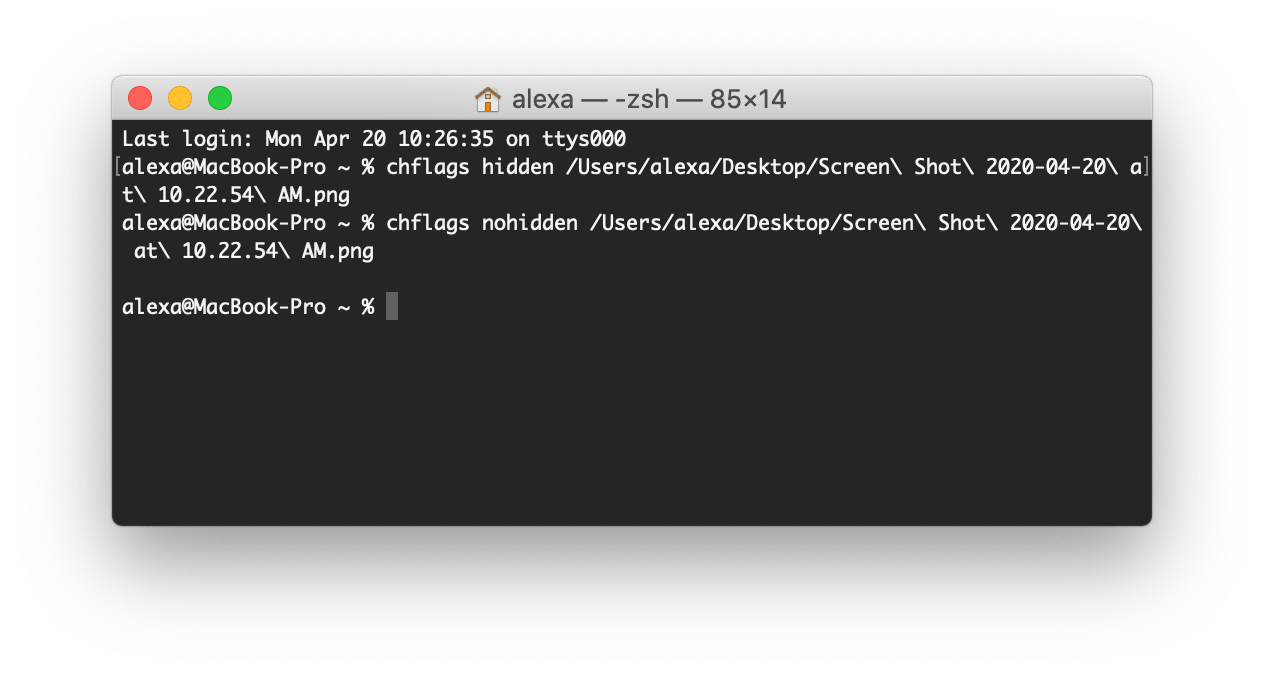
Terminal is a default Mac application that allows you to perform different operations on your system with special commands. You can make any file or folder hidden with a special Terminal command.
Here is how to hide hidden files using Terminal:
- Open the Terminal app from Launchpad.
- Type the following command and press Return:
chflags hidden
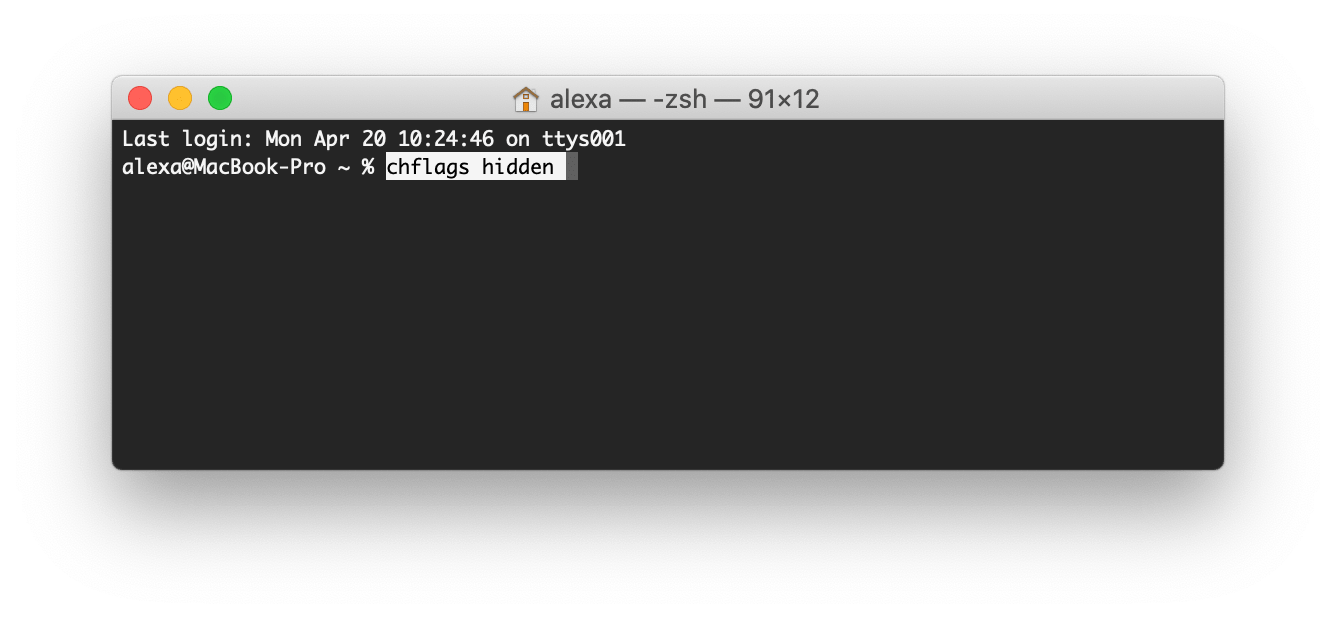
- Then drag and drop the file you want to hide from Finder to Terminal, and hit Return.
- Your file will become hidden.
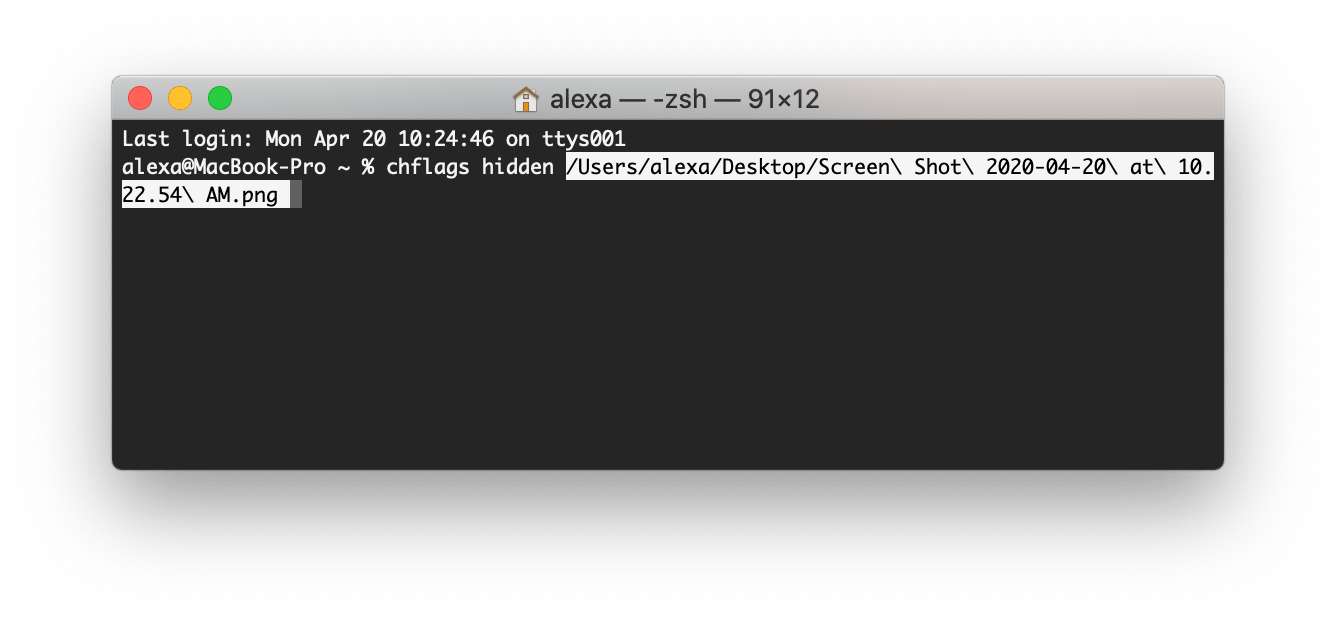
If you need to make this hidden file visible again, do basically the same thing, but type instead of hidden → nohidden and paste the location directory of the file.
chflags nohidden
Using the Terminal commands each time when you want to hide or unhide your files is inconvenient. That’s why we recommend using a special app to do this task with just one click. Read on to learn the easier way to hide files on a Mac.
How to hide files on Mac with Funter
Funter is a free application that helps you to manage hidden files. The application can show hidden files, find hidden files and hide files on a Mac. The Funter app integrates with Finder so that you can hide files while you are right in Finder or with the context menu.
Here is how to hide files on Mac with Funter:
- Launch Funter. Use this link for a free download.
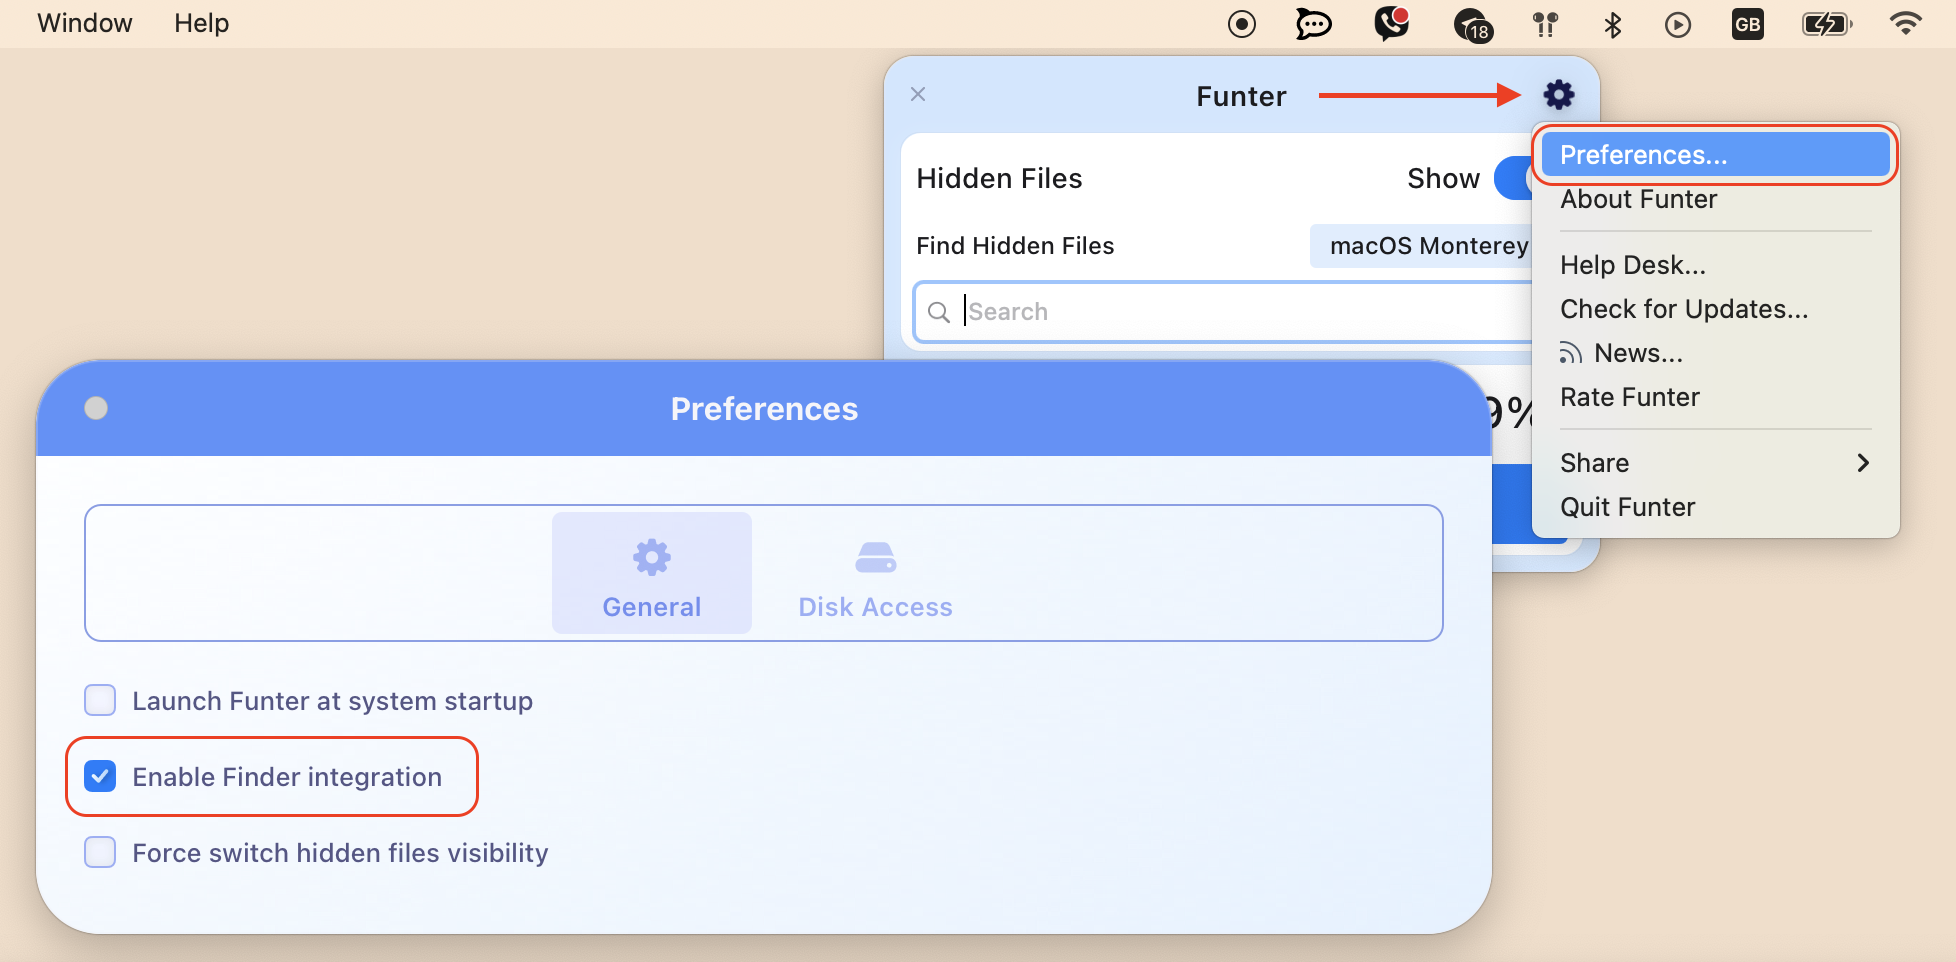
- Go to the app’s Preferences and enable Finder integration.
- Switch to the Finder app and select a file you want to hide
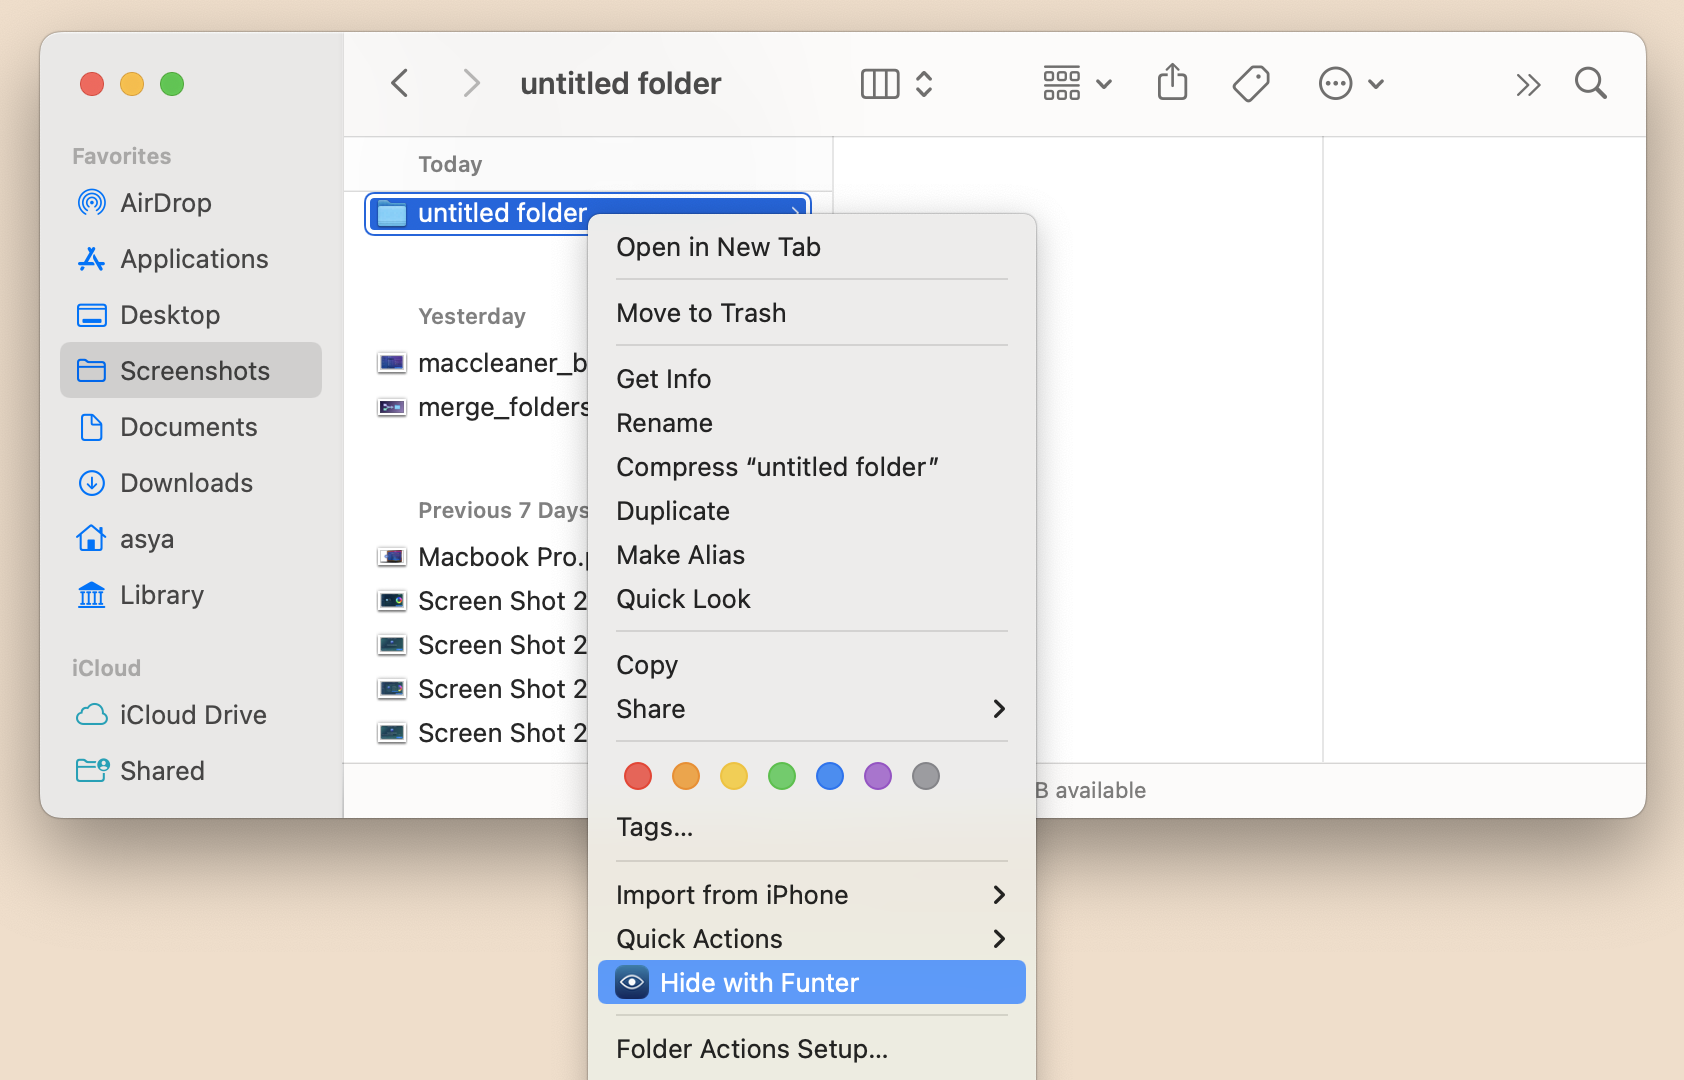
- Perform a right mouse click and use the Hide with Funter command in the popup menu.
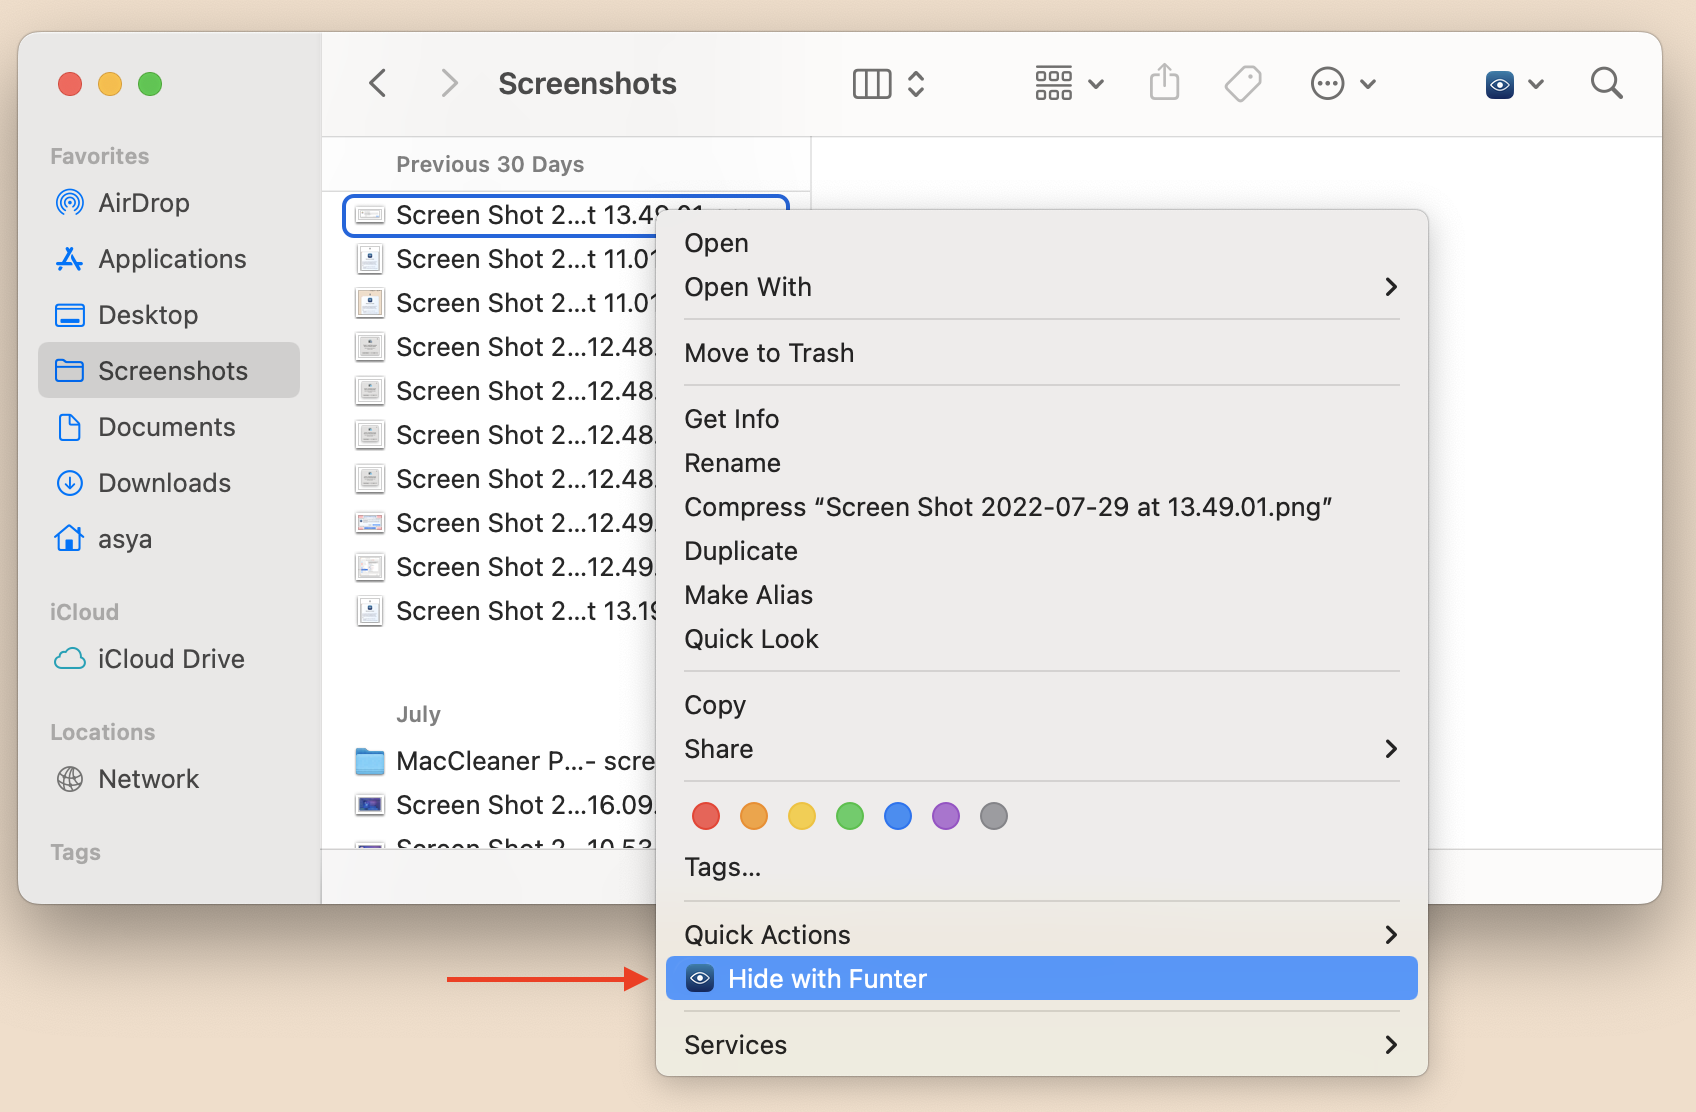
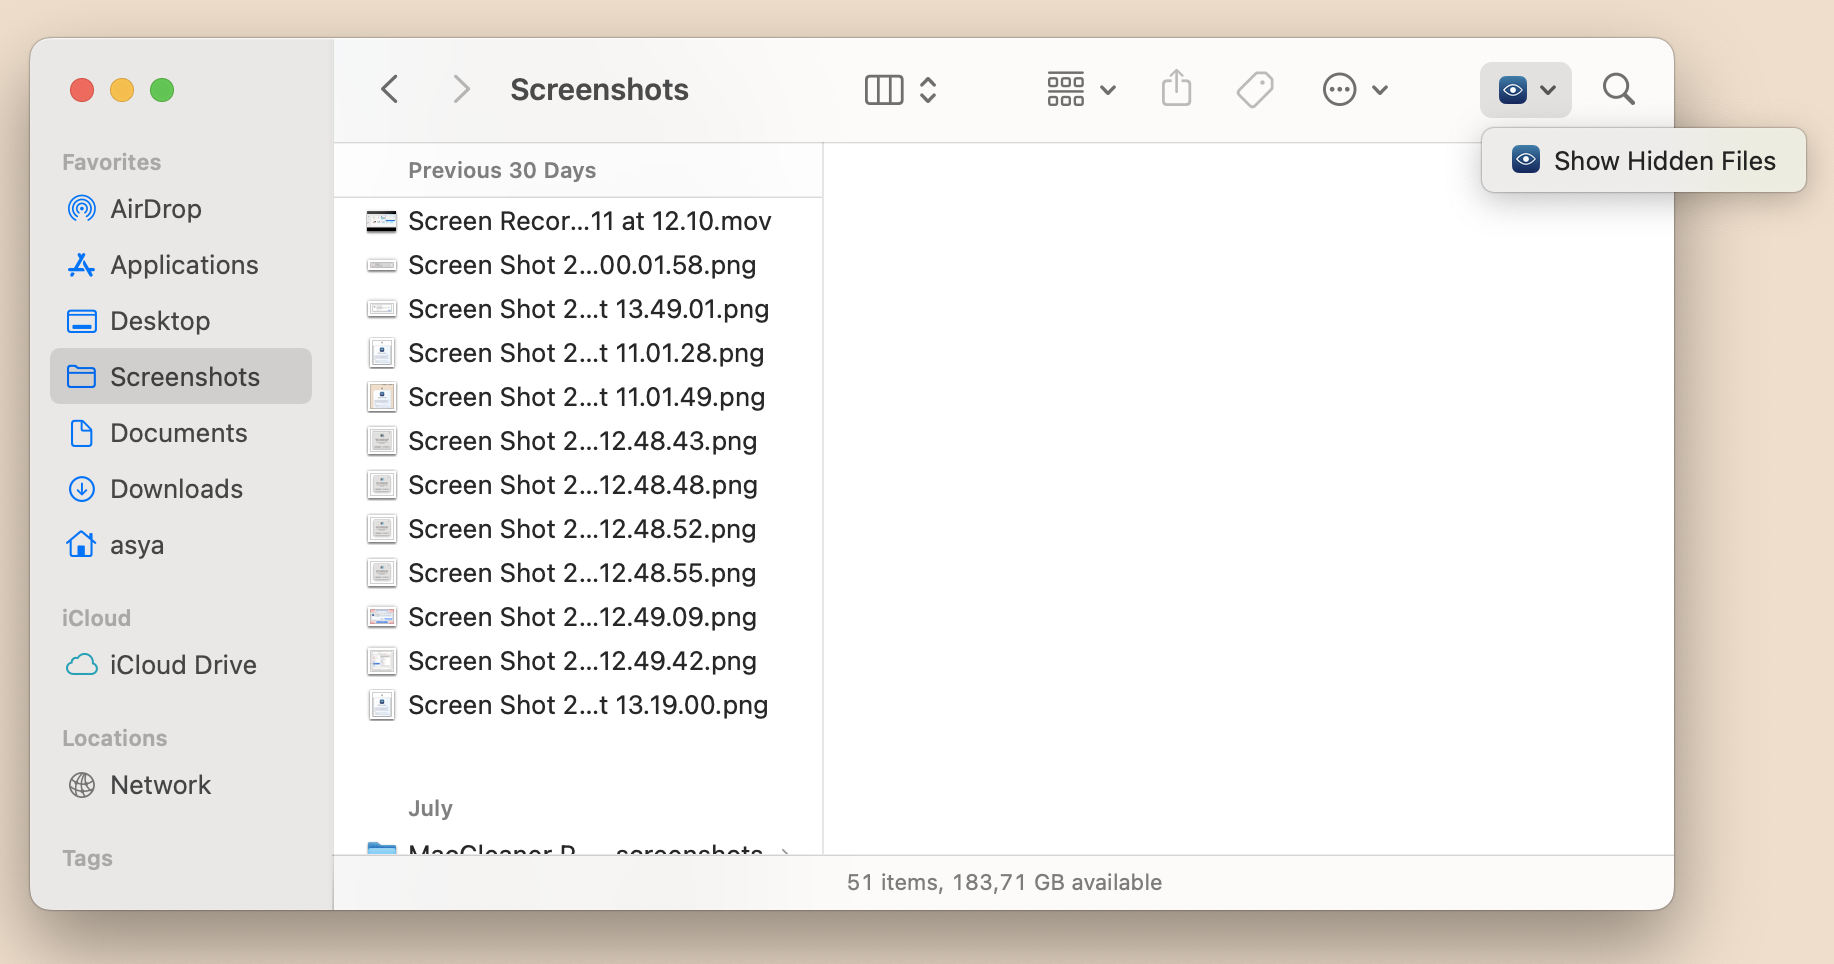
If you want to make your file visible again, first show the hidden files with Funter.
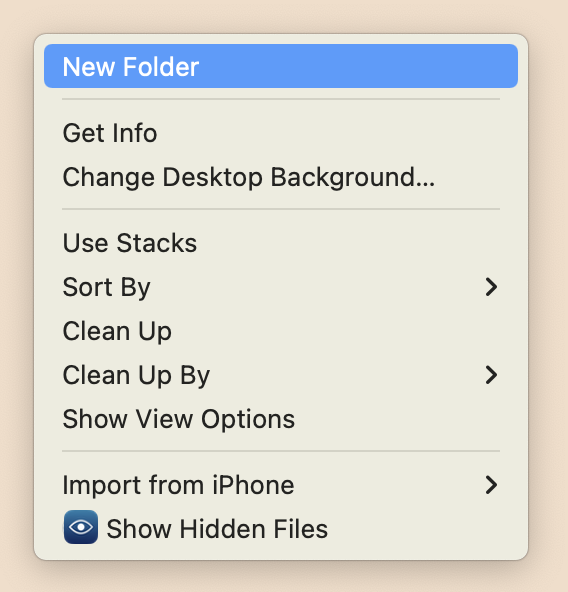
You can do that right from the Finder toolbar or from the desktop toolbar, just use the Show Hidden Files’ command.
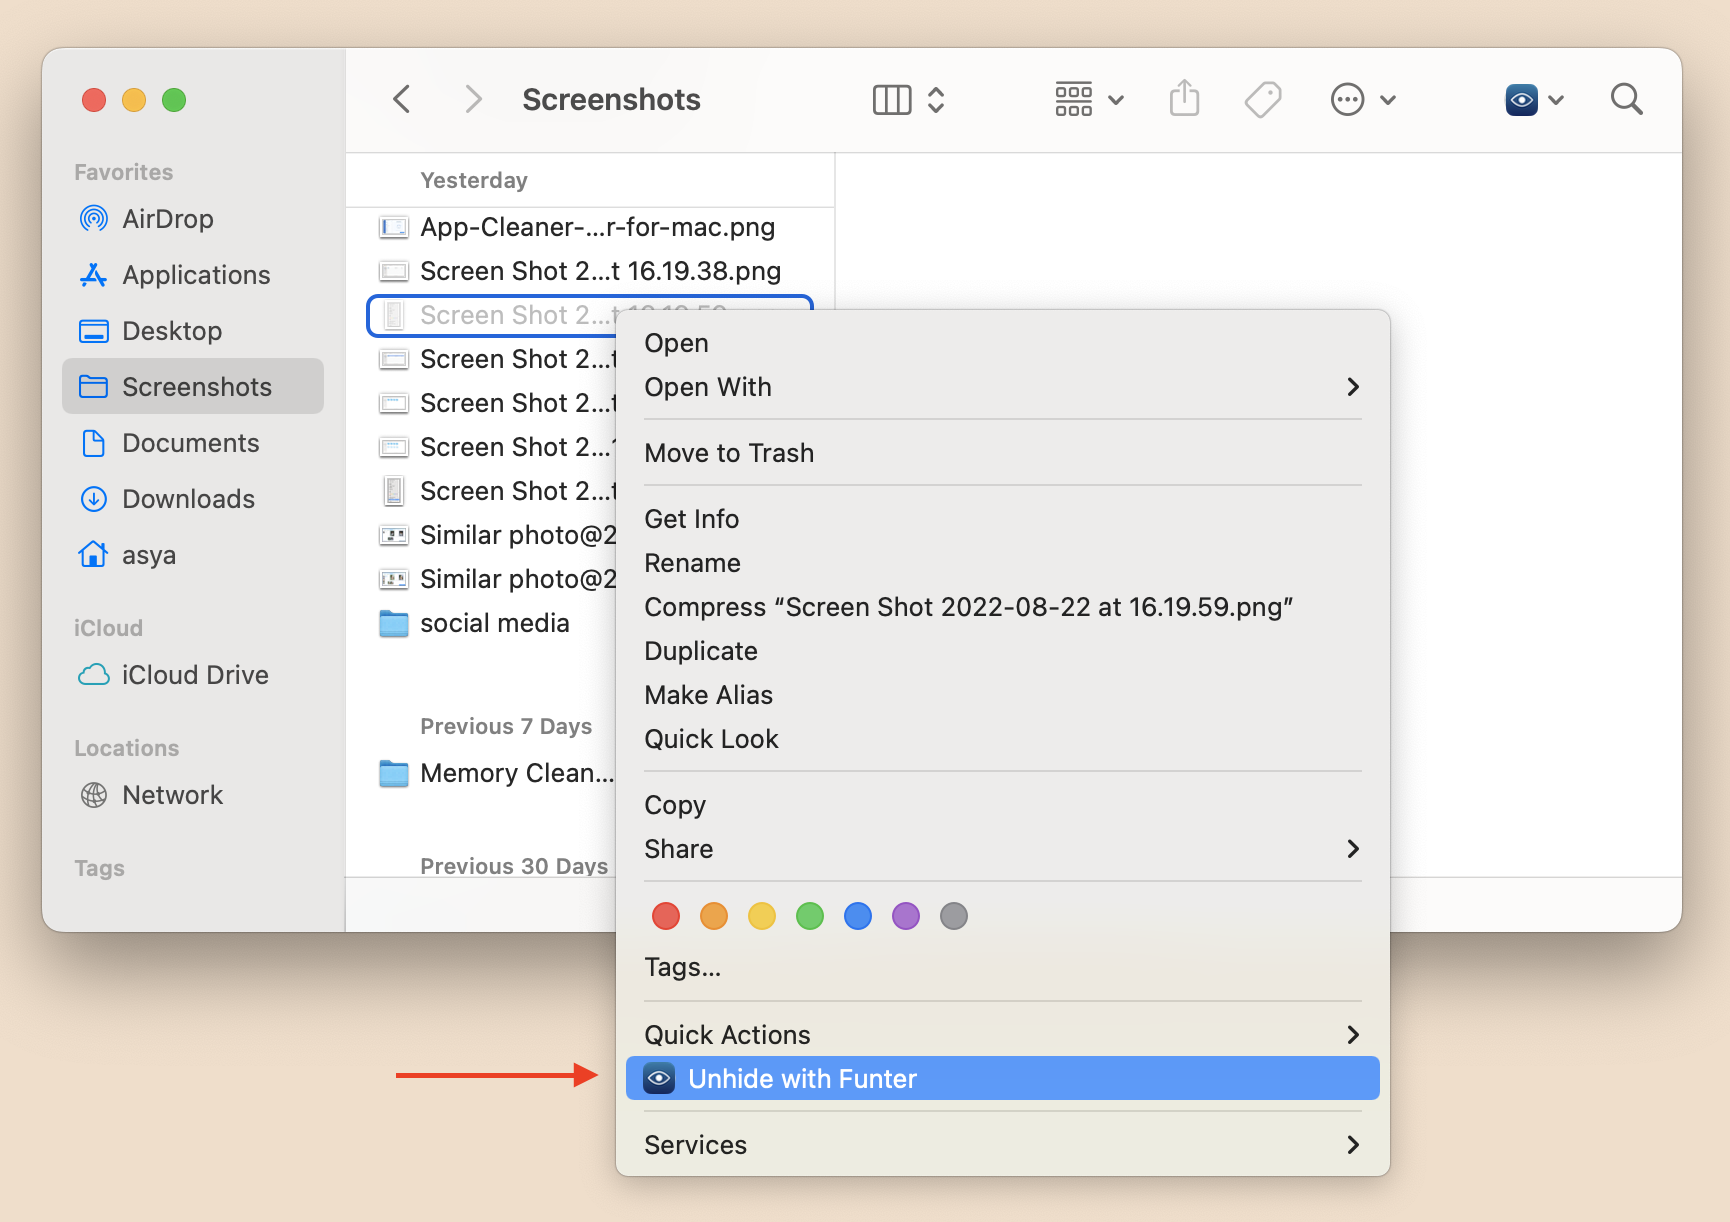
Then select the hidden file and click Unhide with Funter in the popup menu.
How to hide system hidden files on Mac
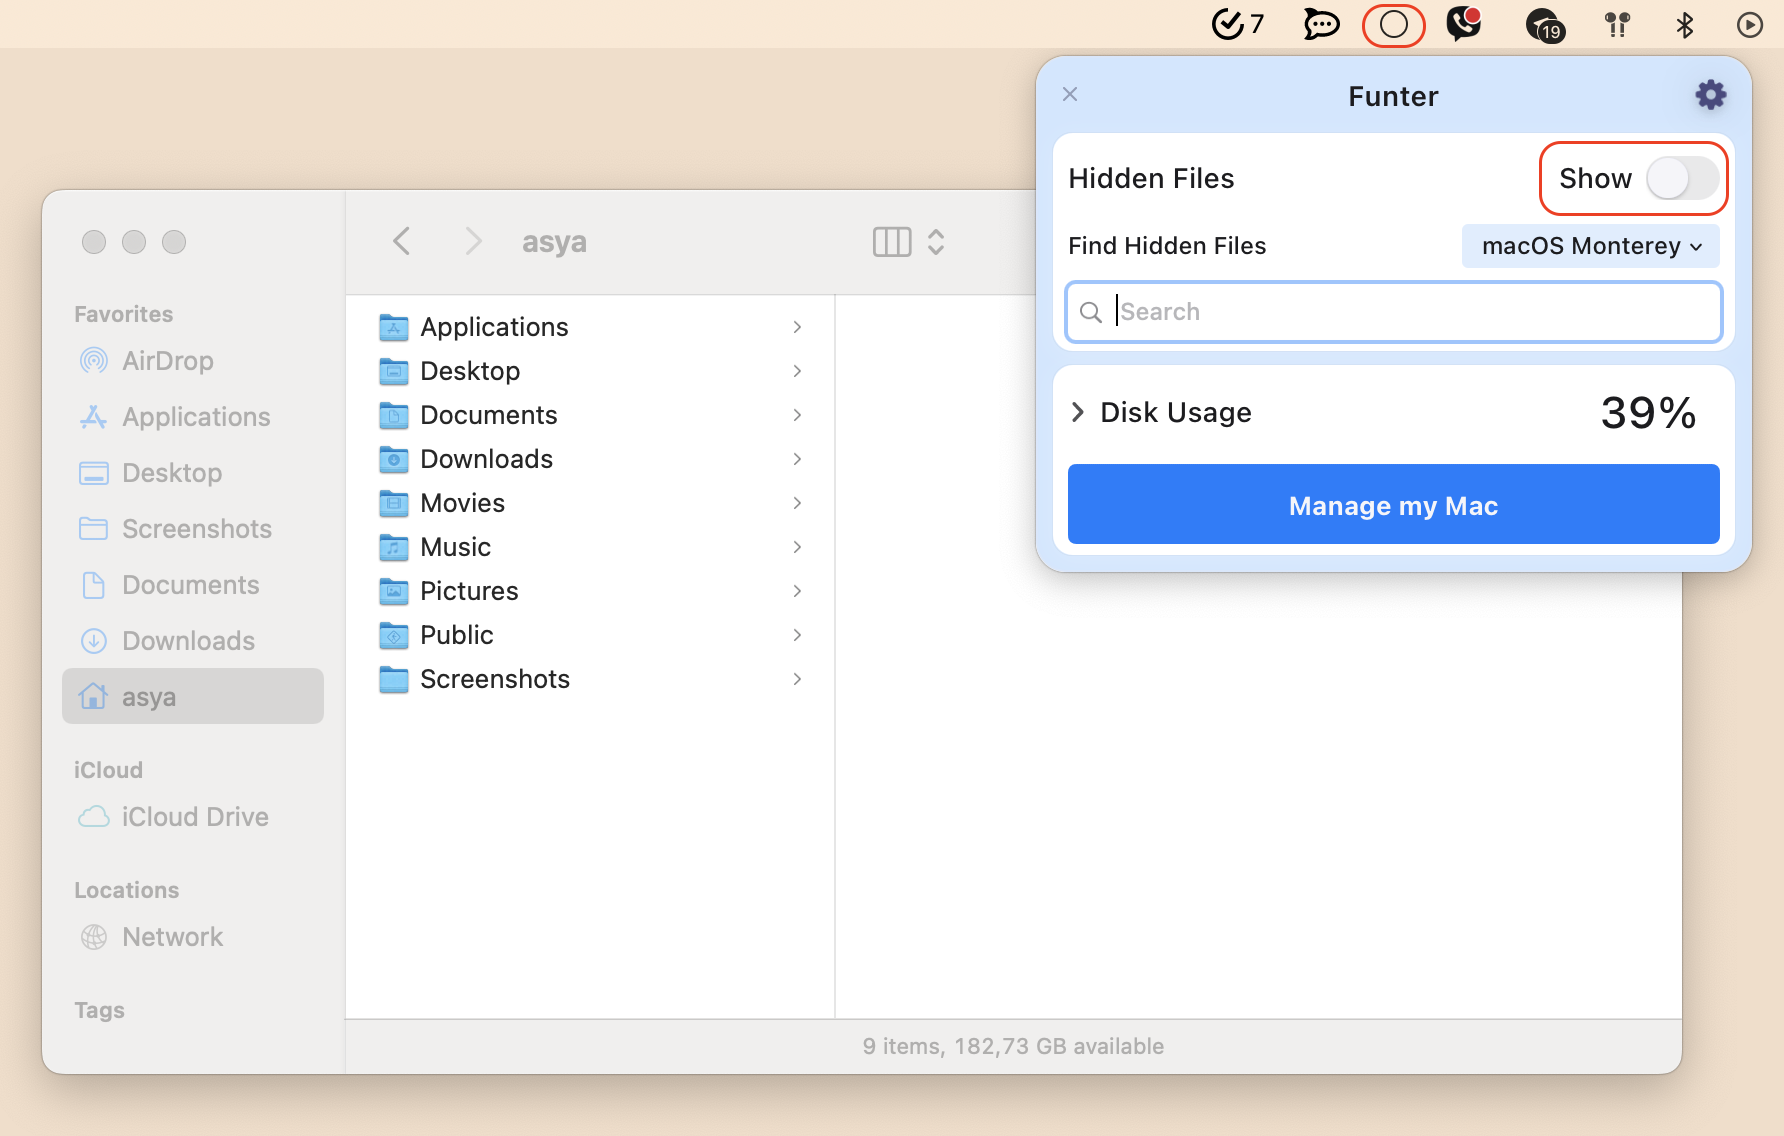
As we mentioned above, with Funter you can easily show and hide hidden files of any type. So whenever you need to operate system files and then hide them again, use Funter.
- Launch Funter.
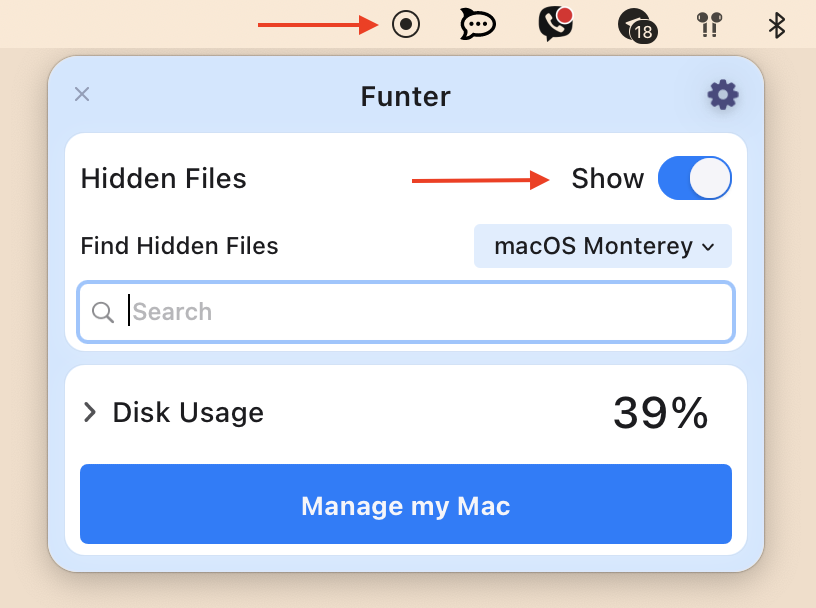
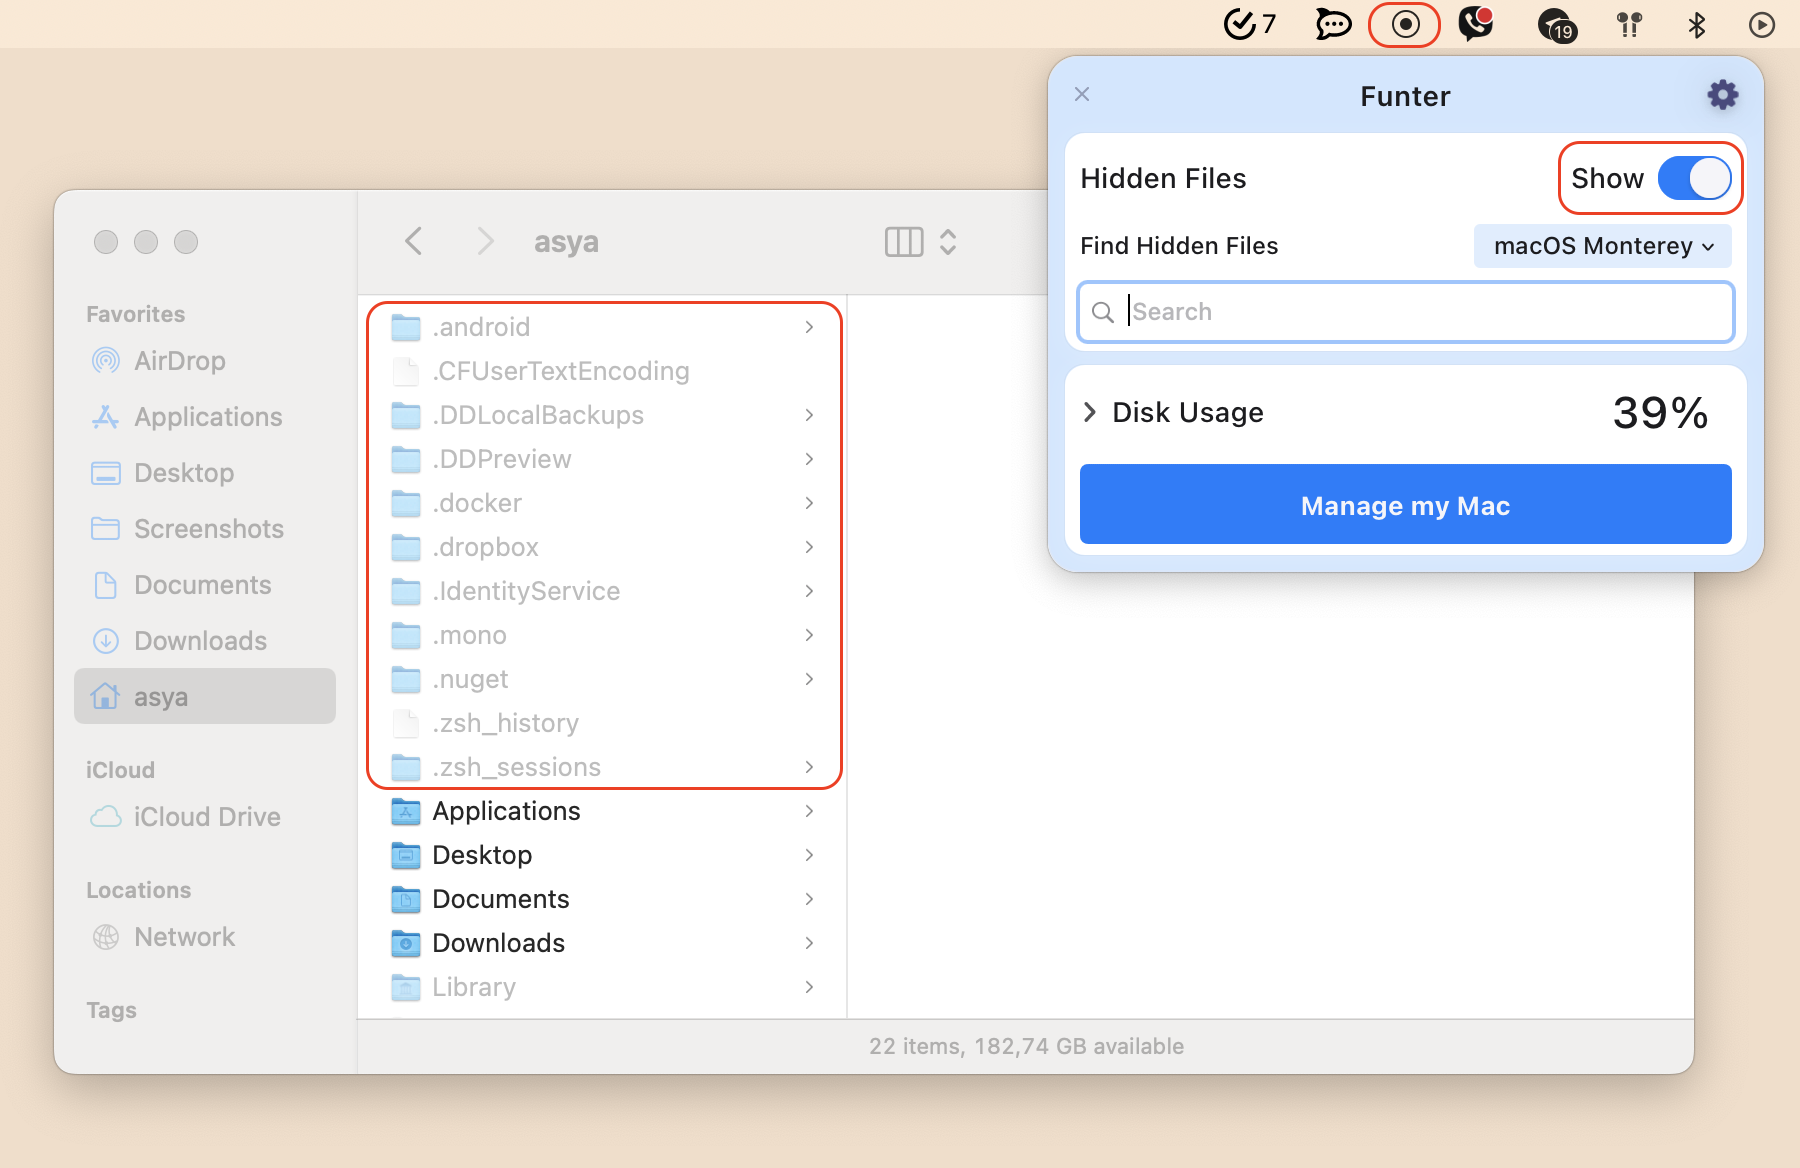
- Enable the toggle button in Funter to show the system hidden files.
- Disable the toggle button to hide the system hidden files.
How to create a hidden folder on a Mac
If you share your Mac computer with family members or other people, and you all use one user account, you may need to create a hidden folder in which to store your private files.
Here is how to create a hidden folder on Mac:
- Create a new folder wherever you want on your Mac. Use the context menu for this.
- Right-click on your folder and select Hide with Funter.
- Launch Funter.
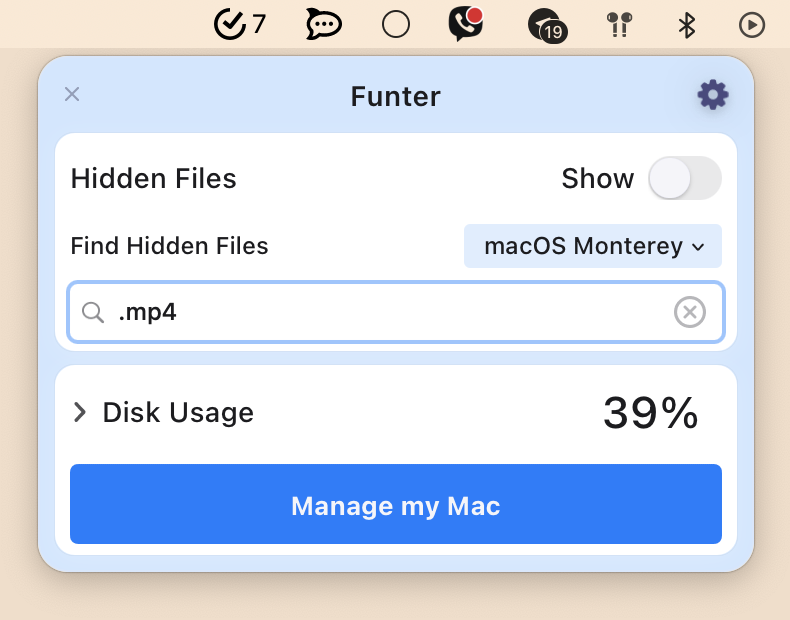
- In the search field, type the extension of the video you want to find, for example, .mov, .mp4, .avi.
- In a few seconds Funter will display the list of all files which contain the search query.
How to find hidden movies on a Mac
Videos take up significant space on a Mac hard drive. You may have a huge number of video files that you don’t even know about because they are hidden or are stored in hidden folders. Such files may have been created by video-creating apps, such as Monosnap or QuickTime Player, or the videos may have been downloaded from Mail and messenger apps.
With Funter, you can find any file on your Mac, including hidden files. Here is how to quickly find hidden videos with the app:

So, there you have it, hiding files on Mac. While we provided two ways to hide files, you now know that the easiest way is to use Funter. We remind you that Funter is absolutely free and does its job excellently.
