
The latest iPhone models keep producing better and better camera pictures. Some users store their photos in the phone’s memory, while others import iPhone photos to Mac to free up iPhone memory. Today we will tell you how to transfer photos from iPhone to Mac so that you can make more space for your new pics.
Contents:
- Transfer photos from iPhone to Mac using Image Capture
- Transfer photos from iPhone to Mac using the Photos app
- Transfer photos from iPhone to Mac using AirDrop
- Transfer photos from iPhone to Mac using iCloud
- Transfer photos from iPhone to Mac using third-party apps
- Transfer photos from iPhone to Mac using Finder
Tip #1 – Remove duplicate and similar photos from your iPhone before you transfer them to your Mac
Phone Cleaner automatically detects all similar photos and the biggest media files and allows you to easily and quickly delete them.
Phone Cleaner for Media Files
 Download pictures from iPhone to Mac using Image Capture
Image Capture is a default Apple application that allows you to synchronize your Media library on iPhone and Mac. You can find Image Capture in the Launchpad or in the Applications folder.
Here are the steps on how to download pictures from iPhone to Mac using Image Capture:
- Connect your iOS device to your Mac with the USB cable.
- Open the Image Capture application from Launchpad
- Select your device from the left sidebar and you will see all your media files.
- Select the files you want to import to your Mac, choose the folder for transferring files and click the Download button. If you want to import all of your photos, then click on Download All.


It will take a few seconds to a minute to copy photos and videos to Mac depending on the total size of your media files.
Import photos from iPhone to Mac using the Photos app
Photos from iCloud, My Photo Stream and Shared Albums are synchronized and stored in the Photos Library and can be viewed on Mac with the Photos app. Importing photos from iPhone to Mac is very easy with the Photos app. Follow the steps below to learn how to do this.
Steps on how to use the Photos app to import pictures from iPhone to Mac:
- Connect your iPhone to Mac via the USB cable.
- Unlock your iPhone and tap on Trust This Computer.
- If the Photos app does not open automatically, run it from the Launchpad.
- Select your device from the sidebar.
- Select the pictures you want to transfer to your Mac.
- Click on Import Selected. You can also use the Import New button and all new photos will automatically be detected and imported to the Photos Library.

After transferring the photos you can view them in separate albums from the sidebar as you do on your iPhone: All photos, People, Places, Last import, Selfies, Panoramas, Screenshots.
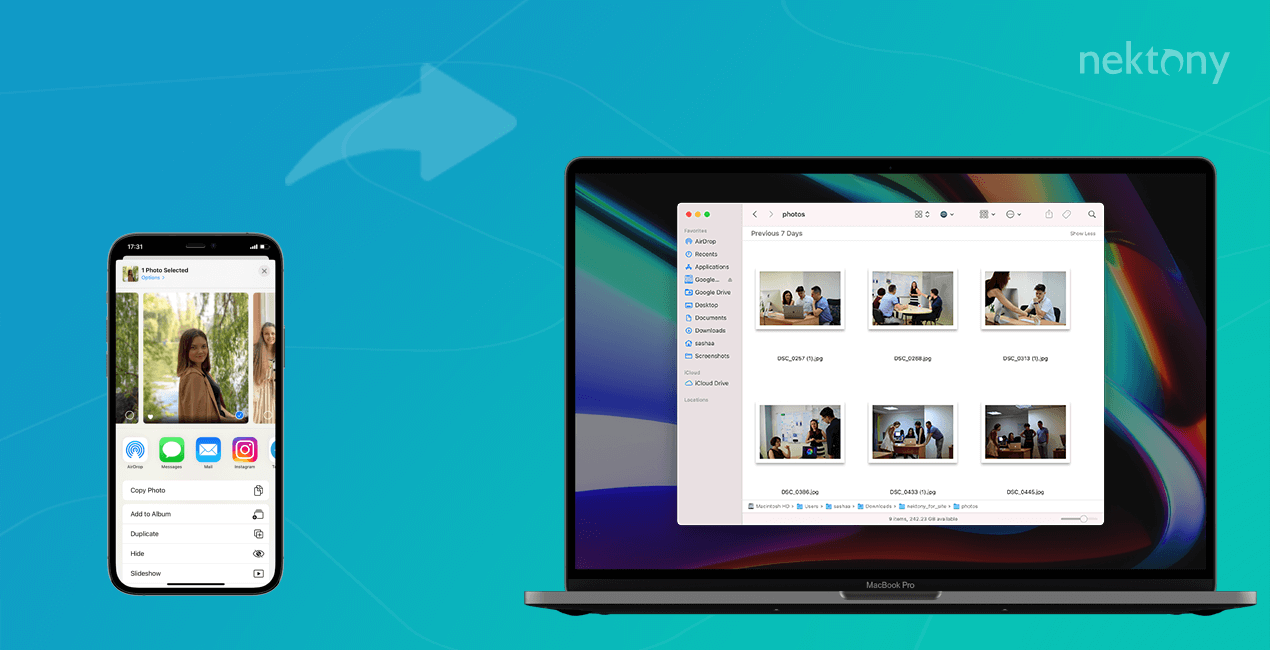
Import pictures from iPhone to Mac using AirDrop
AirDrop is a built-in feature on all Apple devices that uses Bluetooth and allows users to wirelessly share files between devices.
Here is how to transfer photos from iPhone to Mac using AirDrop:
- Make sure Bluetooth is turned on your iPhone and Mac.
- Connect both your devices to the same Wi-Fi.
- On Mac open Finder and go to the AirDrop section from the sidebar and allow it to be found by your contacts or by everyone.

- In your iPhone go to Photos and select all of the pictures you want to transfer.
- Tap the Share button in the bottom left corner.
- Tap the AirDrop icon.
- Choose your Mac to export pictures.
- Accept importing photos on your Mac.


By default, the copied photos will be available in the Downloads folder of your Mac.
Sync photos on iPhone and Mac using iCloud
If you use iCloud you can sync your pictures from your iPhone to your Mac without connecting the devices via USB. We will show you how easy it is.
Steps on how to import iPhone photos to a Mac with iCloud:
- Set up an iCloud Photo Library on your iPhone. For this, go to Settings → Photos → enable the iCloud Photos option.
- Set up an iCloud Photo Library on your Mac. For this, open the Photos app → go to its Preferences → switch to the iCloud tab → check the box near the iCloud Photos option.
- After the steps above your photos from iPhone will be available to see on Mac or on any device synced with iCloud.

Note, iCloud is free only for 5GB of storage space. If your photos take up more space, you should be prepared to pay for it. The prices start from $0.99 per month for 50GB of storage space.
Also note that deleting photos on one device will automatically delete them on another device. If you want to keep your photos, you should turn off the synchronization before deleting photos.
Transfer photos from iPhone to Mac using third-party apps
there are a large number of third-party applications that you can use to easily migrate your pictures. Most of them are free, some of them provide additional useful features and you will need to purchase them to be able to use them. Here is a short list of some popular photo-transferring applications for iOS, iPadOS and macOS:
- Wondershare TunesGo
- Tenorshare iCareFone
- AnyTrans
- iMazing
- Photo Transfer
Check App Store or google for photo transferring apps to find the one that suits you the best.
Sync photos on iPhone and Mac using Finder
- Connect your iPhone to your Mac with the USB cable.
- On Mac open Finder and click on your device in the sidebar.
- Switch to the Photos tab.
- Enable syncing photos and set up the folder or Photos Library that you want to sync photos from.
- Click on the Sync button.


The synchronization will start, and in a while your photos will be downloaded to the chosen folder.
Conclusion
We have shared six methods on how you can import photos from your iPhone to Mac. It’s up to you to choose which method you will use. We just want to remind you that to prevent cluttering your Mac and not allow unneeded duplicate photos to take up your valuable disk space, before transferring your photos, clean up unneeded duplicates with the help of a free application from Nektony – Phone Cleaner for Media Files.


