Although the iPhoto app has officially no longer been supported by Apple’s development team since the release of OS X Yosemite 10.10.3, many Mac users continue using it worldwide. The replacement that came after iPhoto is the Apple Photos app (or simply, Photos) which is also a photo management and image editing software.
The major issue that comes with using such software is the number of duplicates it leaves behind. In this article, we will go over the main methods of going over and deleting duplicate files within the Photos app. This covers the same process in iPhotos, so please note that if you are using iPhotos, the steps for locating duplicates will be exactly identical. Simply use any of the following methods by applying it to iPhotos instead of the Photos app.
Contents:
- Remove duplicate photos that come from iPhoto manually.
- Use Duplicate File Finder to scan and delete duplicate photos.
Remove Duplicate Photos that come from iPhoto manually
There are two ways to get rid of duplicate images from the iPhoto app. Either you use specialized third-party software to automate the process of finding them, or you can take your time and do it all by yourself. If you are confident enough to take the manual route, start off by opening the Photos app and going through the Events in the Library to erase anything that strikes you as being a duplicate.
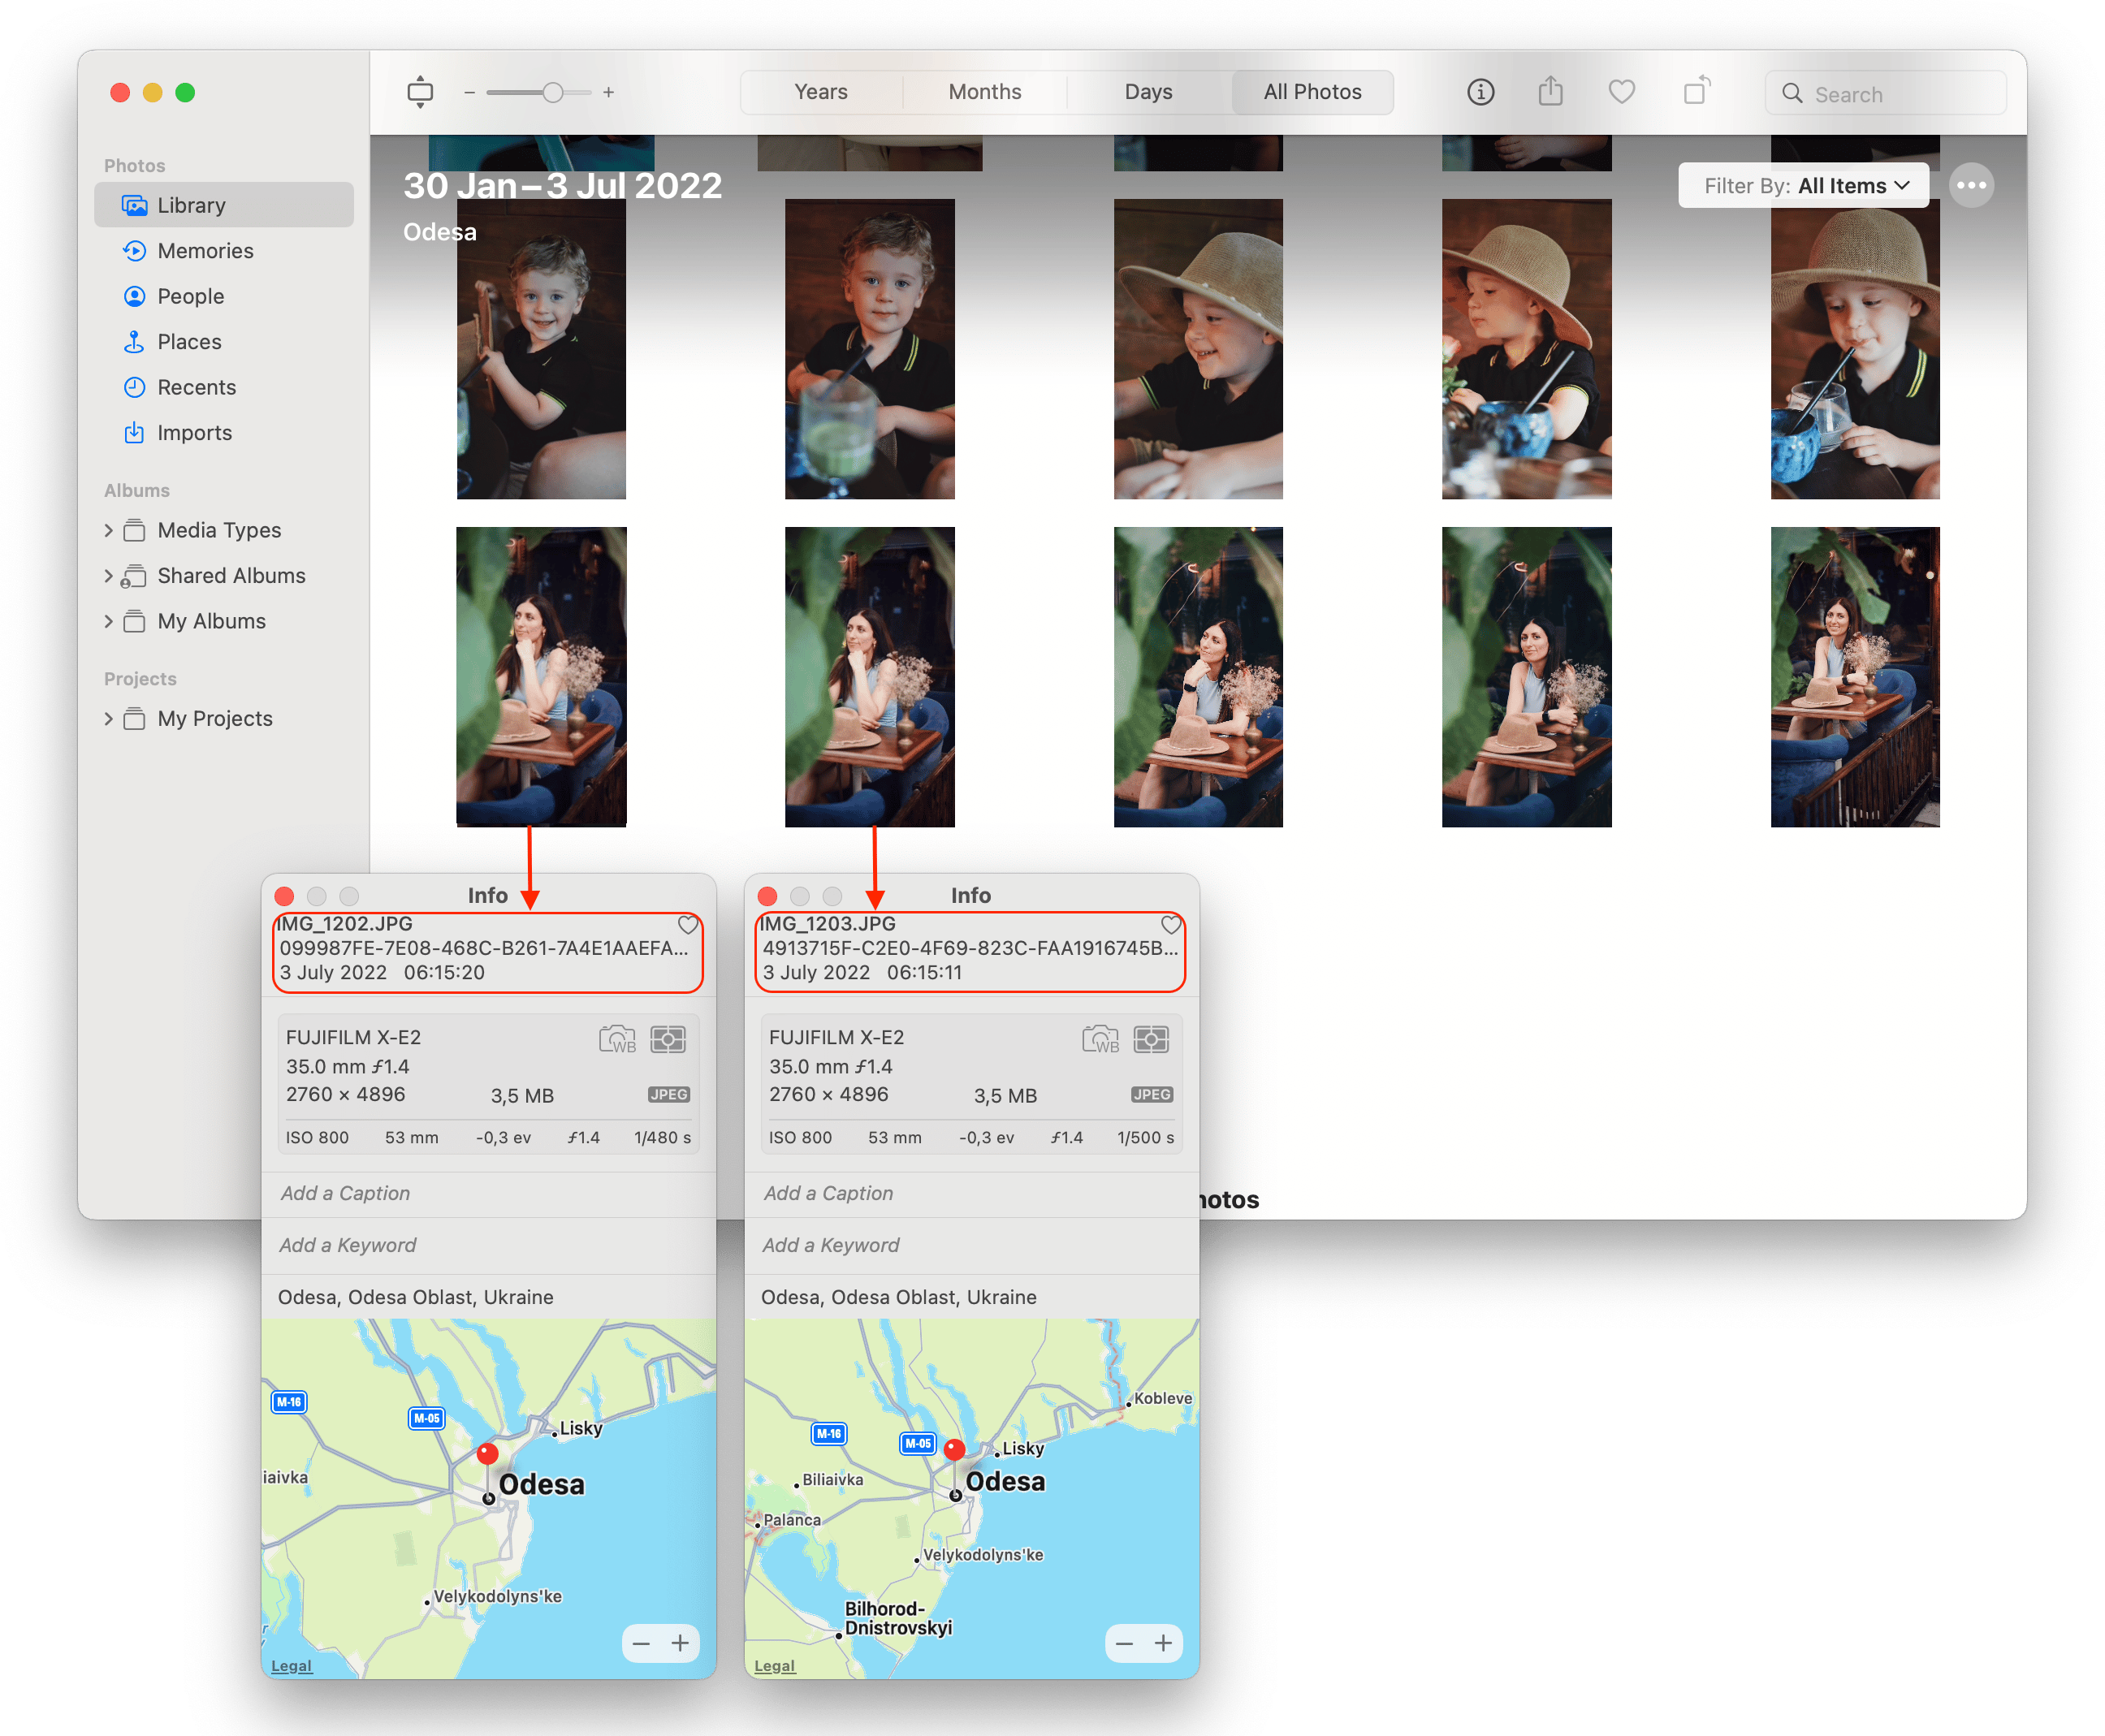
As an example, below we’ve provided you with two duplicate photos that are exactly the same visually but have different file names. You can check the image file information such as size, last date modified, where it’s located and other relevant information to make sure that it’s a duplicate. Simply right click on the image and select , which will open a window with detailed information.
Since you already know that the only difference between the two photos is the way they are named, it makes good sense to delete one of them from your Mac.
Then there are occasions when the pictures are visually the same, but the image sizes differ, meaning one of the photos is of higher resolution and quality. Checking every photo individually is somewhat troublesome and time-consuming because you will need to follow this process for each image. For this reason, we would recommend that you check out our alternative method below to delete duplicate photos in iPhoto. This will require using a special duplicate photo finder app, which will do the task in an easier, faster and more reliable way than doing it by yourself.
Use Duplicate File Finder to scan and delete Duplicate Photos
The most straightforward, non-hassle way to delete duplicate pictures would be to use a third-party software, such as the Duplicate File Finder for Mac. Because – let’s be honest – going over all your duplicate photos by yourself is going to take an enormous chunk of your time. Follow our instructions below to see how you can utilize this duplicate file remover and get rid of unwanted files once and for all.
Remember that we are using macOS Ventura for this tutorial, which means we used Apple Photos as an example – the newer version of iPhoto. You would need to follow the same steps with the iPhotos app, even if you are using an older version of the macOS.
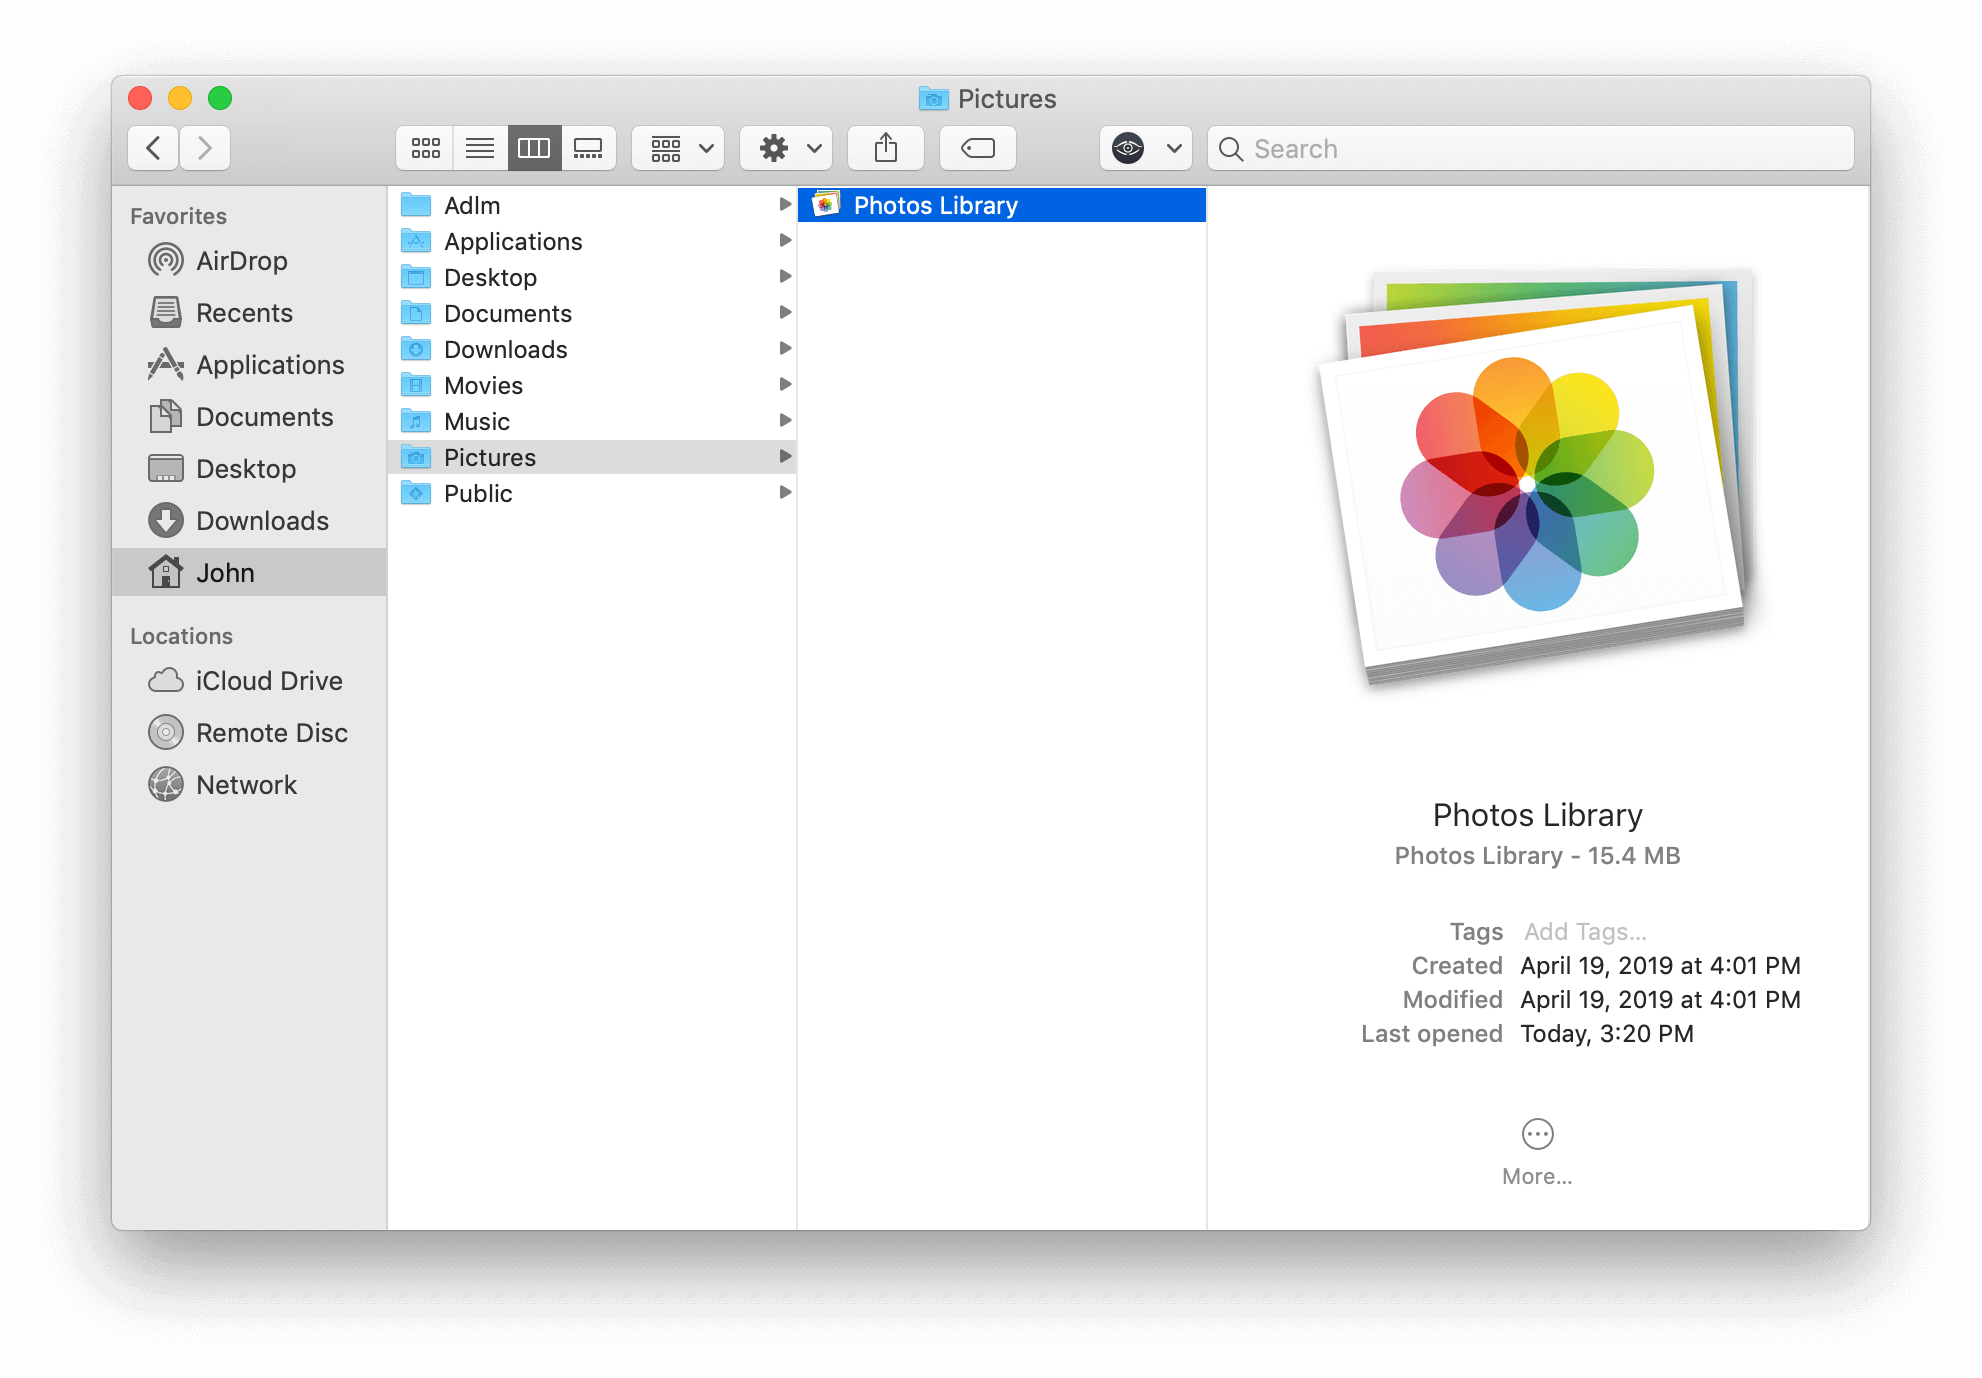
- Locate the Photo/iPhoto Library by going through → → as shown on the screenshot below:
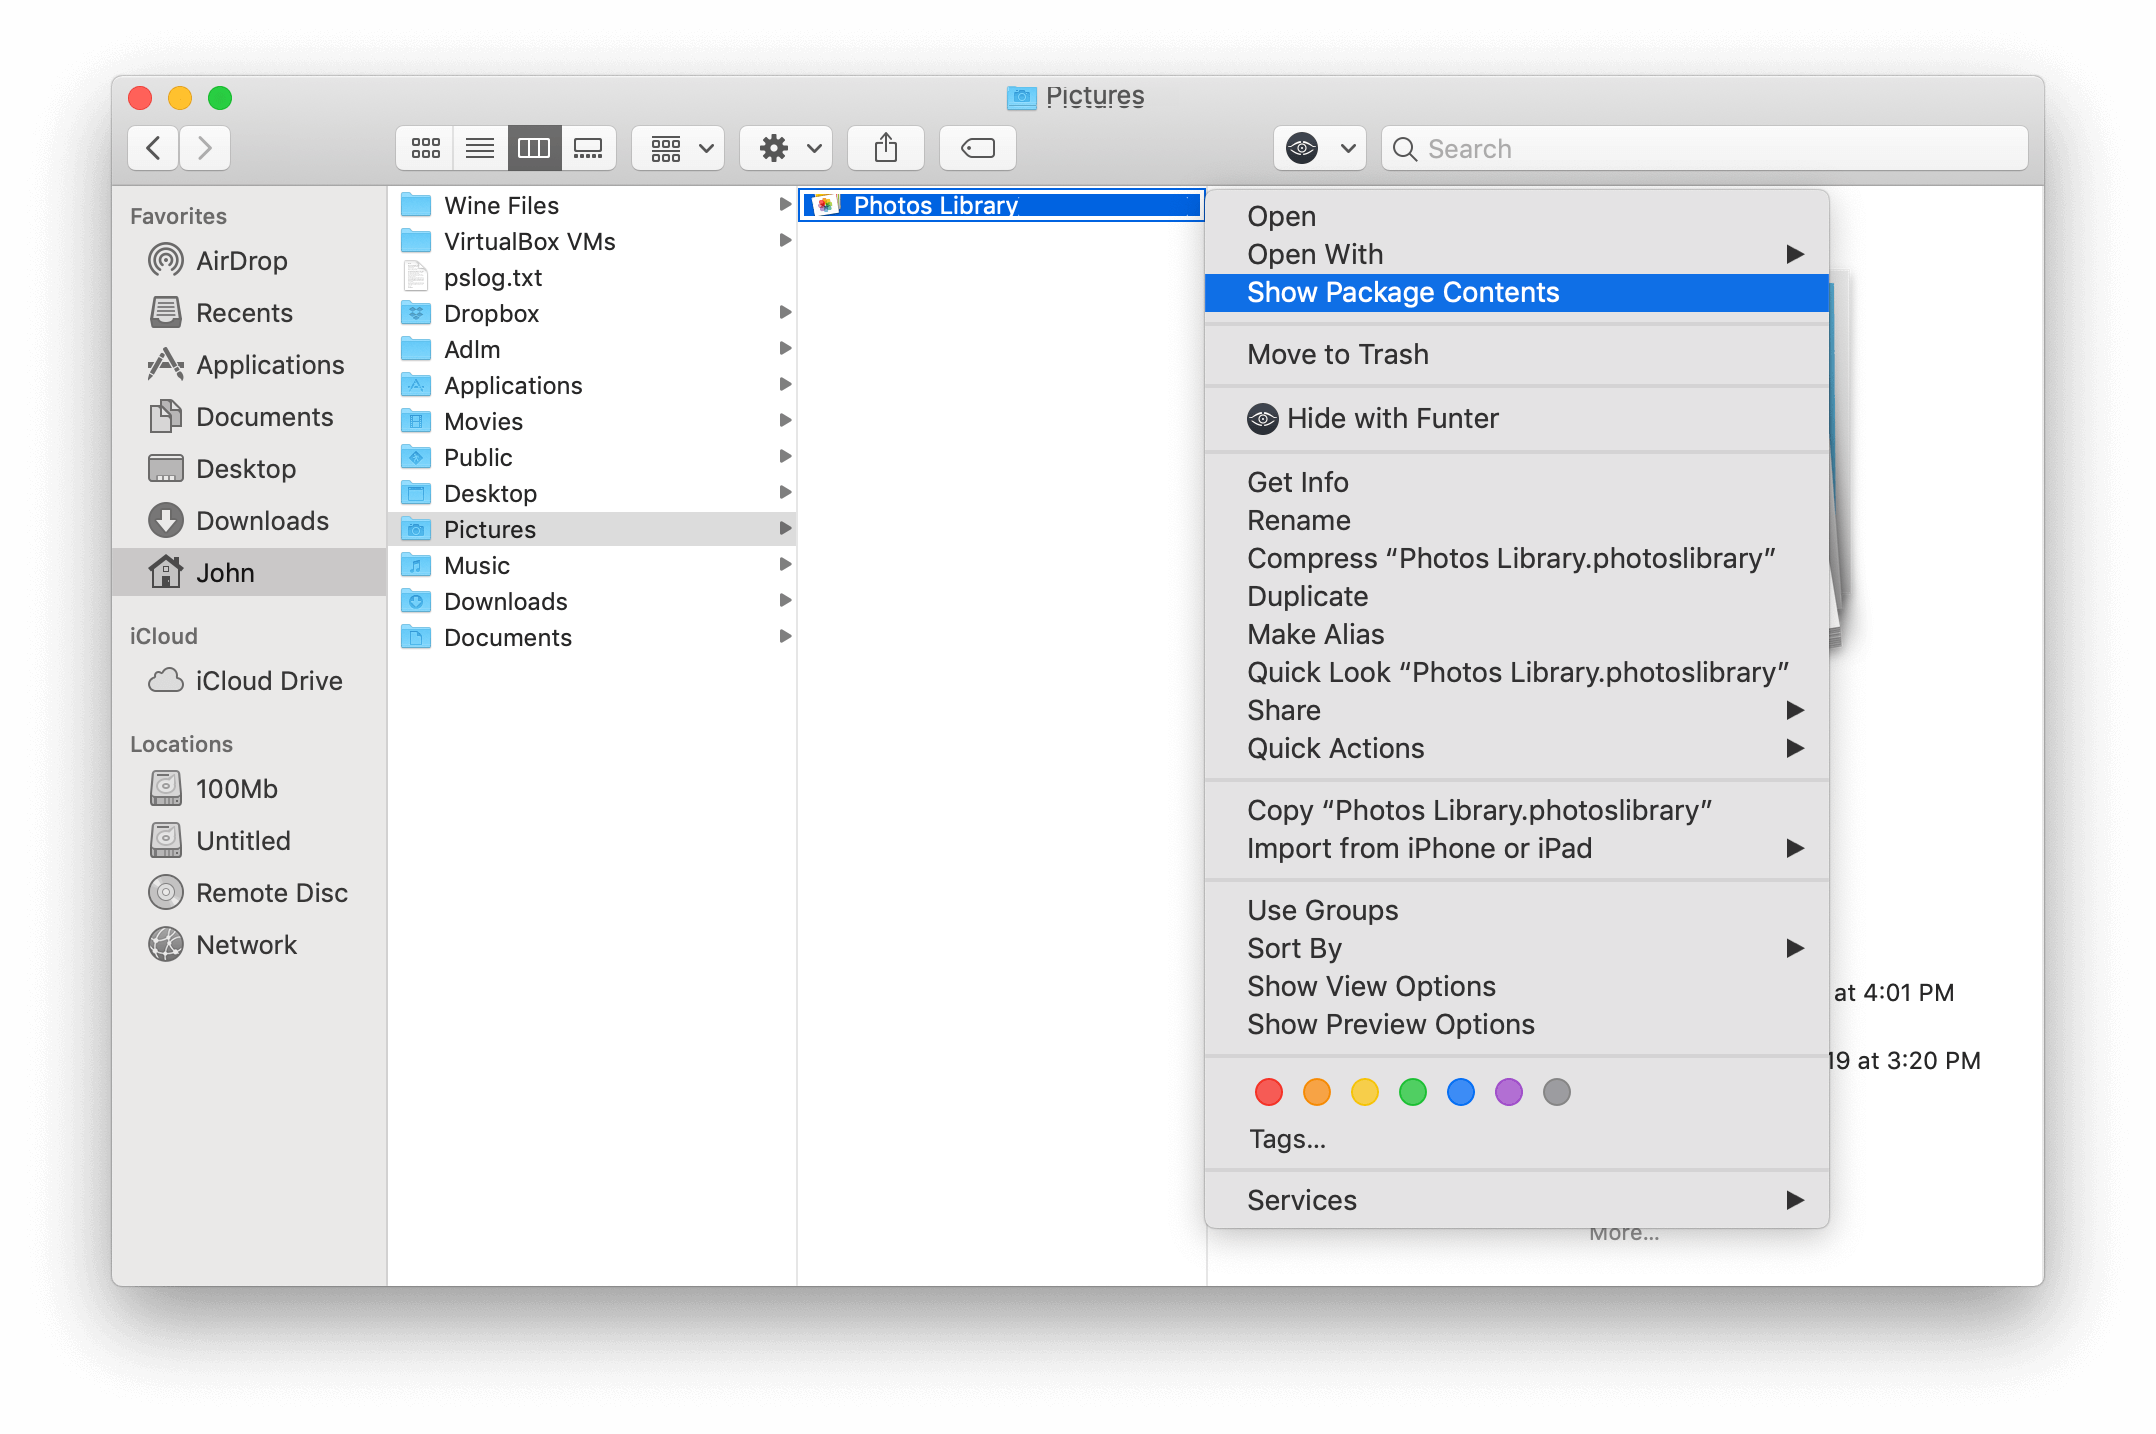
- Open the package by right-clicking on Photos Library and selecting .
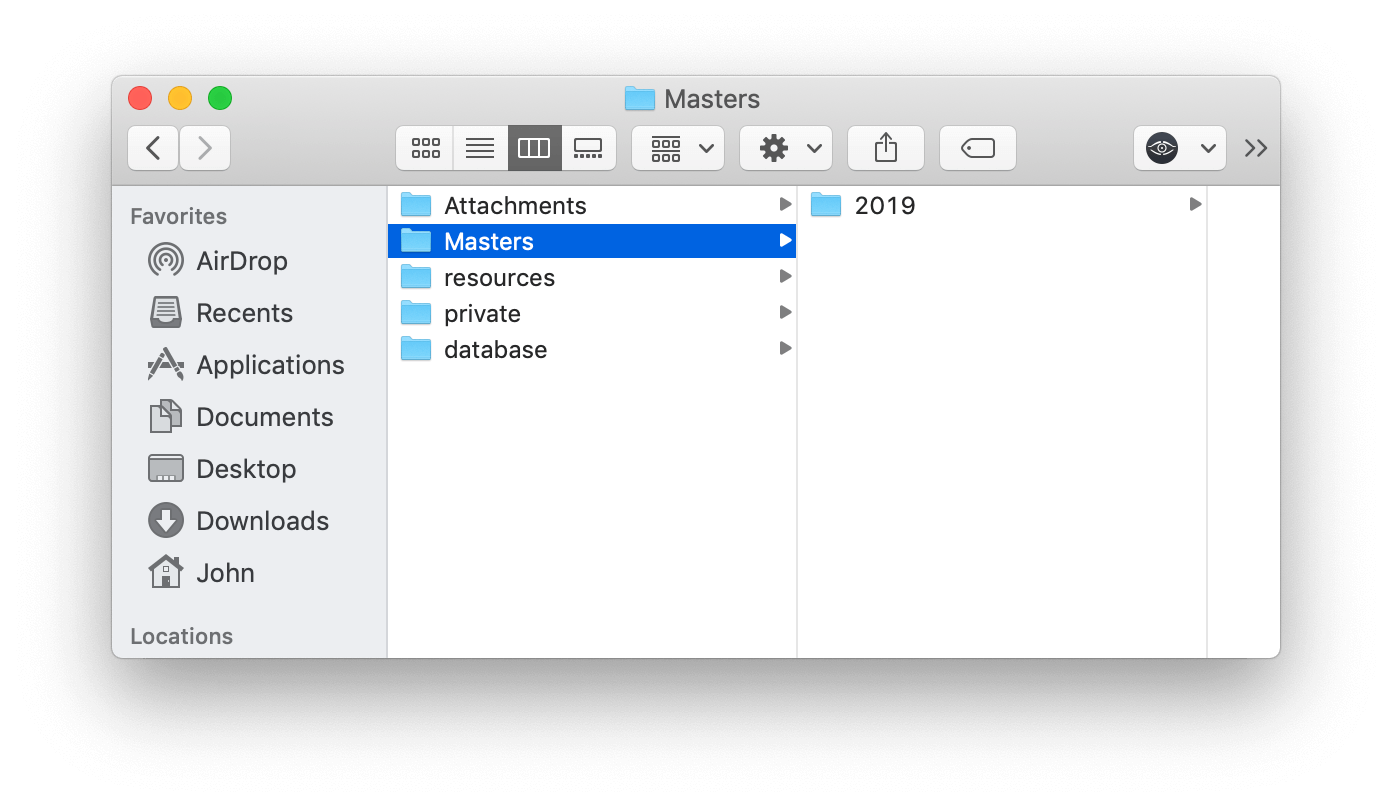
- Once you’ve opened it, you will find the contents of the Photo Library in front of you.
- Now you will need to select the folder you want to scan and drag & drop it to Duplicate File Finder window. Also, add other folders which you want to compare with the pictures in Photos for duplicates.
- Once they’re scanned, you can see the full list of similar photos. Click the appropriate option in the sidebar. The numbers next to the file’s name on the right-hand side represent the number of duplicates you have for the same picture.
- Select the unneeded photos that you want to erase by checking the boxes next to them. Click on when you are done.
- Review the summary of duplicate photos that will be deleted, and click on .
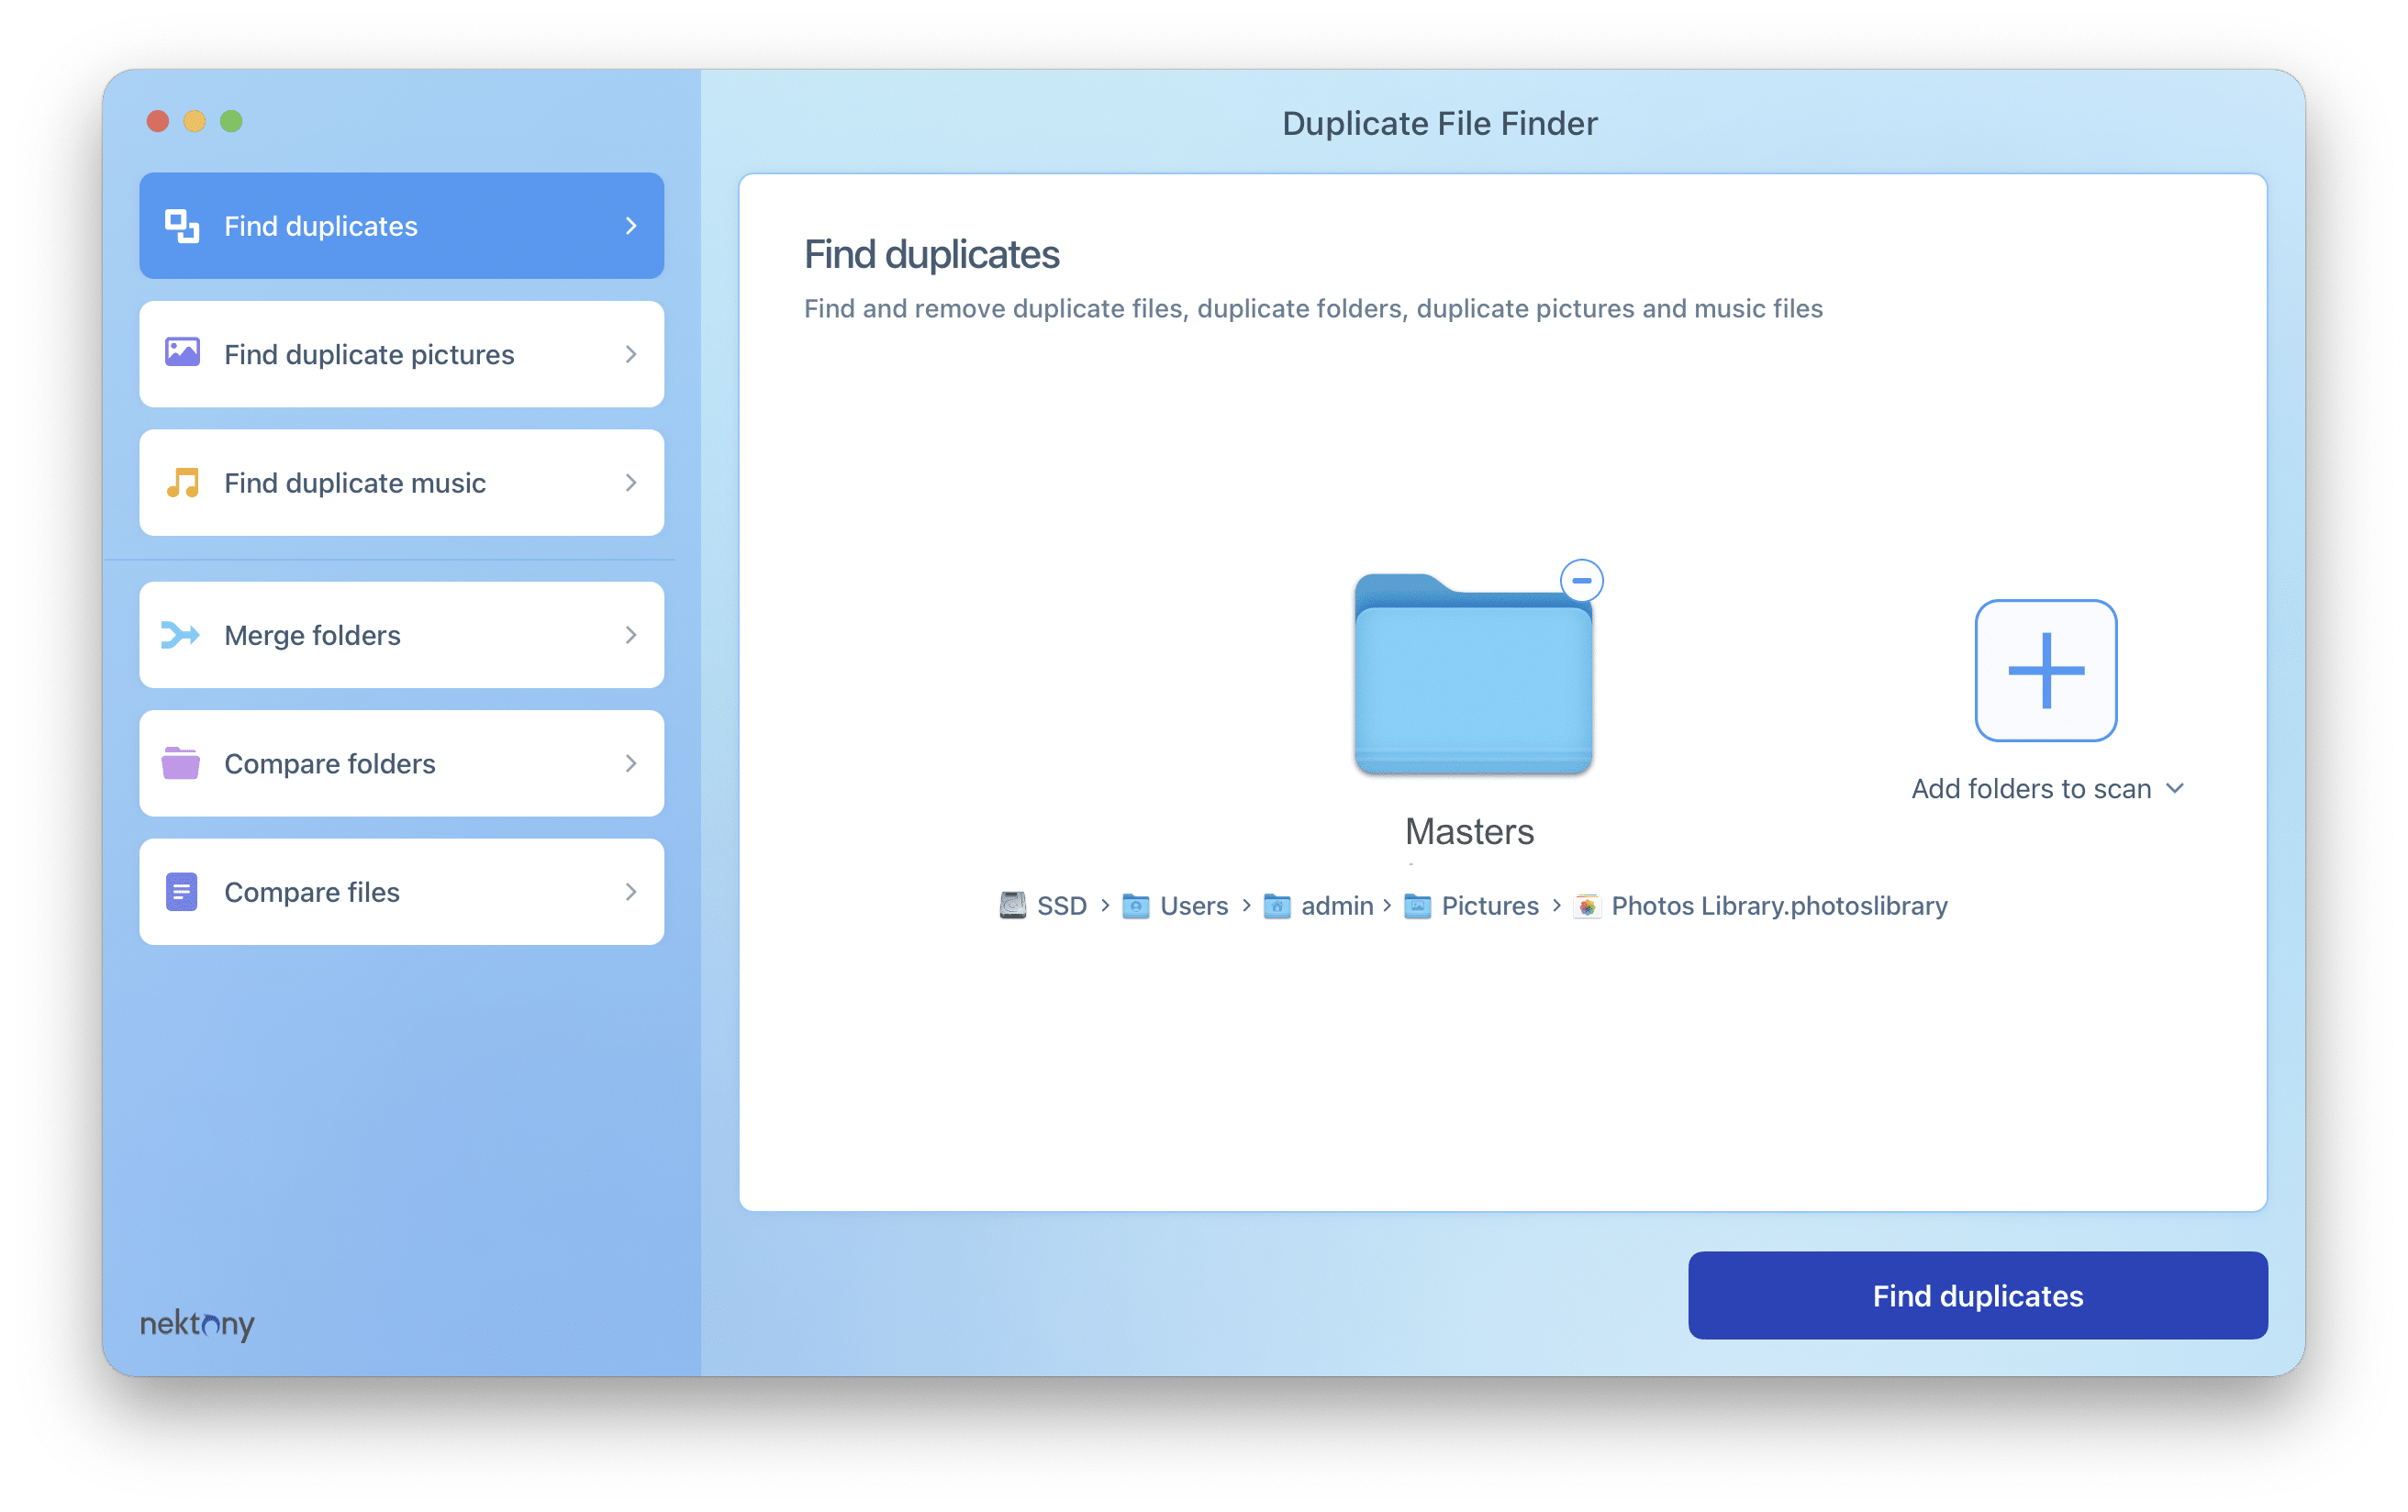
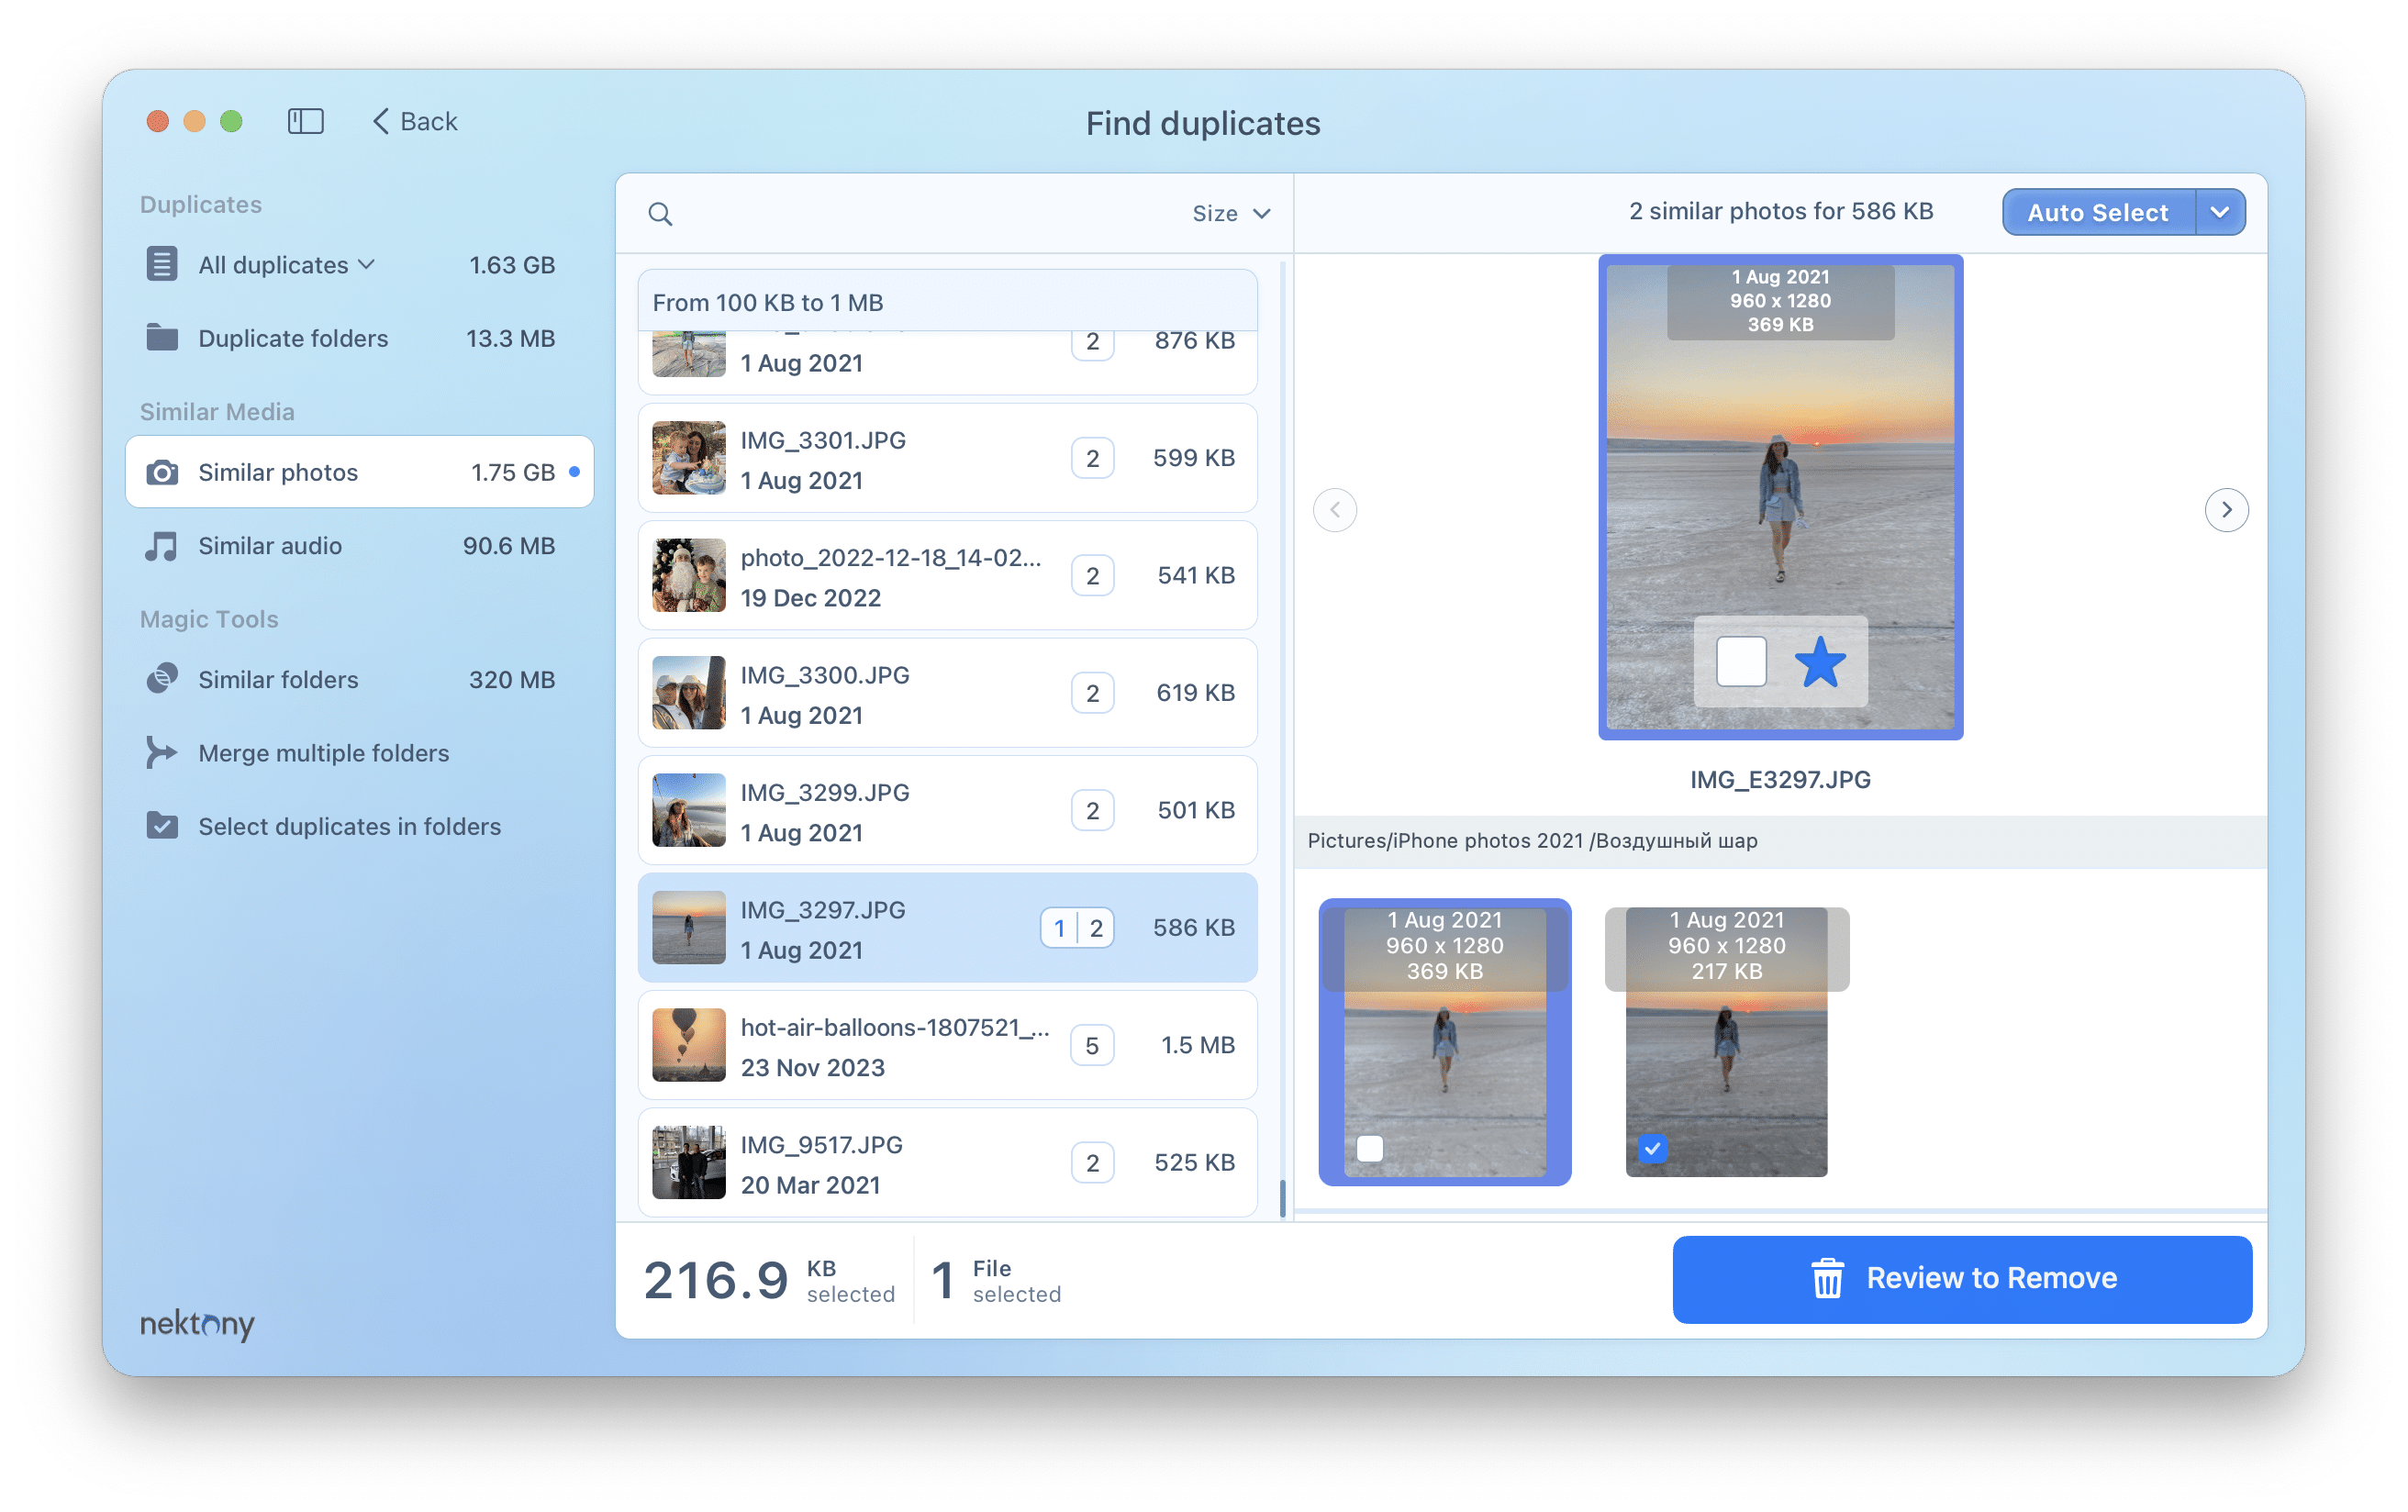
As you can see, this is a considerably complex procedure because you have no other choice but to access the library packages to do this right. However, if you do decide to update your macOS and install the newer version of the app, Photos, it would be much easier to find identical and similar files with Duplicate File Finder. We will briefly show you how it works below:
- Simply click the Plus (+) icon and add your Photos library for scanning.
- Once they’re scanned, you will see the full list of all the duplicates within the Photo Library.
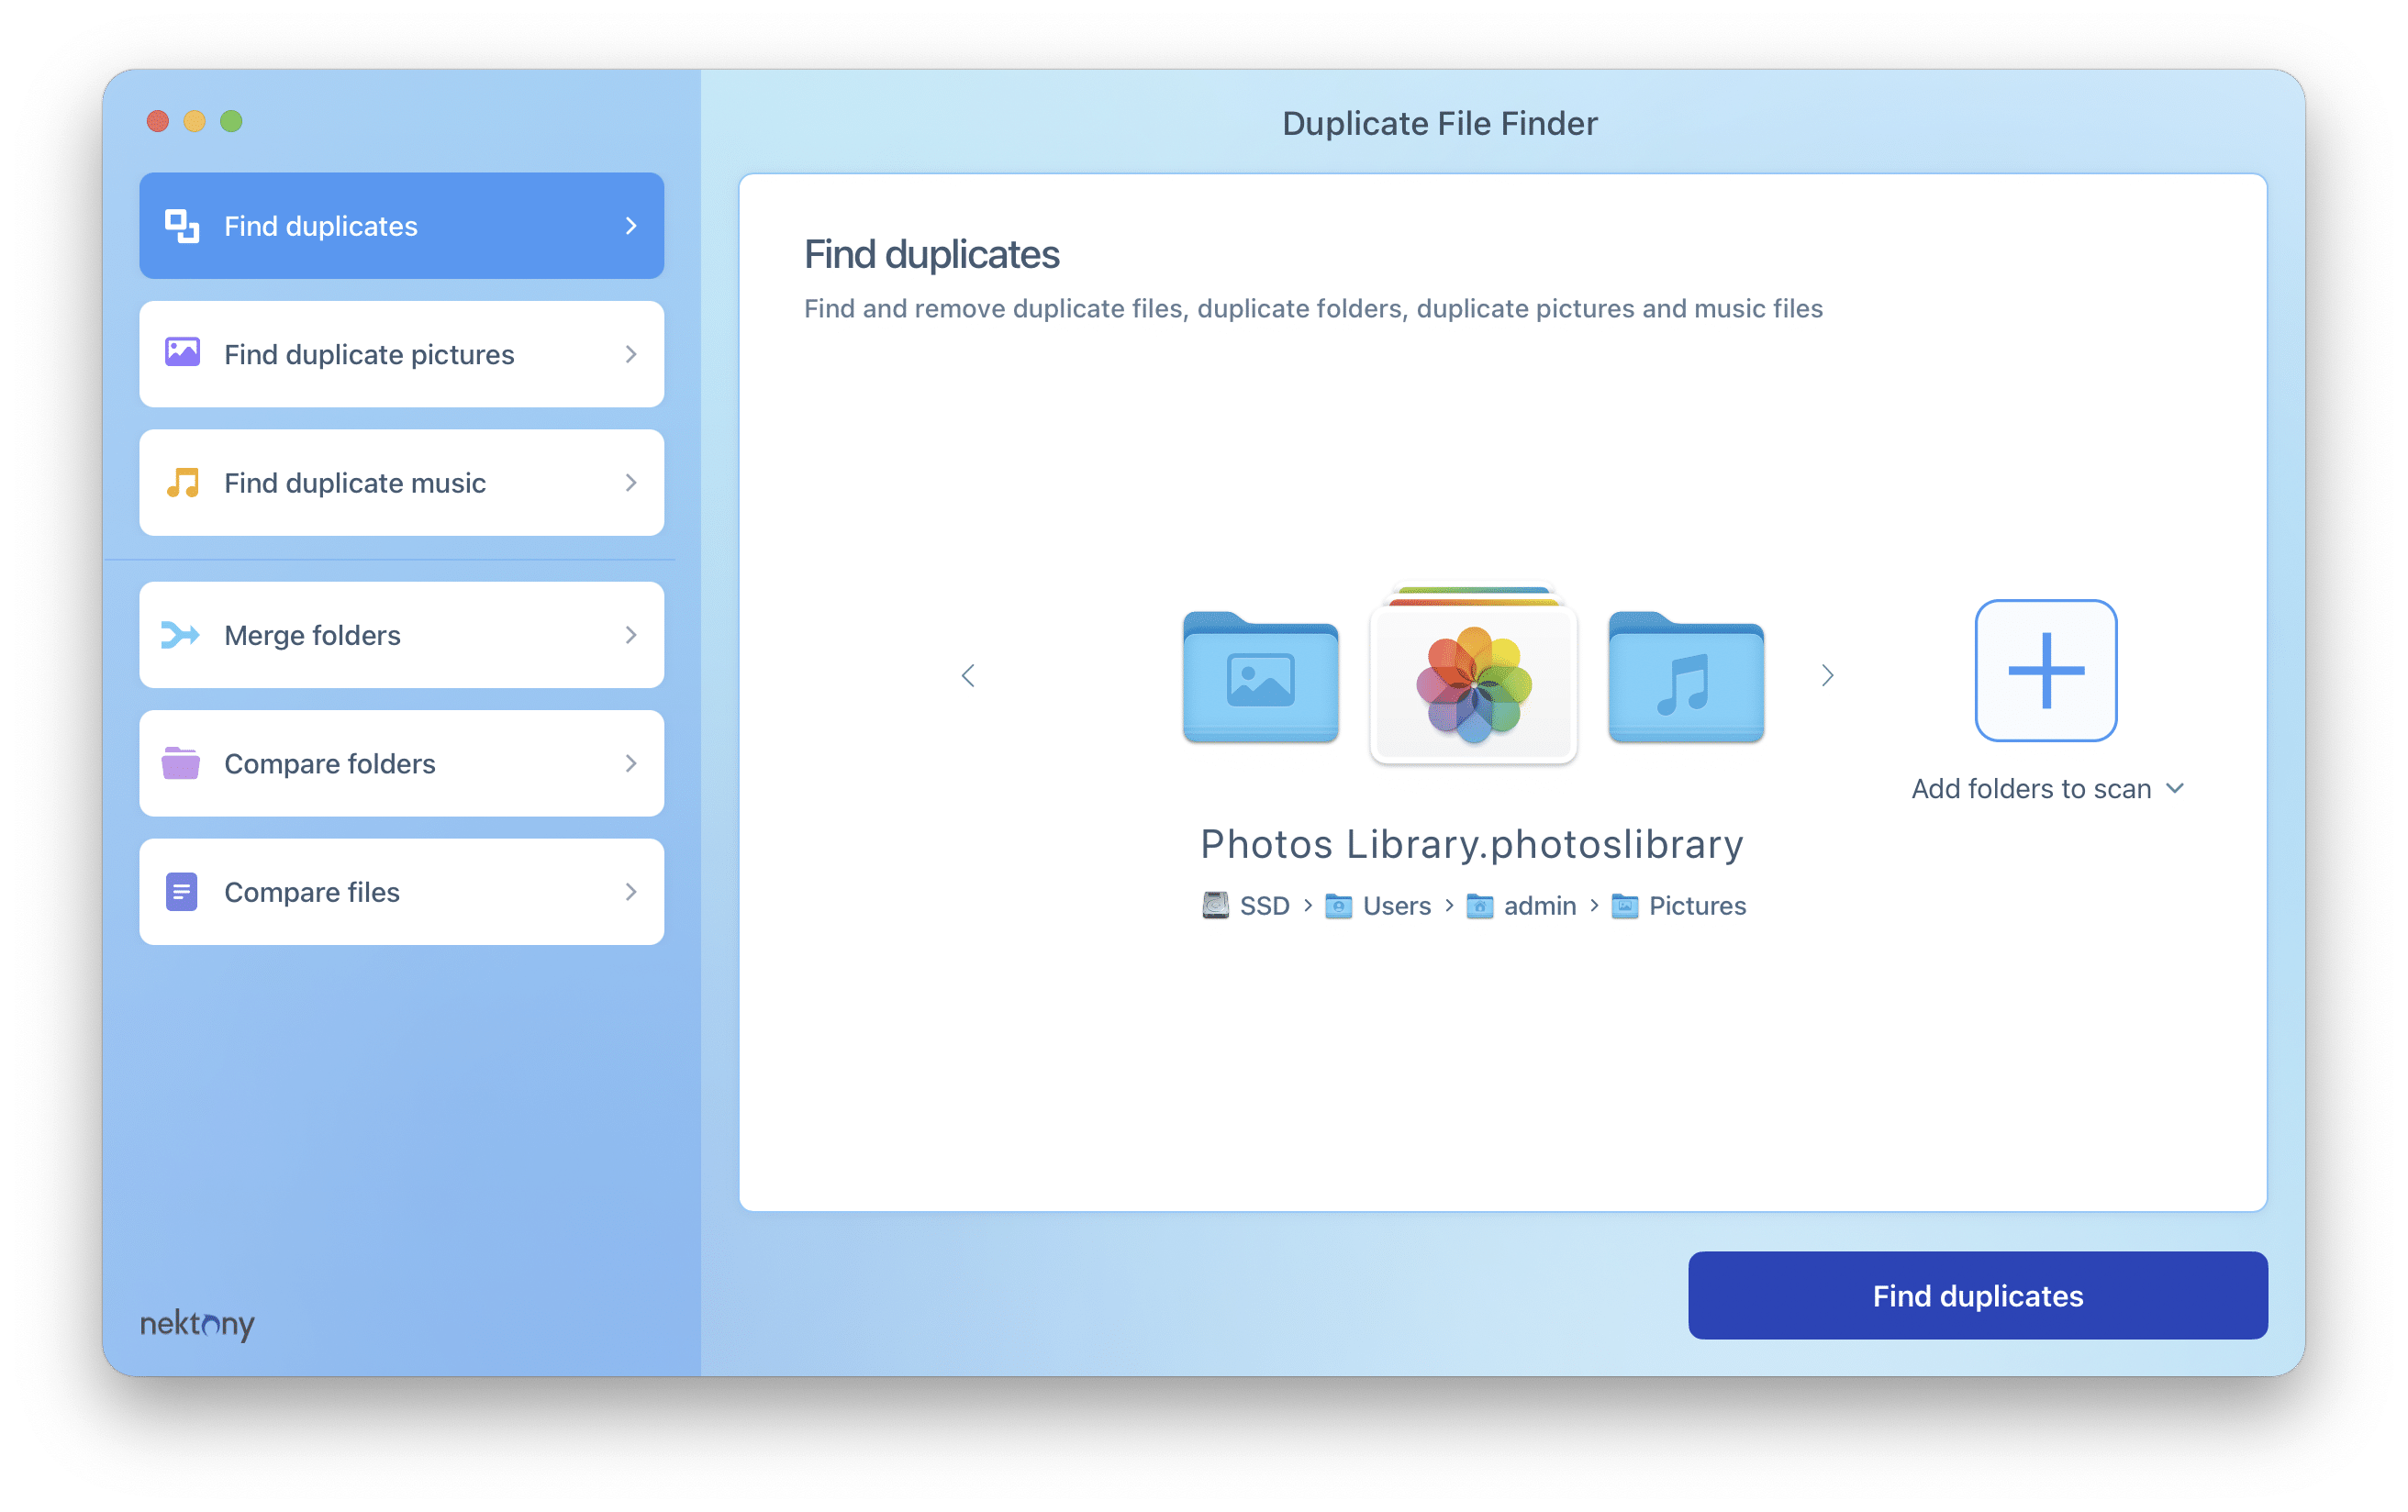
This makes it especially convenient as you don’t need to access any packages or spend time searching for the right folders to scan.
You can take a look at this short video guide to learn how to delete duplicate photos from your Mac in a matter of a few minutes.
Conclusion
If you’re a regular user of the iPhoto app, then there is a 99.9% chance that you already have duplicate photos stored on your Mac. You should know, is that a single duplicate won’t hurt too much, but when they start building up, you will see that a significant portion of space on your Mac is taken up by files that you don’t even need.
One of the best solutions would be to use software such as Duplicate File Finder that can locate and eradicate any type of duplicate file, including hidden files.
