The FileZilla client for Mac is used to transfer data from your Mac to a remote server using FTP protocol. But in this article, we are not going to review this app. This article is for those who need to delete FileZilla for any reason. In this post, we will share with you a full removal guide with two methods on how to uninstall FileZilla on a Mac.

Contents:
Uninstall FileZilla on a Mac manually
The common way to uninstall FileZilla on a Mac is when the user drags and drops the app’s icon to Trash. But unfortunately, not all Mac users know that every application creates extra service files in the user’s Home folder. Hence, the removal of a single extension file from the Applications folder does not uninstall an app completely. So, to fully delete FileZilla Client on your Mac, take the next steps:
- Quit FileZilla.
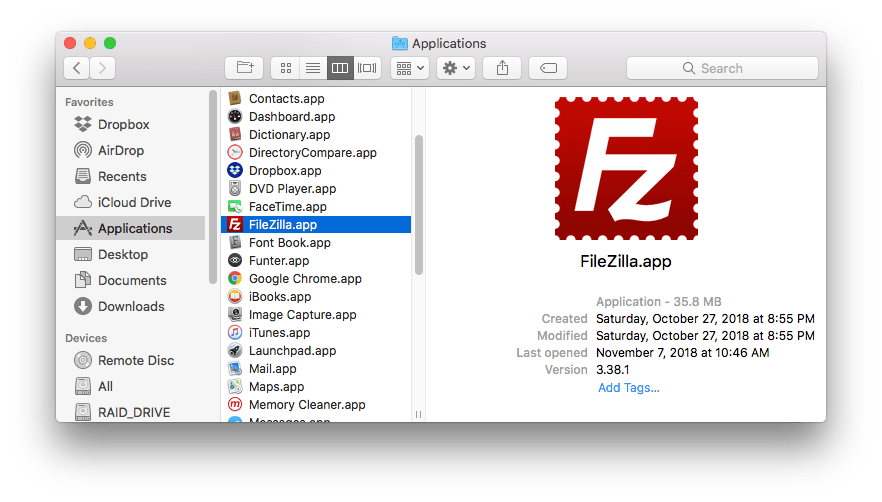
- Open the Applications folder → select FileZilla.app → drag and drop it to Trash.
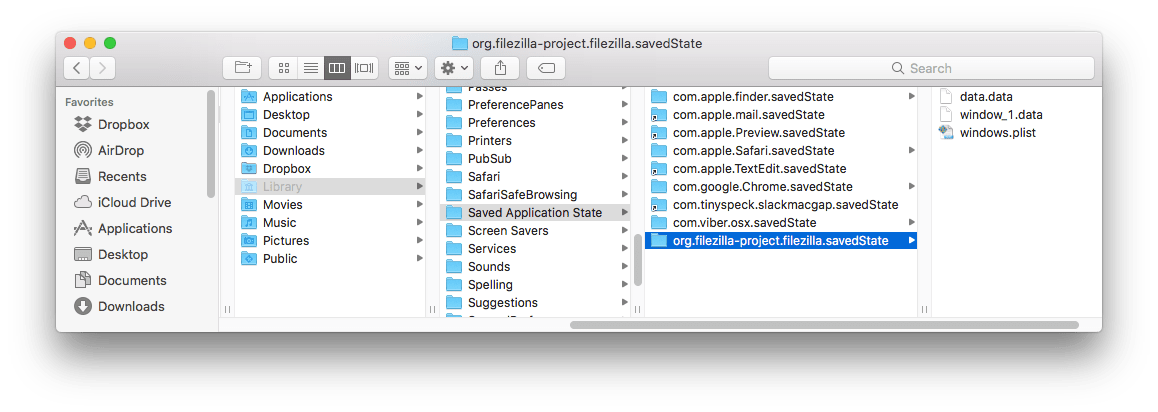
- Find and delete all service files related to the FileZilla Mac application in the Library system folder. The system Library folder is hidden by default in the Mac OS X 10.7 and higher. Thus, to get access to this folder, open Finder → click Go in the menu bar → select Go to Folder in the drop-down menu → type ~/Library/ → press Enter.
-
Now, you can find and delete all useless service files, which include the FileZilla app’s name or its developers’ names in the following directories within the Library folder:
- ~/Library/Application Support/
- ~/Library/Caches/
- ~/Library/Logs/
- ~/Library/Preferences/
- ~/Library/Saved Application State/
- Finally, empty the Trash bin to get rid of FileZilla and its leftovers.
Uninstall the FileZilla Client for Mac automatically
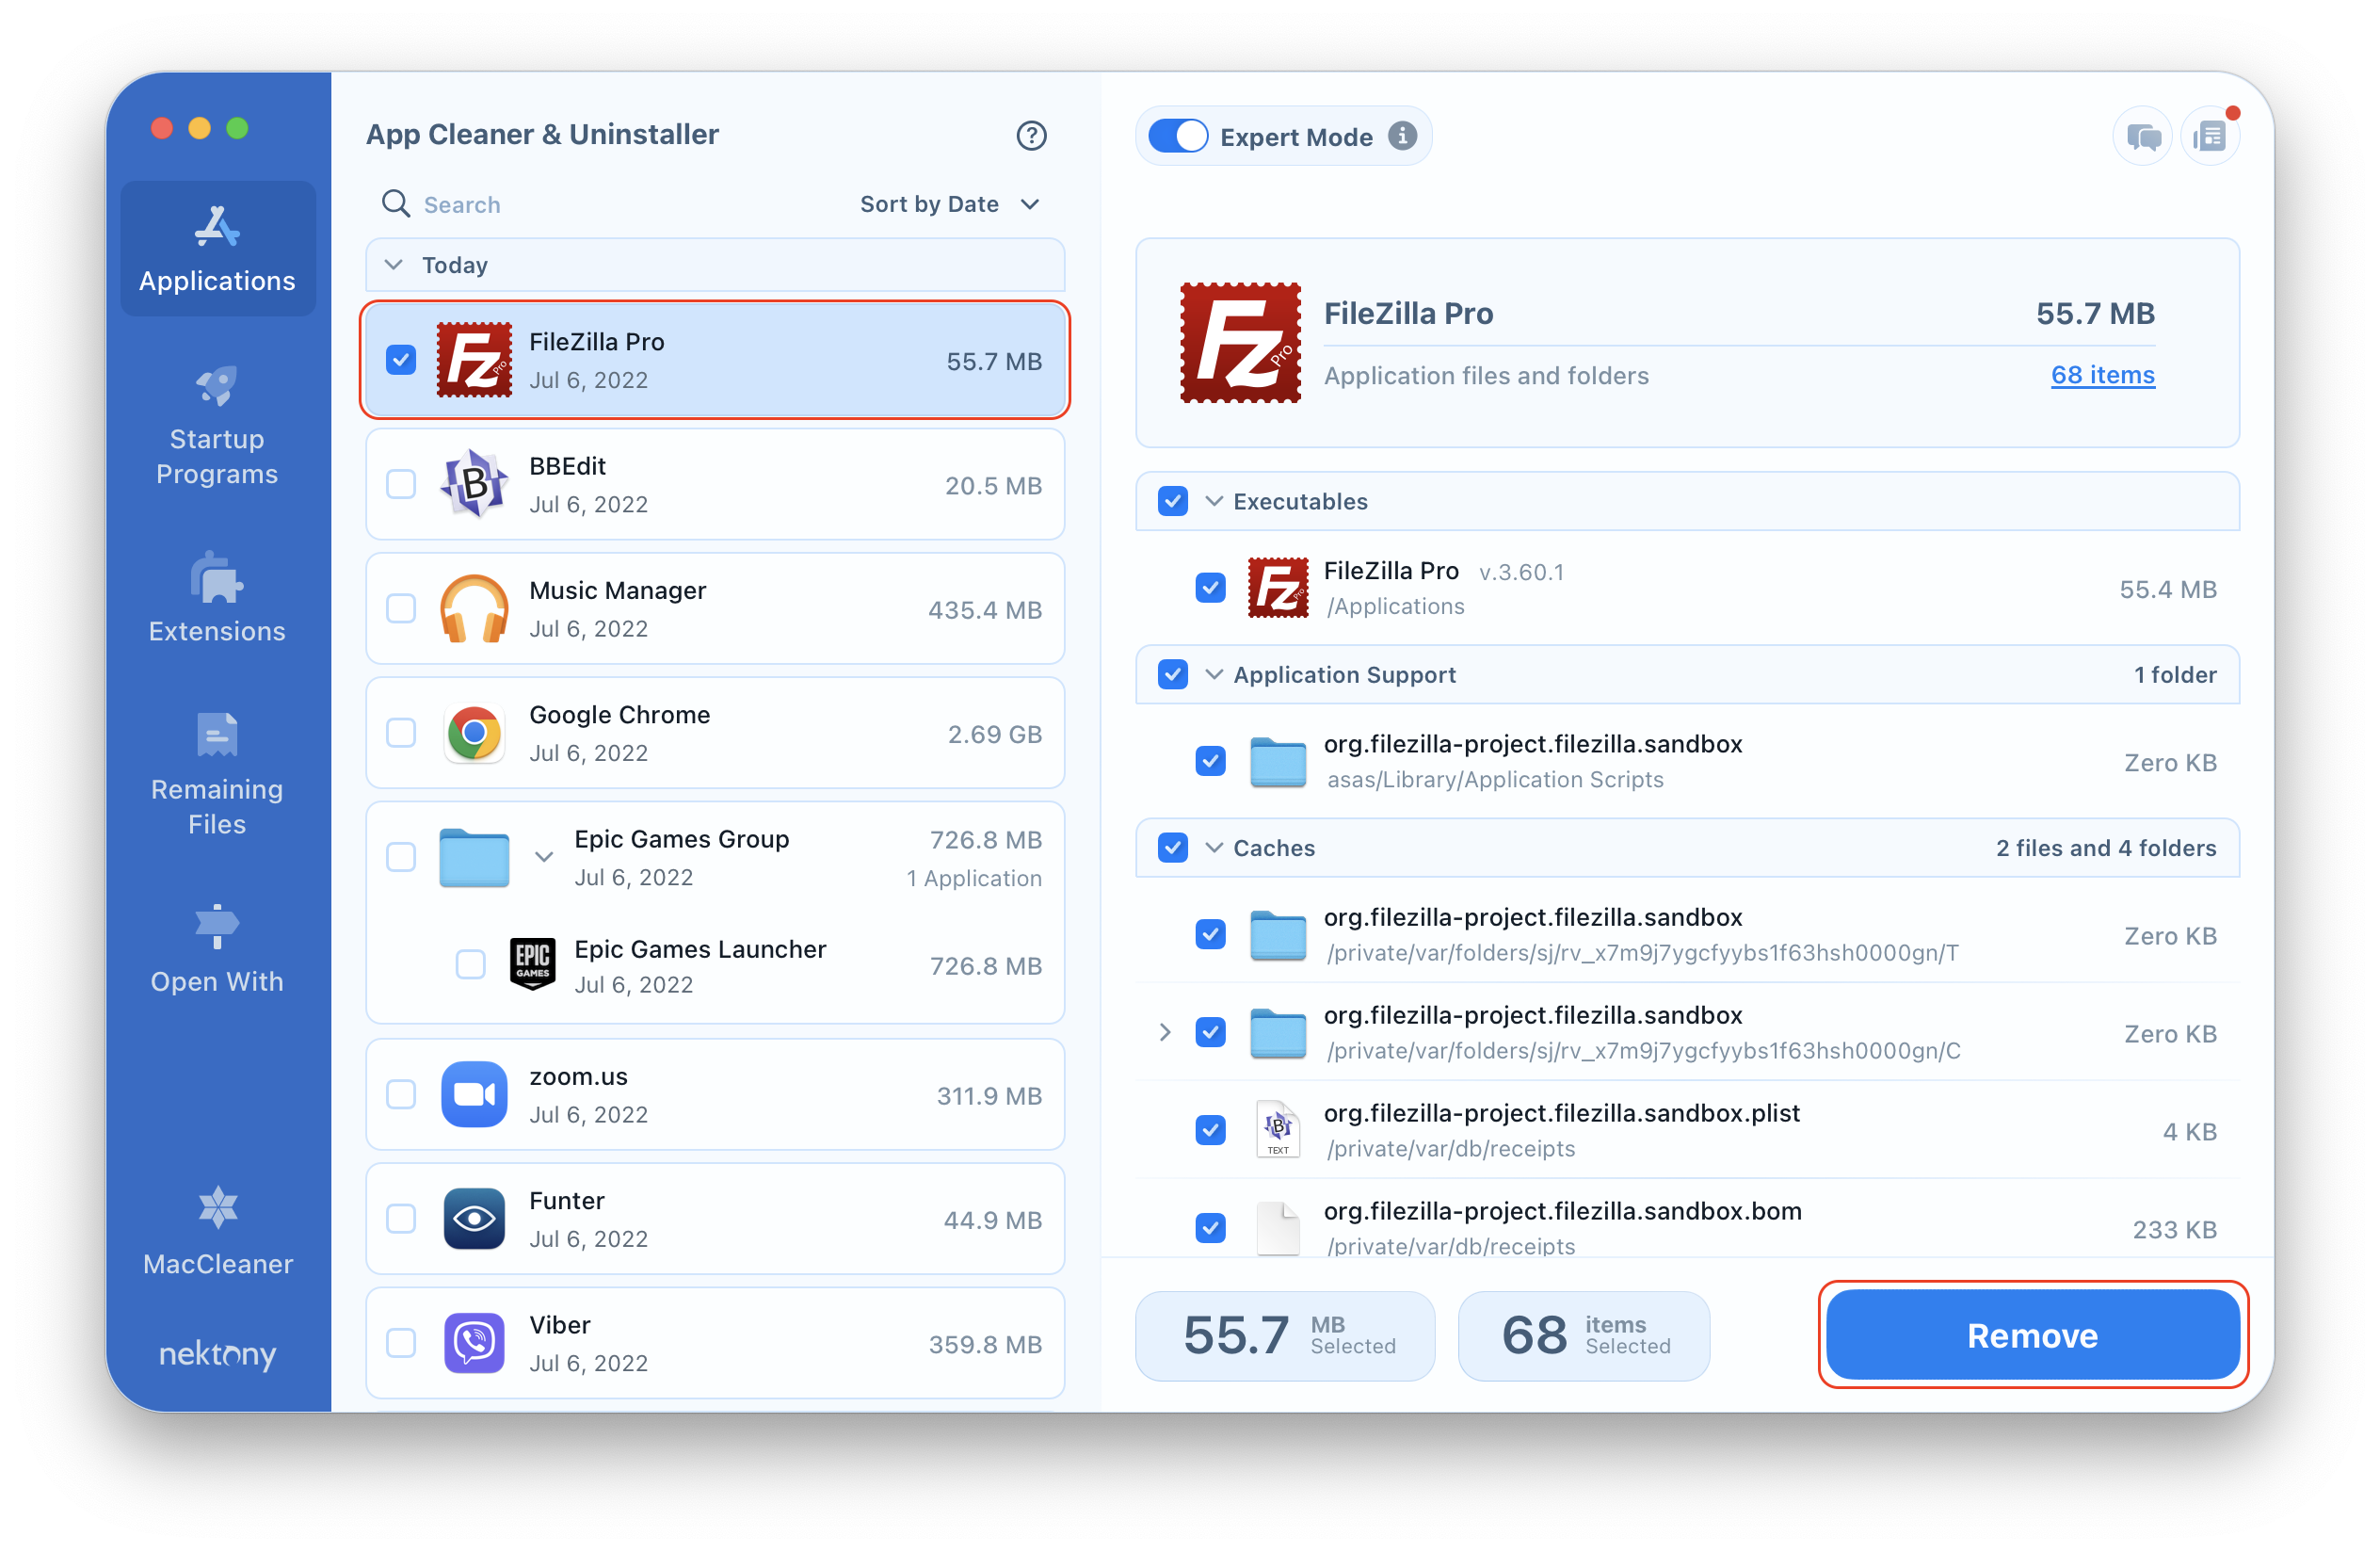
This method is possible thanks to third party uninstallers like App Cleaner & Uninstaller. It helps to delete apps that you do not need, both quickly and entirely. Complete the following steps to remove the FileZilla Client from your Mac, using App Cleaner & Uninstaller:
- Quit FileZilla.
- Launch App Cleaner & Uninstaller.
- Select FileZilla from the list of Applications
- Click the Remove button.
- Review the files you want to delete and confirm uninstalling.
- Complete the FileZilla removal by emptying the Trash.
Conclusion
Getting rid of useless apps on your Mac is as important as keeping your home clean. Therefore, we recommend using App Cleaner & Uninstaller on your Mac, which removes applications automatically and completely.
