GarageBand is a great application for music lovers. It enables editing and creating music easily on your Mac. The only drawback is that it is a huge space eater. If you are running out of free memory or, for other reasons, have decided to uninstall GarageBand, this article will be useful for you. We will tell you how to delete GarageBand.

Contents:
Video Guide: How to uninstall unneeded programs using App Cleaner & Uninstaller
How to Uninstall GarageBand Manually
The removal of applications on Mac may be called easy and difficult at the same time. Easy because you just need to drag and drop the icon to the Trash bin. On the other hand, moving an app to Trash is not enough if you want to uninstall a program completely. It is important to clear all the app’s service files too. Well, let’s move on to uninstalling GarageBand.
- Move GarageBand to Trash.
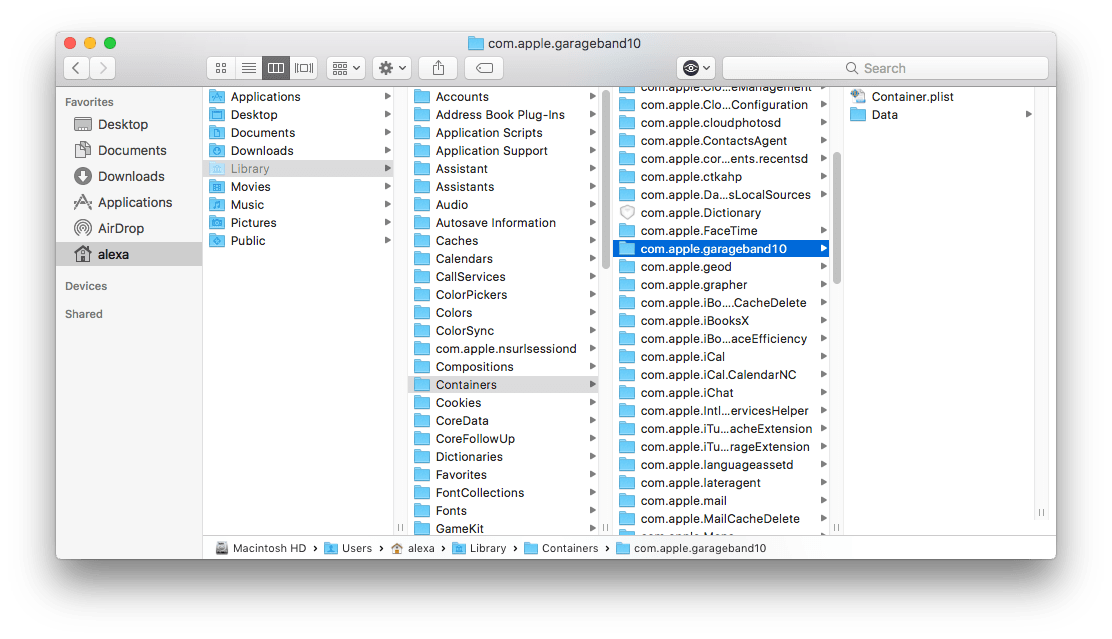
- Go to the Library Folder: in a Menu Bar click “Go” and select “Go to.” Type in the search field ~/Library.
- Open each subfolder mentioned below and remove GarageBand related files from there:
- ~/Library/Application Script/
- ~/Library/Caches
- ~/Library/Container
- ~/Library/Preferences
*In our previous article, you can learn about 3 ways to show hidden folders.
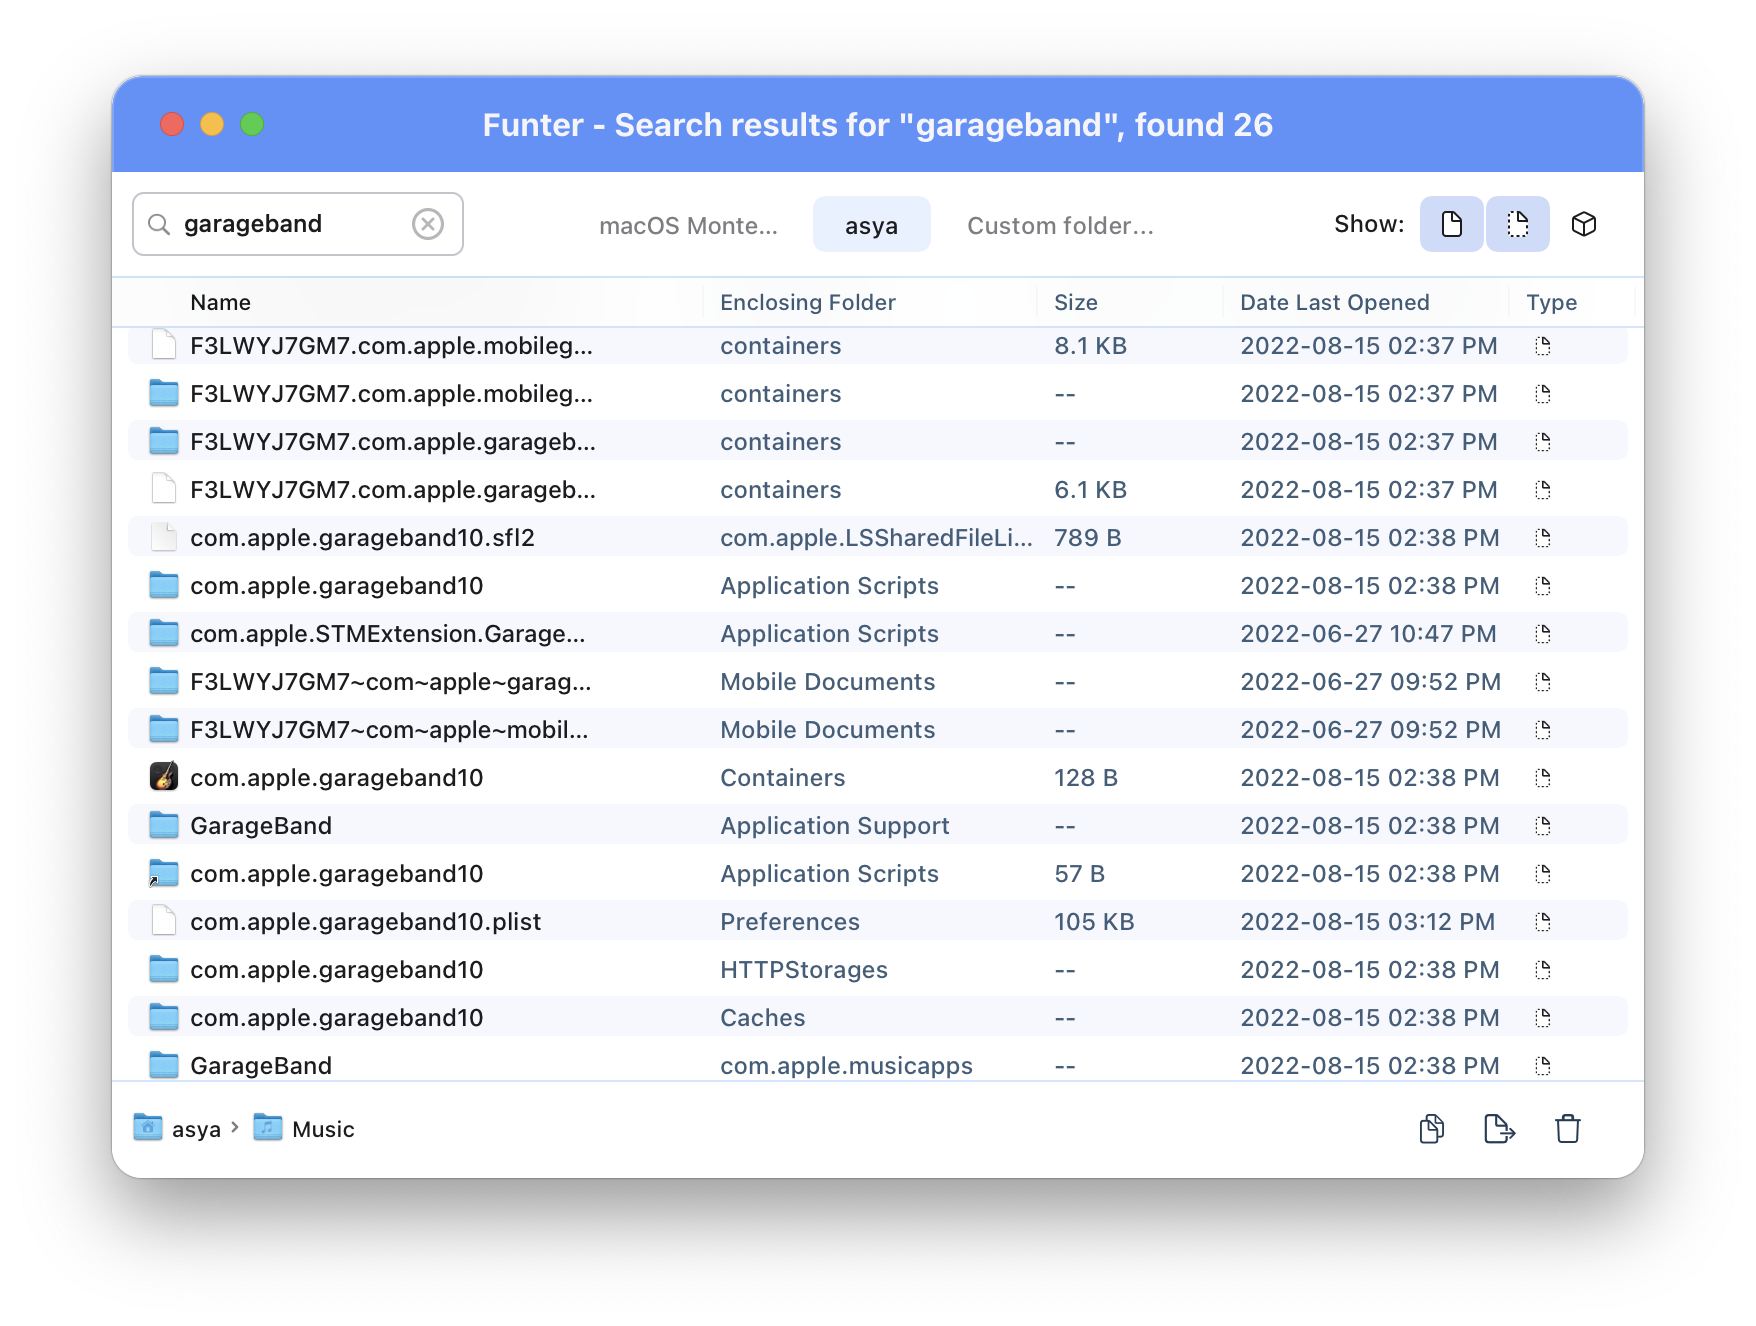
One more way to easily open any other hidden file or folder is to use a free application from Nektony called Funter. All you need to do is just type the file or folder’s name in a search field. For example, type in the search field “GarageBand” and delete the files with the Remove button.
Delete the Instrument GarageBand with Mac Uninstaller
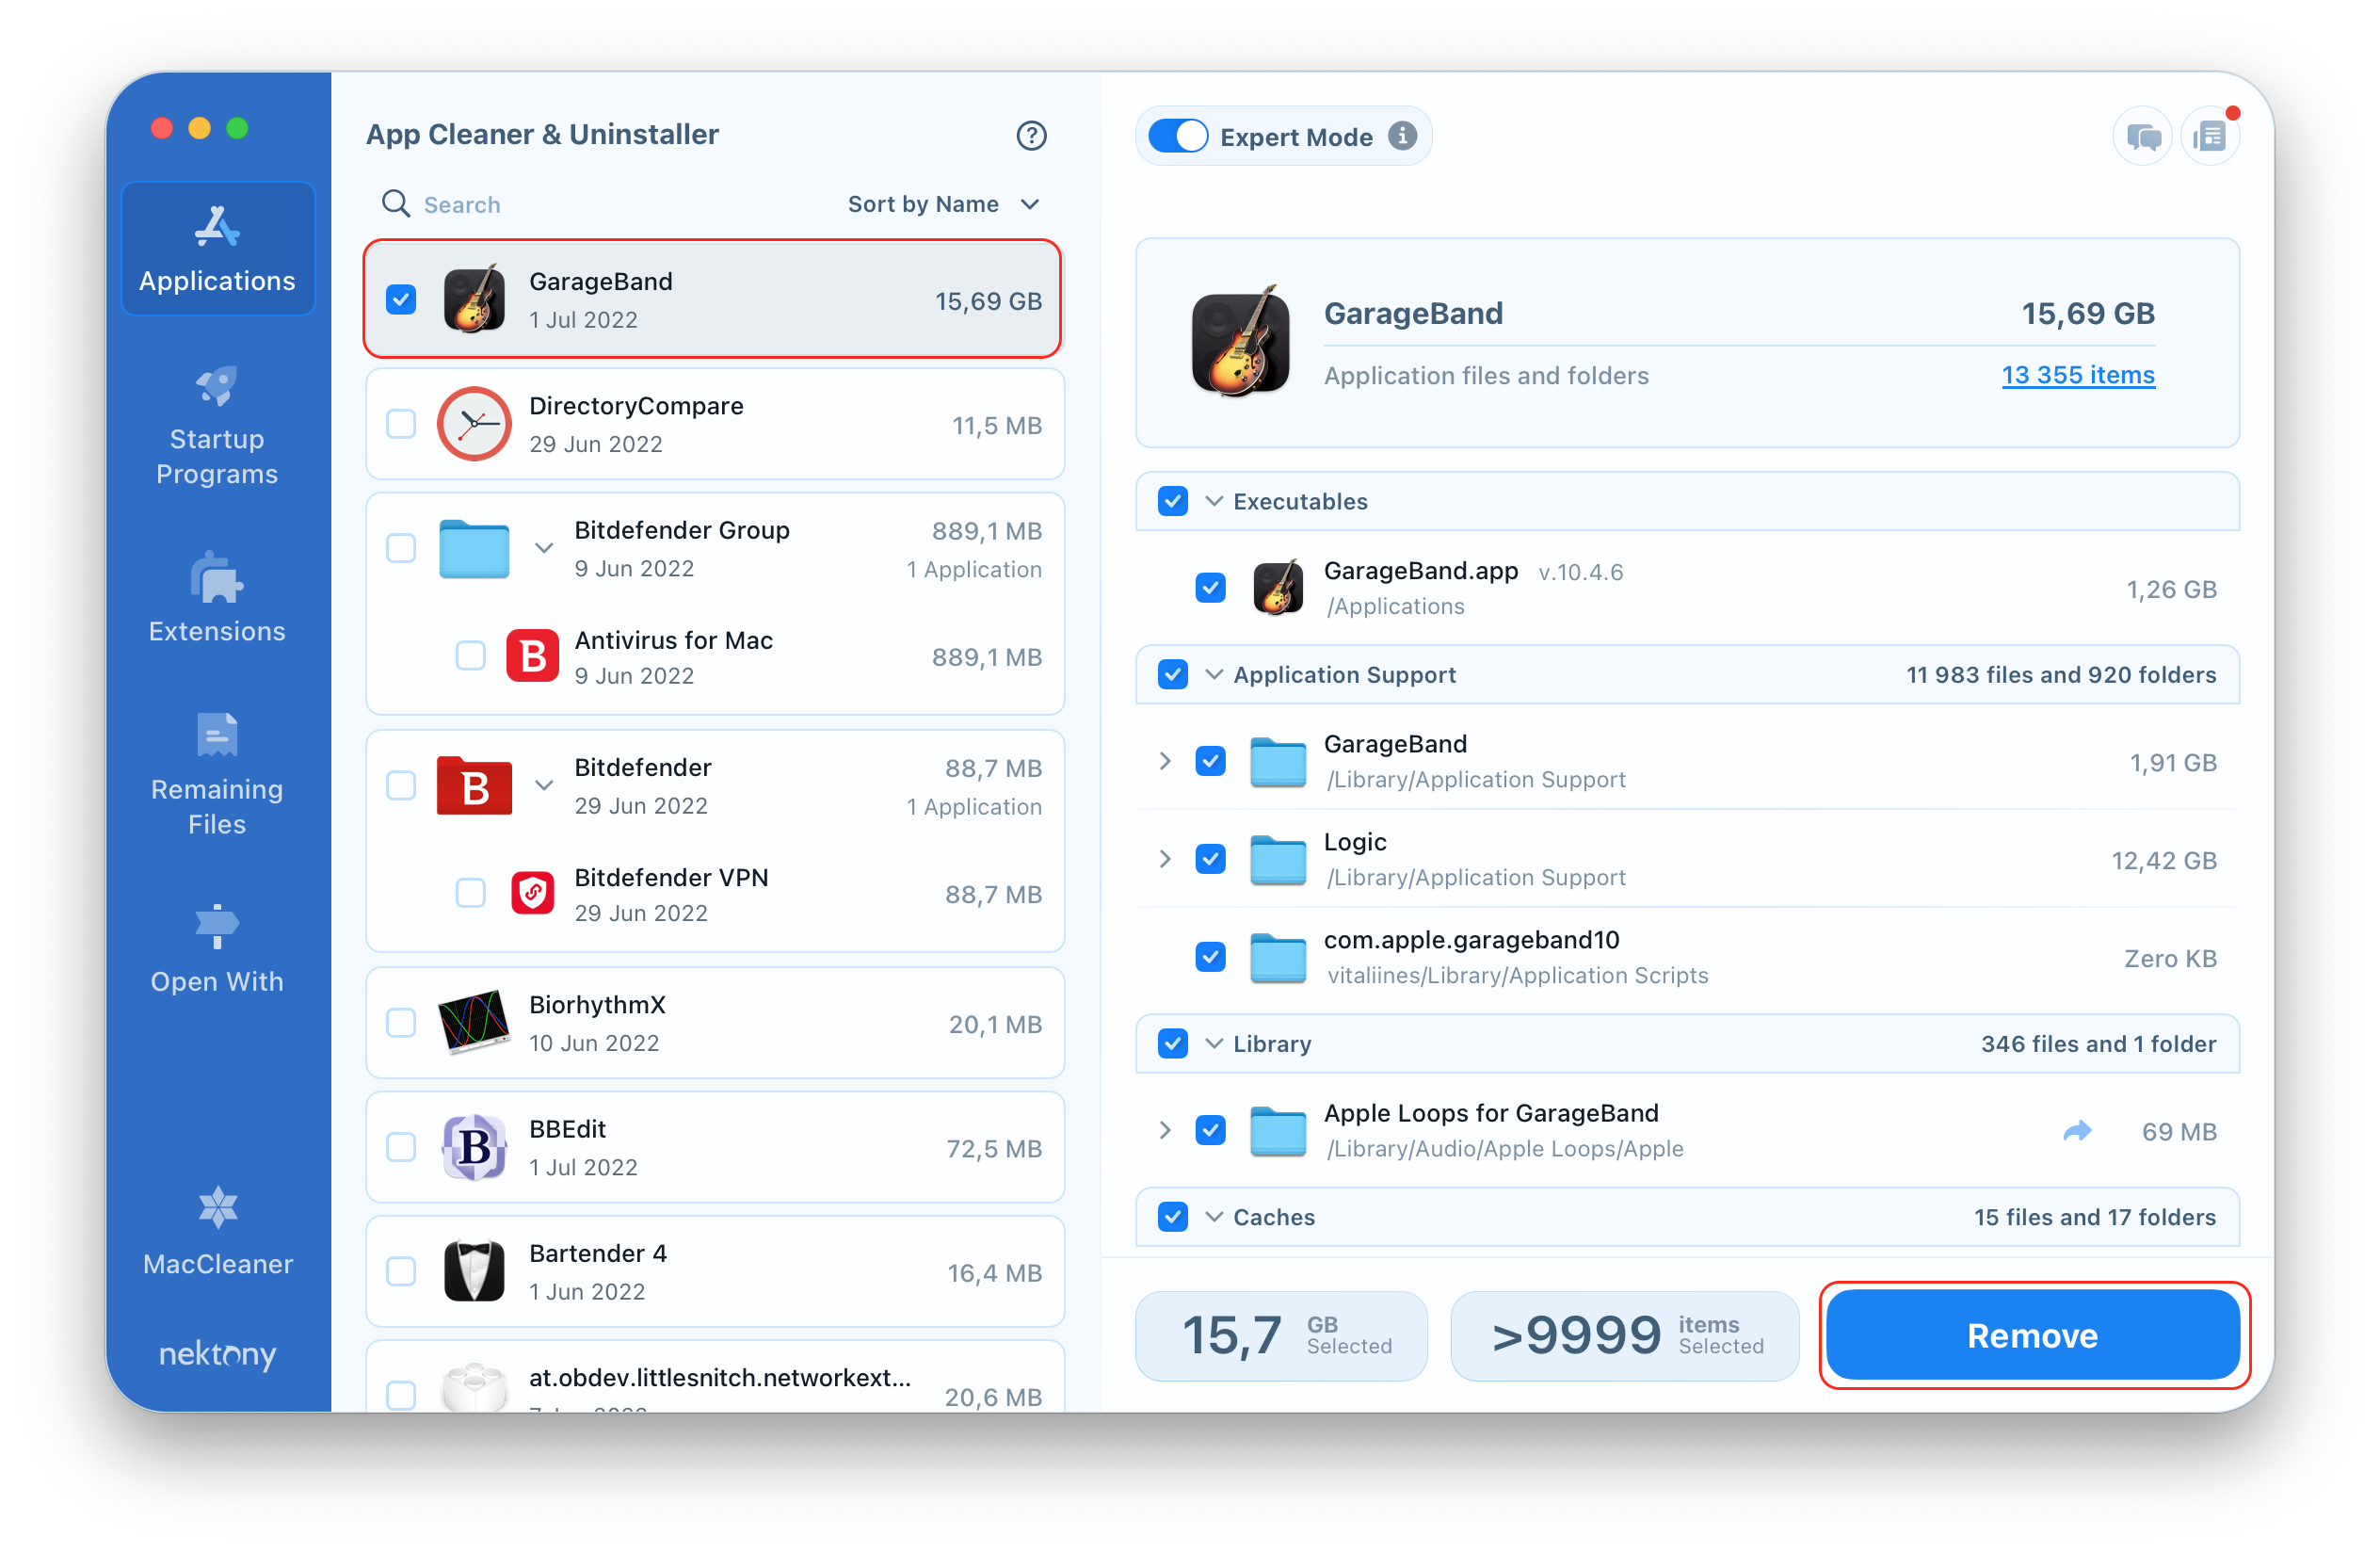
It should be mentioned that there is a second way to delete Garageband, which is much easier and quicker. For this purpose, you can use the App Cleaner & Uninstaller application. The app allows the complete removal of any software on Mac with just several clicks.
Now let’s see step-by-step guide of GarageBand removal:
- Download App Cleaner & Uninstaller and scan your Application folder.
- Then select GarageBand and click the Remove button.
- Confirm the removal.

