
Mission Control offers a consolidated view of all open windows, desktops, and full-screen apps, making it easier to multitask on your Mac. In this article, you’ll learn all about Mission Control, how to use it, and how to change its settings.
Contents:
- What is Mac Mission Control?
- How to open Mission Control on Mac
- How to configure macOS Mission Control settings
Before we start
MacCleaner Pro helps you keep your system permanently free of junk files and running fast. You can remove cache files and leftovers from removed apps, find duplicates, uninstall unused apps, optimize RAM usage, and more. The application provides a free trial.
MacCleaner Pro
What is Mac Mission Control?
Mission Control is a useful macOS feature that allows you to see all the applications running on your computer at once. It shows not only thumbnails of all open programs but also the windows open in each one. In Mission Control, you can also see all your desktops (Spaces), close them, add new ones, and move programs between them.
Apple introduced Mission Control in 2011 with the release of Mac OS X Lion. However, even before that, macOS had a similar—albeit less functional—feature called Exposé.
Whether you’ve used Mission Control before or are just learning how to use it, keep reading to learn all the features of Mission Control.
How to open Mission Control on Mac
One of the reasons why people often ask how to get to Mission Control on Mac is that it’s not so straightforward to access. But don’t worry! With this guide, you’ll learn several ways to open and start using Apple’s Mission Control.
Where is Mission Control on Mac?
You can find the Mission Control app in the Applications folder in Finder.

You can also add Mission Control to the Dock for quick access.

Top methods to run Mission Control
Method 1
If you’re using a MacBook, you can use your trackpad. Simply swipe up with three or four fingers on the trackpad.

Method 2
If you use a Magic Mouse, double-tap on it with two fingers.

Method 3
Use the key combination Control + ↑. If you press the opposite arrow (↓), the system will show all the open windows of the currently active application. If you have an old Mac or keyboard, use the F3 key.

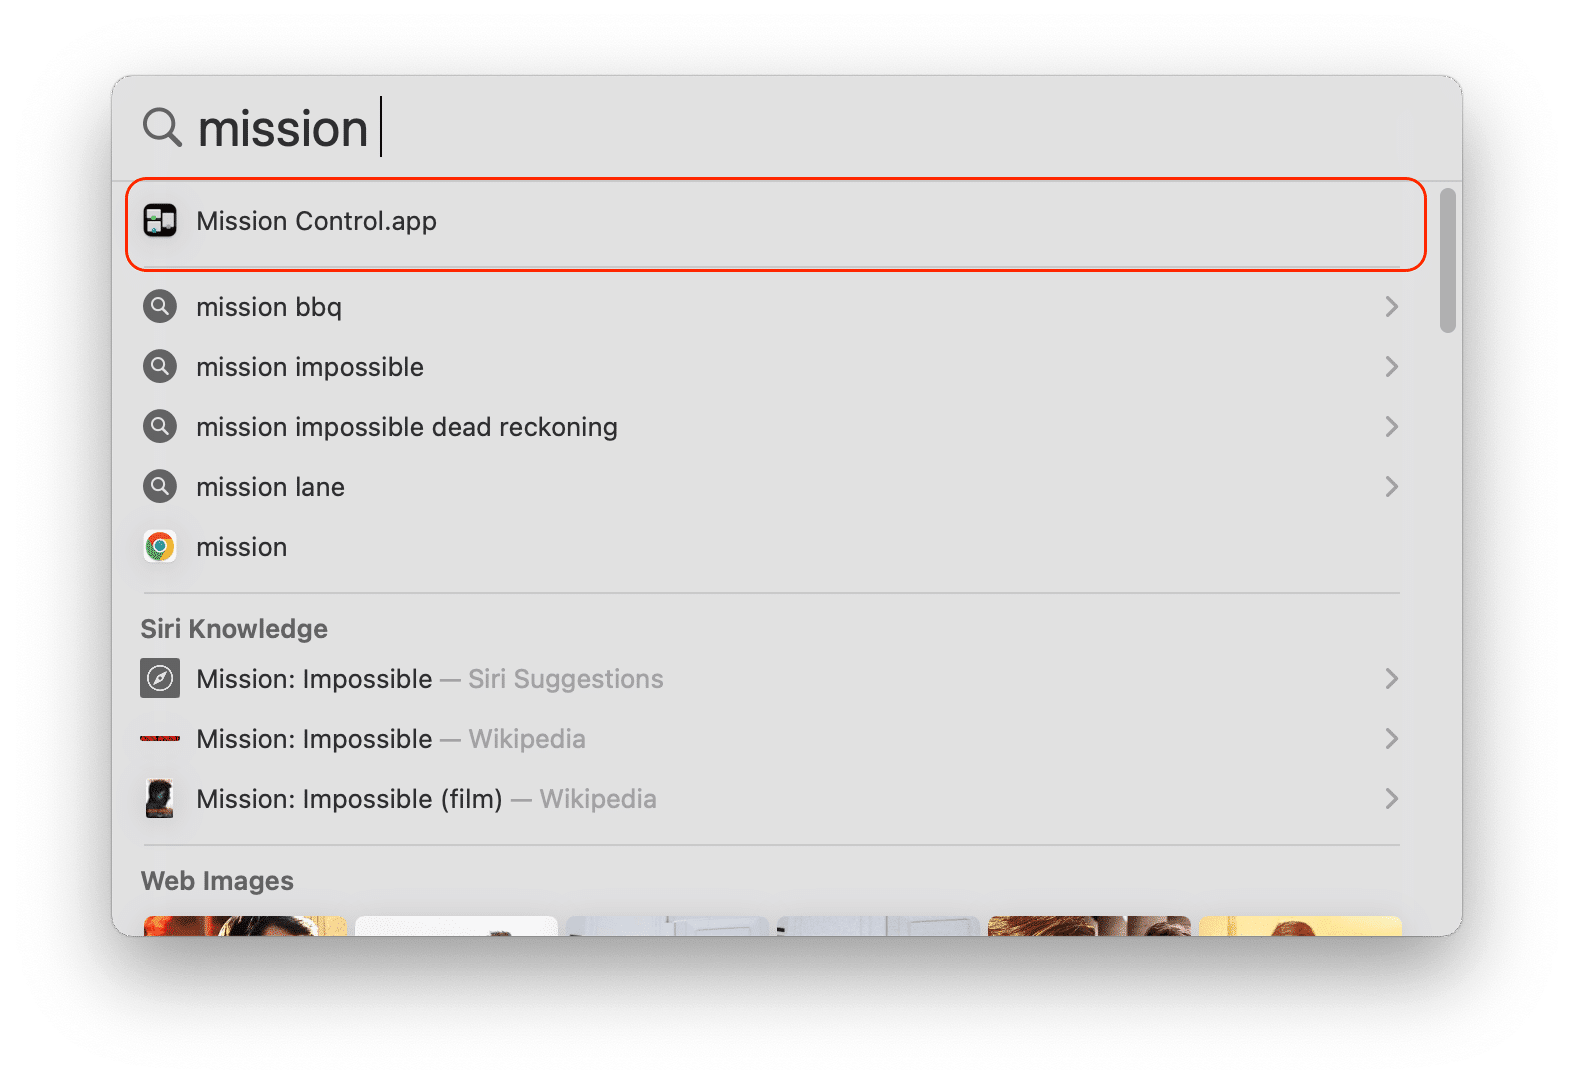
Method 4
Run Mission Control from the Applications folder. Alternatively, use Spotlight to find it quickly.
Method 5
Use the Hot Corner option to access Mission Control. For this, you’ll first need to activate the option. Here’s how:
- Open System Settings.
- Go to the Desktop & Dock panel.
- Scroll down and click the Hot Corners button under the Mission Control section.
- Select Mission Control for the corner convenient for you.

As you can see, this feature is so convenient and commonly used that Apple provides several different ways to activate it. Choose the way that works best for you to access Mission Control and easily switch between desktops.
How to use Mac multiple desktops in Mission Control
Adding Spaces
When you run Mission Control, at the top of the screen, you can find thumbnails of each desktop space, as well as every window in full-screen or split-screen mode. To add Spaces in Mission Control, click the Plus (+) button located in the upper right corner of the screen.
You can then switch between Spaces by clicking the thumbnails or using the gestures macOS offers.

Moving windows to Spaces
If you want to rearrange windows and move them to different Spaces, just drag them to the desired Space in the top bar.

Deleting Spaces in Mission Control
You can also easily move and delete Spaces. To move them, just drag the thumbnail to another Space in the Spaces bar. To remove a Space, hold down the Option key and click on the Close (X) icon.

How to configure macOS Mission Control settings
Besides having numerous launch options, Mission Control also has several interesting settings. They can be found by following these steps:
- Open System Settings.
- Click Desktop & Dock in the left panel.
- Scroll down and find Mission Control settings.
- Here, you can activate various settings using the toggle buttons:
- Automatically rearrange Spaces based on most recent use
- Switch to a Space with open windows in the application you’re switching to
- Group windows by application
- Make displays have separate Spaces

Conclusion
We’ve shown you how to access Mission Control, customize its settings, and use it to enhance your productivity and workflow. Whether you want to declutter your screen, group related windows, or quickly access your dashboard, Mission Control can help you do it. We hope you find this feature useful and enjoy using it on your Mac.


