Contents:
- What is the macOS Dark Mode.
- Which is better – Mac light mode or Mac Dark Mode.
- How to turn on Dark Mode on Mac.
- How to optimize your experience when using Dark Mode.
What is the macOS dark mode
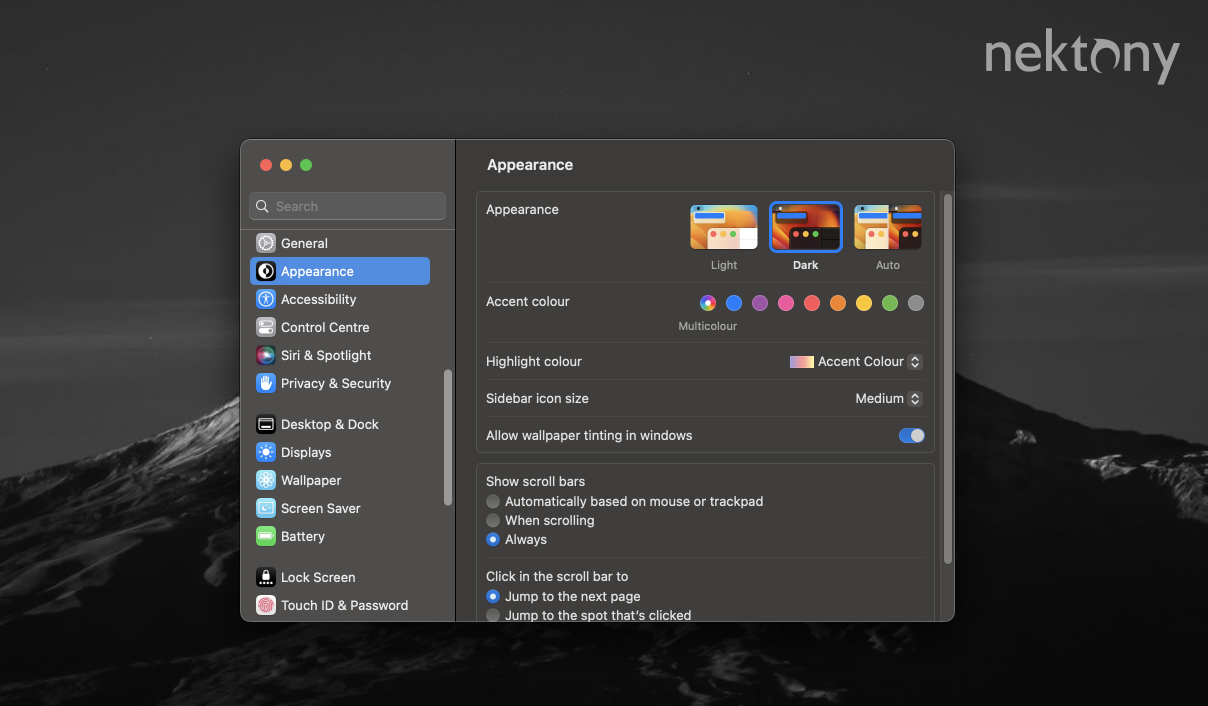
Dark Mode is a special feature of macOS Mojave which allows you to switch to a black user interface. With Dark Mode on, the Mac default apps will revert to a black background while the text in them will revert to white and light grey colors. The Dark Mode was introduced in macOS Mojave as one of the main updates for the system. So if you want to use Dark Mode on your Mac, you need first update your current operating system to Mojave 10.14 or later.Which is better – Mac light mode or Mac dark mode
Before you proceed with switching to macOS dark theme, you might want to weigh the pros and cons to see if it’s worth it. We’ve elaborated on some of the points that we think our readers should take into consideration when it comes to using the Light or Dark Mode in macOS Mojave.Pros of Dark Mode for Mac:
- ✓ Mac black mode can potentially take some pressure off your eyes. This can be especially relevant if you happen to use your Mac during the night or when it’s dark. One of the main reasons Dark Mode is implemented in computers and mobile devices is to reduce eye strain.
- ✓ It looks slick and appeals to a wide audience. Many people choose to use the Dark Mode feature simply because of the aesthetics and not much more than that. With so many Mojave macOS features, a quick switch to Dark Mode is definitely something you should try out.
Cons of Dark Mode for Mac:
- 𐄂 Poor readability. While Dark Mode might seem like a great idea at first, reading bright characters on a dark background can be challenging for some people. So if you’re about to go through large chunks of texts, we would advise using a light theme instead.
- 𐄂 It can drain the battery more quickly than usual. Although there are many arguments both for and against this statement, with a little research you will see that many users have reported their battery life taking a significant hit after switching to Dark Mode. The main reason for this is that LCD displays require more energy to produce black colors, whereas light colors are the easiest to produce.
How to turn on Dark Mode on Mac
Simply follow the step-by-step guide below to see how you can enable Mac Dark Mode
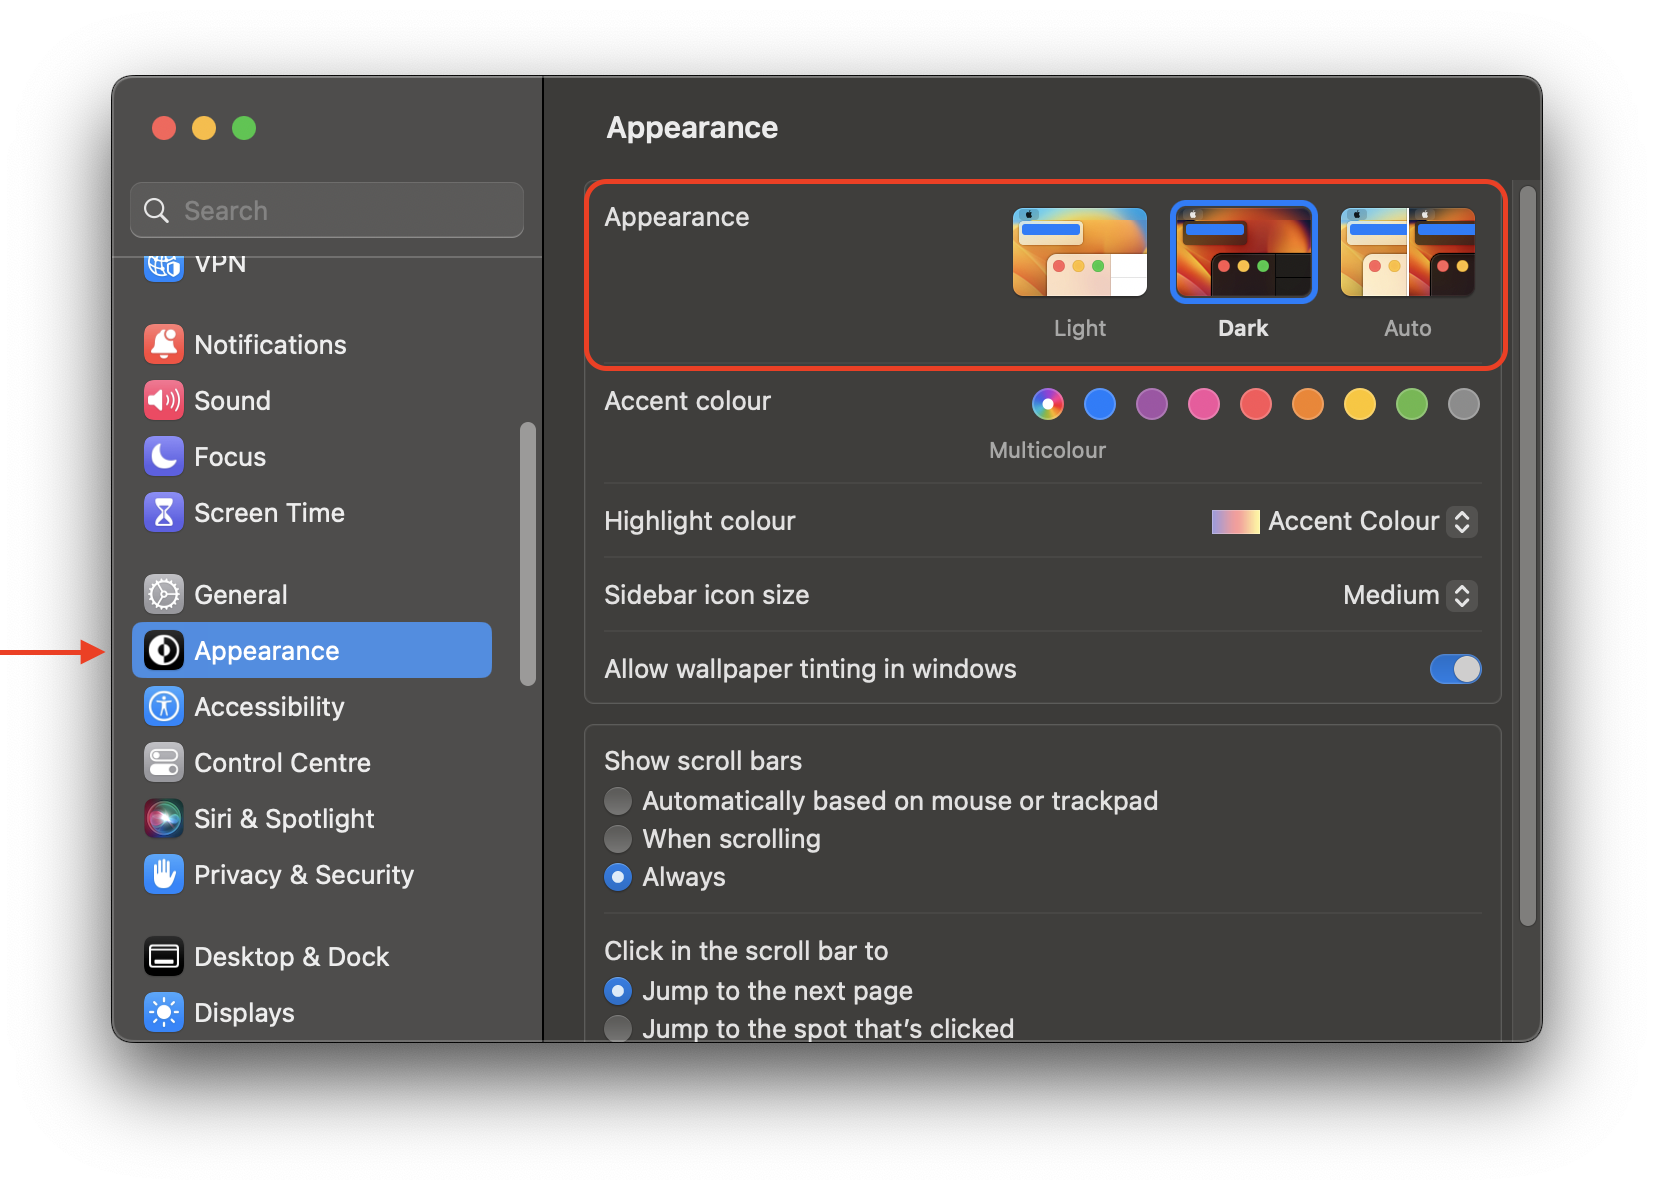
Steps to enable Dark Mode on Mac:- Open System Settings.
- Click Appearance in the sidebar.
- Select the Dark Mode in the right panel.
How to optimize your experience when using Dark Mode
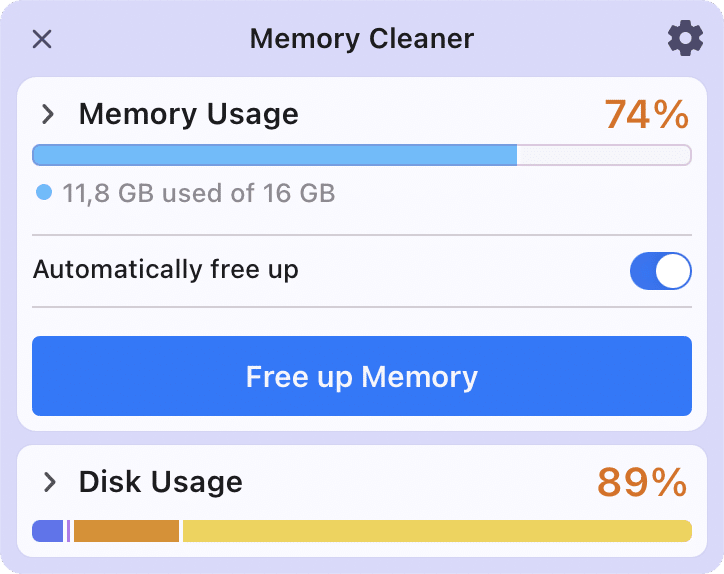
As mentioned previously, the Dark Mode uses a lot of RAM and your Mac’s performance may slow down with it. But if you plan to use Dark Mode on a frequent basis anyway, you can use a free application Memory Cleaner, designed to clean your RAM and optimize your Mac’s speed.
Memory Cleaner automatically clears up your Mac’s RAM, so you won’t need to worry about Dark Mode taking too much power. Simply try out Memory Cleaner while using the macOS Dark Mode to feel the difference yourself!
Here is how to use the app:
- Launch the Memory Cleaner app.
- Click on Free Up and simply wait while the application cleans up unused RAM to optimize your Mac.
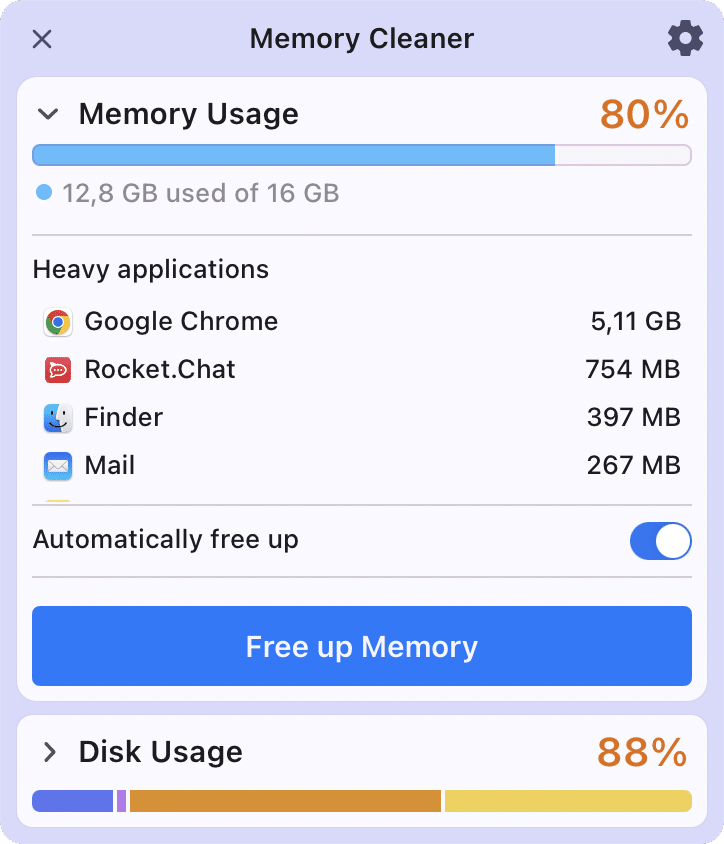
- The app displays how much RAM is taken up by your apps in the Memory Usage section.
- And you can also set up the automatic clearing of inactive memory to prevent your Mac from getting slow.
Conclusion:
Dark Mode is one of the many great macOS Mojave features that is endorsed by millions of Mac users for its sleek design. The fact that it can make using your Mac a bit easier on your eyes makes it even more attractive. Whether you consistently use the Dark Mode feature or not is entirely up to you. Nevertheless, we would suggest trying it out at least once to see for yourself, and make sure to have Memory Cleaner installed on your Mac to prevent a drop in performance.Frequently asked questions about macOS Dark Mode
Is Dark Mode better for your eyes?
Apple’s website says that Dark Mode is healthier for your eyes and make texts better for readability. But in fact, using Mac Dark Mode is not a good option for everybody and not all the time. Some independent researchers say that black text on a white background is better for eyes than white text on a black background. In short, a black theme is more useful when you’re in a dark room or don’t need to read texts for a long time. You can use Dark Mode if you like it, but if you feel a pressure on your eyes when trying to read the text, it’s better to switch to the Light Mode.
Is Dark Mode better for your MacBook’s battery?
Most users think that any dark screen would save battery because it uses less light. In fact, Dark Mode can really only affect the battery life of OLED displays, which are used for iPhone and iPad but not for Mac. Moreover, Dark Mode uses more RAM on your Mac, so as a result, it can drain the battery more quickly than usual.
Can I use Dark Mode in macOS High Sierra?
The Dark Mode of the entire visual appearance was introduced in macOS Mojave 10.14. The earlier versions of macOS do not support the total black theme. However, macOS High Sierra provides the feature of the dark menu and dark Dock option. Thus, a “half-dark” UI is possible in macOS High Sierra. To switch to the dark mode on macOS High Sierra go to System Preferences → General → enable Dark Mode.
How do I get rid of the Dark Mode on my Mac?
To turn off Dark Mode on a Mac, follow these steps:
- Go to the Apple icon in the Menu bar.
- Select System Preferences.
- Click on General.
- Enable Light mode in the Appearance section.
