
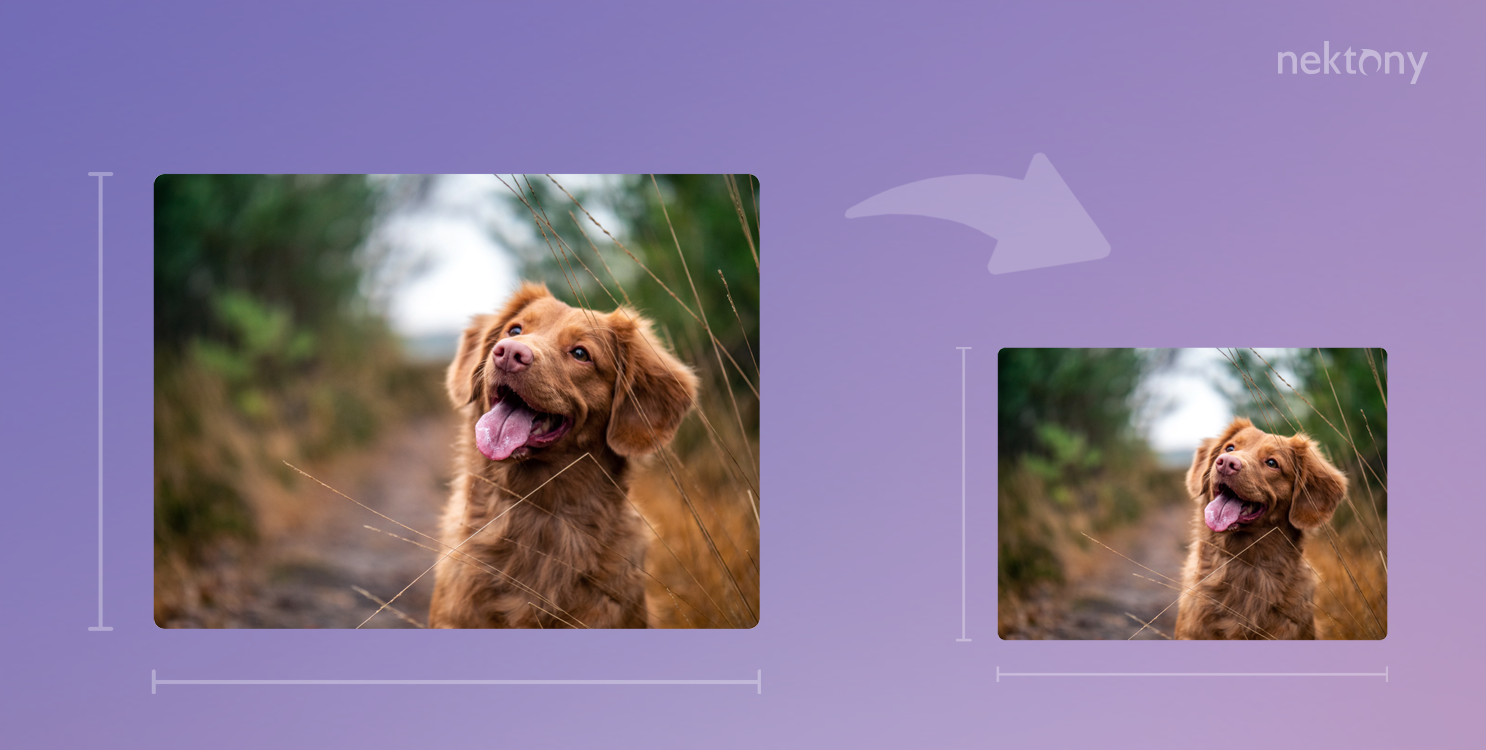
There are many reasons to resize an image, for example, to make it fit better in a document, web page, email, etc. This article will describe the easiest and fastest way to resize an image on a Mac. Moreover, we will show you how to resize multiple images on a Mac and how to find and remove the largest files on your computer.
Contents:
- How to resize an image on a Mac
- How to batch resize images on a Mac
- How to find the largest files on a Mac
Tip 1 – How to find the largest files on a Mac
Disk Space Analyzer scans your hard drive (or any external disk) and shows you what is taking up the most space on it. Download a free trial and see how quickly you can find the largest and unused files on your Mac.
Disk Space Analyzer
How to resize an image on a Mac using Preview
One of the easiest ways to resize a picture on a Mac is by using the Preview application. This app is available in all versions of macOS. Preview is a photo and PDF viewer that lets you customize your photo files. Whether you need to compress photos for a printer or crop them for a website, the various methods to do so are shown below.
Resizing an image on Mac:
- Open Finder.
- Find the image you want to resize.
- Double-click on the image to open it in the Preview app.*
*Since Preview is usually the default image viewer, you can also select the file and press the Space key to preview it. Alternatively, you can go to the Applications folder in Finder, find the Preview app, launch it and select the file you want to preview. - Go to the menu bar, click on Tools and select Adjust Size.

- Set up new Image Dimensions.
Here, you can select a new width and height in pixels (inches, cm, mm, points or percent). To resize the image proportionally, make sure the Scale proportionally option is selected.
- Click the OK button to save changes. The Preview app will instantly resize the picture to the selected resolution.


How to crop an image on a Mac
When you need to cut out a specific part to resize the photo, you can also do it using the Preview app.
To crop an image, follow the steps below:
- Open Finder and find the image you want to crop.
- Double-click on the image to open it in the Preview app.
- Hold down the left mouse key on the image and drag the rectangle, so that the blue frame surrounds the part of the image that you want to crop.

- Once you have a rectangle of the desired size, press the Сommand + K shortcut. This will crop the image.

How to batch resize images on a Mac
If you have a large group of images that you need to resize, the good news is that you can do it all in one go. Instead of resizing each image individually, there is an easy way to quickly batch resize images on your Mac.
The built-in Preview app has been around for a long time, and you can do much more with it than just preview images. The Preview app improves with every release of the Mac operating system, and one hidden but very useful feature is the ability to batch resize a large group of images.
The batch image resize option works with almost all image extensions including GIF, JPEG, JPEG-2000, BMP, Photoshop PSD, PNG, TIFF and even PDF, and you can resize any number of image files at a time.
Resizing multiple images on Mac:
- Open Finder.
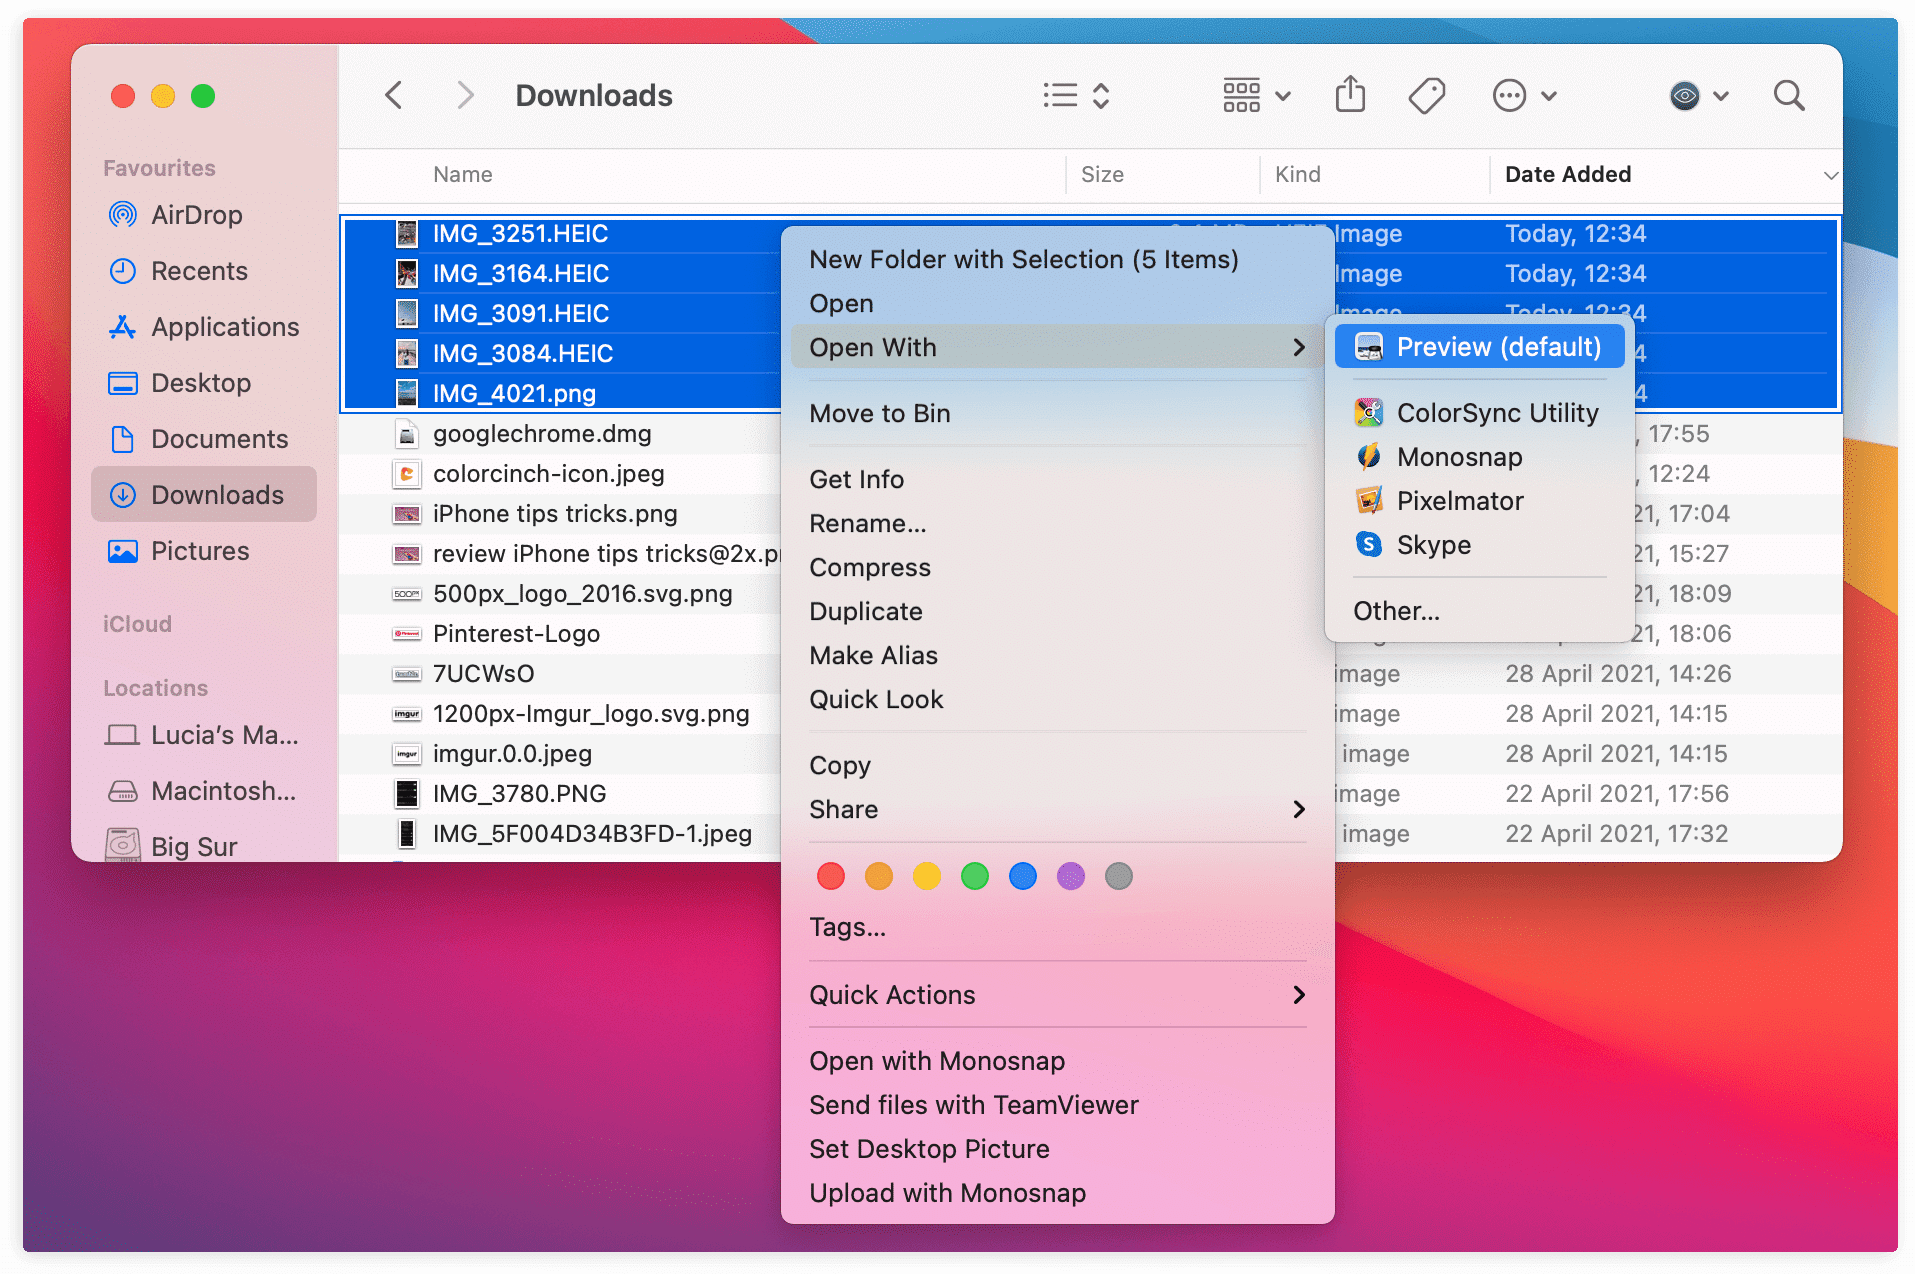
- Select a group of image files and right-click them.
- Hover over Open with and select Preview. All selected files will open with Preview.

- Click on the left panel and use the Command + A keyboard shortcut.
- Go to the menu bar, click on the Tools menu and select the Adjust size option.

- In the window that opens, select the units of measurement (pixels, percentages, inches, cm, mm or points).
If you want to adjust the height automatically when you enter the width, select the Scale proportionally checkbox. Note: If your images are of different sizes, you can use percentages as they are relative to the original size. Using other units of measurement may give you warped results.
 - Enter the necessary Width and Height and click the OK button.
- Press Ctrl + S to save all your images with their new dimensions.

Alternative free Mac image resizers
If you don’t want to resize your photos on your Mac using the Preview app, you can also use special third-party apps that can shrink or enlarge your images. Below, we have provided a list of some most popular free Mac image resizers:
- iResize4. A fast and easy app that can resize, compress, and rename images in various formats, such as JPEG, PNG, GIF, TIFF, PSD, etc. You can drag and drop images or folders of images onto the app window and set the new size (vertical or horizontal). You can also check the compression quality before resizing and add some text or sequential numbering to the resized images.
- Resize Lite. This is a simple application that can be perfect for you to complete the task of resizing images on a Mac. To resize images using Resize Lite, launch the application drag and drop one or several photos into the application window, then select the output format. Enter the desired width, height, and quality before pressing the Convert button, which will automatically upload your picture in the specified size to the Destination folder.
- Image Resizer Tech. If you are looking for an easy-to-use free image resizer app for your Mac, you should definitely try Image Resizer Tech. This app can be downloaded from the App Store. After you have launched the application, simply add the pictures you are going to edit, set the required width and height, click the Resize button and upload the pictures to the selected folder by clicking the Save button.


How to find the largest files on a Mac
You should take into account that the larger the images on your computer are, the less free space they leave on your disk. Lack of free disk space can significantly slow down the performance of your system. Therefore, it is extremely important to regularly check the amount of free memory on your computer to prevent the disk from filling up.
An application called Disk Space Analyzer can help you figure out the contents of your disk faster. Disk Space Analyzer will scan any hard drive and display the results of disk usage as a sunburst chart. Thus, you can quickly find and delete the largest and unnecessary files on your disk.


