
This article explains how to uninstall Disk Drill from Mac correctly and entirely. We’ll provide three methods on how to remove Disk Drill with all of its support files.

Contents:
Tip – The quickest way to uninstall Disk Drill from Mac
App Cleaner & Uninstaller
What is Disk Drill, and why remove it?
Disk Drill is a software tool that allows you to recover deleted files on your Mac. It can also help in cases when you’re having trouble with obtaining access to an external USB drive or camera card.
Most Mac users can download numerous applications and use them only once. If the same is true for you with Disk Drill, then we recommend uninstalling it. Unused applications take up significant space on your Mac which is wasted space. Keep reading to learn three ways on how to uninstall Disk Drill from Mac.
Important notes about uninstalling Disk Drill from Mac
- To completely uninstall any app from Mac, including Disk Drill, you have to find and remove all of its remaining files.
- Since we have been coding an uninstalling tool to help Mac users to remove all junk files, we regularly check apps for all service files they create in the system, and we know all about the temporary files applications create on Mac.
- Before writing this guide, we removed Disk Drill using the steps provided on the official developer’s website Cleverfiles. Then we checked a Mac for Disk Drill leftovers and discovered that the official guide doesn’t help to delete the app completely. We found 18 files totaling over 2 GB.
- We used Funter and App Cleaner & Uninstaller from Nektony to find and remove Disk Drill remaining files.
- If you have any questions regarding this article or how our applications work, please contact Nektony’s support team.
Delete Disk Drill using its settings
Disk Drill is a software tool that creates low-level kernel modules for its proper performance. Frankly, all applications create additional service files on your Mac.
Disk Drill developers provided an uninstalling option right in the application’s Preferences window.
- Launch the Disk Drill application.
- Click on the Disk Drill icon in the menu bar and select Preferences.
- In the General tab, you will see the Remove Disk Drill button. Click on it.
- Confirm the action by clicking on Confirm Disk Drill removal.


According to the Disk Drill’s developers, this is the only correct way to uninstall the app. They promise that this will remove every file deployed previously by the software. Let’s check if there are any service files of Disk Drill that remained on our Mac. We used a free application Funter, designed to find any file on a Mac, including hidden service files of applications.
On the screenshot below, you can see that Funter found some service files of Disk Drill after its uninstallation. We used the developer’s name CleverFiles to find them.

This means that the first method does not guarantee the complete removal of the app. You also need to remove the leftovers to get rid of Disk Drill entirely. That’s why we recommend following one of the two methods below to uninstall apps on Mac completely.
Uninstall Disk Drill manually
If for any reason, you face an issue trying to uninstall Disk Drill from its Preferences, you can remove the app manually. As we mentioned earlier in this post, Disk Drill creates and stores service files on your disk, which become useless and require manual deletion.
Usually, these temporary files are stored in the user’s Library folder, which is hidden by default. But we will show you how to get access to this folder. Follow the steps below:
- Quit Disk Drill.
- Open the Applications folder → select Disk Drill.app → drag and drop it into the Trash.

- Go to the Finder menu and click on Go → select Go to Folder.
- In the window that appears, type ~/Library and press Enter.
-
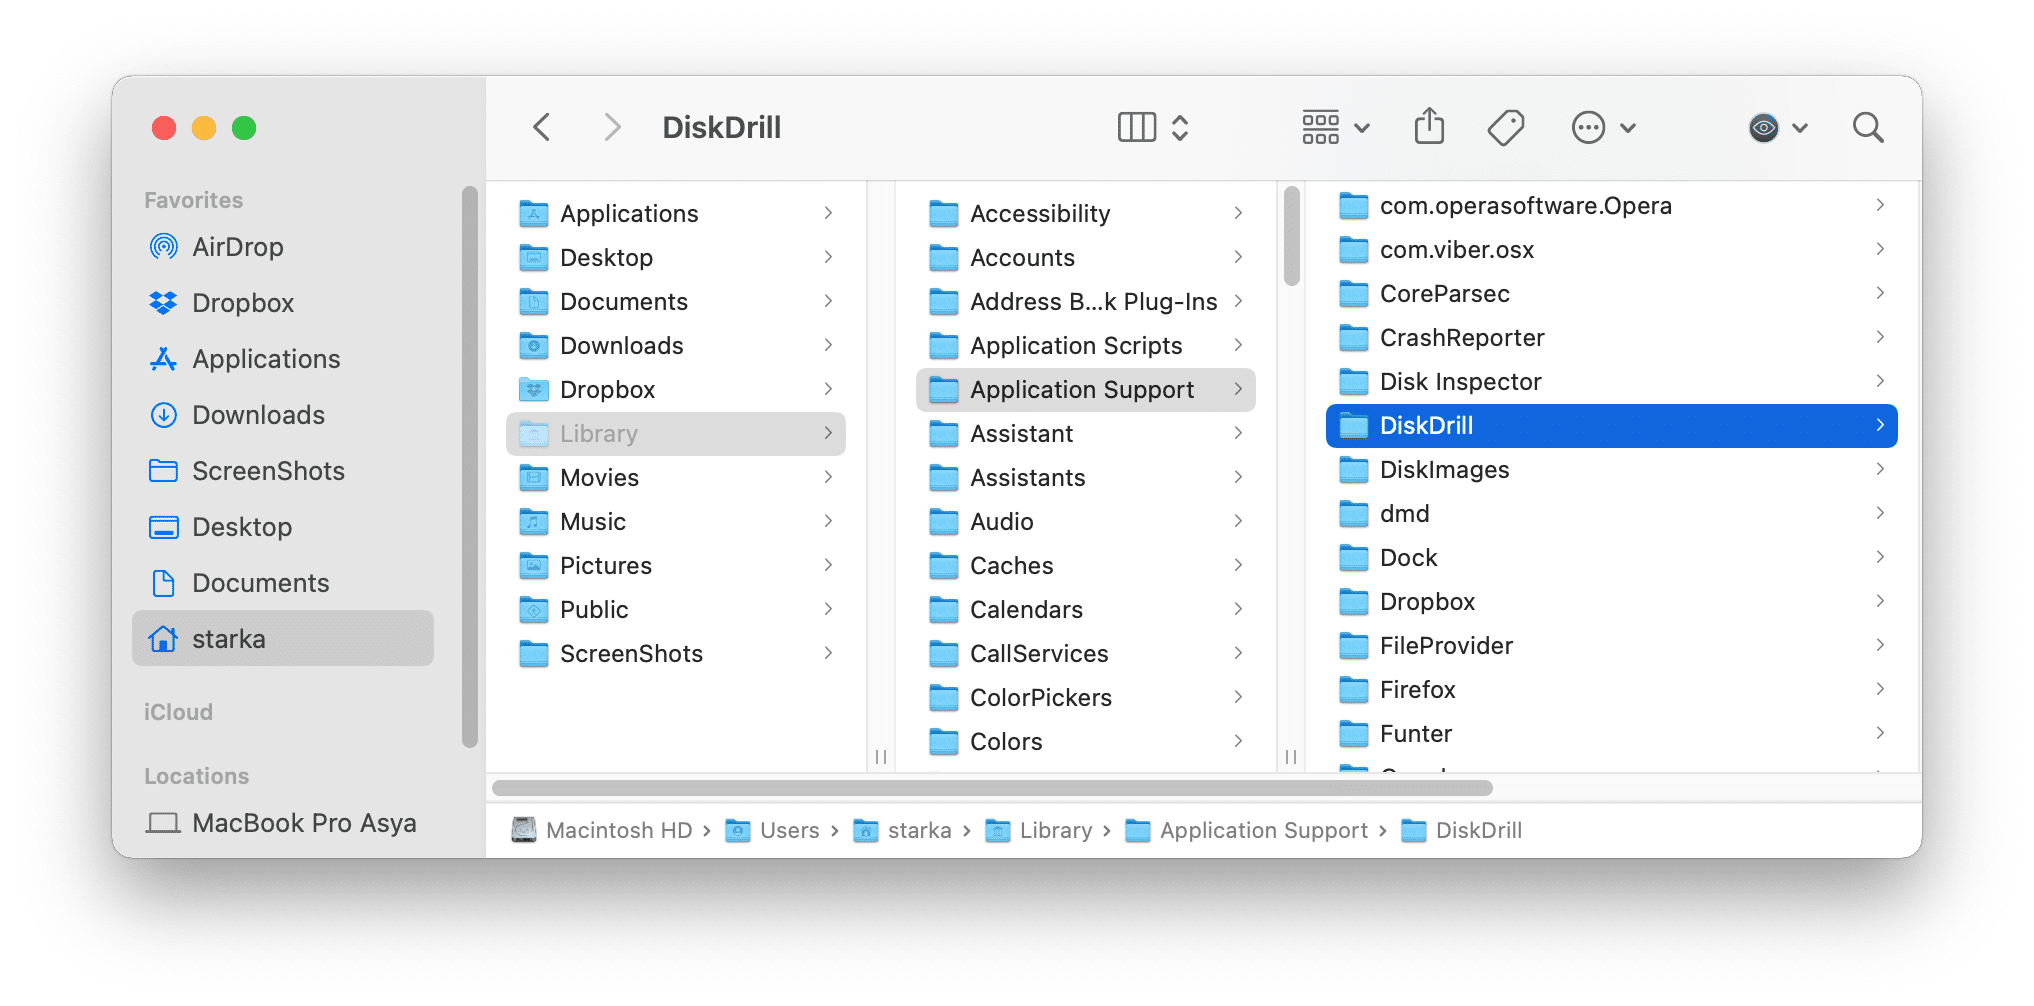
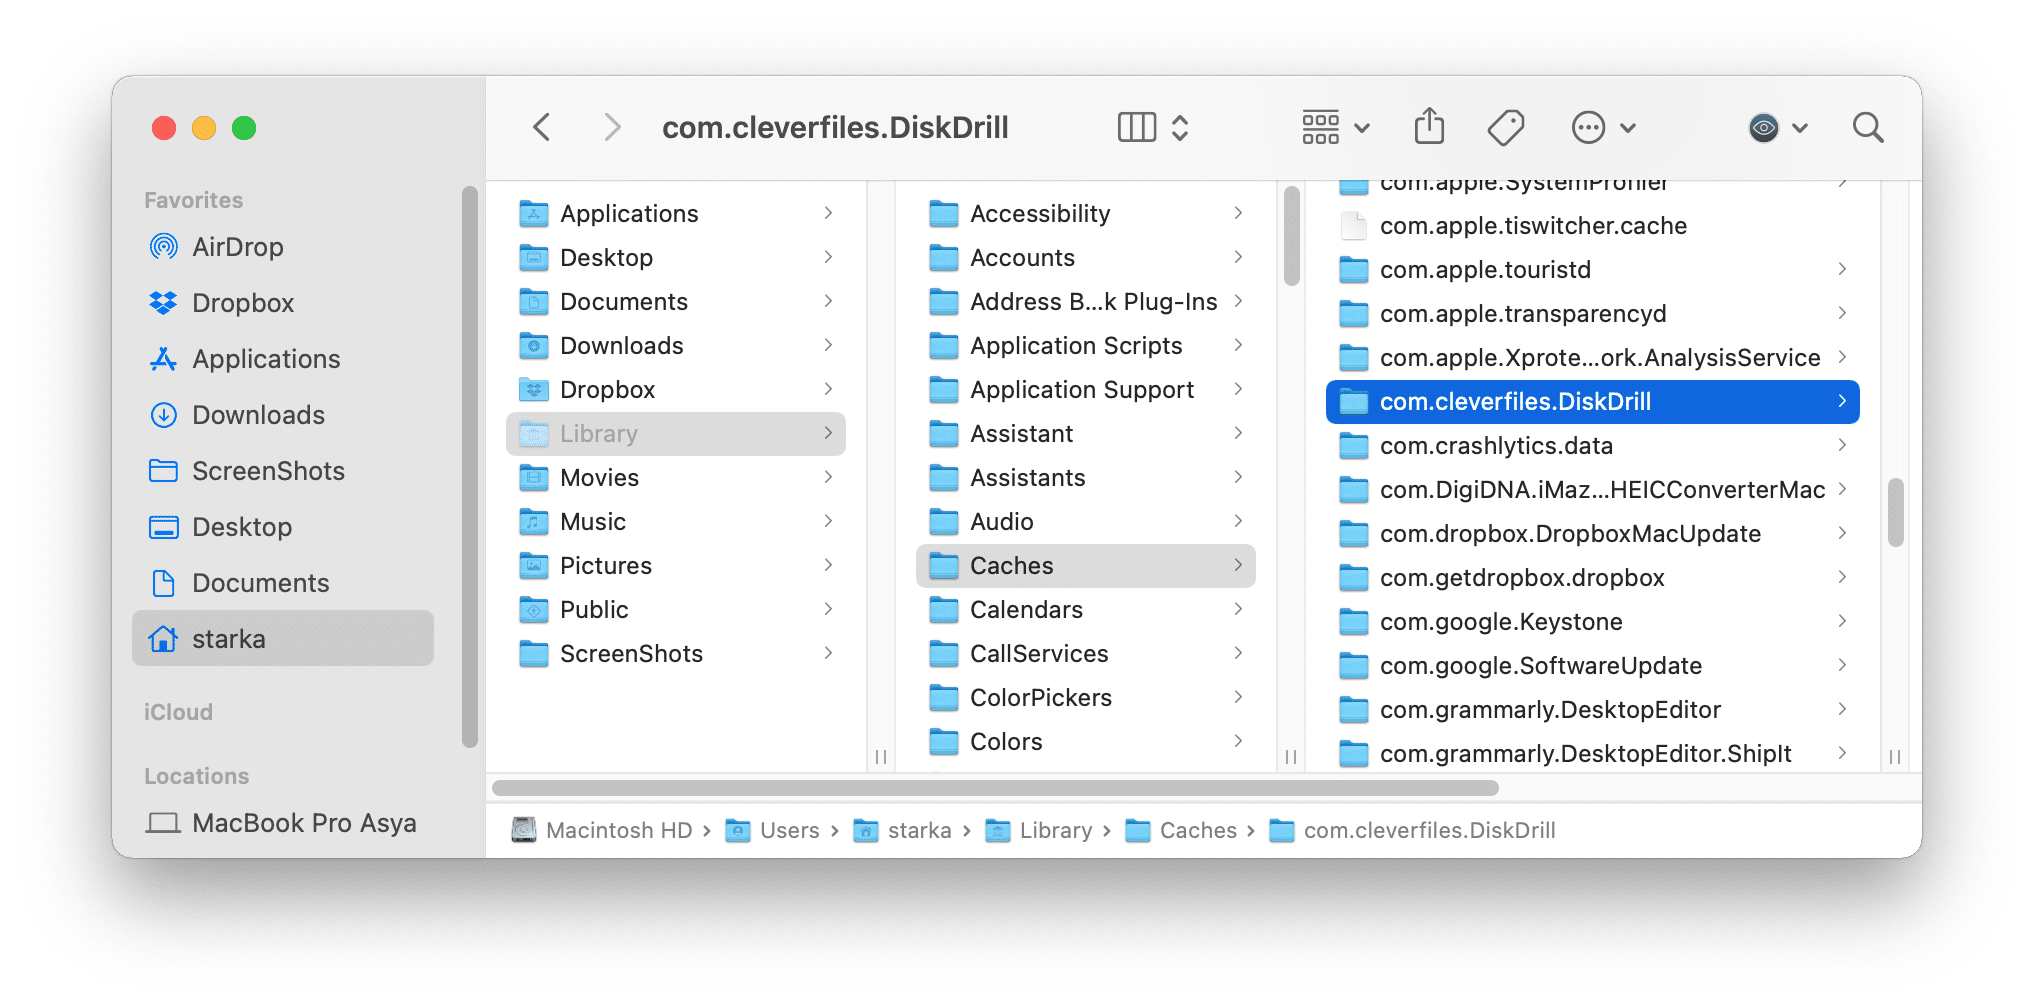
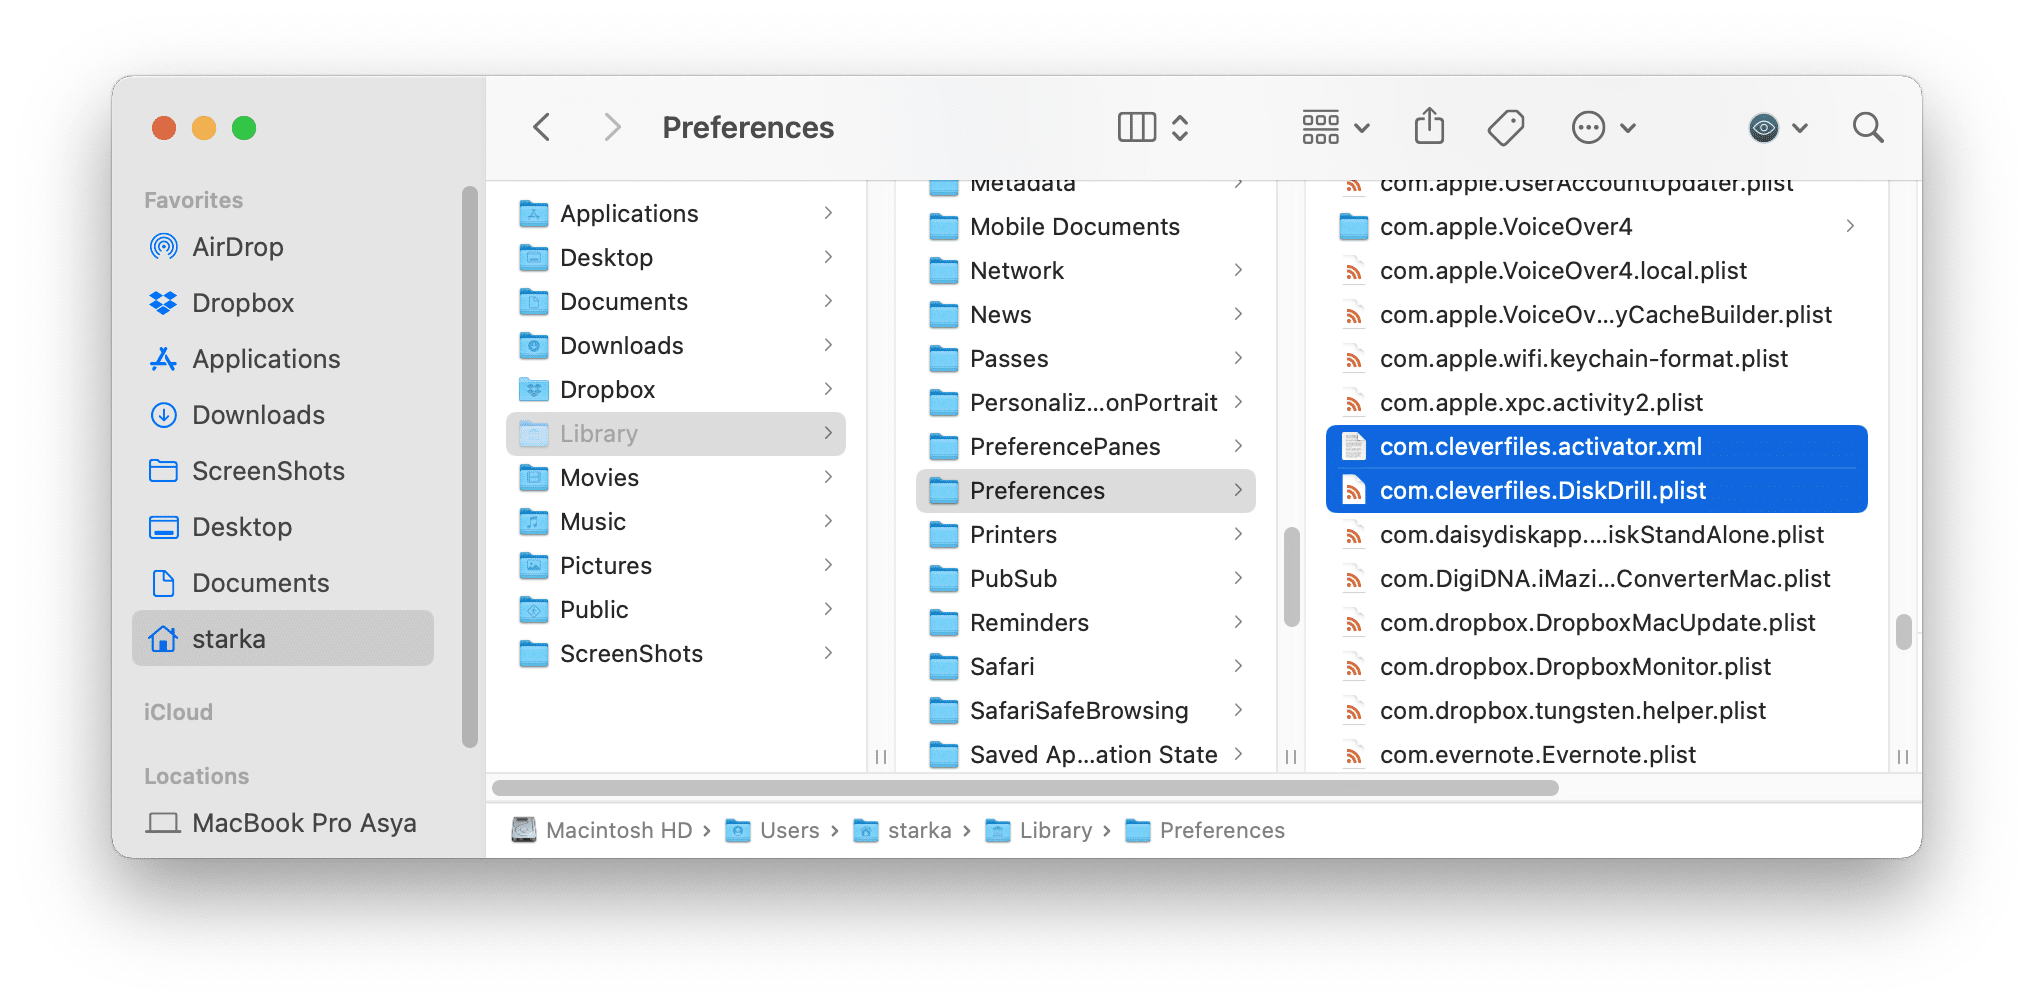
Within the Library folder, find and delete all unnecessary service files that contain the name of the Disk Drill application or the name of the Cleverfiles developer in their titles. Check the following subfolders:

- Empty the Trash bin to delete the Disk Drill application completely.


Uninstall Disk Drill using App Cleaner & Uninstaller
There is a special removal tool, App Cleaner & Uninstaller, which helps you delete applications on your Mac totally and automatically. With this tool, you can get rid of more than 1,000 applications and their service files in just a few clicks. Here’s how to use it:
- Download and launch App Cleaner & Uninstaller.
- Find and select CleverFiles and Disk Drill in the Applications tab. All its service files will be selected automatically.
- Click the Uninstall button.
- Confirm the removal.
- Complete the Disk Drill removal by emptying the Trash.

As we promised, with App Cleaner & Uninstaller, it’s easy and quick to delete apps completely. And the best thing is that even if you have already dragged and dropped the app into the Trash, you can find its remaining files. App Cleaner & Uninstaller displays applications’ leftovers in the Remaining Files tab.
Conclusion
There are lots of applications with different features which we use on our Macs daily. When it comes time to delete an app on a Mac, you can do it manually or use an uninstaller.


