Contents:
- What is a Photoshop scratch disk?
- Why is my Photoshop scratch disk full?
- How do I fix the error of a full Photoshop scratch disk?
- FAQ
What is a Photoshop scratch disk?
The Photoshop scratch disk is like a temporary workspace on your hard drive where the editor saves its caches and other support files when your computer does not have enough free RAM to perform operations.
In short, the scratch disk is an allocated virtual space used by Photoshop as virtual memory when physical memory is low. The scratch disk can also be thought of as the space where a Photoshop project’s temporary files are stored while they are open in the program.
On a Mac, the Macintosh HD is used for the Photoshop scratch disk by default, but you can change the scratch disk to, for example, an external drive connected to your Mac.
Why is my Photoshop scratch disk full?
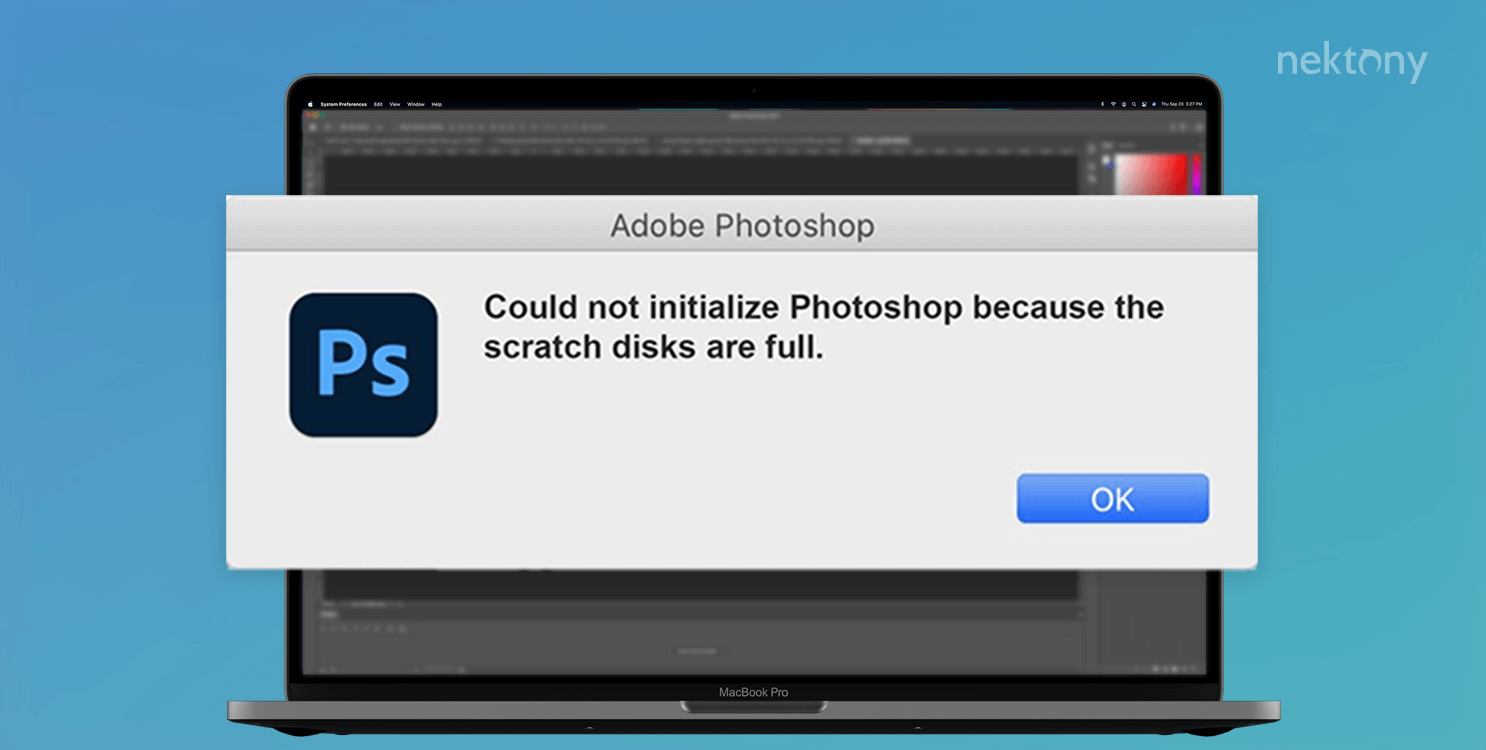
The main reason why your Photoshop says that its scratch disks are full on your Mac is that the application is running out of storage space required to complete its tasks. According to the Photoshop system requirements, you need to have at least 10 gigabytes of free disk space for smooth and comfortable work with the editor.
If you are working with large-sized images with many layers, Photoshop requires a great deal of space on the disk. If you have less free space than Photoshop needs, you may receive the message that the Adobe Photoshop scratch disk is full. In some cases, you can’t even open Photoshop because of the full scratch disk.
In addition, if you can’t close Photoshop properly, you won’t be able to reset or delete its temporary files. They can accumulate and start taking up free space on the scratch disk. As a result, you could see the message that Photoshop scratch disks are full.
Another reason why the full scratch disk error might appear is due to user error. For example, imagine you are cropping an image and you choose the wrong units of calculation. You determine the size of the image to be 1200 by 1600, but, instead of pixels, you specified 1200×1600 centimeters (or even inches). This will be a huge file and could cause a message about a full scratch disk on your Mac.
How do I fix the error of a full Photoshop scratch disk?
Below, we will provide ways to clear the Photoshop scratch disk as well as how to fix the problem of not being able to open the application.
Clear the Photoshop scratch disk
You can clear the Photoshop scratch disk in the application. To do so, follow the steps below:
- Open Photoshop.
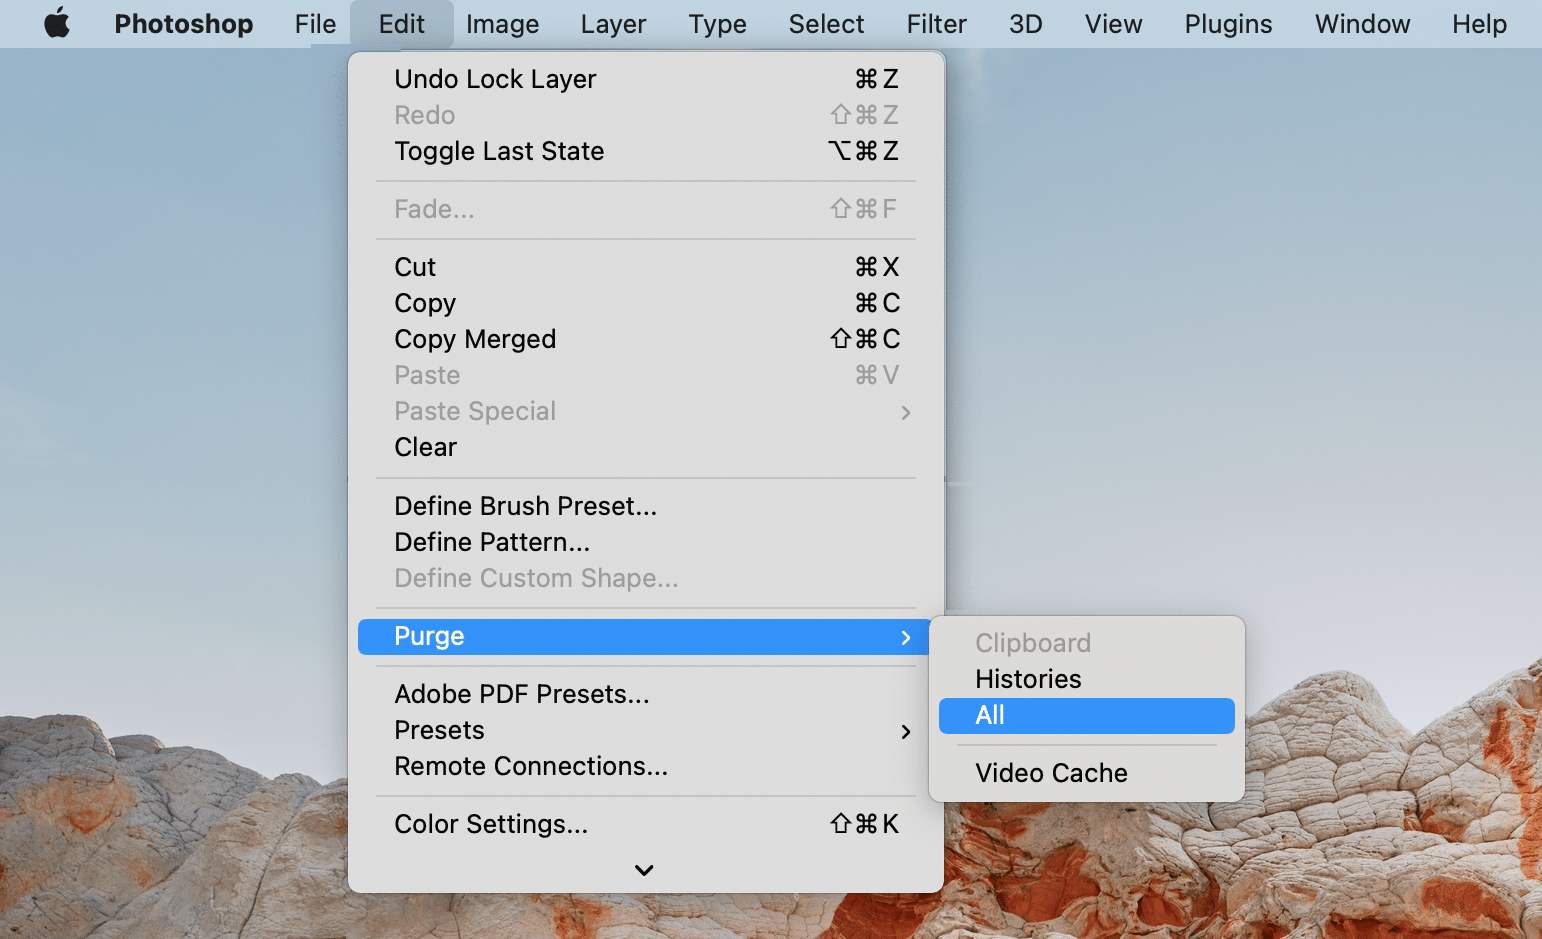
- Go to the menu bar and select Edit.
- Select Purge and click on All.
- In the window that appears, click OK.
These steps will clear the Photoshop cache. As a result, the application will be able to write more temporary files on its scratch disk.
Steps to clear the scratch disk without opening Photoshop
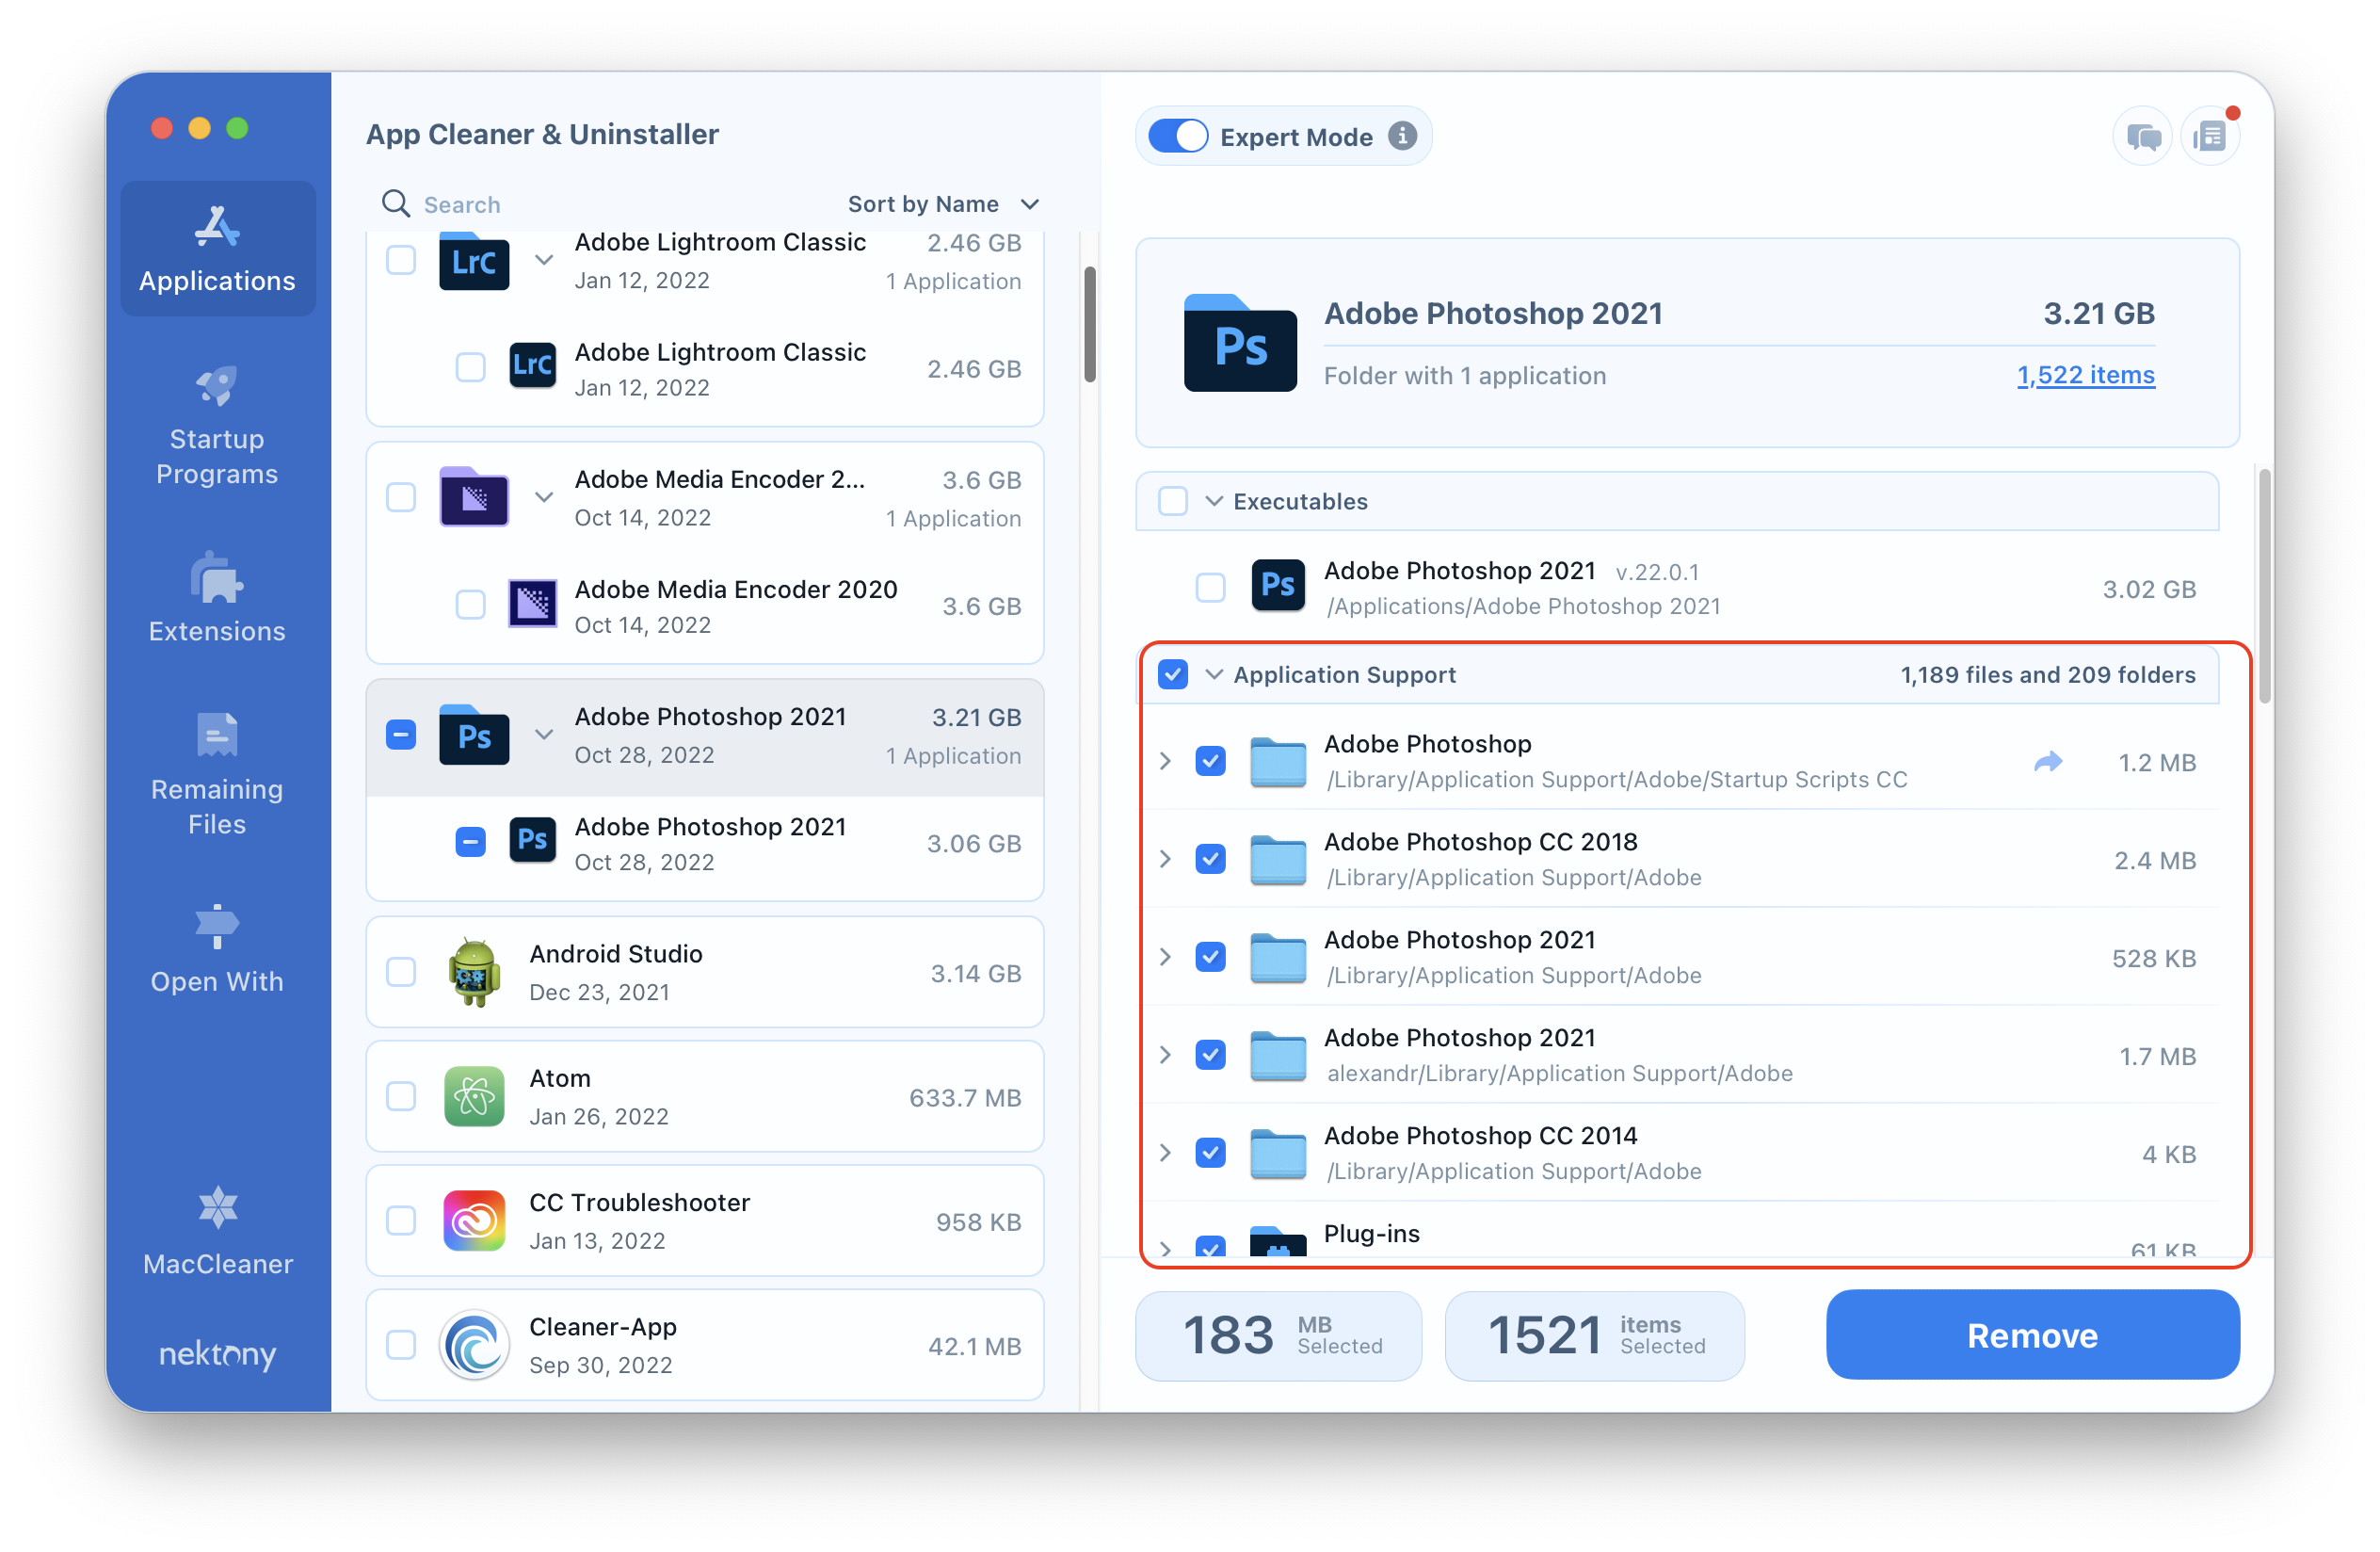
- Download and launch App Cleaner & Uninstaller.
- Select Photoshop from the list of apps on the left.
- Switch to Expert Mode and select its cache files.
- Click on Remove and confirm the removal.
Reset Photoshop
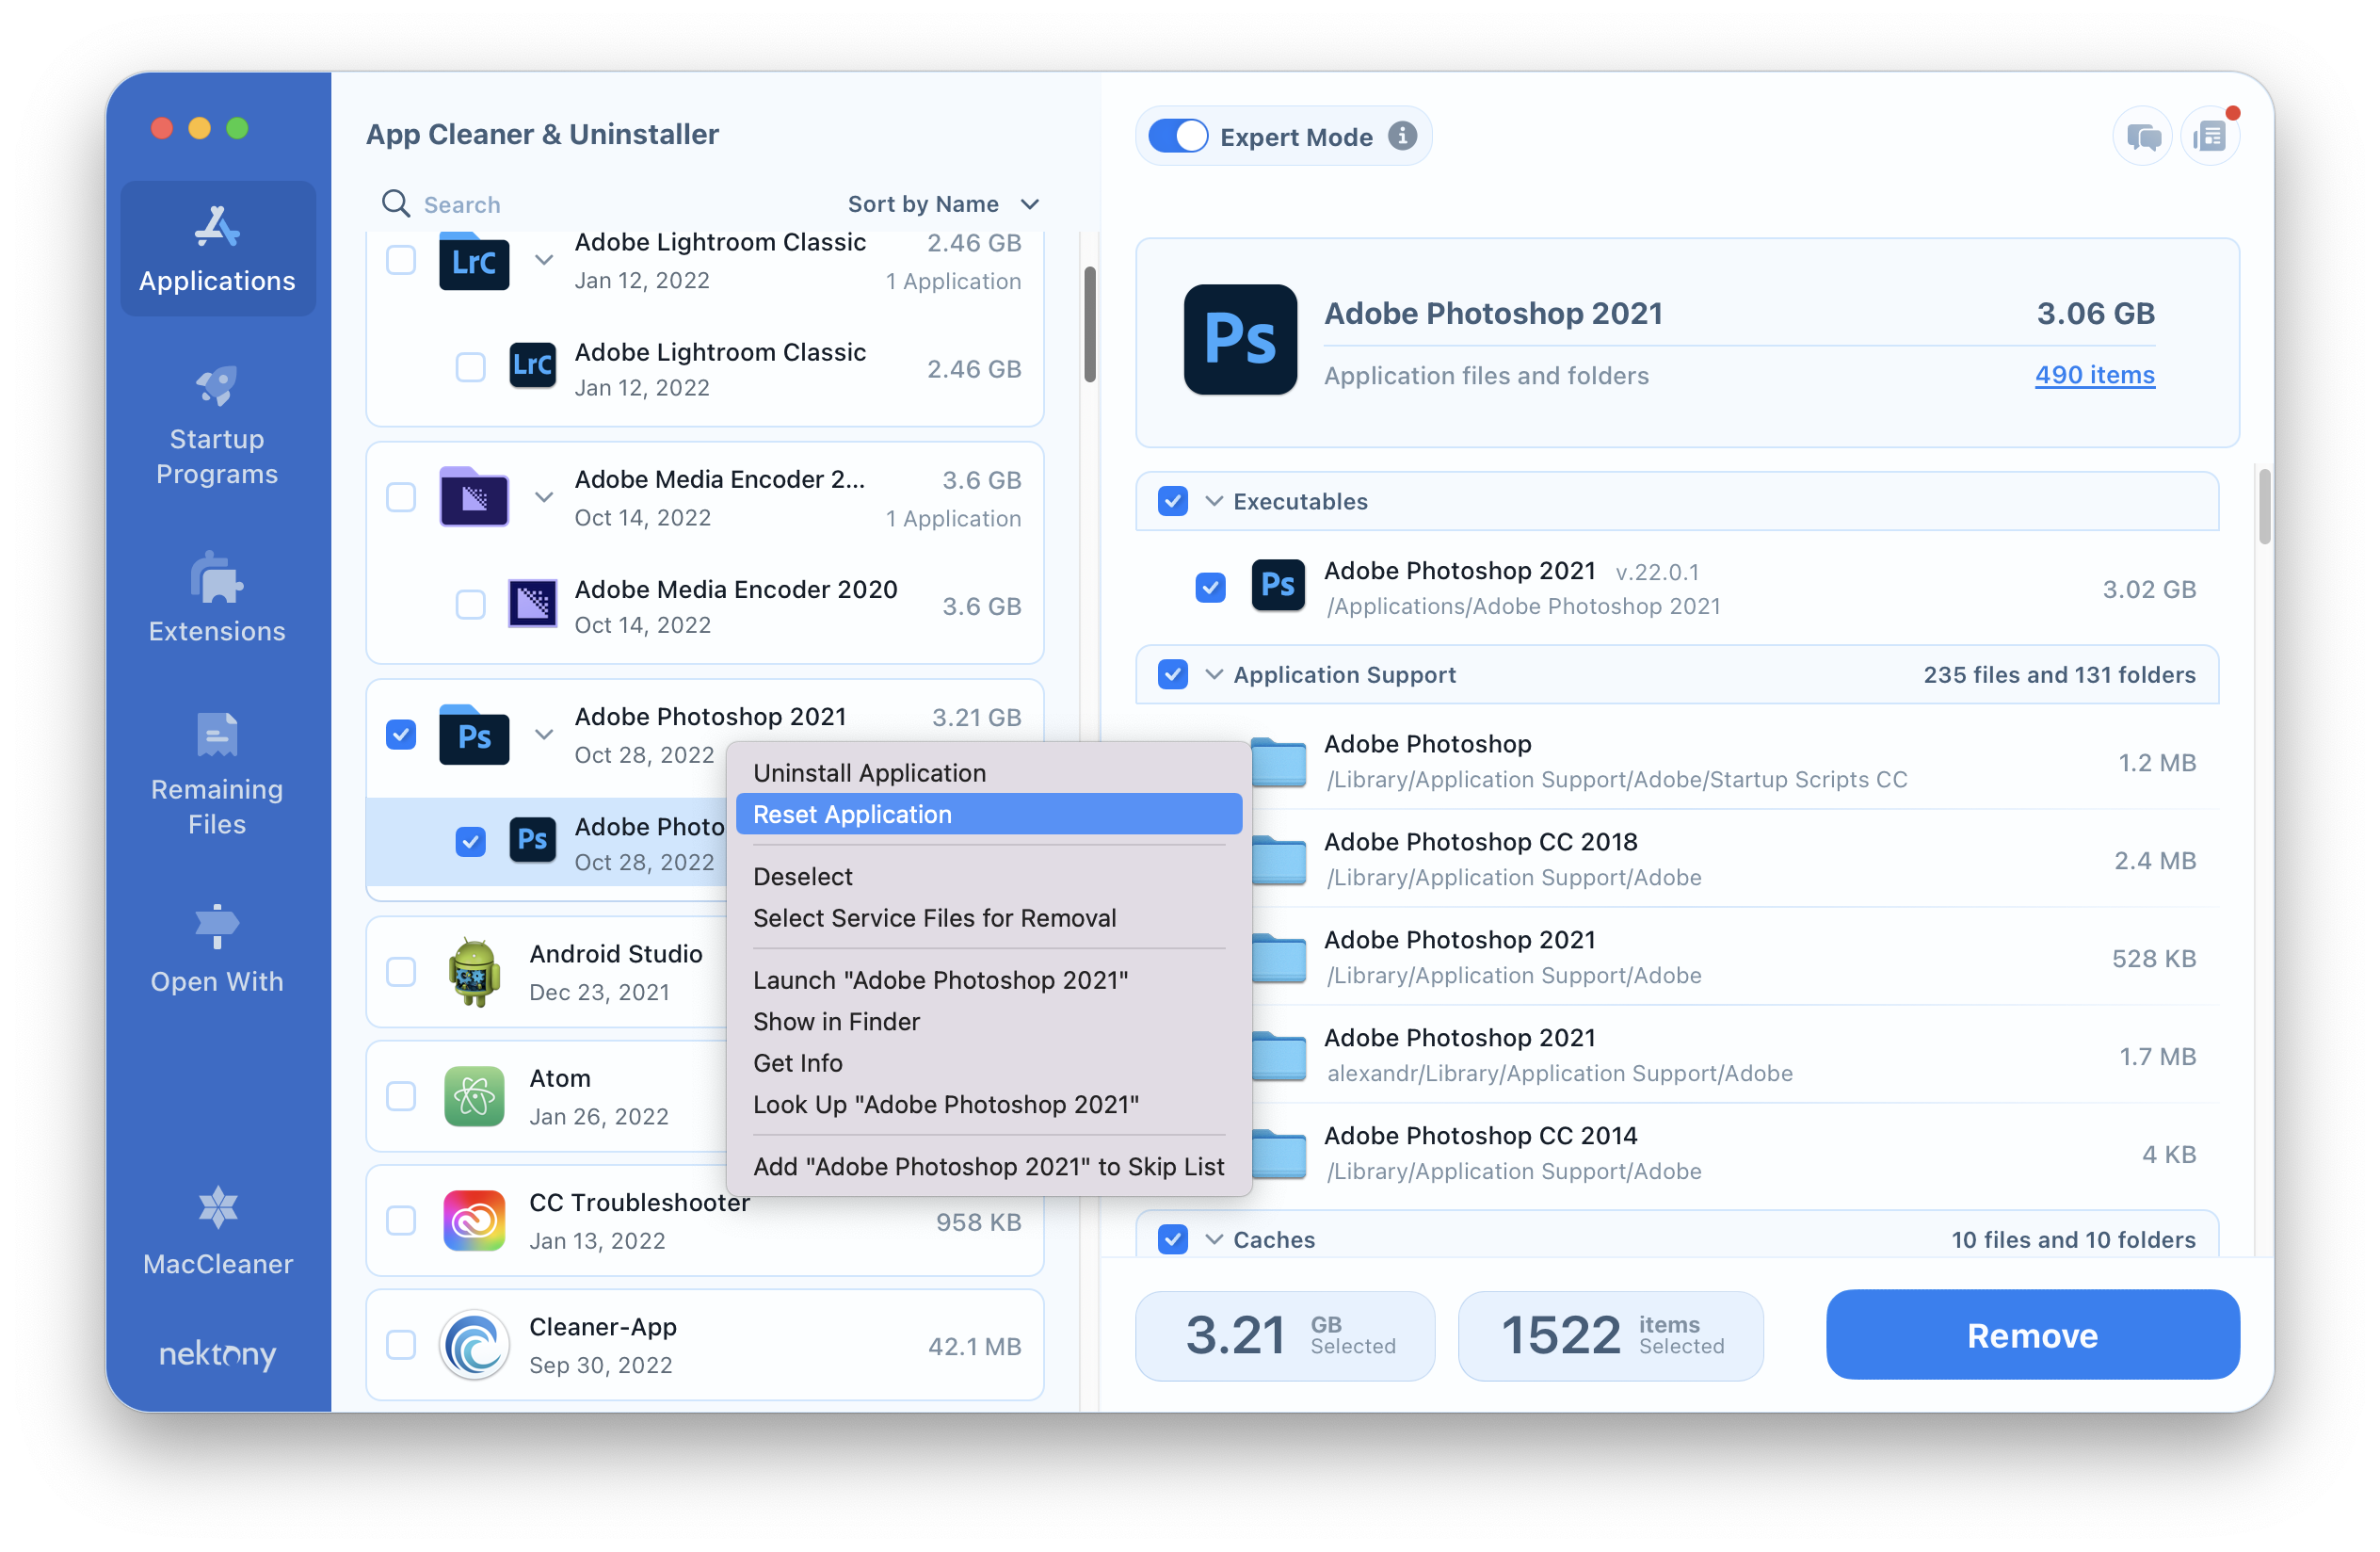
Try to reset Photoshop when it says that the scratch disk is full. You can easily do this with App Cleaner & Uninstaller.
- Launch App Cleaner & Uninstaller.
- Right-click on the Photoshop app on the left.
- Select Reset and confirm the action.
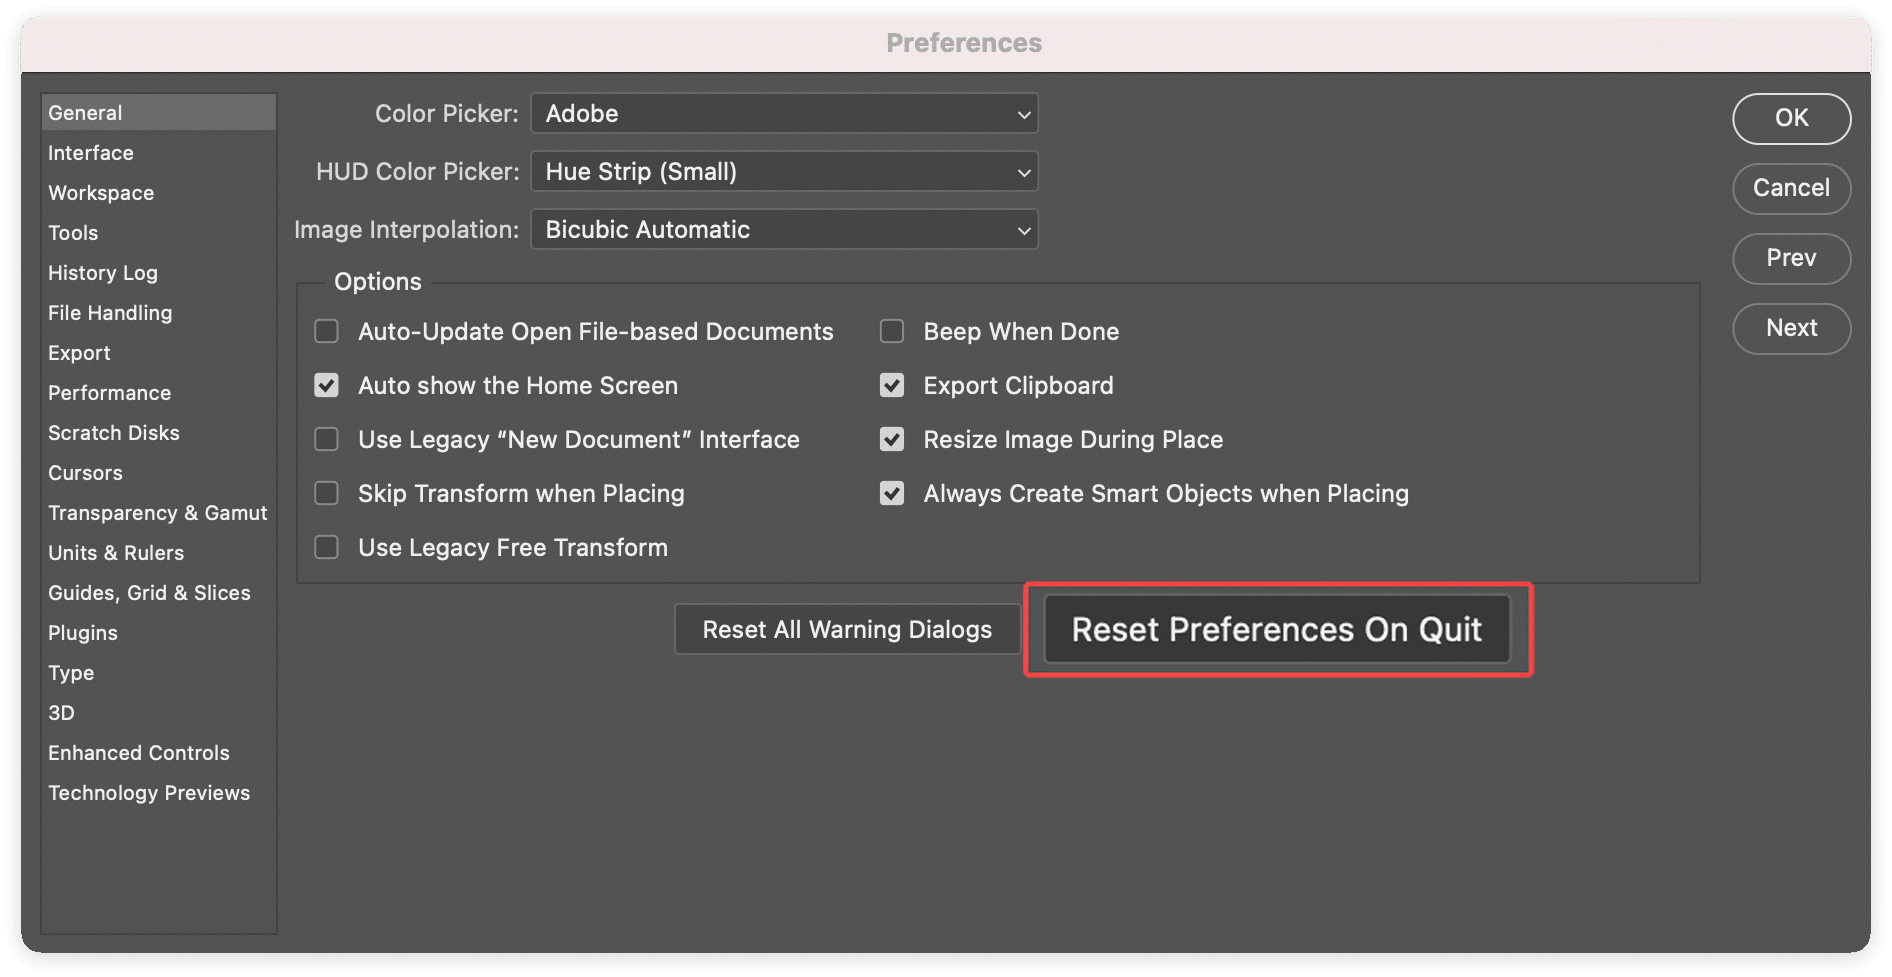
Another method to reset Photoshop is to select a special option in Photoshop Preferences.
- Open Photoshop.
- Go to Photoshop Preferences → General.
- Click on Reset Preferences On Quit and confirm.
- Restart Photoshop.
Change the location of the Photoshop scratch disk
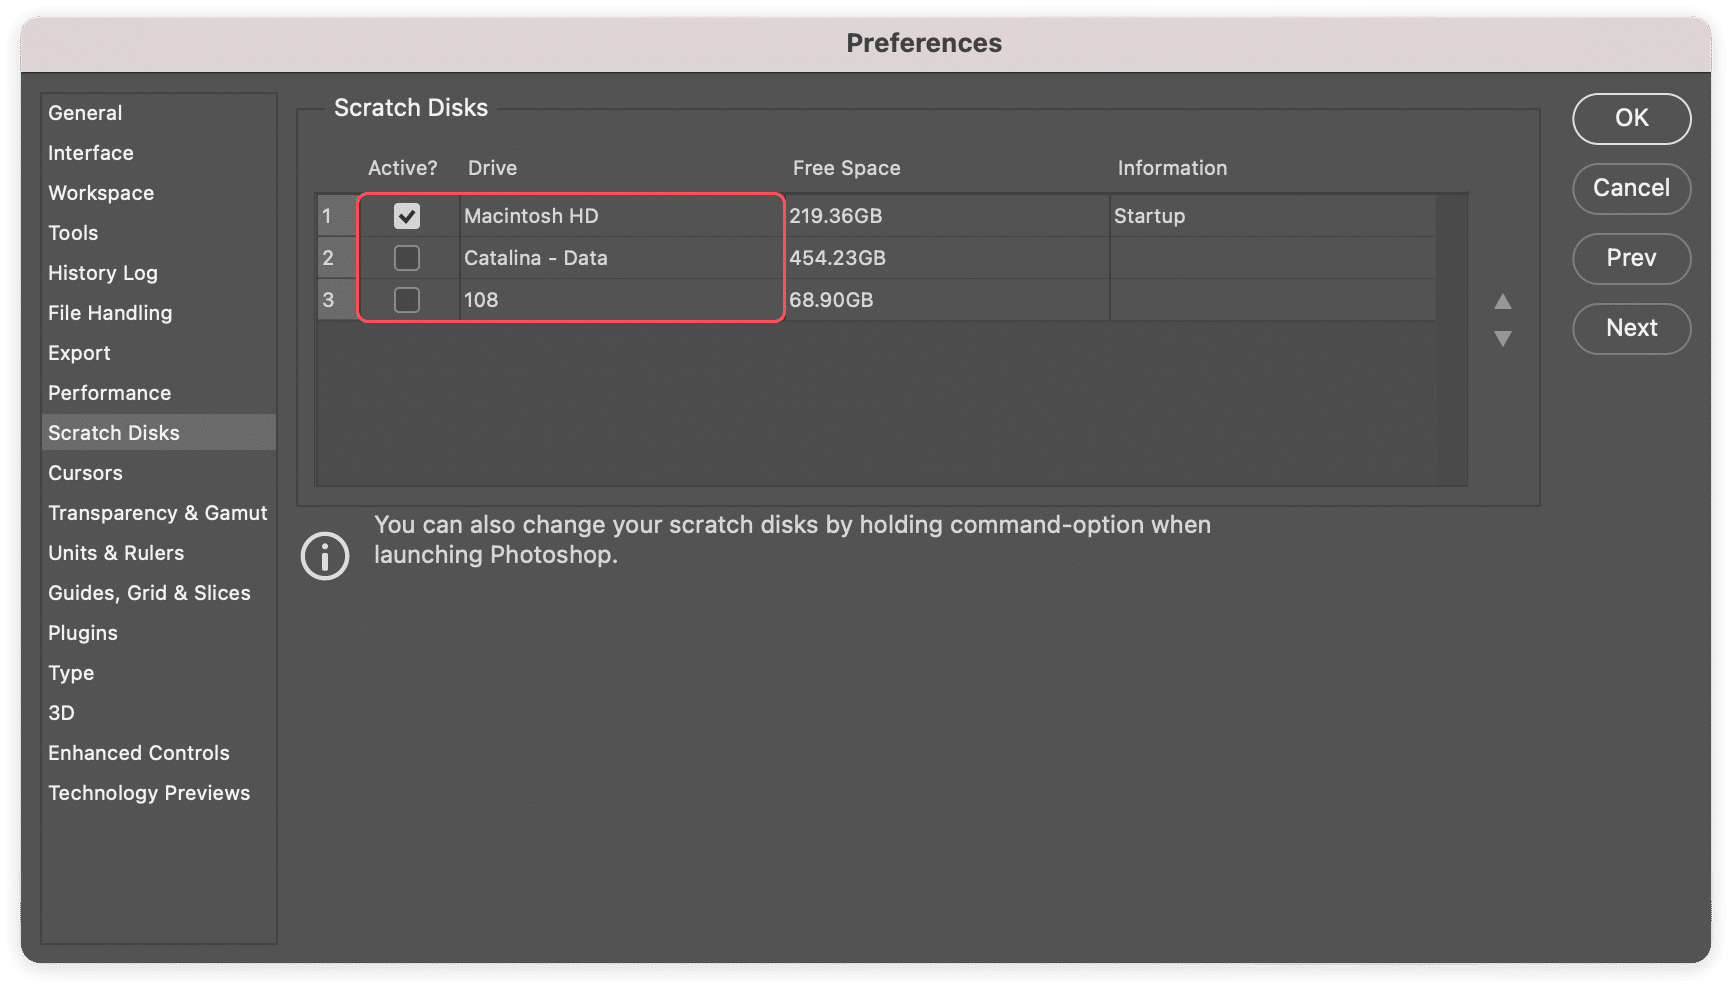
If your Mac is generally running low on disk space, you can change the location for the Photoshop scratch disk; for example, you can use an external drive for it. Follow the steps below to change the scratch disk:
- Open Photoshop.
- In the menu bar, select Photoshop → Preferences.
- Switch to the Scratch disk section.
- Select the new drive and click OK.
- Quit Photoshop and relaunch it.
Free up RAM on your Mac
Photoshop is a memory-consuming application. By default, it uses a great deal of RAM memory – even if you work with small files. Imagine how much memory it requires when you work with large files with many layers. In case Photoshop is going slow or freezing, try to free up RAM memory on your Mac. You can do this with Terminal or with a free application from Nektony – Memory Cleaner. We will explain how to free up RAM using both methods.
Steps to free up RAM with Memory Cleaner
- Download and launch Memory Cleaner.
- Click on the Memory Cleaner icon in the toolbar.
- Click on Free Up.
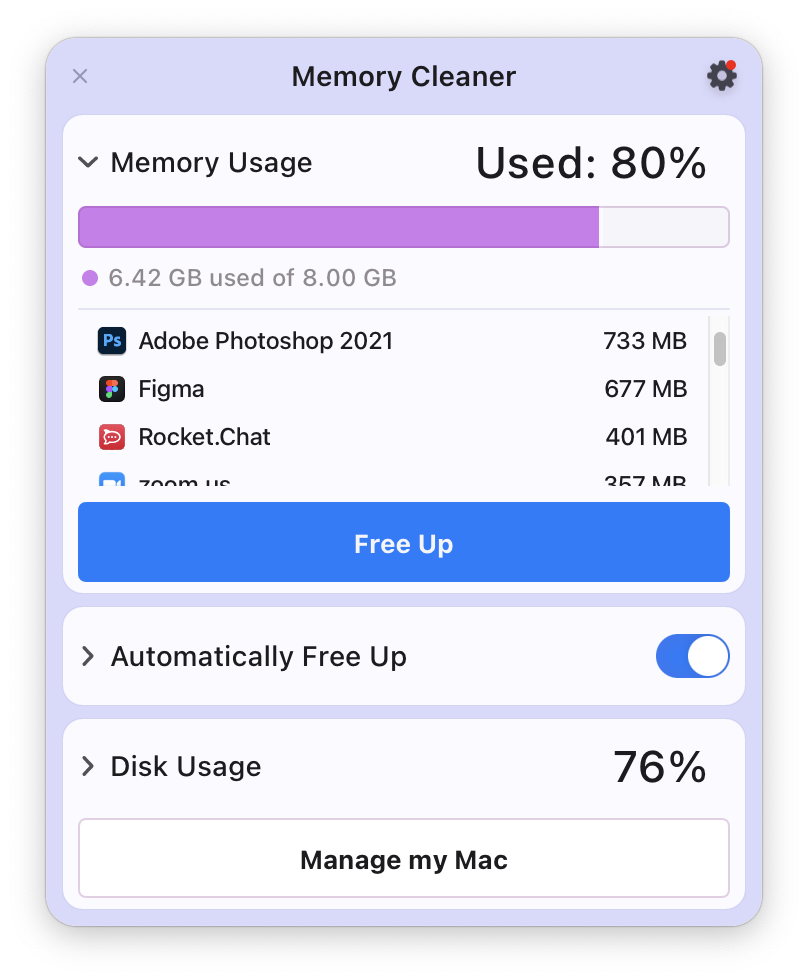
In Memory Cleaner, you can also set up automatic memory cleanup. For example, if the CPU usage is less than 10% and memory usage is more than 80%, the application will automatically free up unused RAM.
Steps to free up RAM with Terminal
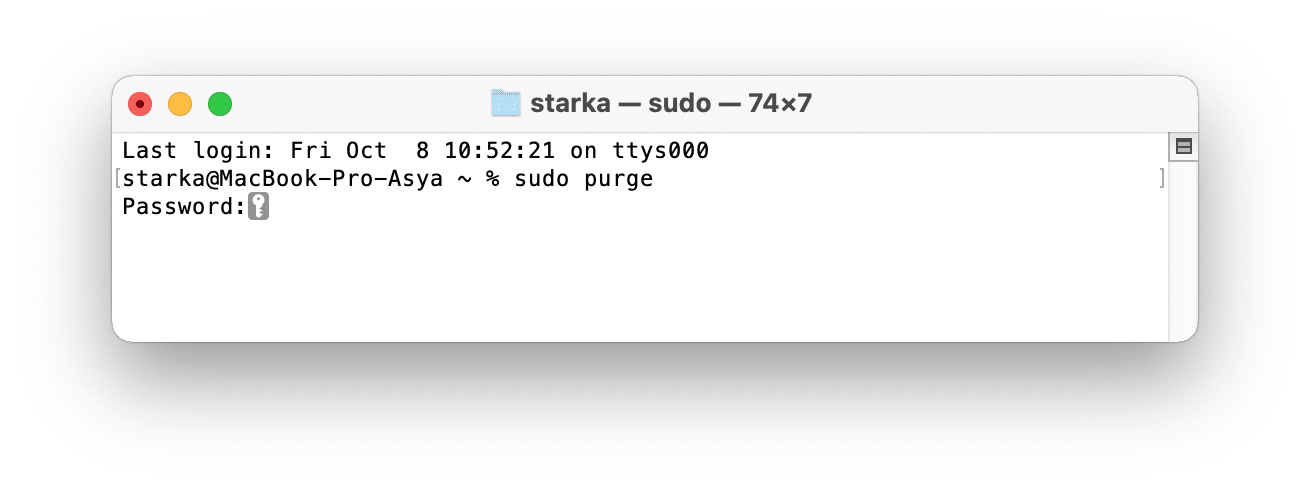
- Open the default Apple application called Terminal.
- Copy and paste the following command: sudo purge
- Press Enter.
- Type your user account password and press Enter.
Remove temporary Photoshop files
If, for some reason, the previous steps didn’t help you fix the problem of having a full Photoshop scratch disk, try manually finding and removing Photoshop’s temporary files. But please, before you start, make sure to save your Photoshop projects and quit the application.
Steps to find and remove temporary Photoshop files
- Open Finder.
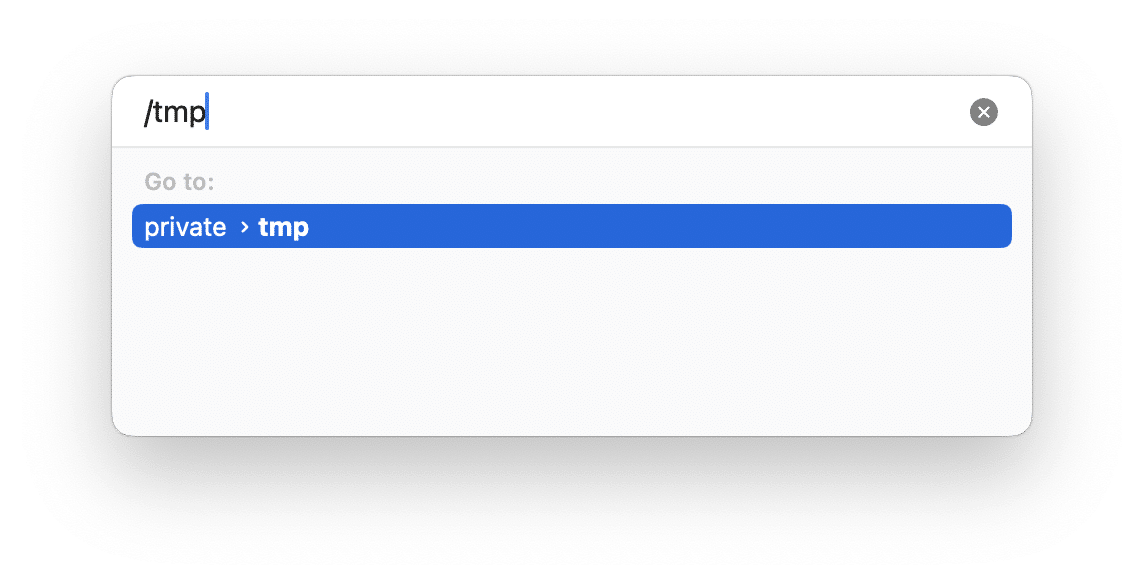
- Press the Command+Shift+G shortcut.
- In the window that appears, type /tmp and press Enter.
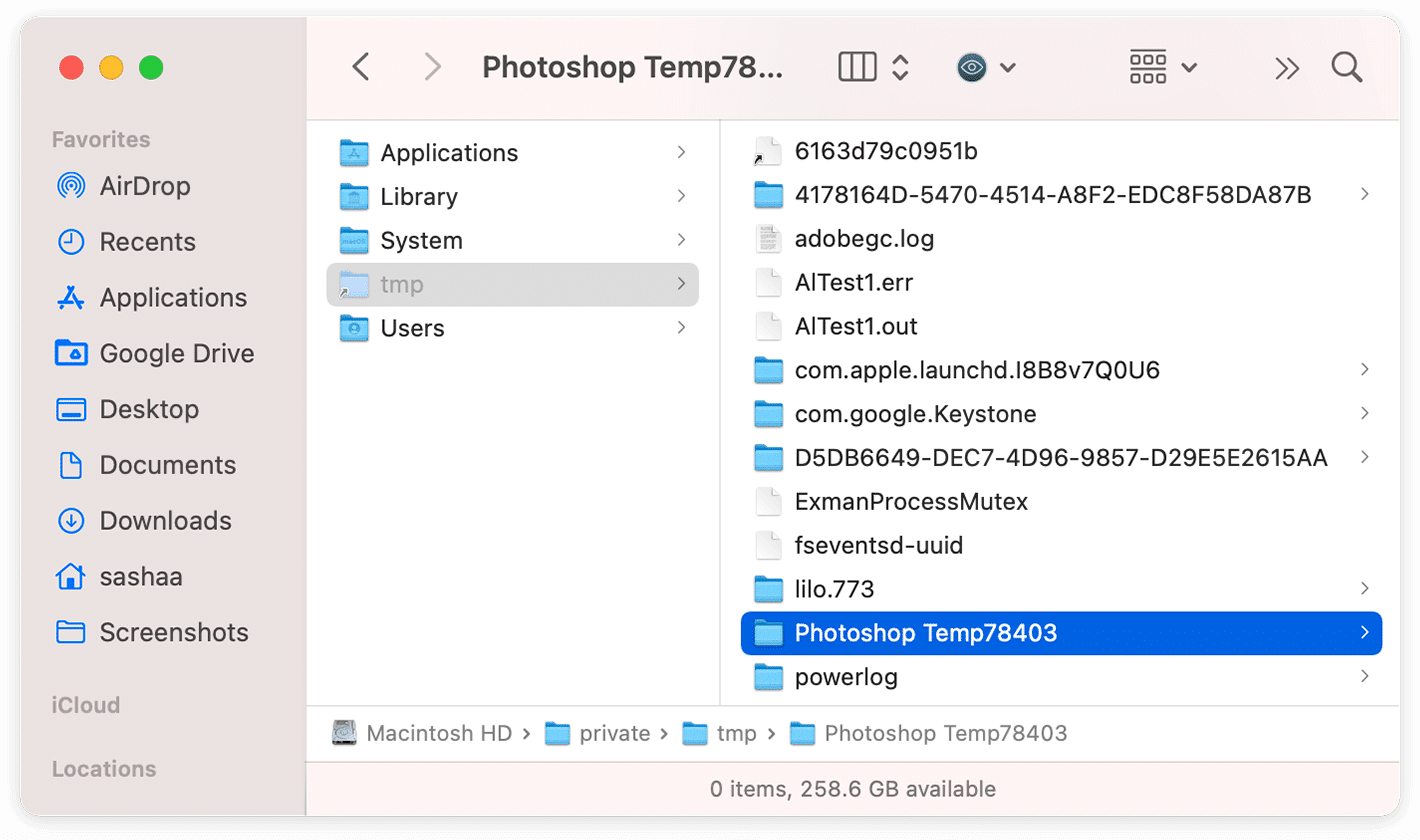
- Finder will open the folder containing your Mac’s temporary files and folders.
- Search for the Photoshop temporary files – they have .tmp extensions, start with “Photoshop Temp,” and end with some numbers.
- Select and remove all of Photohop’s temporary files, then empty your Trash.
In summary: How to prevent a full scratch disk in Photoshop
Regularly clear the Photoshop cache files with App Cleaner & Uninstaller, free up your RAM when needed, and you will forget the annoying messages about your Photoshop scratch disk. We also recommend that you take control of other junk files on your Mac and keep enough free space on your Mac’s disk.
FAQ
How do I change the scratch disk for Photoshop on my Mac
By default, Photoshop uses your Mac’s hard drive as a scratch disk for saving temporary files. However, you can change the scratch disk if you need to; for example, you can switch to an external drive. To change the scratch disk for Photoshop, do the following: press and hold the Command+Option shortcut while launching Photoshop → you will see a Scratch Disk Preferences window → select a new scratch disk for your macOS and click OK.
How do I reset Photoshop on my Mac?
To reset Photoshop on your Mac, do the following: go to the Photoshop Preferences → select the General tab from the sidebar → click on Reset Preferences on Quit at the bottom → in the confirmation window that appears, click OK → quit Photoshop to finish resetting its preferences. You can also reset Photoshop with App Cleaner & Uninstaller.
How do I completely uninstall Photoshop on my Mac?
To completely uninstall Photoshop on your Mac, you need to remove not only its executable file but all of its service files as well. You can do this easily with App Cleaner & Uninstaller or manually by following these steps:
- Find the special uninstalling files provided with your Photoshop.
- In the window that appears, choose to delete the whole app with its settings.
- Click to delete the app.
- Go to the ~/Library folder and manually search for the remaining service files.
- Remove all Photoshop support files.
- Empty your Trash and reboot your Mac.
