
If you are new to Mac, or maybe you have never used a Mac before, and now you want to clean your Trash, then this article is just for you. This article will explain how to empty the Trash manually, use a special Mac shortcut, and change the bit settings to clean itself once every 30 days. Basically, after this article, you will become a master of cleaning your Mac’s Trash.

Contents:
- How to empty Trash from the Dock panel.
- How to empty Trash from the Trash window.
- How to empty Trash from the Finder’s menu.
- How to empty Trash with a shortcut.
- How to automatically empty Trash.
- How to delete files without using Trash.
- How to delete the Trash with Terminal.
- Deleting files from external drives.
- Trash ERROR troubleshooting.
Note!
However, most of the time, the issue is not emptying the Trash but finding the files you want to delete. For that, we recommend using MacCleaner. It is a bundle of applications that will make your Mac cleaner and faster.
MacCleaner Pro
Empty the Trash
First, in this section, we will tell you how to free your Mac from the unneeded files by emptying the Trash.
Empty Trash from the Dock panel
Take my word on it. It is effortless to empty the Trash. If you want to do so, please follow these few steps below:
- Your Trash bin is located in the bottom right corner. Place your mouse there.
- Right-click on the Trash bin, and you will see a menu with two options.
- Click Empty Trash

- To delete the junk from your computer, click on Empty Trash.
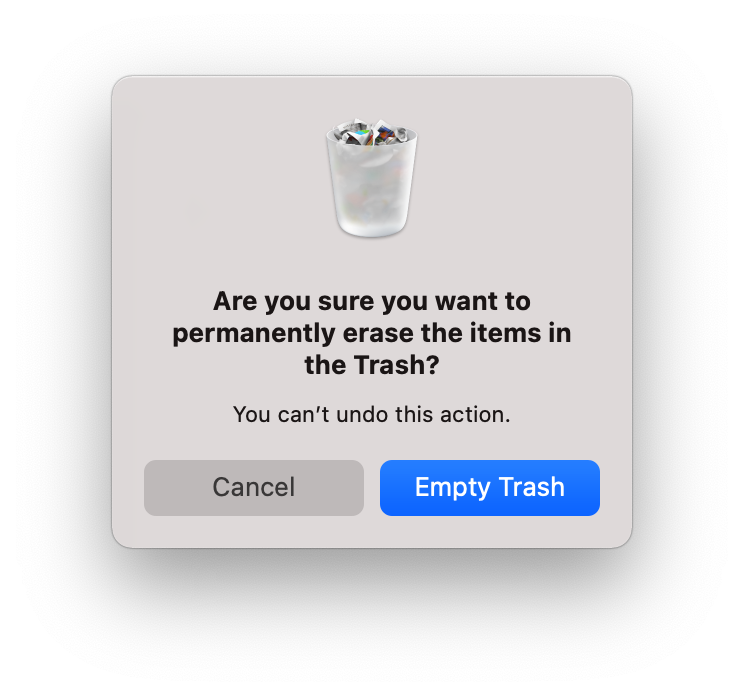
- Confirm the action.

There you go, you are done. The junk was deleted. However, you could have done this differently. Below, you will find another way to empty it.
Empty Trash from the Trash window
- Place your mouse on the Trash bin icon located in the bottom right corner of the Dock menu.
- Right-click on the Trash bin.
- Click Open.
- In the up-right corner of the window, click Empty.
- Confirm the action.

Empty Trash from Finder
- Open Finder.
- In the menu, choose Finder.
- Click Empty Trash.
- Confirm the action.

Empty Trash with a shortcut
Lastly, we want to share a PRO move on how to delete those useless files. Excited? Me too.
All you have to do to empty the Trash just open your Desktop and press Shift+Command+Return (⇧ Shift + ⌘ Cmd + ← Backspace), and confirm the action.
Automatically empty Trash
This part of the article will find information on making your Trash bin clean automatically after the file was there for 30 days. All you have to do is follow the steps below:
- Open Finder.
- Click on Preferences in the Finder’s menu on the top or use the Command+Comma (“⌘Cmd” + “,”) shortcut.
- Switch to the Advanced tab.
- Check off the box that says “Remove items from the Trash after 30 days.”


Done, now your files will be automatically removed after being in the Trash for 30 days.
Delete files without using Trash
If you are experiencing issues where your hard drive is full and want to delete files, you cannot transfer it into the trash or have a suspicious file that you want to get rid of immediately. Use the steps below to delete files without using Trash instantaneously.
- Open Finder.
- Click on the file/files you want to delete.
- Press the “⌥Option (Alt) + ⌘Cmd + Delete” shortcut.
- The confirmation window will open.
- Click on Delete.

Deleting the Trash with Terminal
Now we are getting a little more techie here. We are going to use Terminal and with the help of this amazing application we will clean the Trash.
Follow the steps below:
- Launch Terminal
-
Copy the command below:
sudo rm -R (DO NOT FORGET THE SPACE AFTER -R)
- Do not press enter just yet.
- Select the files you want to delete and drag them into the terminal window.
- Press Enter.
- Enter the admin password.
- Hit that ENTER button.

Deleting files/folders from external drives
I do not think that it is surprising to know that you can remove files from an external drive. However, here are the caveats with removing files from external drives.
- Some volumes do not support Trash. Meaning the files will be deleted right after you move them into the Trash.
- Other volumes can support Trash and will not remove files until you empty the Trash.
Note: if the drive is not ejected correctly, then the files will not be removed. However, there arises a question, what should I do if I want to delete files from the drive, but I want to keep the files that are in the Trash?
Not to worry, the attached disks usually have a local-hidden Trash folder that can be accessed through the terminal. Please use the method that will be described later in the article.
- One last reason, why you might experience issues with deleting files from the external drive, is that there could be a problem with the drive itself. To solve it, please use the First Aid feature in the Disk Utility.
Trash ERROR troubleshooting
When working on a computer, you can always expect some bumps on the road. However, in the technology world, the issue is that there is always one more button to click.
Some of the most popular error messages that appear while trying to delete something are: the app is still running, or the file is in use. Here we will provide the steps on solving those issues. All you have to do is close the file you want to delete or quit the app.
Note that it does not necessarily mean that you have quit it when you close the app’s window. You have to right-click on the icon in the Dock and select Quit from the provided options or press the Command+Q (“⌘ Cmd” + “Q”) shortcut.
When you have closed the file or quit the app, you should be able to empty the Trash.
However, there might be different reasons why you cannot remove the file. Follow these steps to solve this issue:
-
Restart your Mac from the macOS Recovery mode.
- If you have a MacBook with an Intel processor, press Command + R while your computer is rebooting to start the macOS Recovery mode
- If you have a Mac with Apple Silicone, press the power button and hold it for 5 seconds to get into macOS Recovery mode.
- The macOS Utilities will appear, select Disk Utility, and click Continue.
- Select the disk with the file you want to delete.
- Use the First Aid option from the menu to repair the disk.
- Quit Disk Utility and restart your Mac.
- Now empty the Trash.
Bonus Tip
Moreover, the app will tell you how to make your Mac faster and what files you can delete. It is a bundle of application that comes with a program called App Cleaner & Uninstaller that can properly delete any application or extension from your Mac, Duplicate File Finder that will scan your disk for duplicates, and Disk Space Analyzer that will provide an excellent and interactive representation of all the files on your hard drive. However, the best thing is that you can try MacCleaner absolutely for free.
MacCleaner Pro
Hopefully, this article was helpful, and now you can officially call yourself a Mac Trash bin PRO user.


