November 28, 2025
Two ways to uninstall Eclipse from Mac
Eclipse was once the go-to IDE for millions of developers, especially those writing Java code in the 2000s. It’s still around today, but many Mac users have since moved on to lighter or more modern tools. If Eclipse is taking up space on your Mac or you no longer use it, this guide will show you how to remove it completely, with or without the use of a cleanup app.
What is Eclipse on Mac, and why users uninstall it
Eclipse is a popular open-source integrated development environment (IDE) widely used by Java developers, though it also supports C++, Python, and other languages through plug-ins. On macOS, it’s most often installed via the Eclipse Installer, which spreads multiple folders and configuration files across the system.
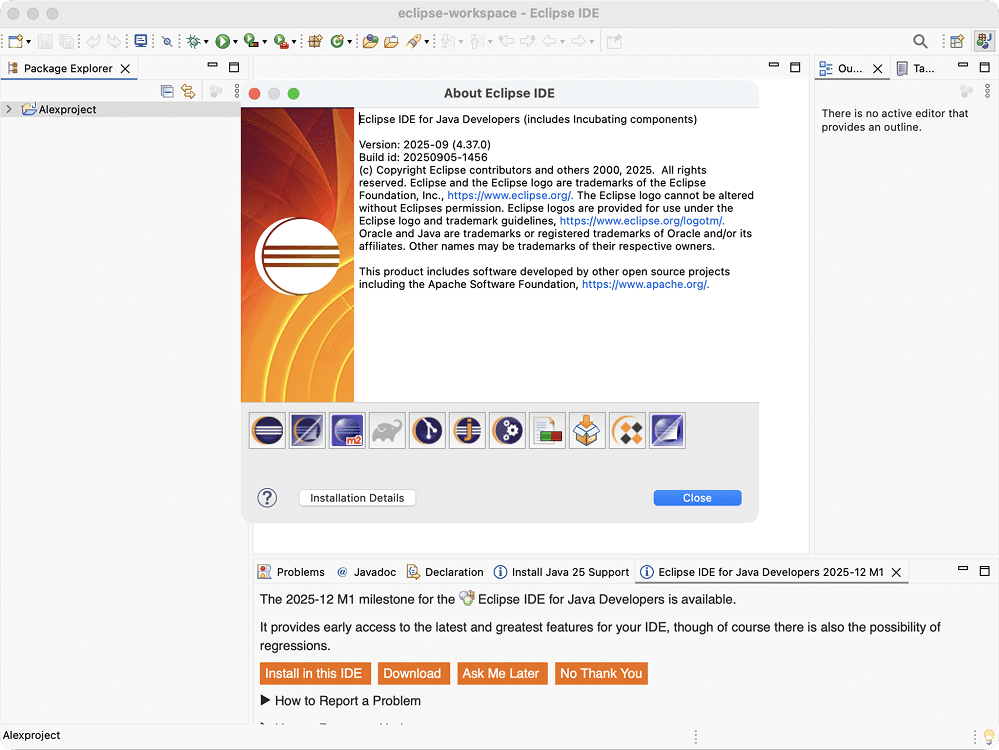
Despite its versatility, many users eventually decide to remove Eclipse from their Macs. According to forums, the most common reasons include:
- Switching to another IDE: Many developers move to lighter or more modern tools like Visual Studio Code, IntelliJ IDEA, or Xcode.
- Storage clutter: The IDE and its workspace folders can take up several gigabytes of disk space, often scattered in several directories.
- Reinstallation or debugging: Some users uninstall Eclipse to perform a clean reinstall when plug-ins conflict or the IDE fails to launch correctly, as happened with this Reddit user.
If you’re not sure whether to delete Eclipse, consider whether you still rely on it for active projects. If not, removing it will help reclaim disk space and keep your Mac organized.
How to uninstall Eclipse manually
Note:
This method was tested on macOS Tahoe with Eclipse 2025-09. The instructions might differ for significantly older versions of Eclipse. If this is your case, proceed to the next method.
To completely remove Eclipse from your Mac, you will need to uninstall the app and all its leftovers. The leftovers are service and configuration files, which were created for the apps’ proper functioning. However, when you remove an application file from your Mac, the useless service files remain on your disk even when they are no longer needed.
Follow these steps:
- Firstly, you need to remove the Eclipse executable file. Depending on how you installed the program, this file may be stored in the Applications folder or in a separate folder it created in the Home directory.
Find the Eclipse folder → select the Eclipse.app file → remove it to Trash. - Note that the program settings are stored in the projects folder. If you no longer need your projects, you can locate and delete the subfolder where they are stored.
- Now you should find and remove the application’s service files and leftovers.
In Finder, press Command + Shift + G on your keyboard to open the Go to Folder dialogue.
Then, paste a path from the list below and hit Return. This will bring you straight to the file you’re looking for (if it exists). Remove it and proceed to the next path.~/Library/HTTPStorages/epp.package.javaCopy
~/Library/Caches/epp.package.javaCopy
~/Library/Preferences/epp.package.java.plistCopy
epp.package.javaCopy
file. However, this/private/var/folders/Copy
folder contains temporary files in temporary folders with random names that are deleted on every reboot./private/var/folders/Copy
You can either go toand search for/private/var/folders/Copy
manually, or you can simply reboot your Mac to have that file removed automatically.epp.package.javaCopy
- Empty the Trash to delete the application entirely.
How to delete Eclipse using App Cleaner & Uninstaller
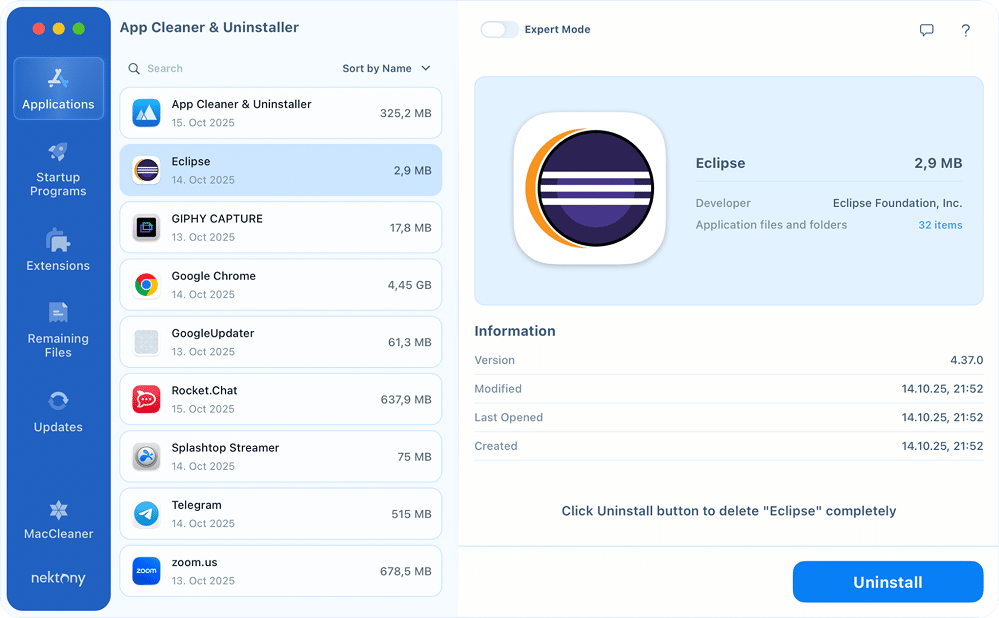
App Cleaner & Uninstaller is a software that helps to remove applications from a Mac completely. Thanks to its user-friendly interface, you can easily delete an app in less than a minute, instead of removing all files step by step. To uninstall any version of Eclipse on your Mac with App Cleaner & Uninstaller, complete the following steps:
- Download and launch App Cleaner & Uninstaller.
- Choose Eclipse from the list of applications.
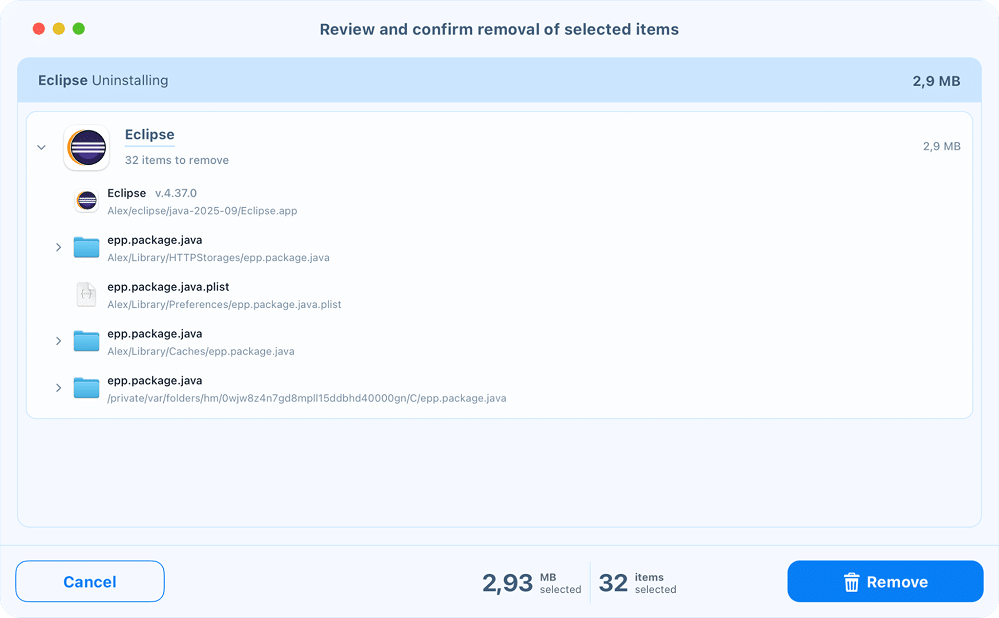
- Click the Uninstall button. All its leftovers will be selected automatically.
Note:
Depending on the number of applications you installed using the Eclipse installation file, App Cleaner & Uninstaller will display a different number of app files.
- Review the items you are going to delete and confirm the removal by clicking Remove.
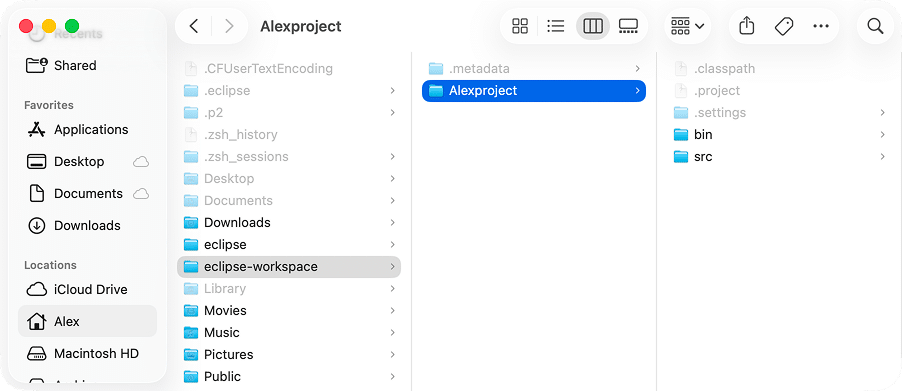
Although the Eclipse workspace subfolder is related to the Eclipse application, App Cleaner & Uninstaller will not remove it.
You can see and access your project files even if you have already removed Eclipse. However, if you do not need the projects in the eclipse-workspace subfolder, you can delete them manually.
Then, empty the Trash to complete the permanent removal.
Final note
Despite being a full development environment, Eclipse doesn’t scatter too many files across macOS. You’ll only need to visit a few locations and delete a couple of folders, which is a task that takes no more than a minute.
Still, if you’d rather not deal with hidden files or cleanup manually, App Cleaner & Uninstaller can remove Eclipse and all its leftovers in seconds.
