August 14, 2025
How to completely uninstall Norton Security on Mac
If you have ever tried to uninstall Norton, you probably know it is notoriously difficult to remove. It is not a straightforward process to turn it off, let alone uninstall it in a way that leaves no trace behind on your Mac. I have also seen cases where, if you run into issues with Norton, the fastest fix is simply to reinstall it.
No worries, though. This guide explains every reliable Norton uninstallation method available for Mac as of summer 2025, so you can pick the approach that works best for you.
This Article Contains
Before we start
Norton spreads its files all over your Mac, and removing them manually is rarely simple. App Cleaner & Uninstaller by Nektony finds every component automatically, so you can clean out Norton completely without the hassle.
When you need to remove Norton
Obviously, you may want to remove Norton when you no longer need it, such as after canceling your subscription or switching to another antivirus. But sometimes, uninstalling and reinstalling is the only way to fix persistent problems and keep Norton working as intended.
Here are common situations when this may be necessary:
- Norton will not launch or freeze
If clicking your Norton icon does nothing, the app window will not open, or it gets stuck on the loading screen, this is usually caused by corrupted configuration files or caches. Reinstalling Norton is often the only way to restore normal operation. - License or activation errors
If Norton says your license is invalid or expired even though your subscription is active, this often means the app failed to connect to your account or damaged its license data. Reinstallation with a fresh license setup usually fixes the problem. - Real-time protection is turned off and cannot be enabled
If Norton shows that protection is off and the Enable button does not respond, this is often due to problems with the antivirus core or missing system permissions. Removing Norton and reinstalling it with proper permissions is usually required. - Virus definitions will not update
If Norton cannot download updates and shows repeating errors, the update cache or LiveUpdate component may be damaged. A complete reinstall with cache cleanup often solves this issue. - System extension issues
If Norton keeps asking you to allow a system extension, but it still will not load after approval in System Settings → Privacy & Security, the extension may be installed incorrectly or be corrupted. Reinstalling Norton and manually clearing leftover extensions usually helps.
Now that you know when uninstalling Norton is necessary, let’s look at how to remove it step by step.
Norton removal methods compared
Before you start uninstalling Norton, it helps to see what options you have.
Simply dragging the Norton app to the Trash won’t do, as it integrates deeply into macOS and creates a significant amount of files across system folders.
That’s why Norton offers an official uninstaller called RemoveNortonMacFiles, but from my experience – and as discussed by many users on this Reddit thread – it can be confusing to use.
This tool lists an overwhelming number of file paths, many of them scattered in unexpected places across your system. While this might reflect solid security practices or just a lack of organization, it makes it hard to know exactly what is being removed.
I spent quite a bit of time reviewing the script to be sure it does not delete personal files or send any data elsewhere. Still, as pointed out in this Apple Discussion, it’s understandable to wonder if this is truly the safest removal method.
And then there is a manual removal method and uninstallation via another app. To select the option that best suits you, here is a quick comparison of the ways to uninstall Norton on a Mac:
| Method | Ease of use | Safety | Leftover files | Verdict |
|---|---|---|---|---|
| Official uninstaller | ⭐⭐☆ Terminal required |
Script from Norton, but complex | Removed but not completely | ⚠️ A bit technical |
| Manual removal | ⭐☆☆ Time-consuming |
Full control, but no guidance | Depends on your effort | ❌ Risky and tedious |
| App Cleaner & Uninstaller | ⭐⭐⭐ Very simple |
Shows all files before removal | Very thorough | ✅ Recommended |
Below, all three methods are explained in detail. Feel free to scroll to the method that best suits you.
Remove Norton using the official uninstaller
This way is straightforward and consists of two steps.
Step 1: Uninstall Norton with the built-in uninstaller
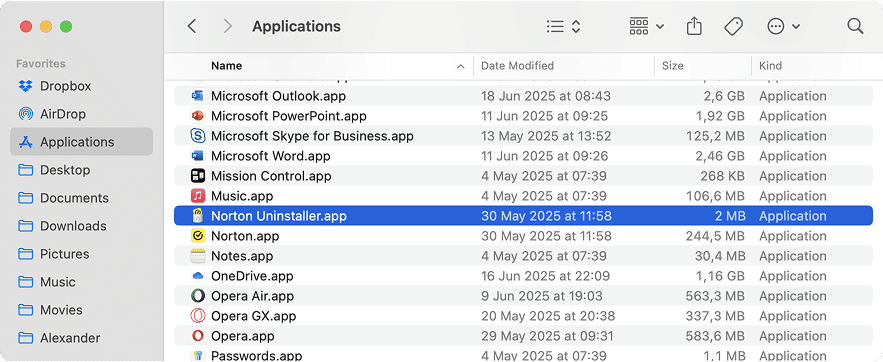
- Proceed to the Applications folder.
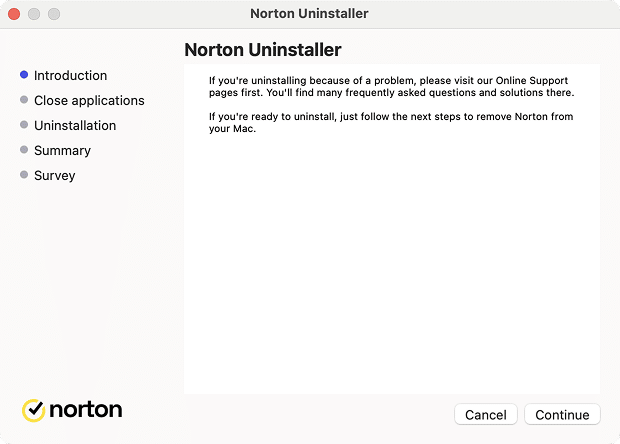
- Open Norton Uninstaller.app that should’ve come with Norton.
- As per the Norton official guide, this will initiate the uninstallation process: you’ll need to click Continue → enter your admin password → click OK → Uninstall.
- When asked again, enter your admin password and click Install Helper → Restart Now.
Step 2: Use Norton’s script
To get rid of the leftovers, Norton additionally suggests using an official removal script called RemoveNortonMacFiles. This is a set of commands that will be automatically executed in Terminal once launched.
- Download RemoveNortonMacFiles.zip from Norton’s website.
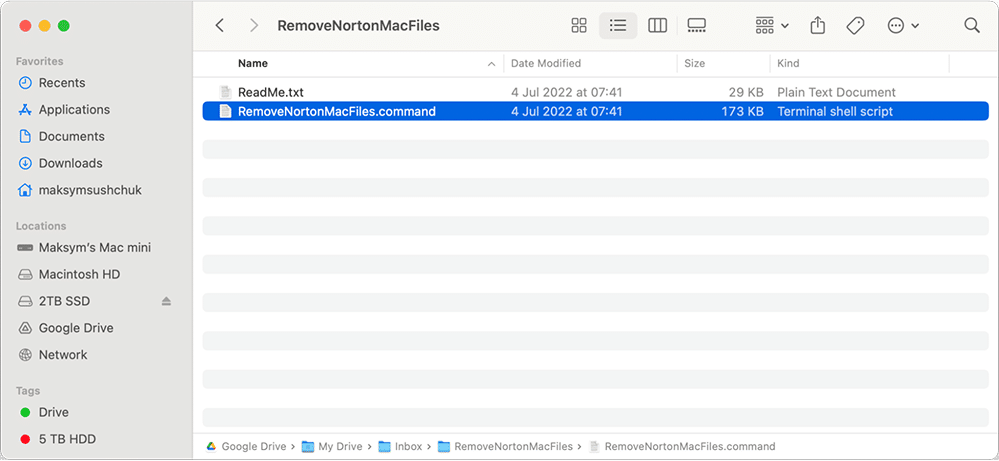
- Extract the ZIP file, and double-click RemoveNortonMacFiles.command to open it in Terminal.
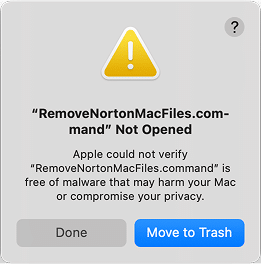
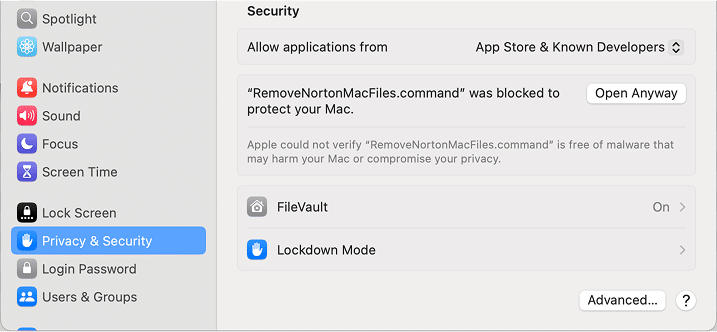
- MacOS might refuse to open this file immediately, thinking it might not be secure.
In this case, you can open System Settings → proceed to Privacy & Security → scroll to the very bottom → and press Open Anyway next to the “RemoveNortonMacFiles.command was blocked to protect your Mac” caption.
Note:
The Open Anyway button will appear only after you attempt to open RemoveNortonMacFiles.command.
- You will need to enter your admin password.
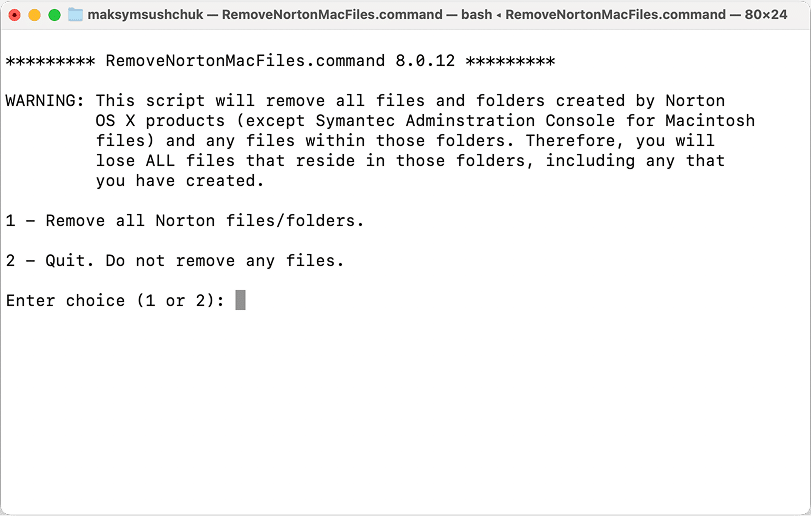
- Then, the Terminal window will open to execute the script. Type to confirm the removal of all Norton files.
1Copy
- Then press to approve.
yCopy
- The script will clean out all Norton apps and related files.
If you need extra details, see the official Norton guide.
Despite such a cumbersome process, we noticed some leftover files still remain on Mac. So feel free to use either of the two methods described below to perform a proper Norton uninstallation. Those do not require you to bypass Apple’s security mechanisms.
Uninstall Norton manually
Note:
This method was tested on macOS 15, with Norton 25.
Step 1. Quit Norton completely
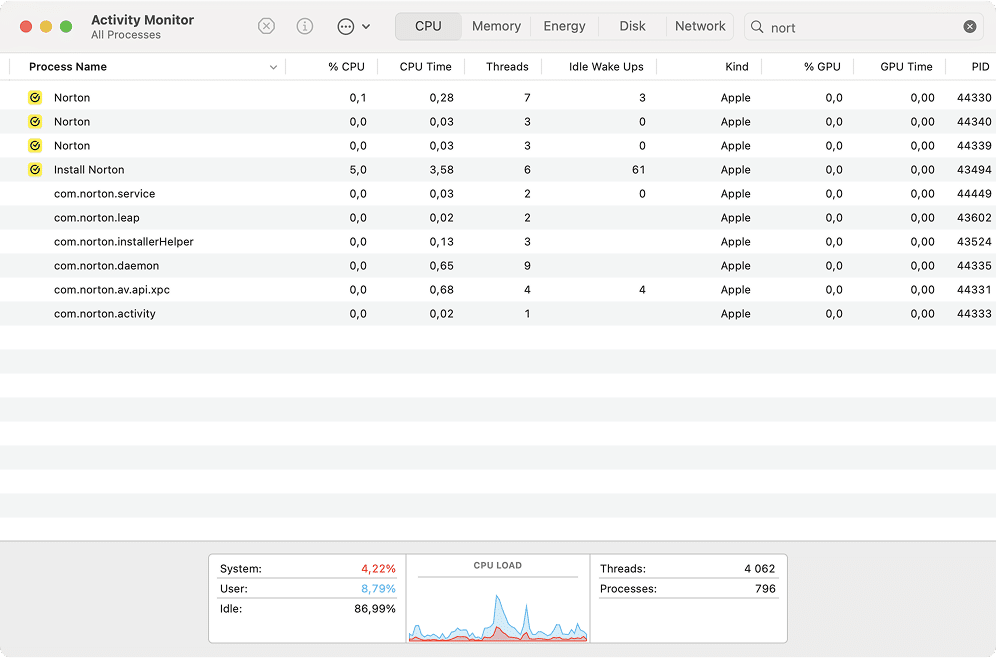
Make sure Norton is not running. Stopping the app itself may not be enough, as usually, extra Norton agents sit in the background functioning as a part of the app. To make sure they’re all stopped, open Activity Monitor → Search for Norton-related processes → click the X button to quit them.
Step 2. Delete the main applications
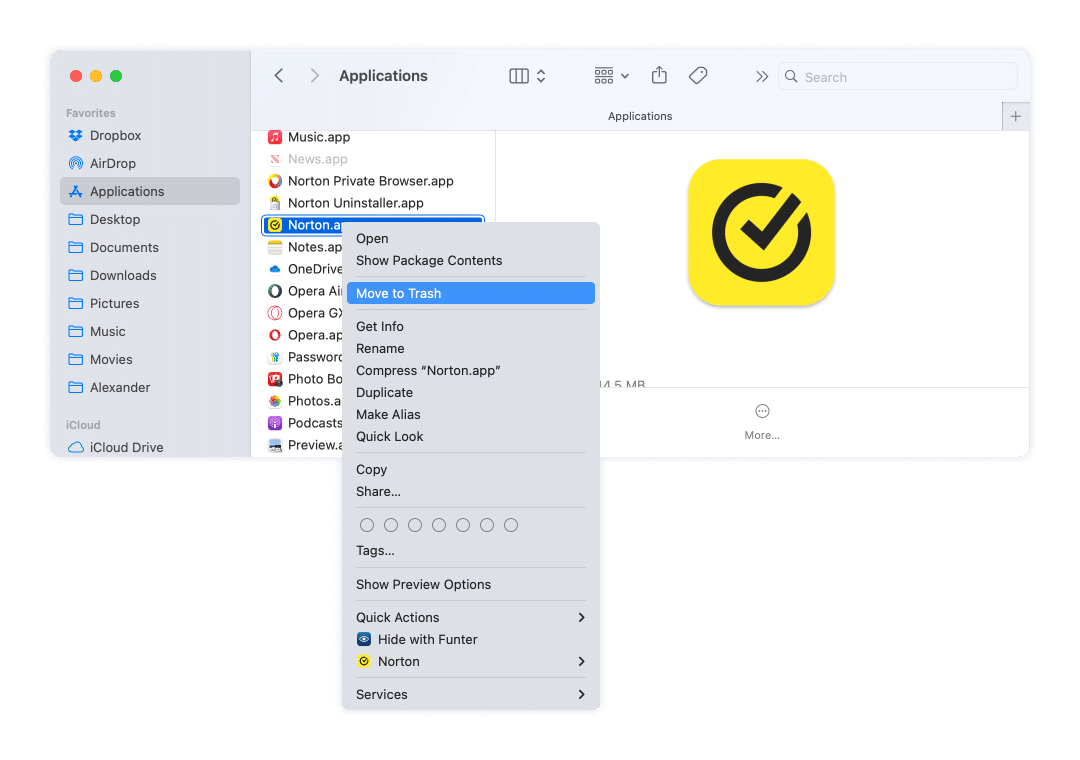
In Finder, go to the Applications folder and remove the following .app files:
/Applications/Norton.appCopy
/Applications/Norton Private Browser.appCopy
Step 3. Remove related files and folders
In this step, you’ll need to navigate to four different folders and remove the files listed below.
Note:
After navigating to a desired folder, you can use Finder’s search to quickly filter out the files mentioned below. For instance, in ~/Library/, you can search for ‘symantec’ or ‘norton’ to quickly find most of the files from the list below.
- Open the folder:
~/LibraryCopy
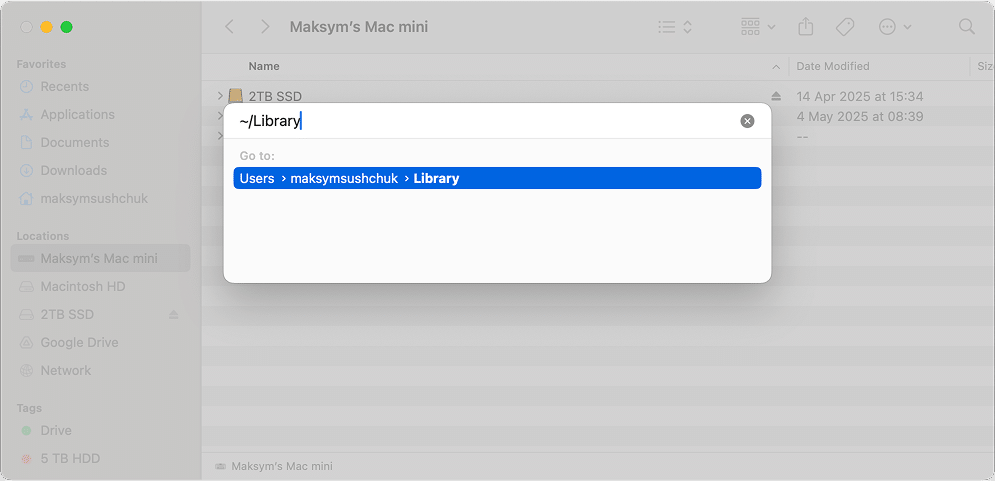
How to open this location
- In Finder, use the Command + Shift + G shortcut to bring up the path entry window.
- Copy and paste the ~/Library path and press Return to navigate to the folder.
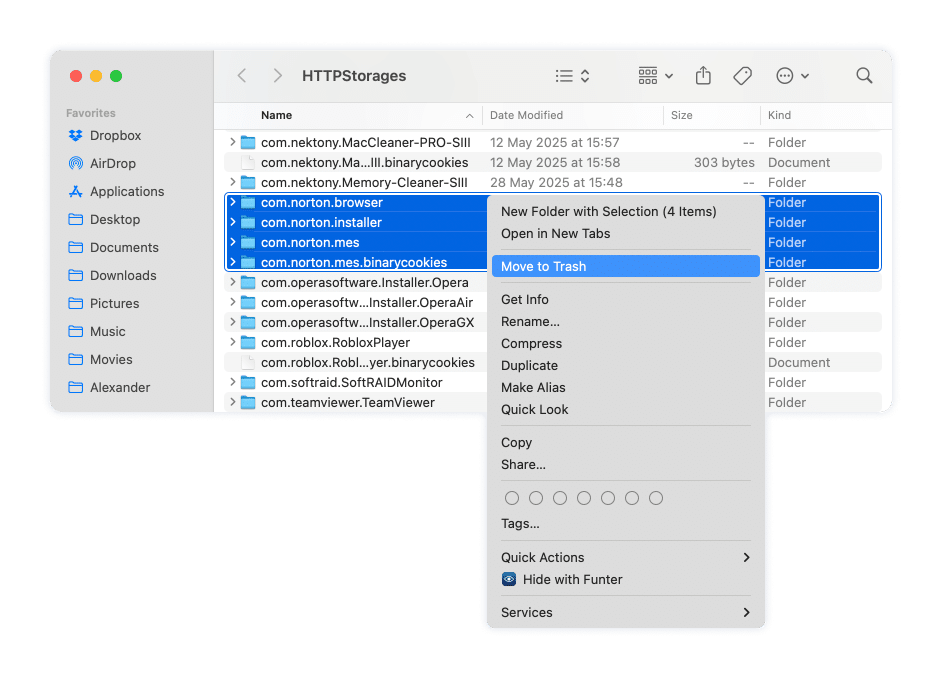
- In the following folders, look for and delete files or subfolders that include ‘norton‘ or ‘symantec‘ in their names. These may include caches, configuration files, saved states, browser plugins, and more.
~/Library/Caches/Copy
~/Library/Containers/Copy
~/Library/Group Containers/Copy
~/Library/HTTPStorages/Copy
~/Library/Application Support/Copy
~/Library/Application Scripts/Copy
~/Library/Preferences/Copy
~/Library/Cookies/Copy
- Proceed to folder and do the same in the following subfolders:
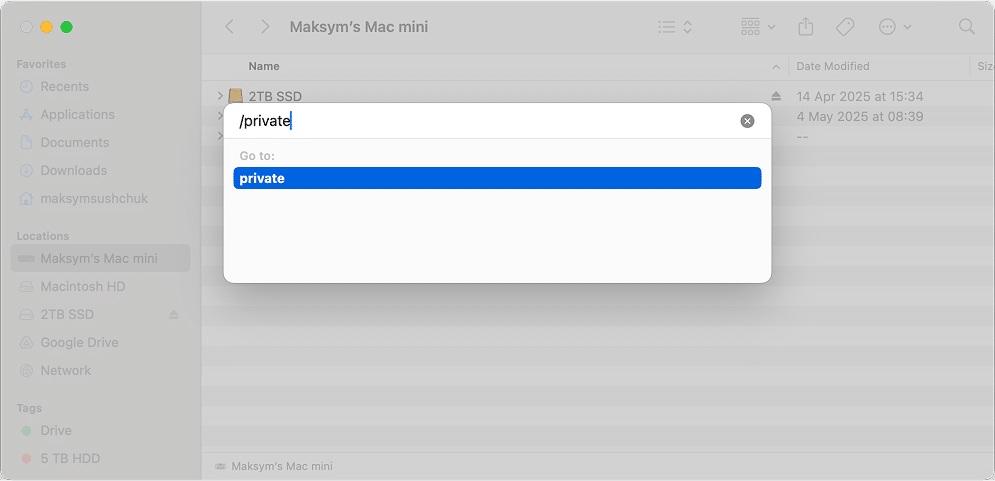
/privateCopy
How to navigate to this folder
- Open Finder, then go to the Go menu and choose Go to Folder.
- Copy and paste the /private path into the box and press Enter to access it.
/private/var/db/receipts/Copy
/private/tmp/Copy
- To get rid of the following files, make sure you navigate to sitting in the root folder of your drive:
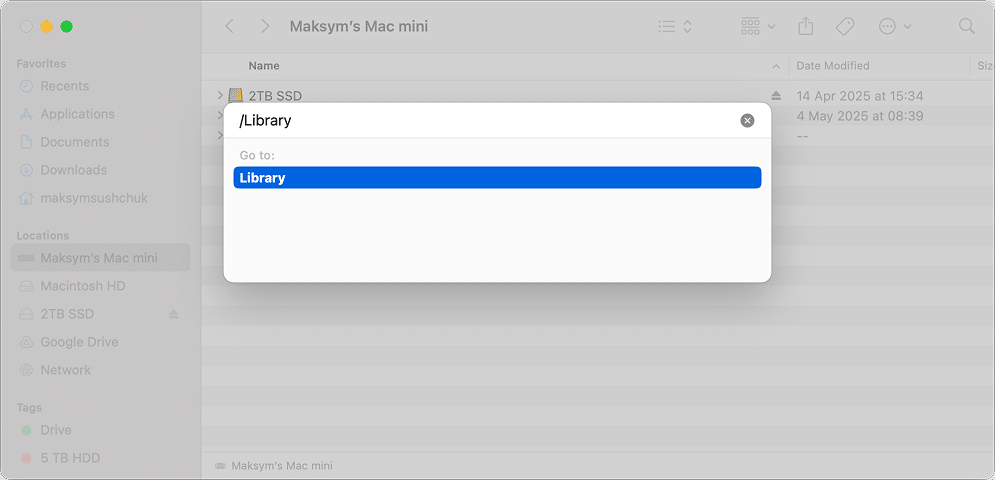
/LibraryCopy
How to get into this folder
- Launch Finder, then press Cmd + Shift + G to open the Go to Folder prompt.
- Copy and paste the /Library path and hit Return to open the location.
Here, look for files containing ‘norton‘ and ‘symantec‘ in their names in the following folders:/Library/LaunchDaemons/Copy
/Library/Services/Copy
/Library/SystemExtensions/Copy
/Library/Extensions/Copy
You can also remove these specific folder and file:
/Library/Application Support/Symantec/Silo/MESCopy
/Library/Logs/SymOxygen_MES.logCopy
- Finally, remove the following folders in
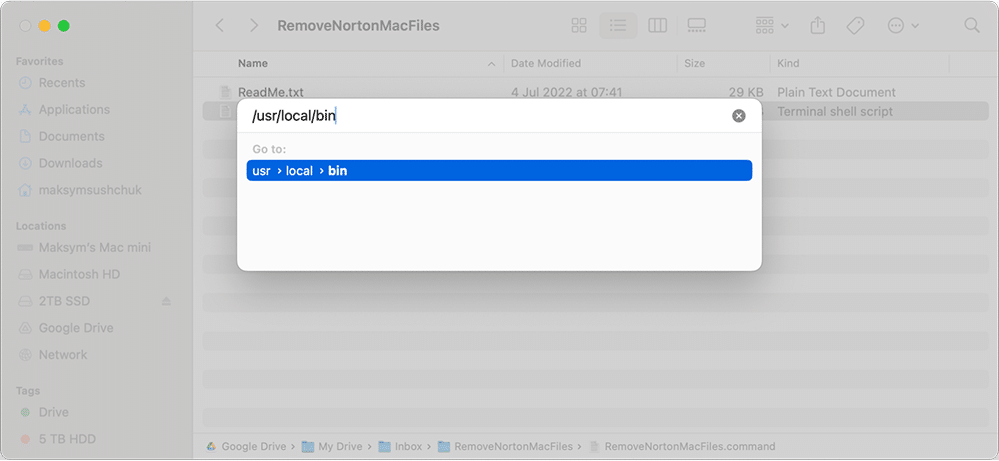
/usr/local/binCopy
How to open this directory
- In Finder, press Command + Shift + G to open the Go to Folder window.
- Copy and paste the /usr/local/bin path and hit Enter to go straight to the folder.
/usr/local/bin/nortonscannerCopy
/usr/local/bin/nortonsettingsCopy
Step 4. Restart your Mac
Restarting ensures any background processes or extensions are fully unloaded and all deletions are applied correctly.
Remove Norton using App Cleaner & Uninstaller
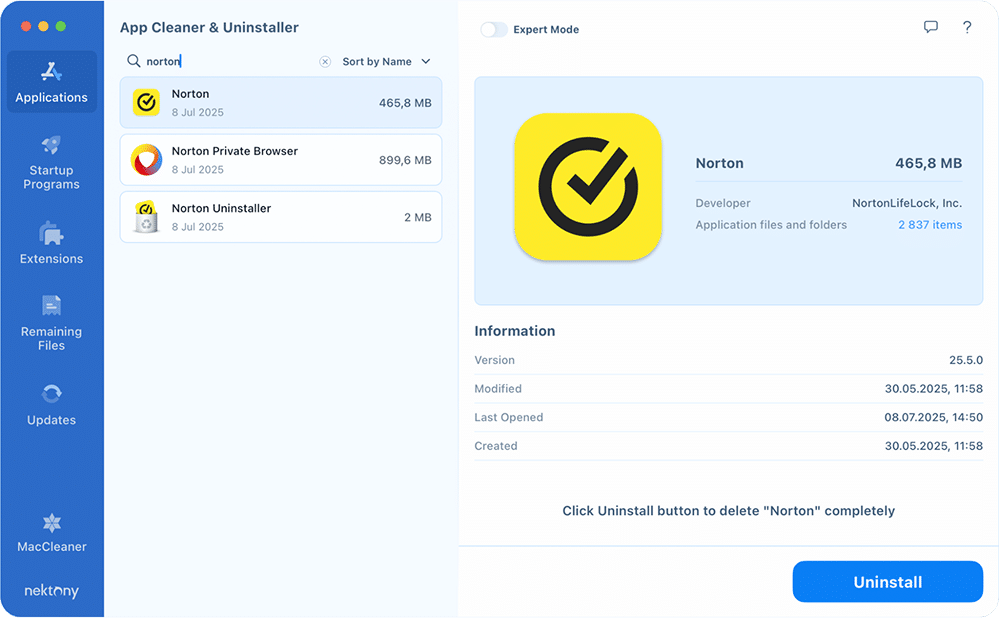
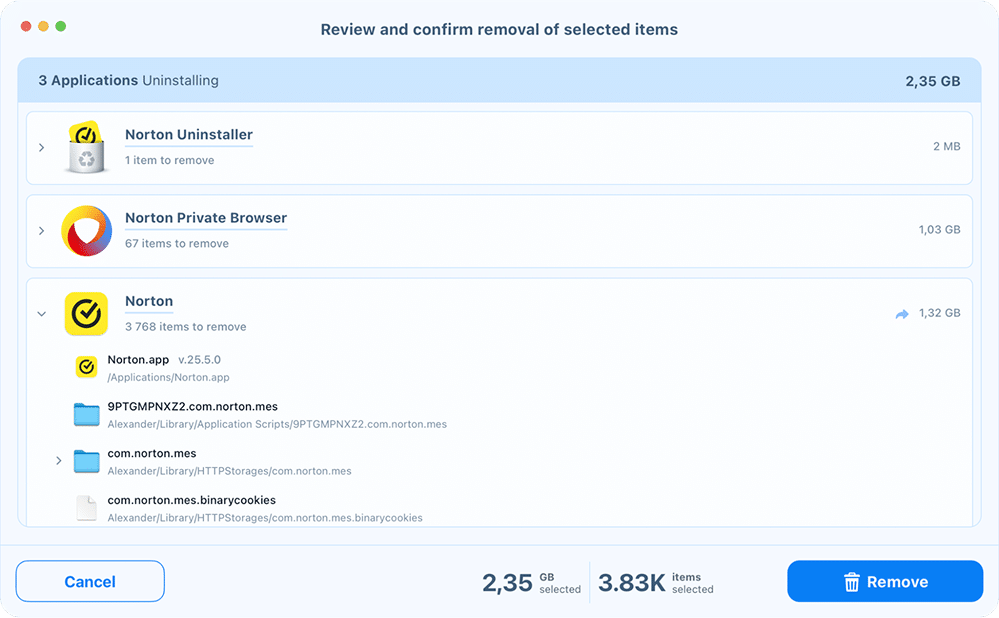
If you prefer the easiest and safest way to uninstall Norton without hunting for dozens of files manually, you can use App Cleaner & Uninstaller by Nektony. This tool automatically finds Norton and all its hidden support files, so you can remove everything in just a few clicks.
How to uninstall Norton with App Cleaner & Uninstaller:
- Open App Cleaner & Uninstaller
If you don’t have it yet, use this download link. - Select Norton
In the list of applications, search for Norton and select the apps you want to uninstall. In most cases, you’ll want to get rid of Norton Browser (if you have it installed) and Norton Uninstaller as well. - Remove Norton
Click the Uninstall button in the right panel. - Confirm removal
Remove leftovers if Norton was already deleted
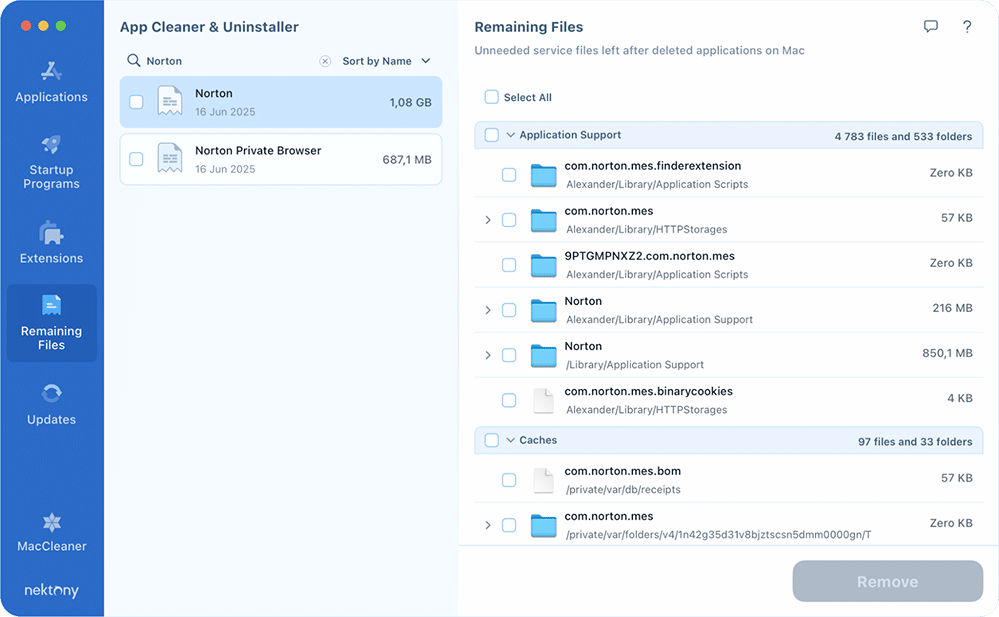
If you have already dragged Norton to the Trash but suspect leftovers remain, open the Remaining Files tab. The app will display orphaned files that you can safely delete to clean up your system fully.
Reset the app to address a problem with Norton
If you are planning to reinstall Norton to fix an issue with it, you can use the Reset Application option instead. This cleans all settings and support files but keeps the app itself. You might find it a quicker way to address your problem with Norton than a complete reinstallation.
- Locate Norton in App Cleaner & Uninstaller.
- Right-click on the app.
- Choose Reset Application.
- Confirm the action.
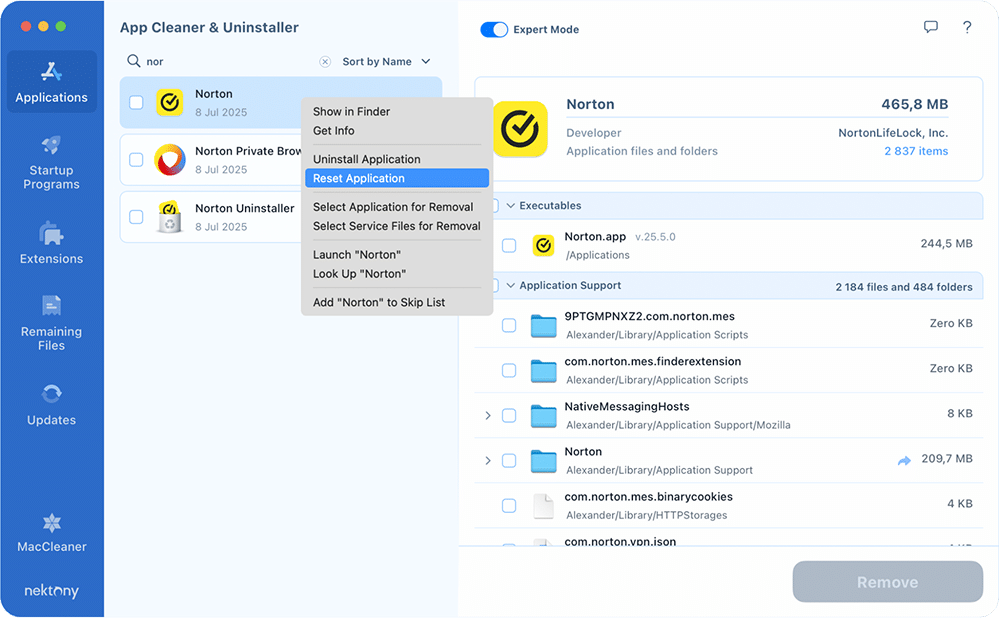
In all three cases, App Cleaner & Uninstaller handles all these steps automatically, so you do not need to search for and remove (or flash) Norton’s files manually.
My reflections on using Norton on a Mac
I stand firmly by the opinion that antivirus software is usually unnecessary on a Mac. Sure, it can sometimes catch a few threats, but in most cases, it creates more inconvenience than it prevents.
Norton is a good example of this: I recently installed Norton Browser directly from Norton’s own interface, and it crashed three times in a row before it finally launched. Even then, it immediately forced an update from version 134 to 136.
And as you have seen, even the official uninstallation is far less straightforward than with most other apps. It’s a good thing there are apps like App Cleaner & Uninstaller that can help make this process smooth and quick.
And yeah, Norton is not outright bad or unreliable. It has its audience and specific use cases where it does its job. It just may not be the right choice for everyone – hence this uninstallation guide.


Thank you !!
After searching for ways to fix my computer and getting Symantec messages of incompatibility even after uninstalling Norton, I finally found how to fix it here.
Don’t touch with a barge pole. Bought the App Cleaner and Uninstaller in May 2021. Stop working in the July. Kept prompting me to upgrade to the Pro version. In the end I found how to remove this app
completely.
Hello. Our licenses are provided for a one-time purchase, you don’t have to buy a new one. Please contact the support team at support@nektony.com and provide more details on what issues had you faced. We will help to solve them.