September 17, 2025
macOS Tahoe: Explore, prepare, install
Every September, when Apple releases a new macOS version, I find myself torn. Should I upgrade right away? What if my favorite apps stop working? Is it smarter to wait for the first bug-fix updates? These questions always kick off my little investigation ritual.
In this article, I’ll walk you through the steps to take before upgrading to macOS Tahoe. You’ll learn what to expect from the update, how to prepare your Mac for a smooth transition, and which settings to check once the new system is installed.
A little preparation now can save you hours of troubleshooting later.
This article contains
#1 Tip – Before upgrading to macOS Tahoe
macOS Tahoe requires around 50 GB of free space for a smooth upgrade. If you’re short on storage, use MacCleaner Pro by Nektony to reclaim space in minutes. It finds and removes apps you no longer use, outdated cache and log files, duplicate documents and photos, and large media files you may have forgotten about.
Try it for free and make sure your Mac is clean and ready before installing the new system.
Meet macOS Tahoe
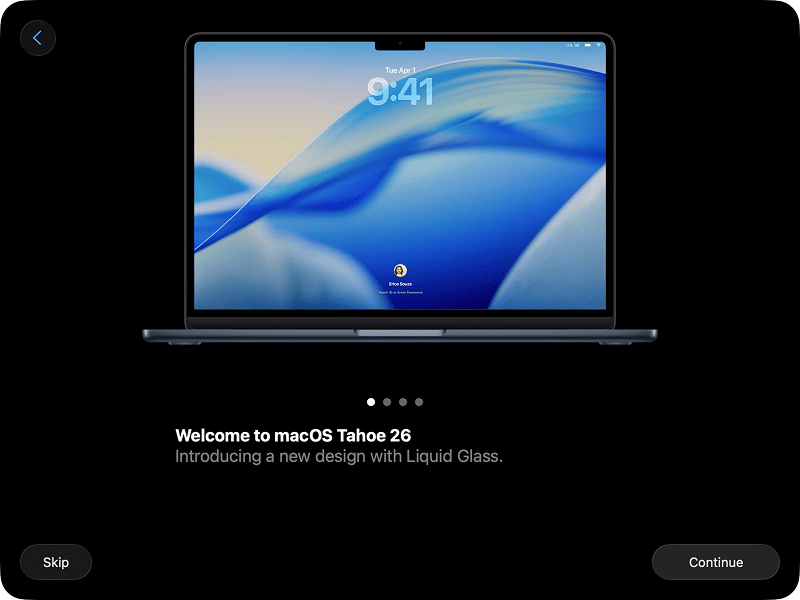
Apple announced macOS Tahoe (version 26) at WWDC 2025, calling it the biggest macOS update in the last 12 years. And it really feels like one. For a decade, the look of macOS barely shifted; sometimes it seemed like the only thing that changed was the screenshot in the release notes. With Tahoe, the new Liquid Glass design finally makes the system feel dramatically fresh, and it’s now aligned with the style of iOS, iPadOS, and other Apple platforms.
The release was on September 15, 2025.
Which Macs support Tahoe
- MacBook Air with Apple Silicon (2020 and later)
- MacBook Pro with Apple Silicon (2020 and later)
- MacBook Pro 13-inch (2020, Four Thunderbolt 3 ports)
- MacBook Pro 16-inch (2019)
- iMac (2020 and later)
- Mac mini (2020 and later)
- Mac Studio (2022 and later)
- Mac Pro (2019 and later)
To check your model, click the Apple logo in the top left corner of the screen → About This Mac.
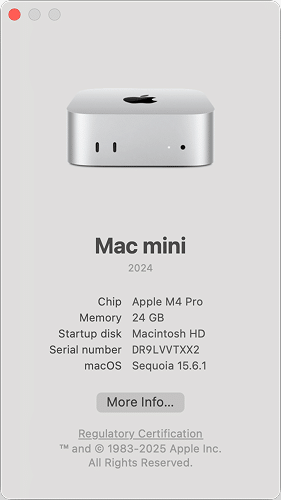
Also, Tahoe is be the last major update for Intel-based Macs. The next system won’t support them, and even within Tahoe, some Apple Intelligence features work in a reduced mode. If you’re still on Intel, this is a good time to start thinking about your hardware plans.
Performance and security in Tahoe
Whenever a new macOS comes out, I secretly hope it will make my Mac feel faster and lighter. With macOS Tahoe, that wish might finally be justified. Apple claims smoother graphics, better Apple Intelligence integration, and improved responsiveness on Apple silicon. Early beta users noticed the same – animations feel snappier, apps open quicker.

Of course, not everyone agrees: some testers reported increased power draw in certain scenarios. It seems performance depends a lot on your configuration (newer M-chips benefit the most, while older Intel Macs may see mixed results).
One reason for this new “speed effect” is more aggressive caching and memory management. That makes the system feel smoother day-to-day but also means more background disk activity, something you might spot right after installing the update.
Security and privacy
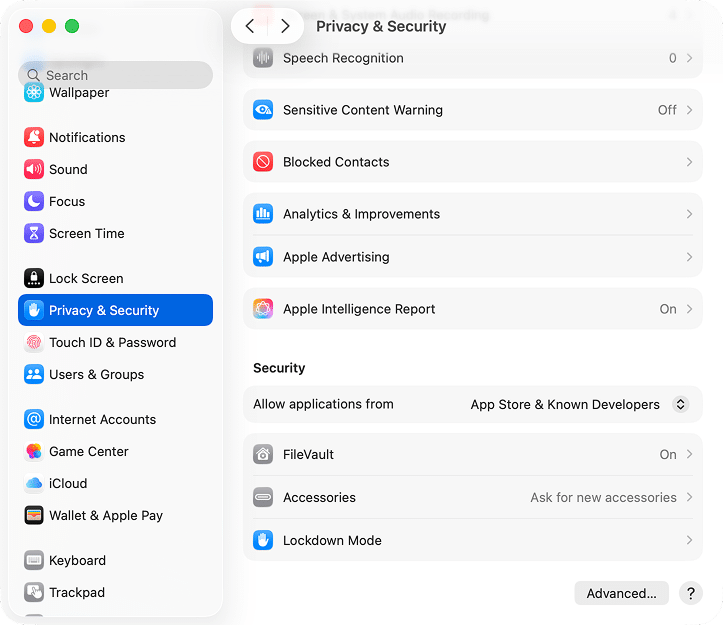
On paper, Tahoe doesn’t bring groundbreaking new security features. But Apple did enhance transparency controls, tighten Continuity protection, and update how iCloud and Apple ID tie into the system. Developers also get new security APIs to build on.
Storage footprint
Tahoe takes up more room than its predecessor:
- Installer size: ~14 GB (about 1 GB larger than Sequoia)
- Free space required: at least 40 GB (installer + temporary space + post-install buffer)
Potential issues and limitations in Tahoe
Every major macOS release comes with its share of rough edges. With Tahoe, most of them aren’t deal-breakers, but they’re worth knowing before you upgrade.
1. Design and visual changes
The new Liquid Glass interface is bold: transparent menus, reworked icons, subtle animations. Some users find it harder to read or just “too different.”
After using Tahoe for about a month, though, I found most of the design choices not only bearable but actually helpful, especially in the later betas.
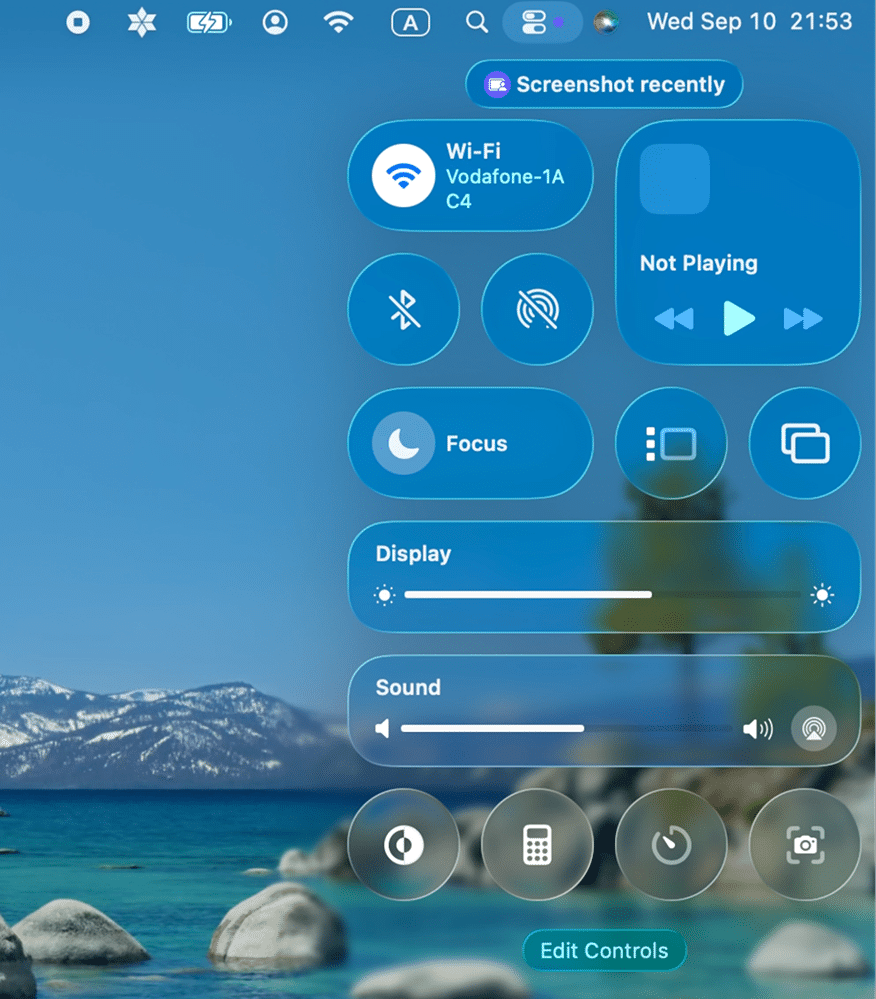
Third-party apps are another story. If an app’s icons don’t follow Apple’s new template, they may appear boxed in gray or look blurry.
My Chrome icon, for example, is currently boxed in gray.

2. Bugs and glitches
Even late betas still had interface bugs, like misplaced icons or odd animation hiccups. In one case, I triggered a visual glitch just by taking a screenshot.
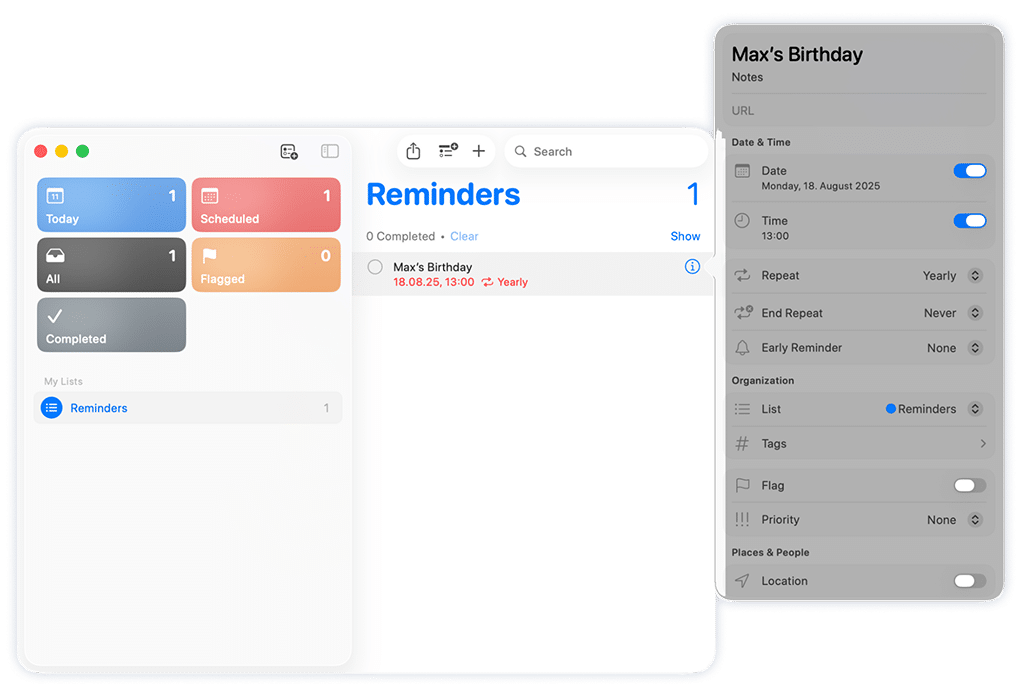
It’s likely some of these will linger into the release build.
3. Hardware and driver compatibility
As usual, old peripherals are at risk of malfunctioning in the new macOS. Those include legacy USB devices, audio interfaces, USB-MIDI controllers, and generally devices with drivers that haven’t been updated for Apple’s stricter security rules.
If you rely on niche gear, double-check for updated drivers before upgrading.
4. Privacy and extensions
With Tahoe’s deeper Apple Intelligence integration, the system may ask for access to emails, notes, and web content to generate reminders or suggestions. That means more privacy permission prompts to manage.
Also, stricter rules for system extensions may break apps that dig deep into macOS, like antivirus tools or firewalls, if their developers haven’t shipped updates yet.
Prepare your Mac for macOS Tahoe
A little prep goes a long way. Before you click Upgrade, take time to make sure your Mac is ready for the jump. Here’s the essential checklist I follow:
1. Make a full backup
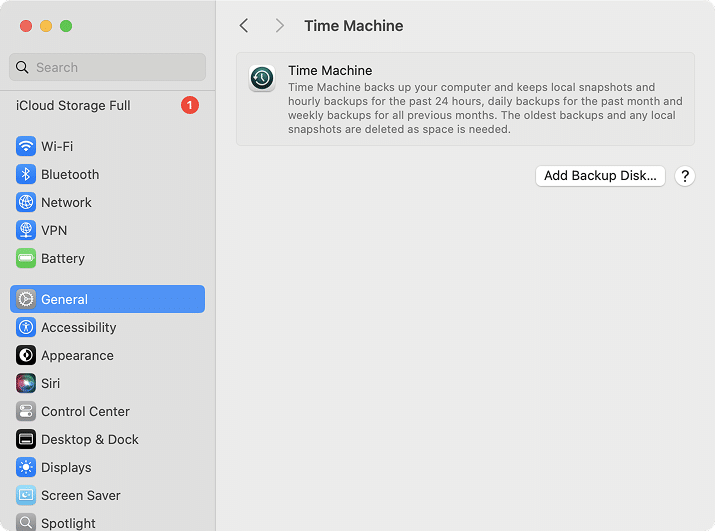
This is non-negotiable. Use Time Machine or create a third-party disk image. If the installer fails or you hit an unexpected bug, a backup is your ticket back to a working system.
2.Check compatibility
Confirm your Mac is on the supported devices list (see above).
3. Free up disk space
You’ll need 40+ GB of free space for a safe installation. That covers the installer (~14 GB), temporary files, and post-install cleanup.
Here’s what you can clear out:
- Trash and Downloads
- Duplicate files
- Old iPhone/iPad backups
- Old macOS installers (each ~12–14 GB, usually in Applications)
- Caches and logs
- Message and Mail attachments
- System update caches:
/Library/UpdatesCopy
- Xcode leftovers:
~/Library/Developer/Xcode/DerivedDataCopy
~/Library/Developer/CoreSimulatorCopy
- Local Time Machine snapshots (in Terminal, you can list them with the command command and remove with
tmutil listlocalsnapshots /Copy
)sudo tmutil deletelocalsnapshots <snapshotname>Copy
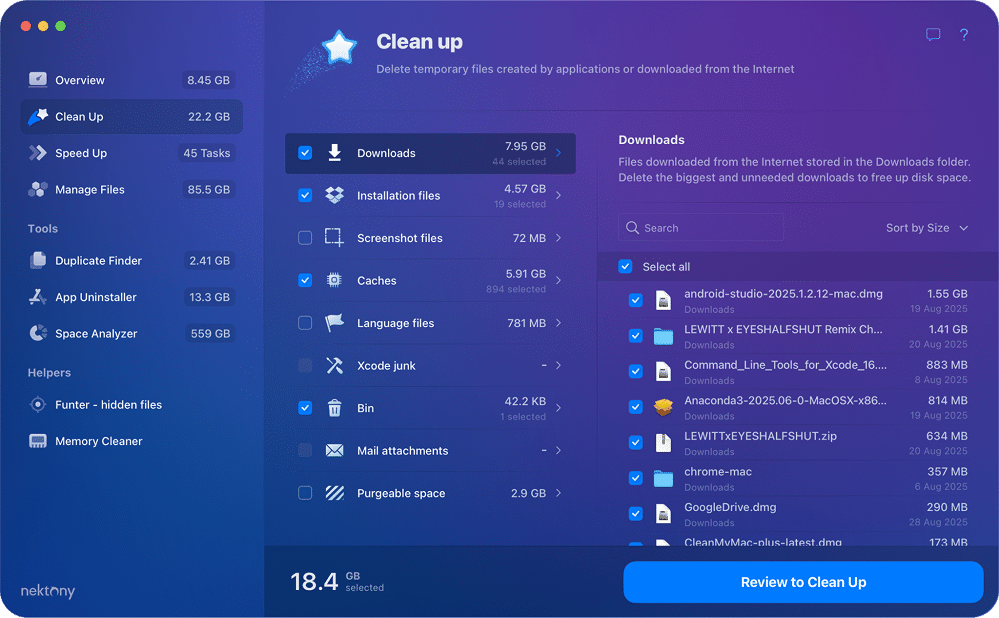
But the easiest way to clear tens of gigabytes of old and no longer needed data is to run MacCleaner Pro by Nektony. It finds large files, caches, and hidden leftovers that are tricky to locate manually and removes them in one batch.
4. Update apps and tools
- Update your current apps and developer tools (Xcode, Command Line Tools).
- Save installers or license keys for older third-party apps. If something breaks after upgrading, you’ll be able to reinstall it.
For apps that will still act weird on Tahoe, I recommend removing them (along with service files) using App Cleaner & Uninstaller from the MacCleaner Pro bundle, then reinstalling fresh.
5. Double-check your credentials
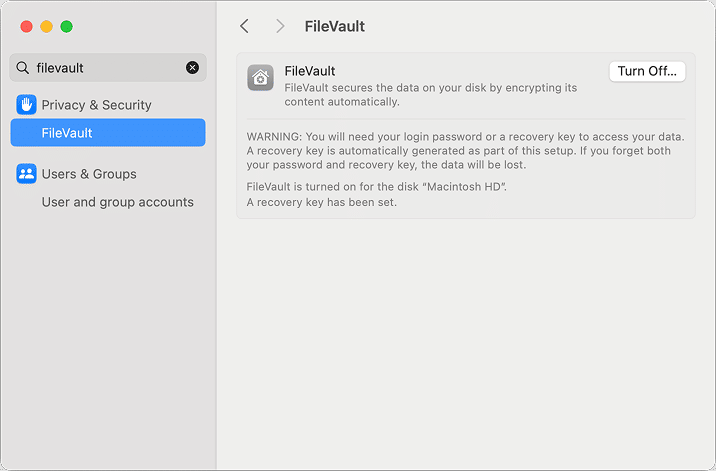
Make sure you have your iCloud/Apple ID logins handy and have saved your FileVault recovery key (if you previously enabled FileVault for your disk).
Two ways to install macOS Tahoe
There are two main ways to install Tahoe: a straightforward in-place upgrade or a more thorough clean install. Both have their place; the choice depends on your Mac’s condition and how much time you want to spend.
Option 1: In-place upgrade
This is the quickest method and keeps your apps and settings intact.
- Open System Settings → General → Software Update.
- Wait until macOS Tahoe shows up and click Upgrade.
- Follow the on-screen instructions.
- After the installation, check your files, permissions, and third-party apps (some may need a reinstall).
If you want speed and convenience, this is the way to go.
Option 2: Clean install
This is recommended if your Mac feels sluggish, your disk is nearly full, or you want a completely fresh start.
- Download the macOS Tahoe installer from the App Store (it will appear in your Applications folder).
- Create a bootable USB drive (16 GB or more). For example, if your USB drive is called MyVolume, you can open Terminal and use this command:
sudo /Applications/Install\ macOS\ Tahoe.app/Contents/Resources/createinstallmedia --volume /Volumes/MyVolumeCopy
- Restart your Mac from the USB installer:
- On Apple Silicon: hold the power button.
- On Intel: hold the Option key during startup.
- Open Disk Utility, erase your main disk (choose APFS for SSDs), and install macOS Tahoe.
- If anything goes wrong, restore from the Time Machine backup you created earlier.
Explore Tahoe new features after installing
Once the update is done, don’t just dive back into your usual workflow. Tahoe has plenty of new tricks that are fun to explore right away. Here are some I recommend checking out first:
- Play with the new Liquid Glass design
Open a few apps, switch between desktops, and see how the new transparent menus and refreshed icons look. It feels radically different at first, but after a week, it starts to feel natural. - Try Spotlight, your new Launchpad
Press Command + Space and type the name of an app. Launchpad is gone, and Spotlight with its App Library now does its job, plus much more: quick actions, filters, and rich previews. - Open the new Phone app
If you use an iPhone, get ready to receive calls directly on your Mac. The new app brings your contacts, call history, and even voicemail into one place through Continuity. - Check out the Games app (and Metal 4)
Apple quietly retired Game Center and replaced it with a full Games app. It acts as a catalog, overlay, and hub for the new Metal 4 graphics features. Worth opening even if you’re a casual gamer. - Experiment with Apple Intelligence and Shortcuts
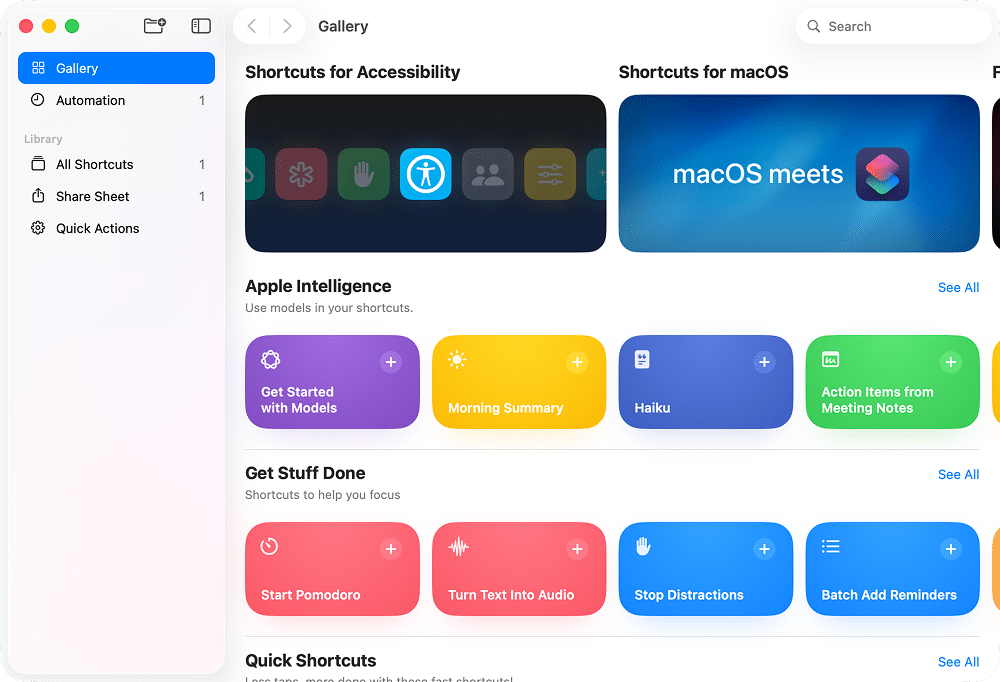
Try asking the new system assistant to generate a reminder, summarize an email thread, or suggest an action. Shortcuts now allow AI models (including ChatGPT) inside workflows, so you can build automations that feel almost magical. - See what default apps can do now
- Photos: auto-generate trip highlights.
- Mail: summarize entire conversations.
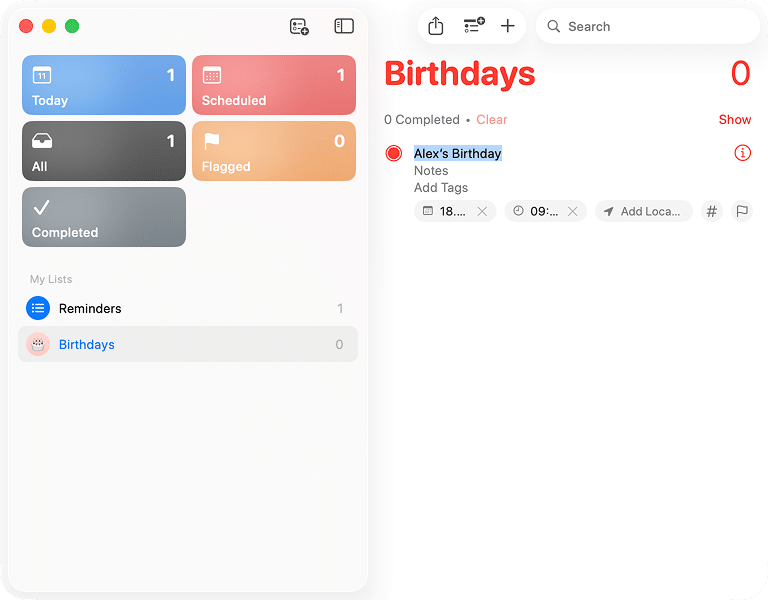
- Reminders: pull tasks directly from notes, emails, or web pages.
- Tour the redesigned System Settings
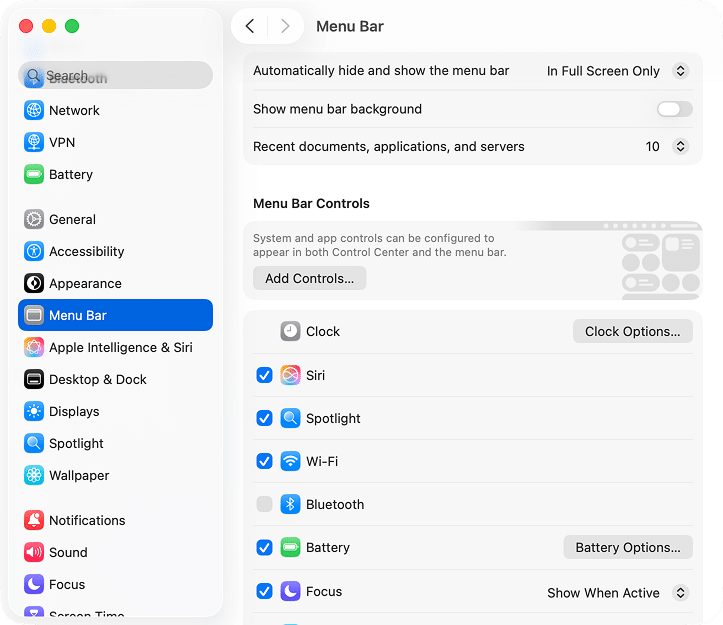
A few gems to look for:- New Menu Bar (ex-Control Center) customization options.
- Accessibility → Motion to control animations.
- Name Recognition to teach your Mac your name.
- Privacy additions: Blocked Contacts, Apple Intelligence Report, and Accessories control.
- New Menu Bar (ex-Control Center) customization options.
You might find all of these features unnecessary now, but getting to know your system now might help you save some time when troubleshooting any issues later.
Closing note
Upgrading to a new macOS version always carries some risk. A failed install can leave you with an unusable Mac, or apps you rely on might suddenly stop working. That’s why it’s essential to back up your system before moving to macOS Tahoe, clean up your storage with an app like MacCleaner Pro, and make sure you know your iCloud credentials and FileVault key.
In short, Tahoe brings a fresh look and some genuinely exciting features, but as with any major release, preparation is what makes the transition smooth.
