If you’re new to Mac, you may not know how to take a screenshot with a keyboard shortcut. This task is quite simple. This article will provide several methods of taking a screenshot on a Mac.
Contents:
- How to use Mac screenshot shortcuts
- How to take screen pictures on a Mac with Screenshot
- How to copy a screenshot to a clipboard
- How to take a video screenshot
- How to change the screenshot location on a Mac
- How to edit screenshots on a Mac
- How to delete screenshots on a Mac
Before we start
Just launch the app → go to the Clean Up section → select the Screenshots option → select and delete the unwanted clipboards.
MacCleaner Pro
Keyboard shortcuts for taking screenshots on a Mac
macOS provides hotkeys to carry out particular actions and system tasks. When you use hotkeys, the speed of your work increases significantly. To take a picture of your Mac screen, use the following screenshot commands:
- Shift + Command + 3 – take a screenshot of the full Desktop screen.
- Shift + Command + 4 – take a screenshot of a certain area (select area with the mouse) of your Desktop screen.
- Shift + Command + 4 + Space – take a screenshot of a certain window on the Desktop. Also, this shortcut can be used to take a website screenshot on your Mac.
If you need to copy the screenshot to the clipboard for further insertion into any graphics or text editor, use the following hotkeys:
- Shift + Command +3 + Control – save a screenshot of the full Desktop to the Clipboard.
- Shift + Command + 4 + Control – save a screenshot of a certain area (select with the mouse) to the Clipboard.
- Shift + Command + 4 + Space + Control – save a screenshot of a certain Window to the Clipboard.
Then press Command + V to paste the picture. You can also do this via the Menu → Edit → Paste.
Take screen pictures on a Mac with Screenshot
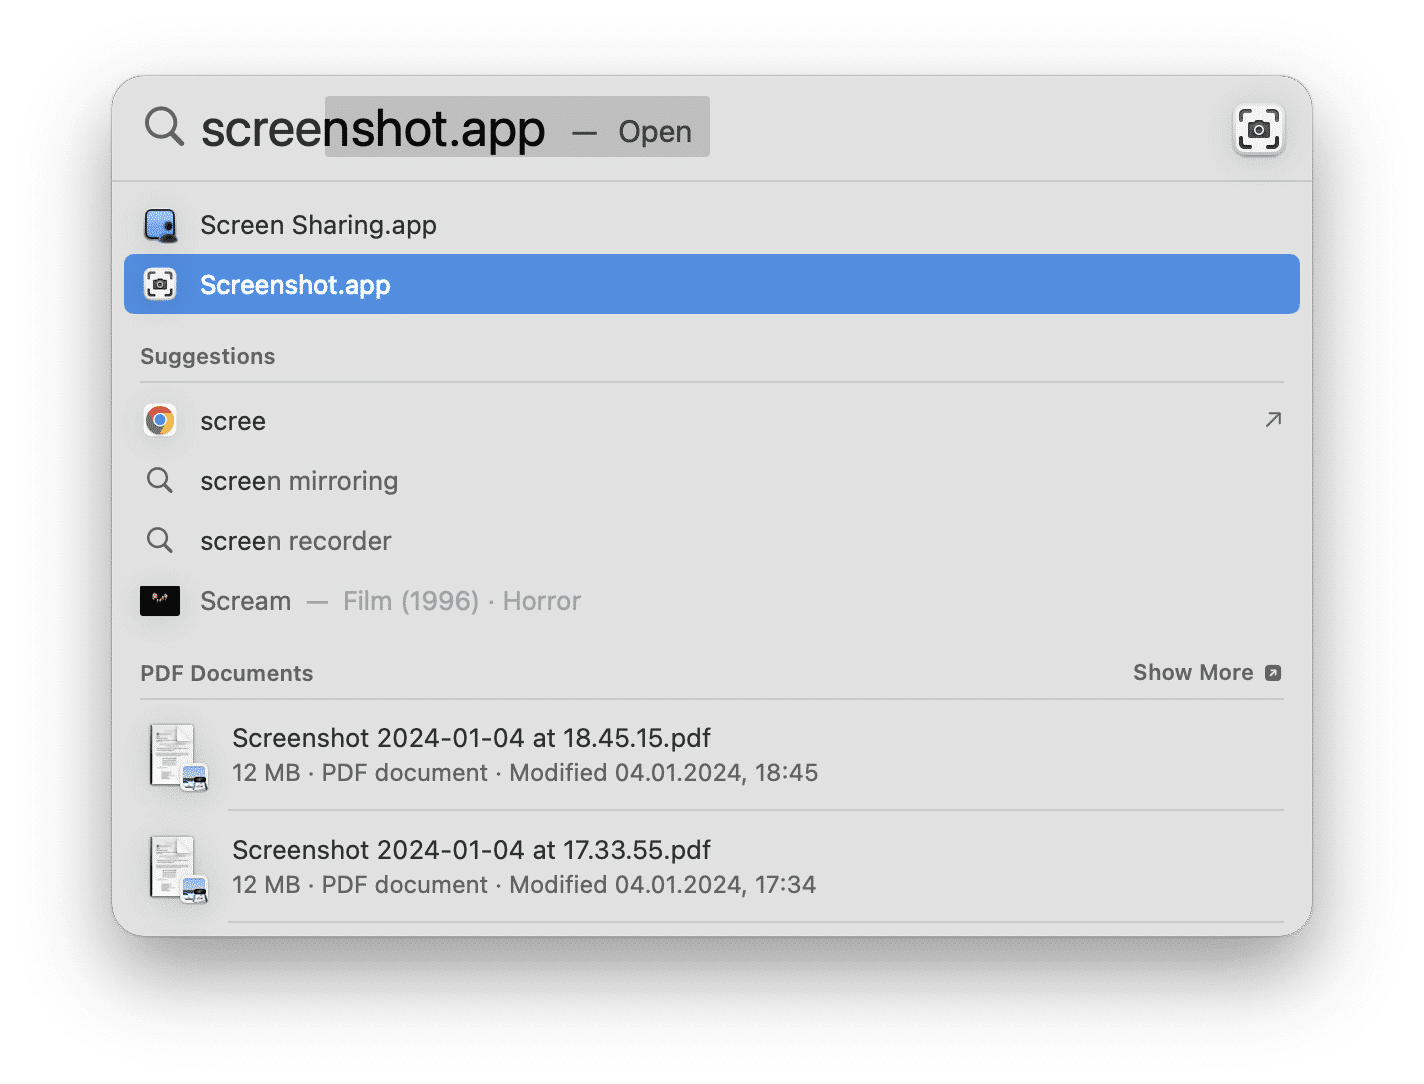
Using Screenshot, you can take pictures of your desktop and also record your workflow on screen. You can find this app in the Utilities folder under Applications, or search for it via Spotlight or Launchpad.
To take a shot of your screen using the macOS Screenshot app, complete the following steps:
- Launch the Screenshot app.
- In the next moment, you will see a small toolbar of the app.
- Select one of the three sections on the left to take a screenshot:
- Choose
→ click or make a control-click.
- Choose
→ move pointer, which looks like a camera
to select the particular window you want to screenshot → click > or make a control-click. You can also take a full page screenshot of your web browser.
- Choose
→ you will see a selected area → control-click to catch and move this area; drag its edges to narrow or widen it → click .
- Choose
Additionally, you can take a delayed screenshot. Click → in the Timer section, click on the > or → click . In the next moment, a small countdown timer will appear on the screen. Then, the screenshot will be made automatically.
How to copy a screenshot to the Clipboard
If you want to save a screenshot to the Clipboard instead of your desktop, you need to use the Control key modifier when you capture the screen. By holding down the Control key as you press the other keys for your desired screenshot type, you will copy the image to the Clipboard rather than creating a file. You can then paste the image into any application that supports images.
How to take a video screenshot
If you want to take a video screenshot on your Mac, complete the next steps:
- Launch the Screenshot tool.
- Select one of the two sections in the middle of the app’s window:
- Choose
→ click or make a control-click. In the next moment, you will see a record icon in the Status menu in the Menu bar. To stop recording, click the record icon on top or launch the Screenshot app and select from the app’s toolbar.
- Choose
→ you will see a selected area → control-click to catch and move this area; drag its edges to narrow or widen it → click . Stop recording by clicking the record icon in the Status bar or select from the Screenshot app’s toolbar.
5. How to change screenshot location on a Mac
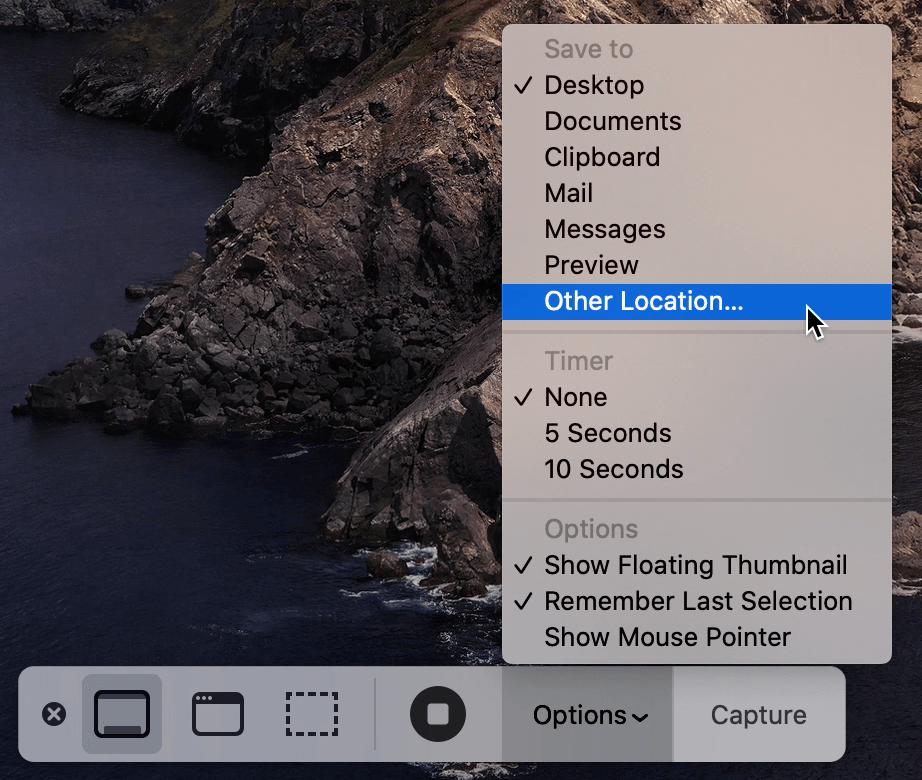
By default, all your screenshots are saved to the desktop. If you want to save screenshots to another location, launch the Screenshot app and click . There you will see a list of Save To suggested locations, like Clipboard, Mail, Messages, and Other Location. Once you choose a location, your screenshots will automatically be saved to the selected location.
If you use macOS High Sierra or earlier, there is another option to change the screenshot location. You can change the location for storing the screenshots via Terminal. Go to and use the following command:
Defaults write com.apple.screencapture location ~/Pictures
Killall SystemUIServer
Here ~/Pictures is the path to the folder.
Restore settings:
Defaults write com.apple.screencapture location ~/Desktop
Killall SystemUIServer
6. How to edit a screenshot on a Mac
There are several ways you can edit a screenshot on a Mac:
- Use the Screenshot utility app.
To edit a screenshot you have just taken, this option must be selected in advance. For this, Launch the Screenshot app → click Options → select .
So the next time you take a screenshot, you will see a small thumbnail in the right corner of the screen. Click it to edit, rotate, or crop screenshot. Then, you can click Done if you finished, choose the trash icon to delete or select to share the file via mail, AirDrop and so on.
- Use the Preview app.
When you control-click the screenshot, it is opened by the Preview app by default. Using this app, you can edit, rename, and share a screenshot. By default, screenshots are saved in .png format. To change the format, you can click on File on the menu bar and select to convert a PNG format to .heic, .jpeg, .pdf, or .tiff.
- Use the Terminal utility app.
By default all screenshot file names start with “Screenshot”. You can via the following commands:
Defaults write com.apple.screencapture name “the desired name”
killall SystemUIServer
Here the “desired name” is the name of a new image file.Restore settings:
Defaults write com.apple.screencapture name “Screenshot”
killall SystemUIServerAlso, you can . For this, use the command:
Defaults write com.apple.screencapture type format
killall SystemUIServerThe “format” may be one of the following: jpg, tiff, pdf, png, bmp.
*You can find more useful Terminal Commands here.
7. How to delete screenshots on a Mac
Even though each individual screenshot file is not large, together they can take gigabytes of your disk space. So, it is better to regularly remove them from your Mac to optimize your system’s performance.
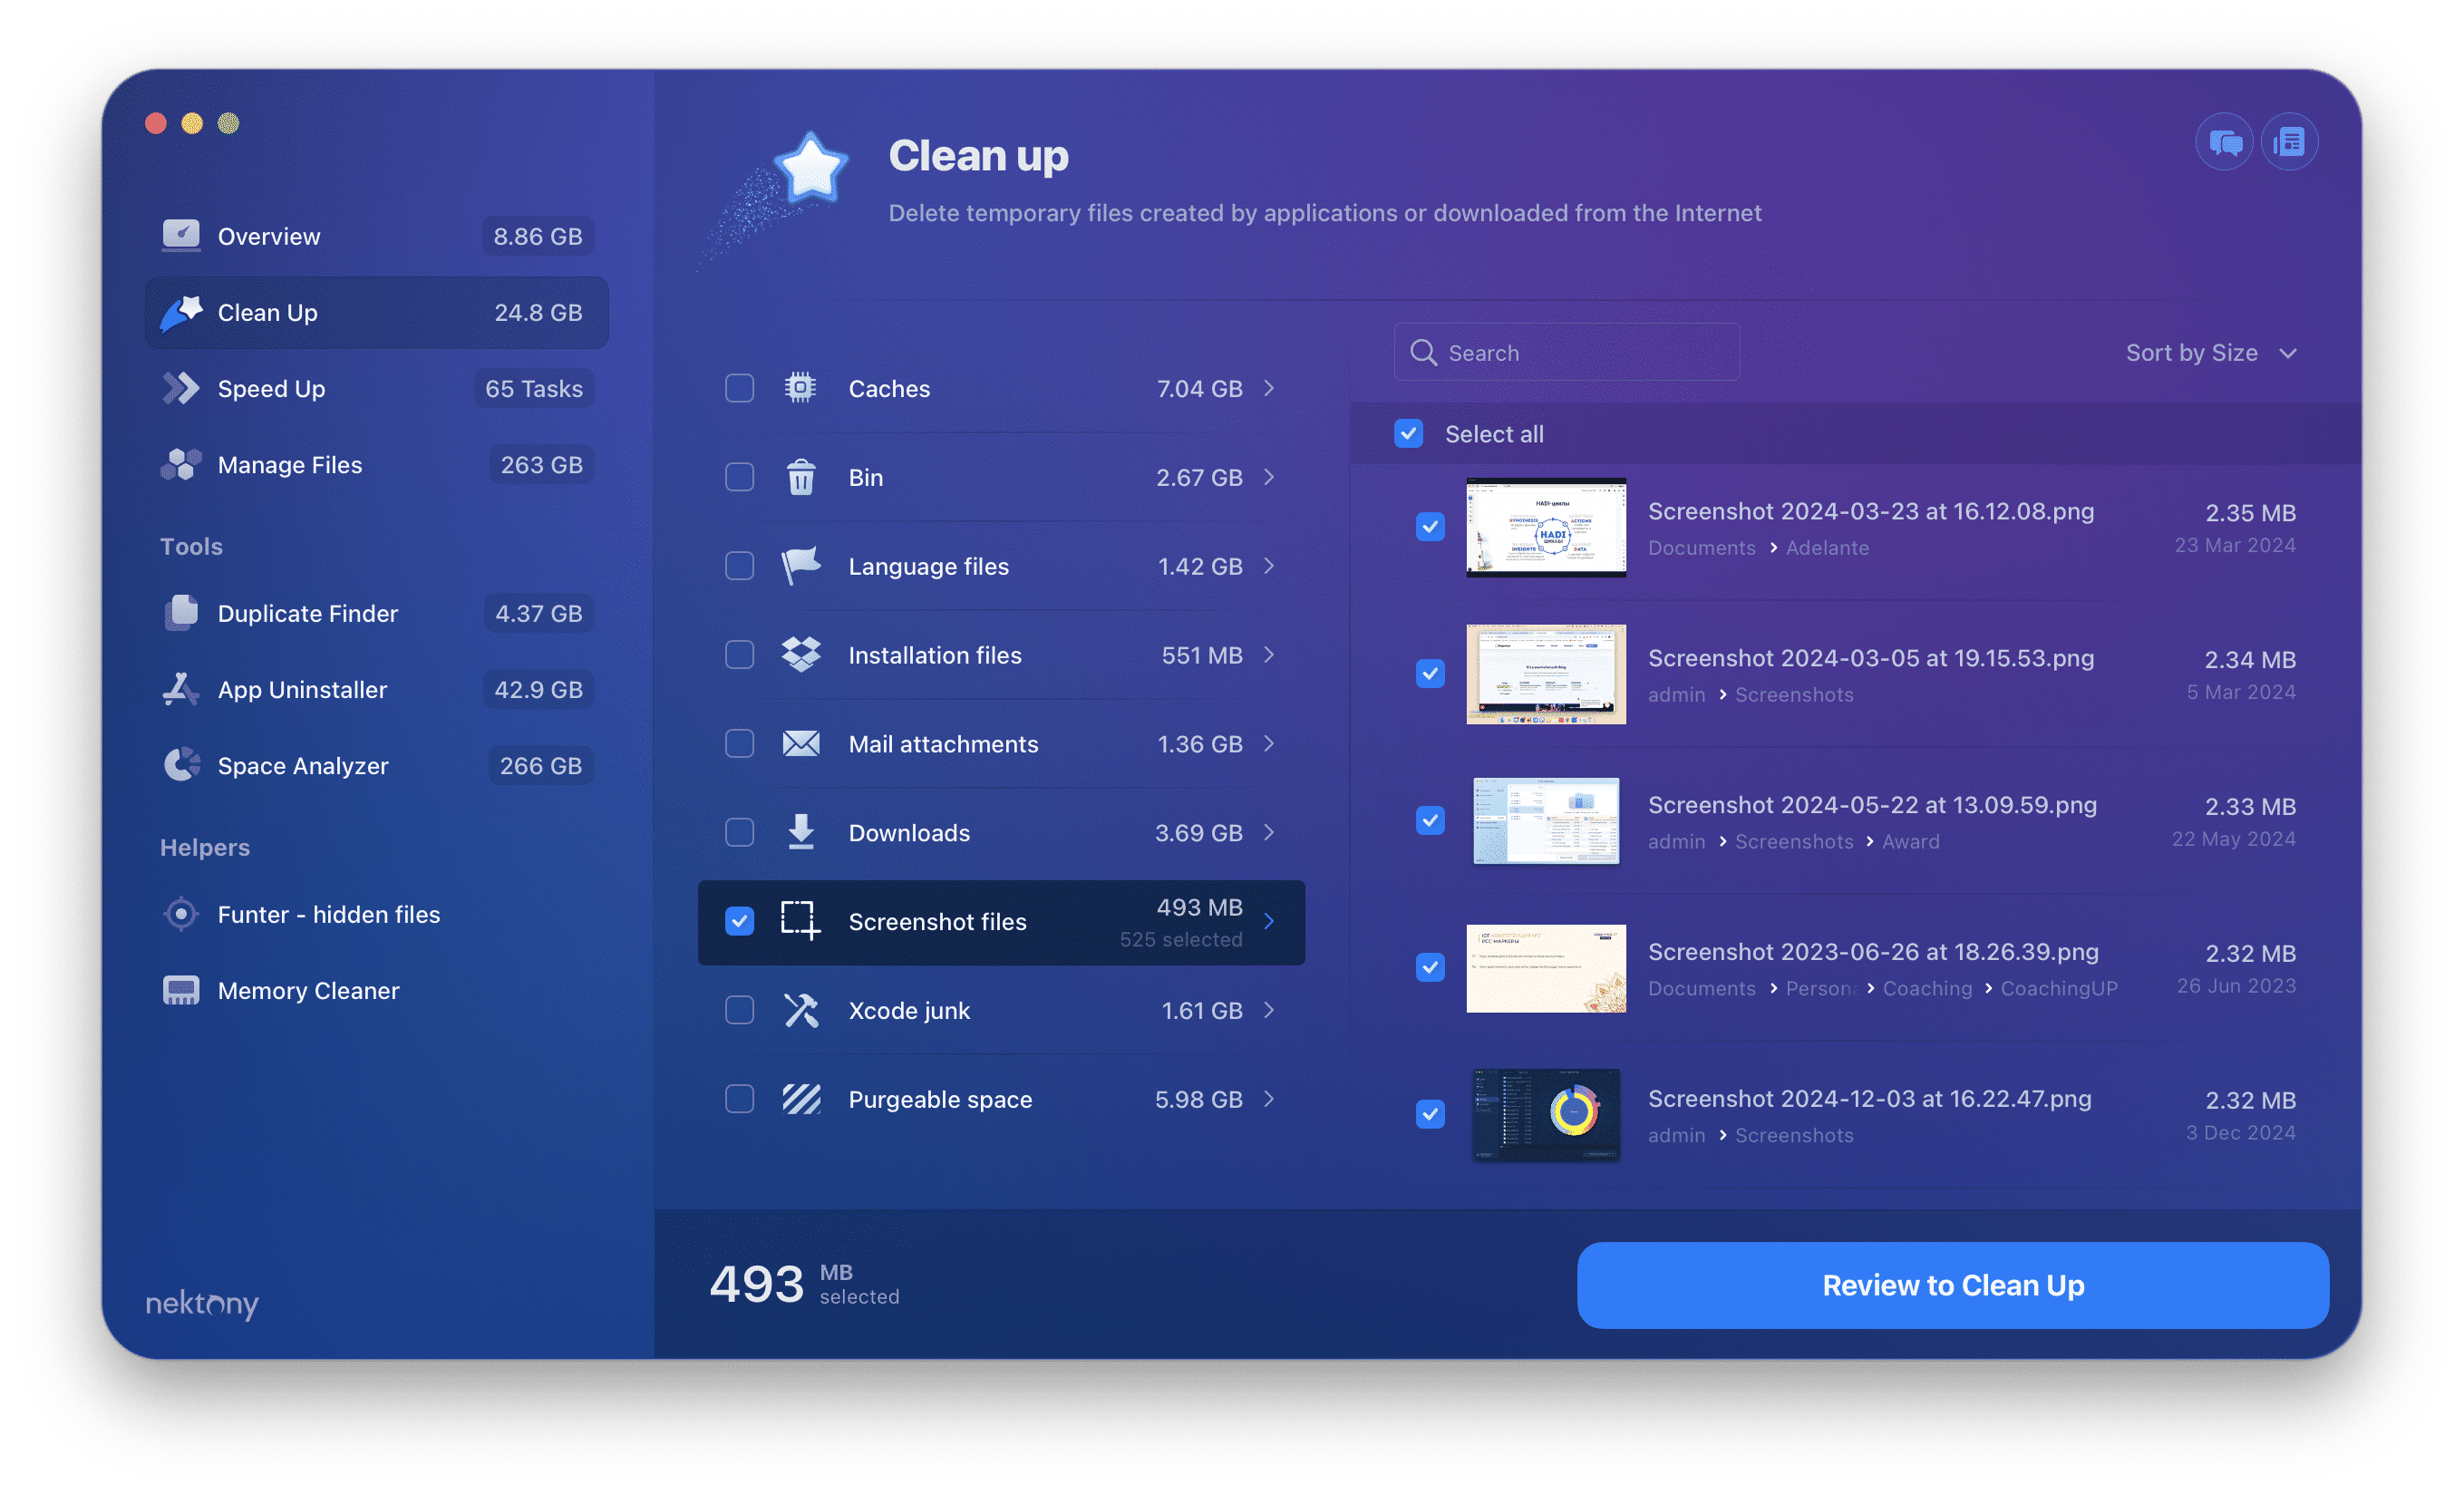
Also, storing screenshots in different locations makes it difficult to find and delete them. Therefore, we recommend using a MacCleaner Pro to remove screenshots from your Mac.
To get rid of useless screenshots, complete the next steps:
- Download and launch MacCleaner Pro.
- Go to the Clean Up section from the sidebar.
- Select the Screenshots section.
- Choose some unnecessary files.
- Click the Review and Remove button.
- To confirm the action, click Remove.
- Empty the Trash to free up space on your Mac.
Conclusion
That’s all! We hope you have found all the information you needed to take screenshots on your Mac with its built-in system tools. There are also lots of great third-party programs for this task; however, most Mac users are satisfied with the methods described above.
If you want to quickly get rid of screenshots from your disk, download MacCleaner Pro. The app provides a free trial for 2 days. It also allows you to clean up other junk files, like caches, cookies, duplicates, leftovers of already deleted apps, and more.
