If you are a Mac user, you might be familiar with the Terminal app, which lets you access the command-line interface of your operating system. This article provides some of the most popular and useful Terminal commands on Mac that can make your life easier and more productive.
What is Terminal?
Mac users are not often faced with the necessity to use the command line, as most needs are realized in the system graphical user interface. Sometime it is necessary to put on another pair of shoes, though, when you need some hidden features that are not available from the GUI. Then you can not do without using the Terminal command line.
The Mac Terminal application provides access to the UNIX kernel, the core of the Apple desktop platform. You can make changes to the system, open the settings and include features with the specific commands in Terminal.
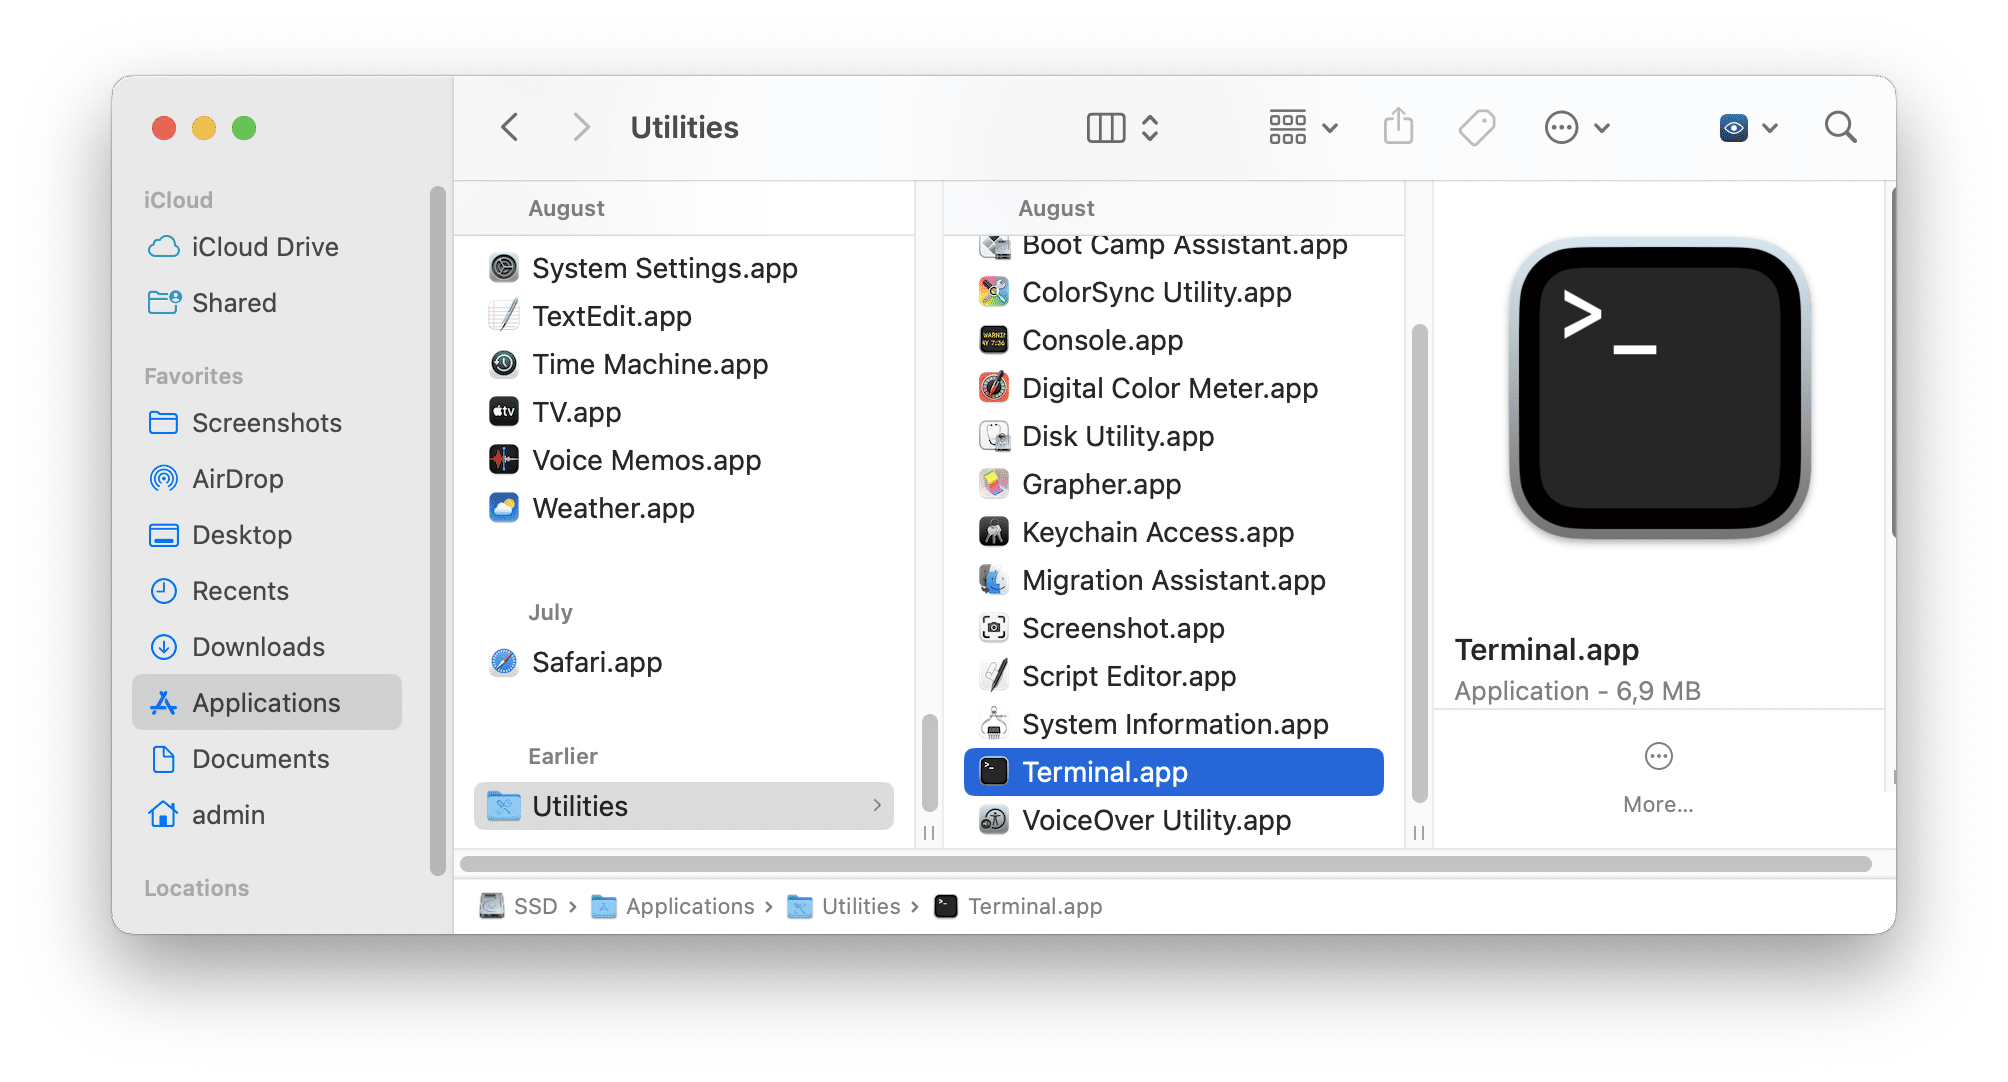
The first thing you should to know about Terminal is how to run it. It is is easier now than ever. Go to Finder → Applications → Utilities or launch it from Launchpad.
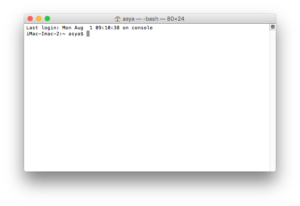
Mostly, work in Terminal consists of entering the specific text strings and pressing the Return key. When you run it you will see a window with a line of the computer name and the current directory. The dollar sign ($) in the end and a blinking cursor invite you to enter the first command. In the text below you will find some Terminal commands for Mac. After every command press the Enter key.
TOP useful Terminal commands for working on Mac
1. New tabs for all links in Safari
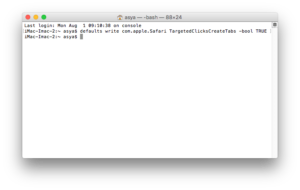
For some inexplicable reason, there are pages linked to be opened in a new window, in spite of a required setting to be opened in a new tab. To prevent such attempts in Safari, close the browser and just type in a Terminal window.
defaults write com.apple.Safari TargetedClicksCreateTabs -bool TRUE
If you want to restore the settings use this command:
defaults write com.apple.Safari TargetedClicksCreateTabs -bool FALSE
2. Show hidden files in Finder
All hidden files’ names always begin with a point. Believe it or not, the files you see on your desktop are not all the files on your Mac. There are files and folders that are hidden from your eyes. They are system files and caches that Apple keeps invisible . It says that they are either too important and need to be protected, or they are too unnecessary to disturb you. If you need to view hidden files on a Mac use the command:
defaults write com.apple.finder AppleShowAllFiles TRUE; killall Finder
You can also use a special free app Funter to show, hide and operate hidden files on macOS operating system.
3. Change the file format for screenshots
PNG is a file format characterized by high image quality and a small file size. However, not all programs for image viewing can open these files. MacOS saves screenshots in PNG format by default. To select the format (JPEG, GIF, PDF) run the command:
defaults write com.apple.screencapture type extension
Replace the word “expansion” to three-letter abbreviation of your chosen format. For example, to change the default format to PDF, the command
defaults write com.apple.screencapture type PDF
4. Clean RAM Memory
Mac users are faced with a problem, when their memory is packed with an inactive stack of already closed apps. It causes a problem in RAM memory, where all kinds of caches that accelerate the launch of the program are stored. To clean RAM Memory with a Terminal use this command:
purge
If you want the RAM memory to be cleaned automatically and regularly, use the free app Memory Cleaner. The app monitors memory usage and allows you to set up the cleaning frequency.
5. Zip files with password protection
When you compress files or folders in a standard way you can not configure any options for the archive. If you want to password protect it, use the command:
zip -e protected.zip / direction / to / file
If you do not add to the “-e” in a command, the standard zip-file will be created.
6. View a list of all downloads
If you have forgotten from where you had downloaded a particular file, use the following command:
sqlite3 ~ / Library / Preferences / com.apple.LaunchServices.QuarantineEventsV * ‘select LSQuarantineDataURLString from LSQuarantineEvent’ | more
To remove this list use the command:
sqlite3 ~ / Library / Preferences / com.apple.LaunchServices.QuarantineEventsV * ‘delete from LSQuarantineEvent’
7. Files’ directory in the title bar
You may find it more convenient to see the full path of the in the title of the Finder window, rather than in the bottom line. Run the command in this way:
defaults write com.apple.finder _FXShowPosixPathInTitle -bool YES; killall Finder
8. Find the largest files
When your startup disk is filled, you may need to find and delete large files quickly. Here is a command to enter on the OSX Terminal:
sudo find / -size +500000 -print
The number in the command means the file’s size is over 500MB. You can type another size. To go through the files and delete them individually, use this command:
rm “<file path>”
Note, there is no undelete so make sure you want to delete what do you delete. If you need an easier way to find the largest files and folders on Mac, we recommend that you use the Disk Expert app. It scans your disk and visually displays the space usage. It shows the largest items for each folder and even hidden files so you can remove unnecessary files in a safe way.
As you can see, the Command line is a very powerful tool, so use it with a gentle hand! Terminal application can help you to set up the Mac, just as you wish, providing access to the functions without graphical user interface.
