If you’ve ever wanted to protect important files and documents on your Mac but weren’t sure how, this article will help you do just that. First, we will explain how to password protect folders using a default Mac utility. Secondly, we will share an alternative method to protect your files and folders by hiding them.

Contents
How to make a folder password protected
Did you know that users can protect their files and documents with a password, which would be required when logging in the system? But if you share your Mac with other users and store important files on it, that method might not be sufficient. You can easily install an additional level of protection.
The easiest solution to create a protected folder with macOS is to create an encrypted disk image. You don’t need any third-party software for this, as it’s possible to use the default Mac Disk Utility tool to create a password-protected folder. Here is how to do this:
- Launch Disk Utility.
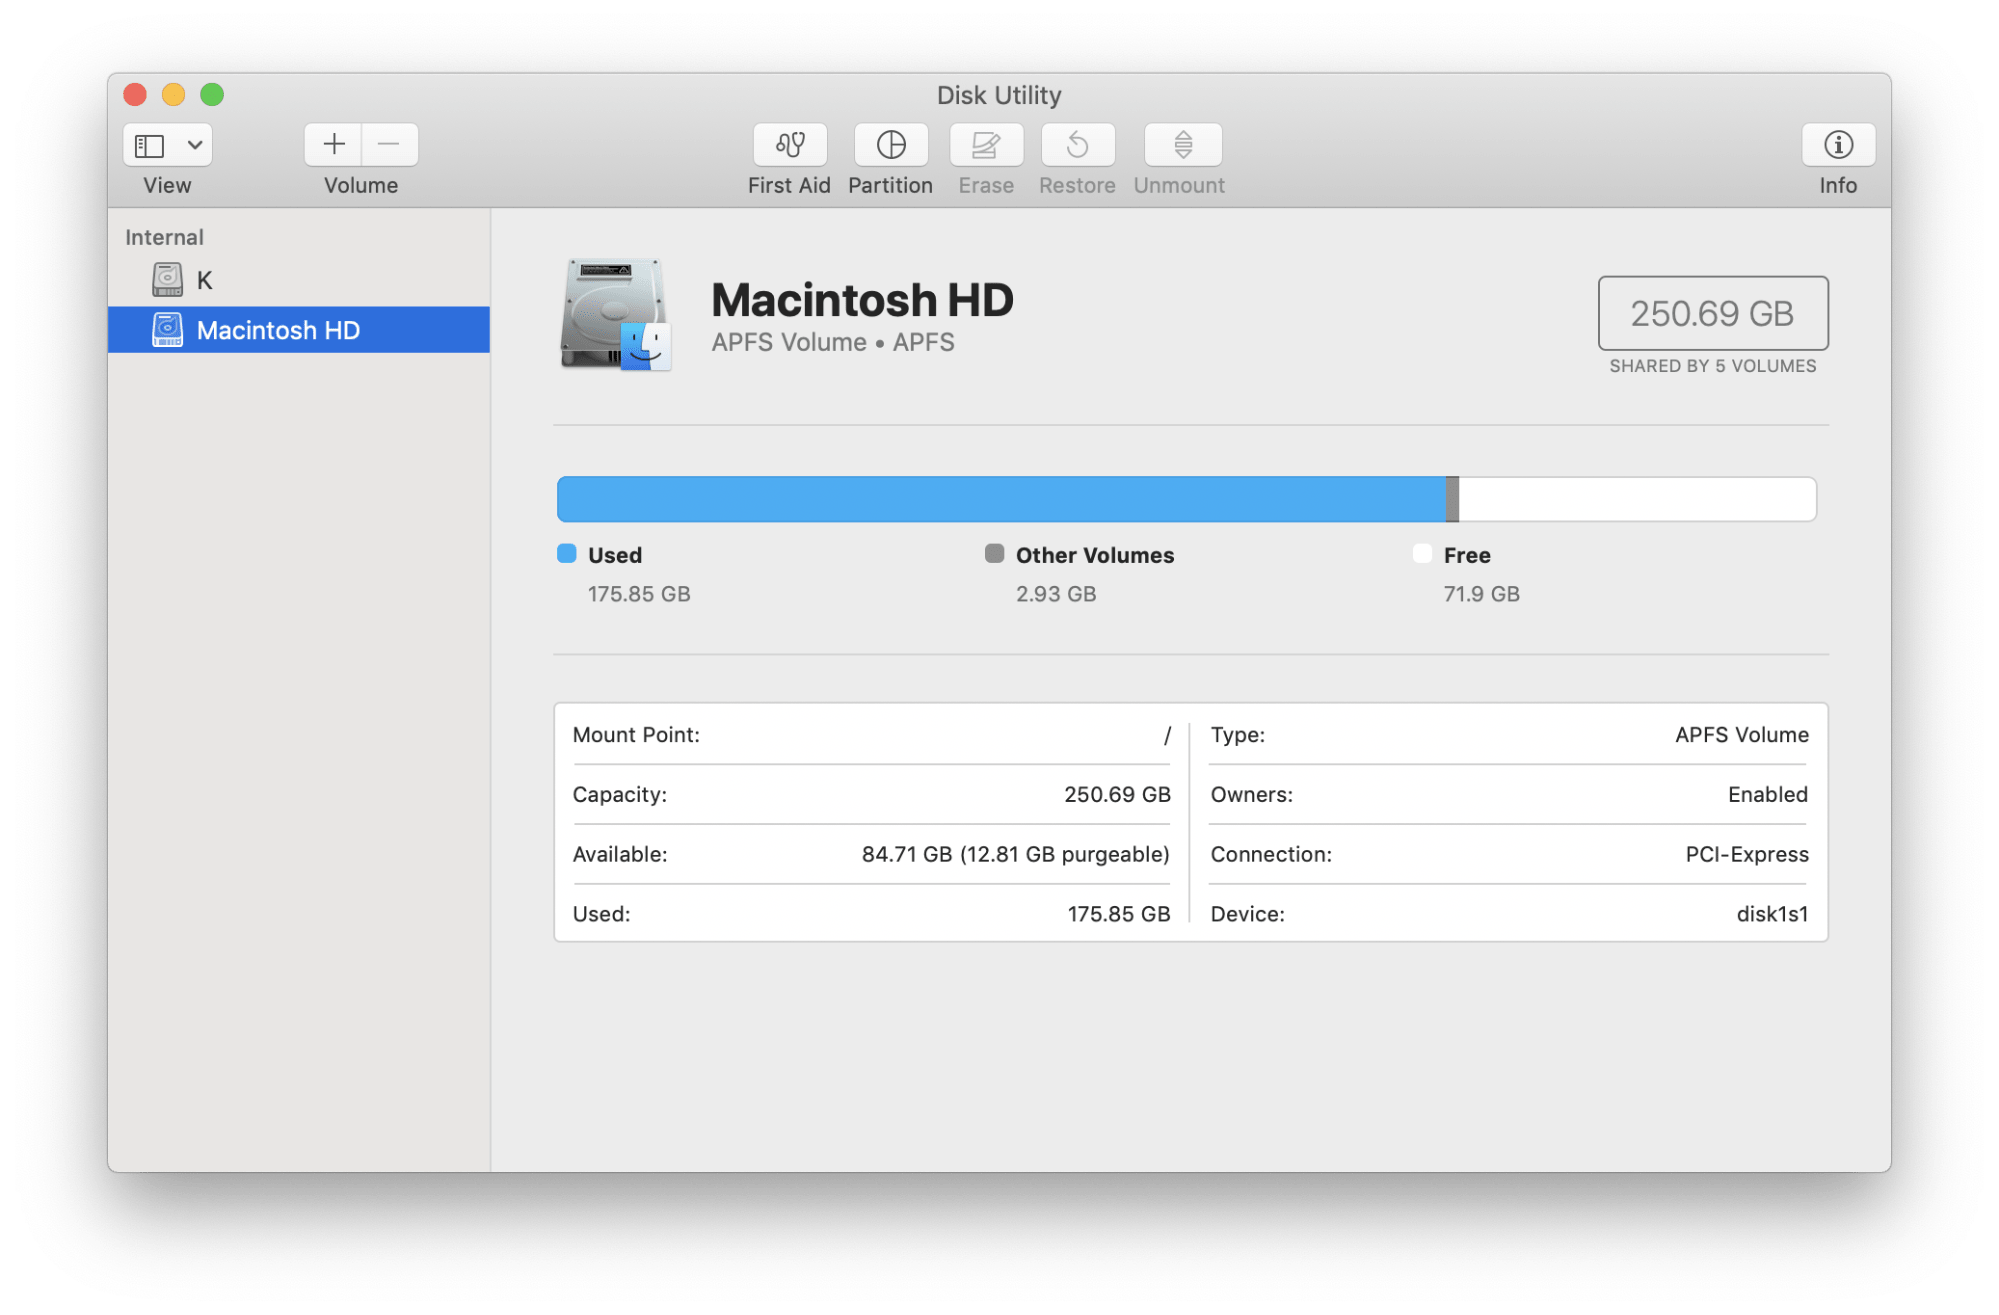
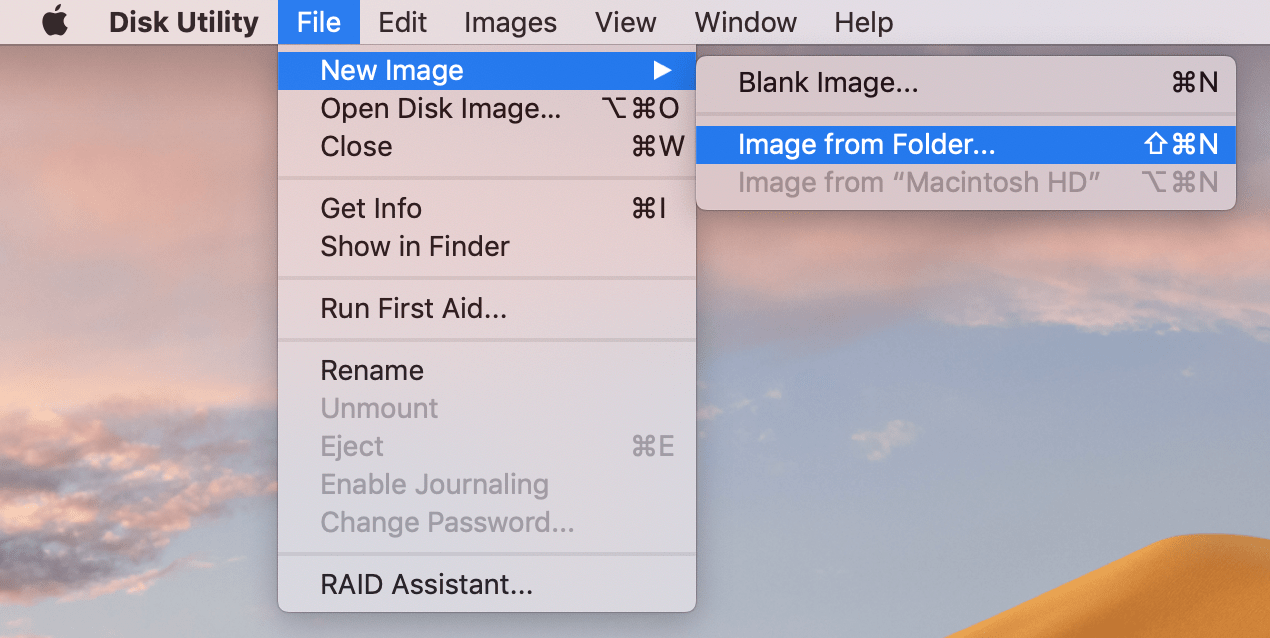
- In the Menu bar, click File → select New Image → Image from Folder…
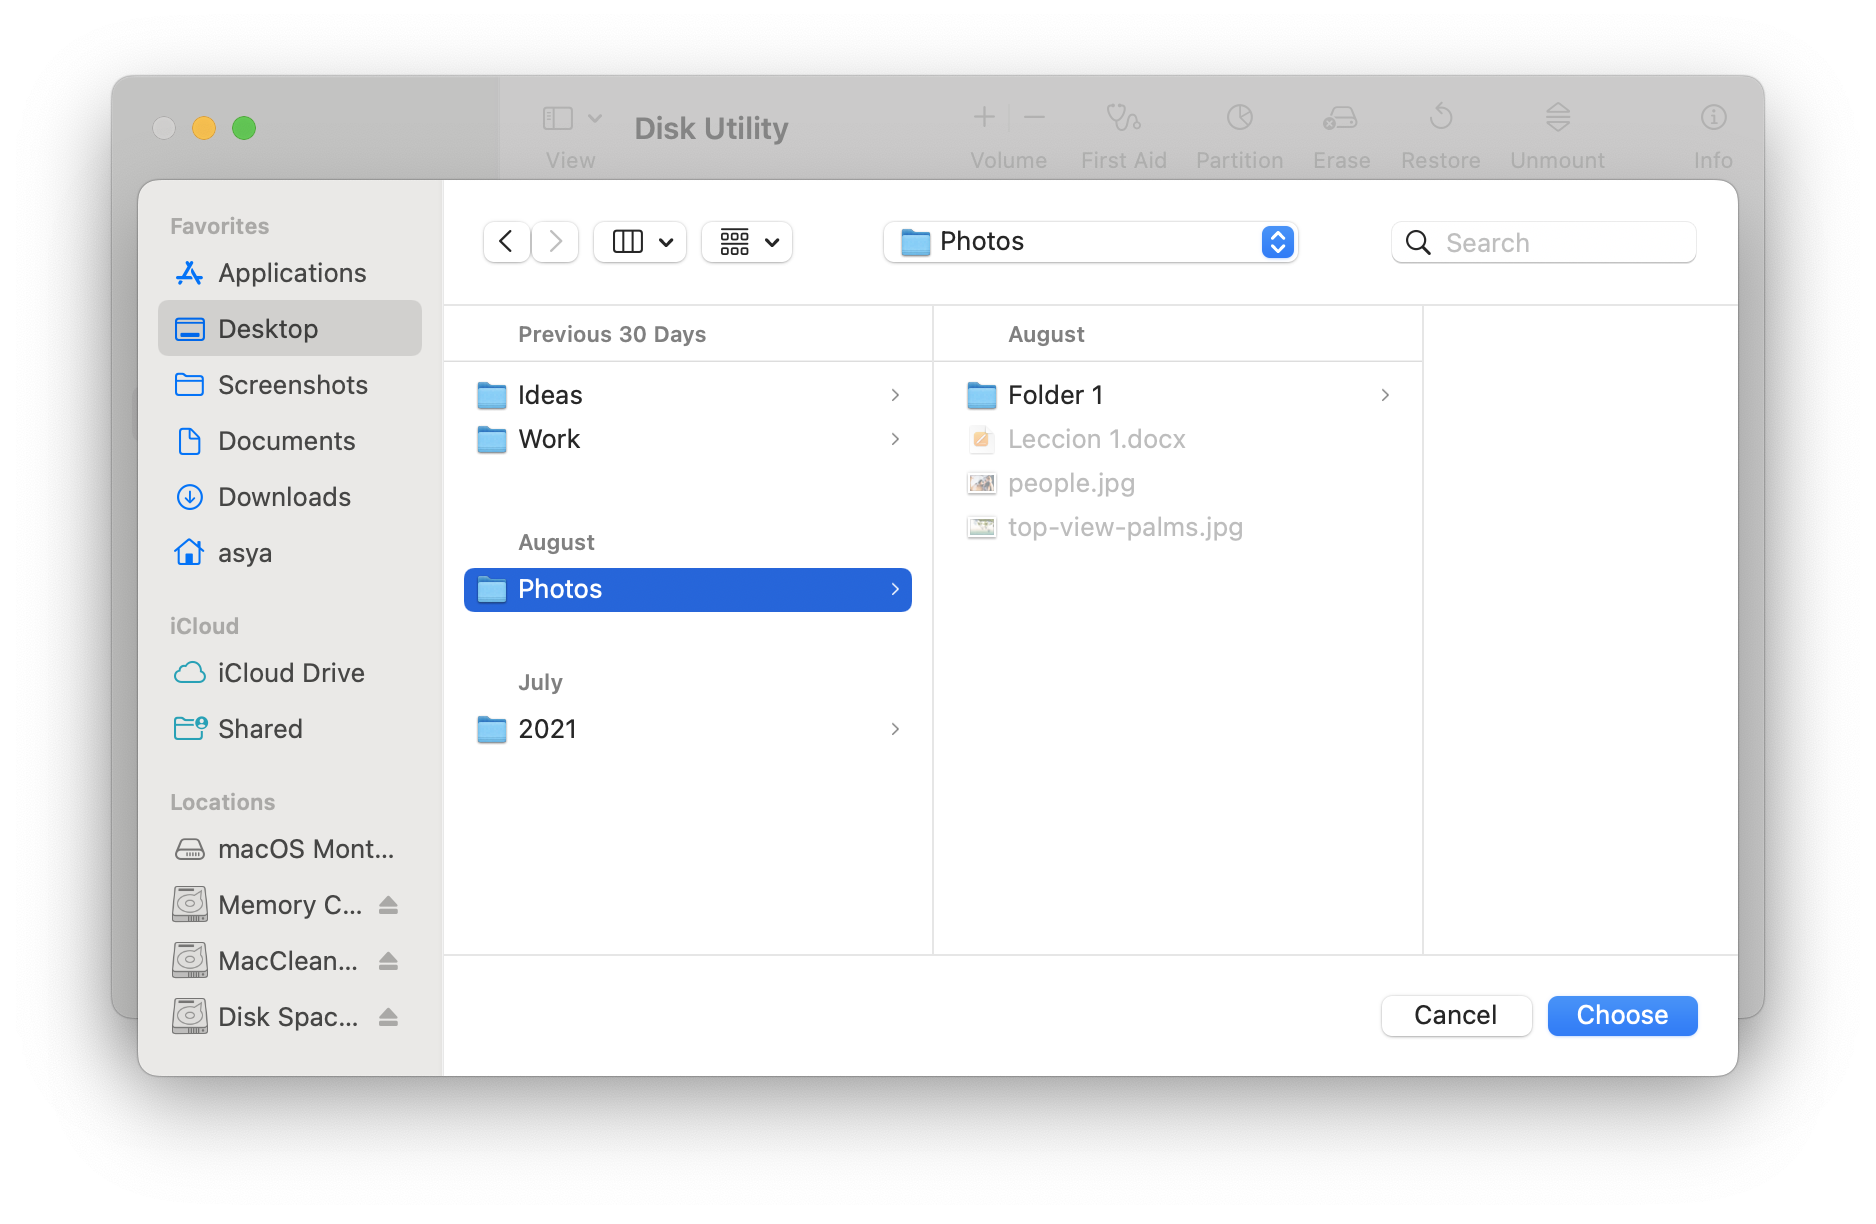
- Choose the folder you want to password protect.
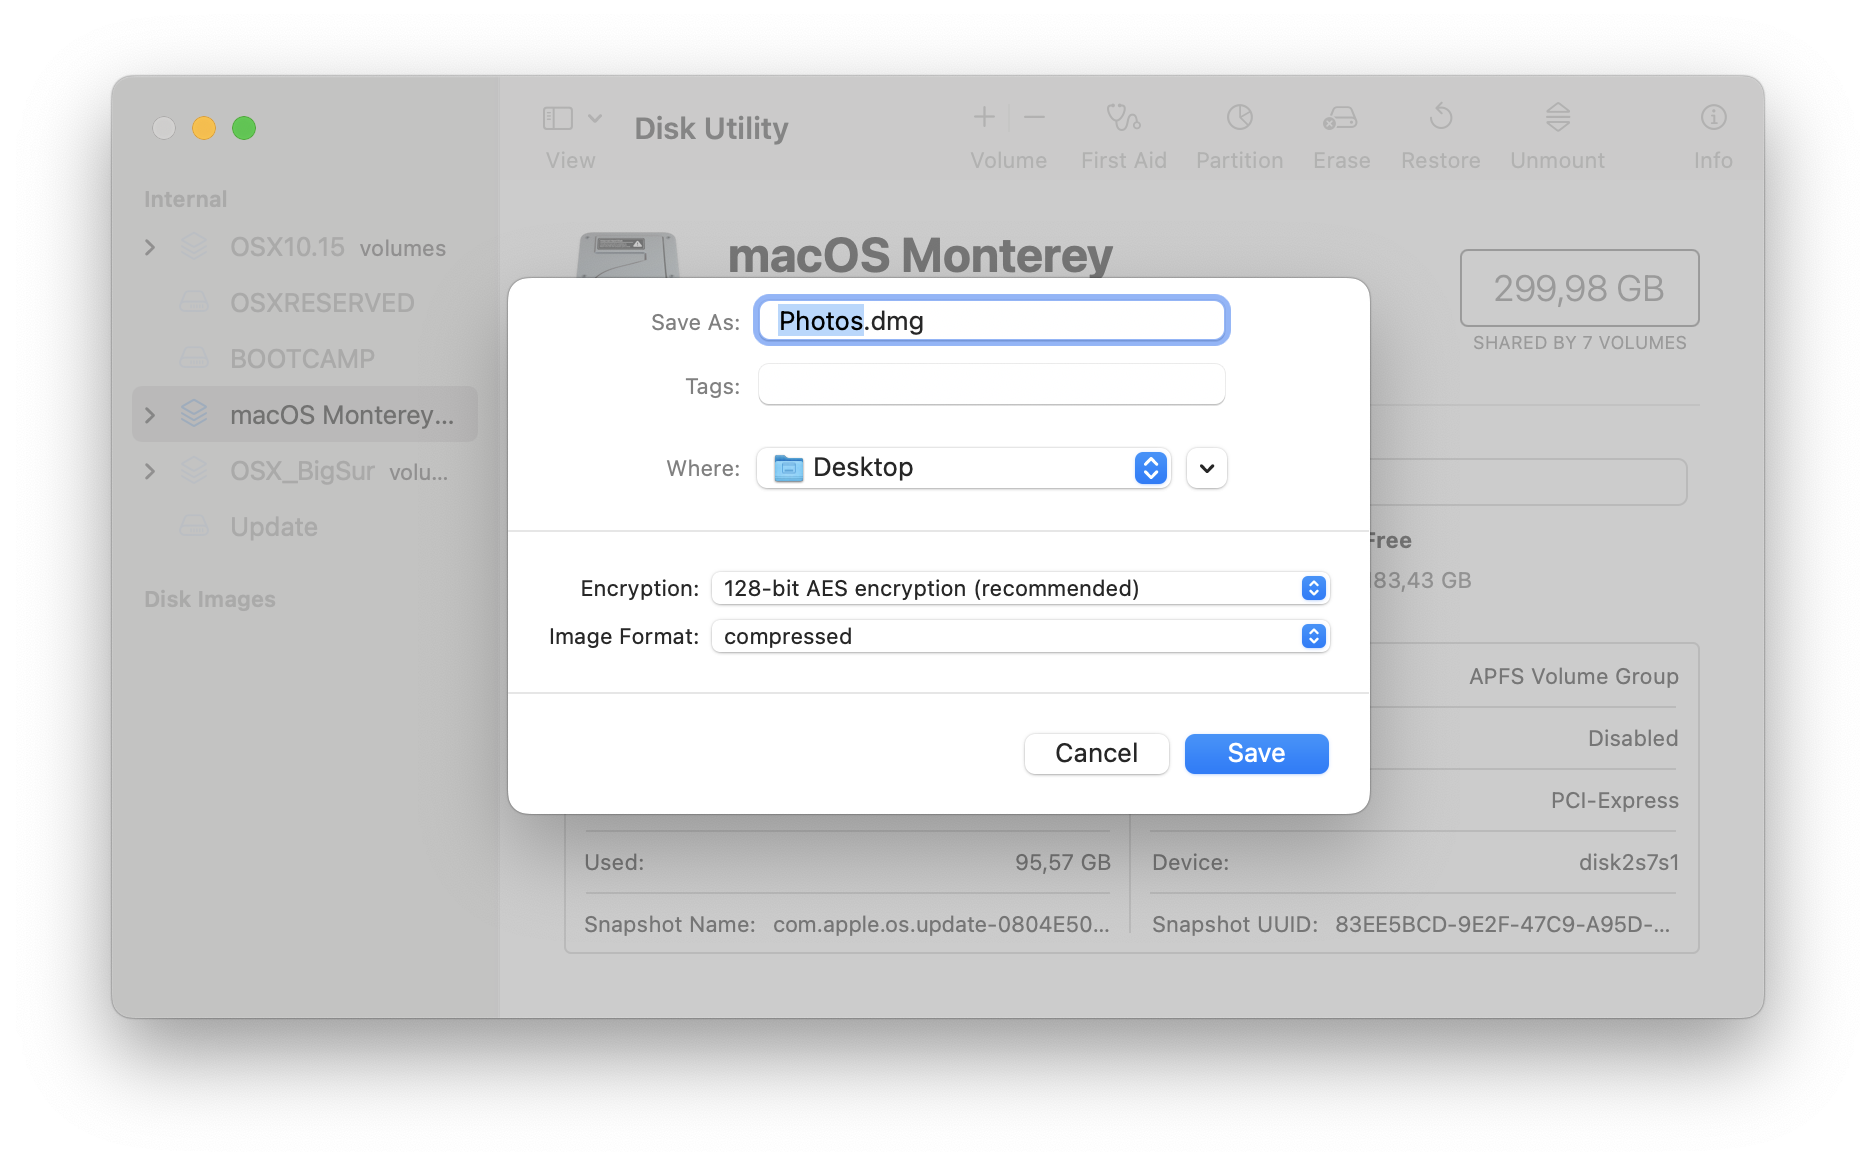
- Set up the location to save the folder, the name, encryption type and image format. If you want to be able to add new files to this folder, choose “Read/Write” in the image format.
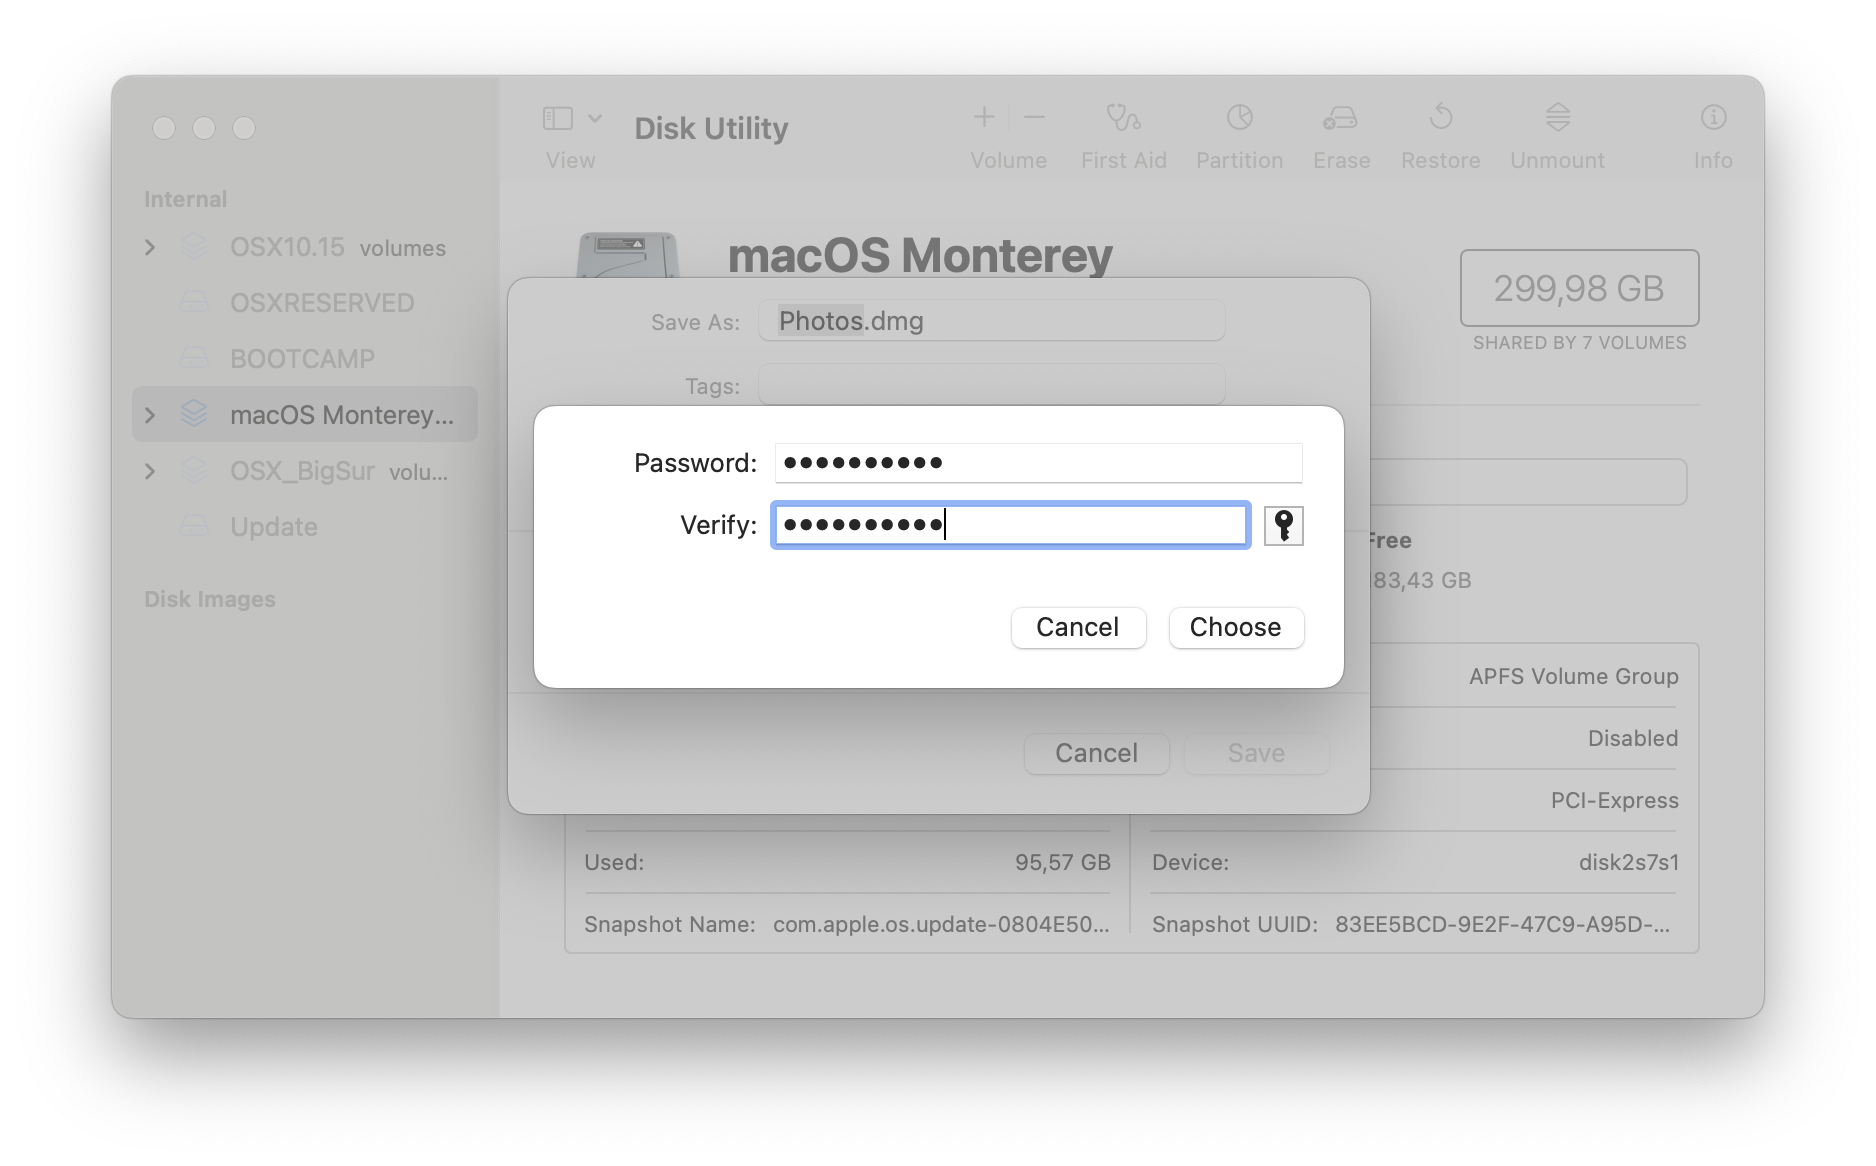
- Once you select the encryption type, Disk Utility will ask you to choose a password for the protected folder.
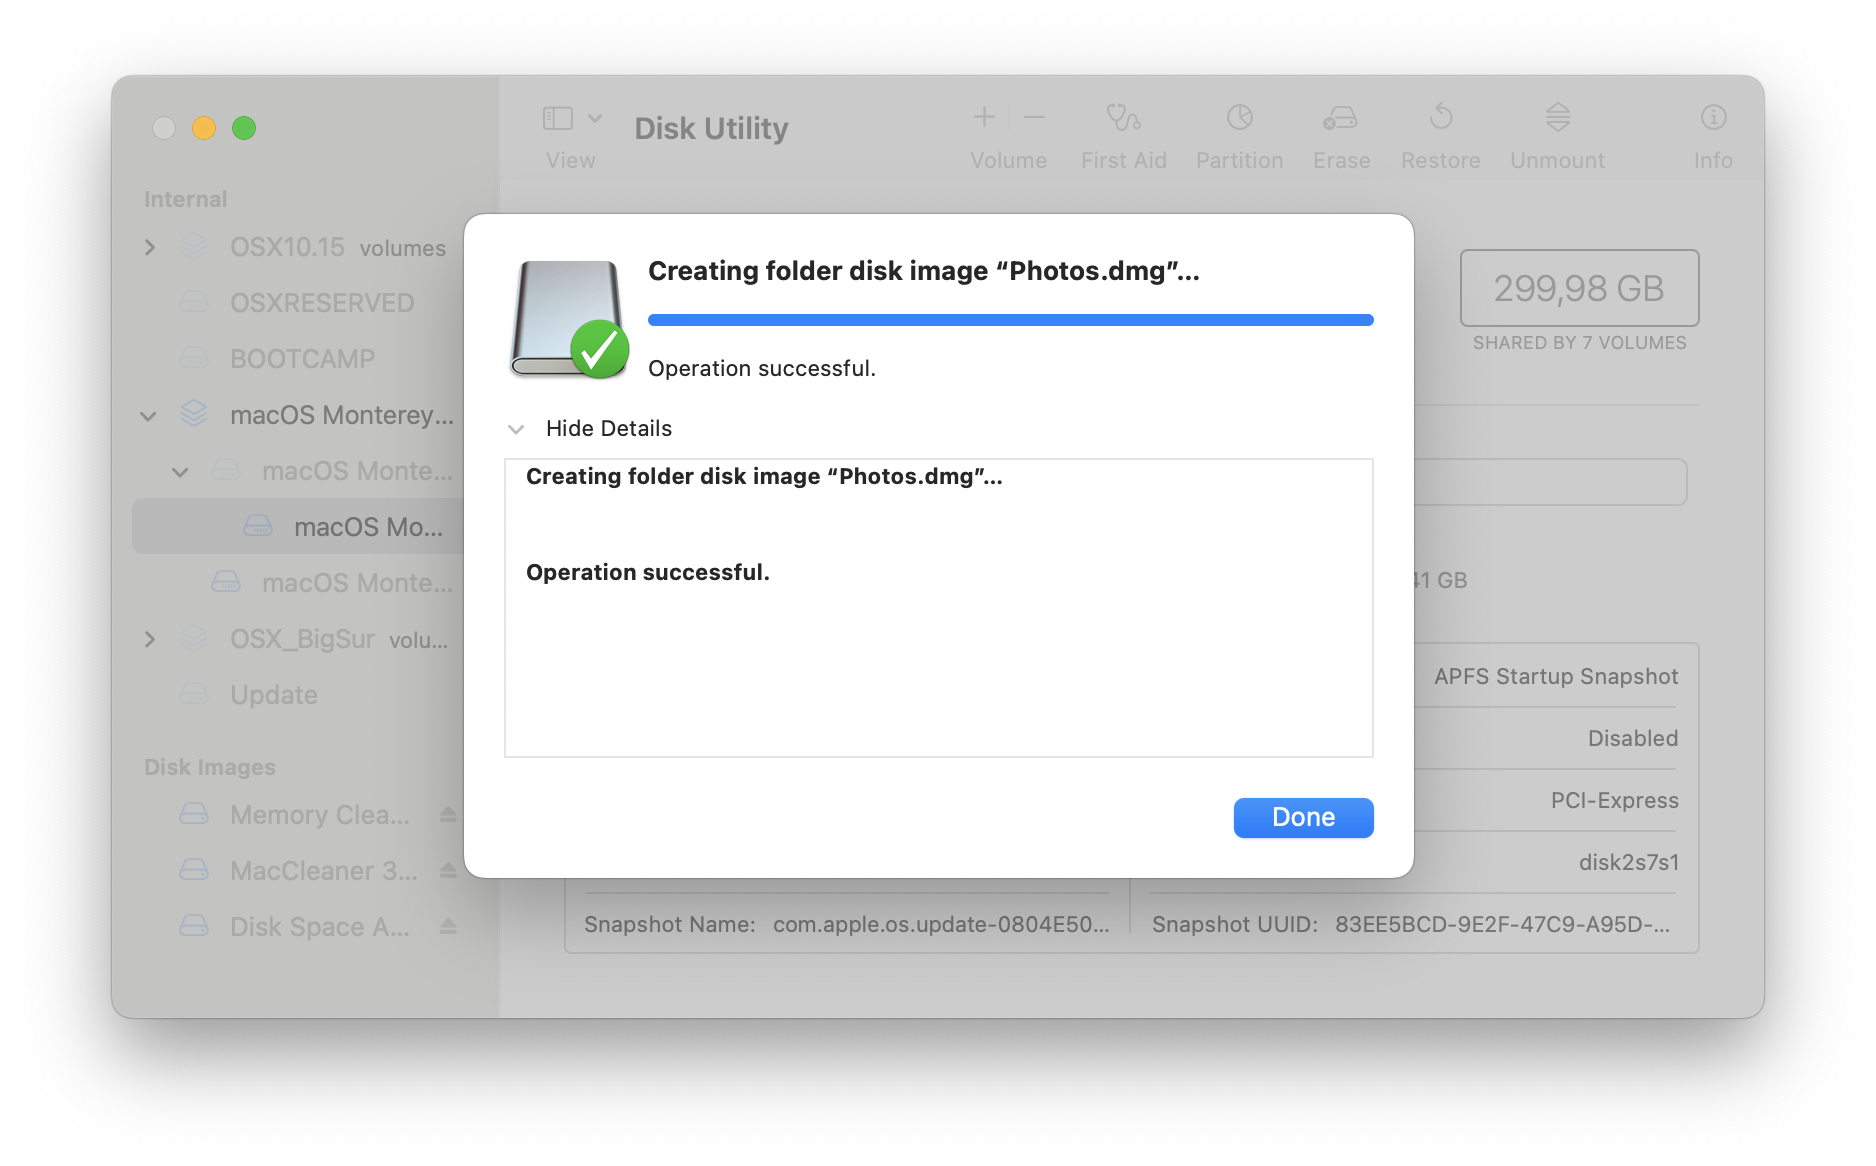
- Then click to save it, and Disk Utility will create a password-protected folder.
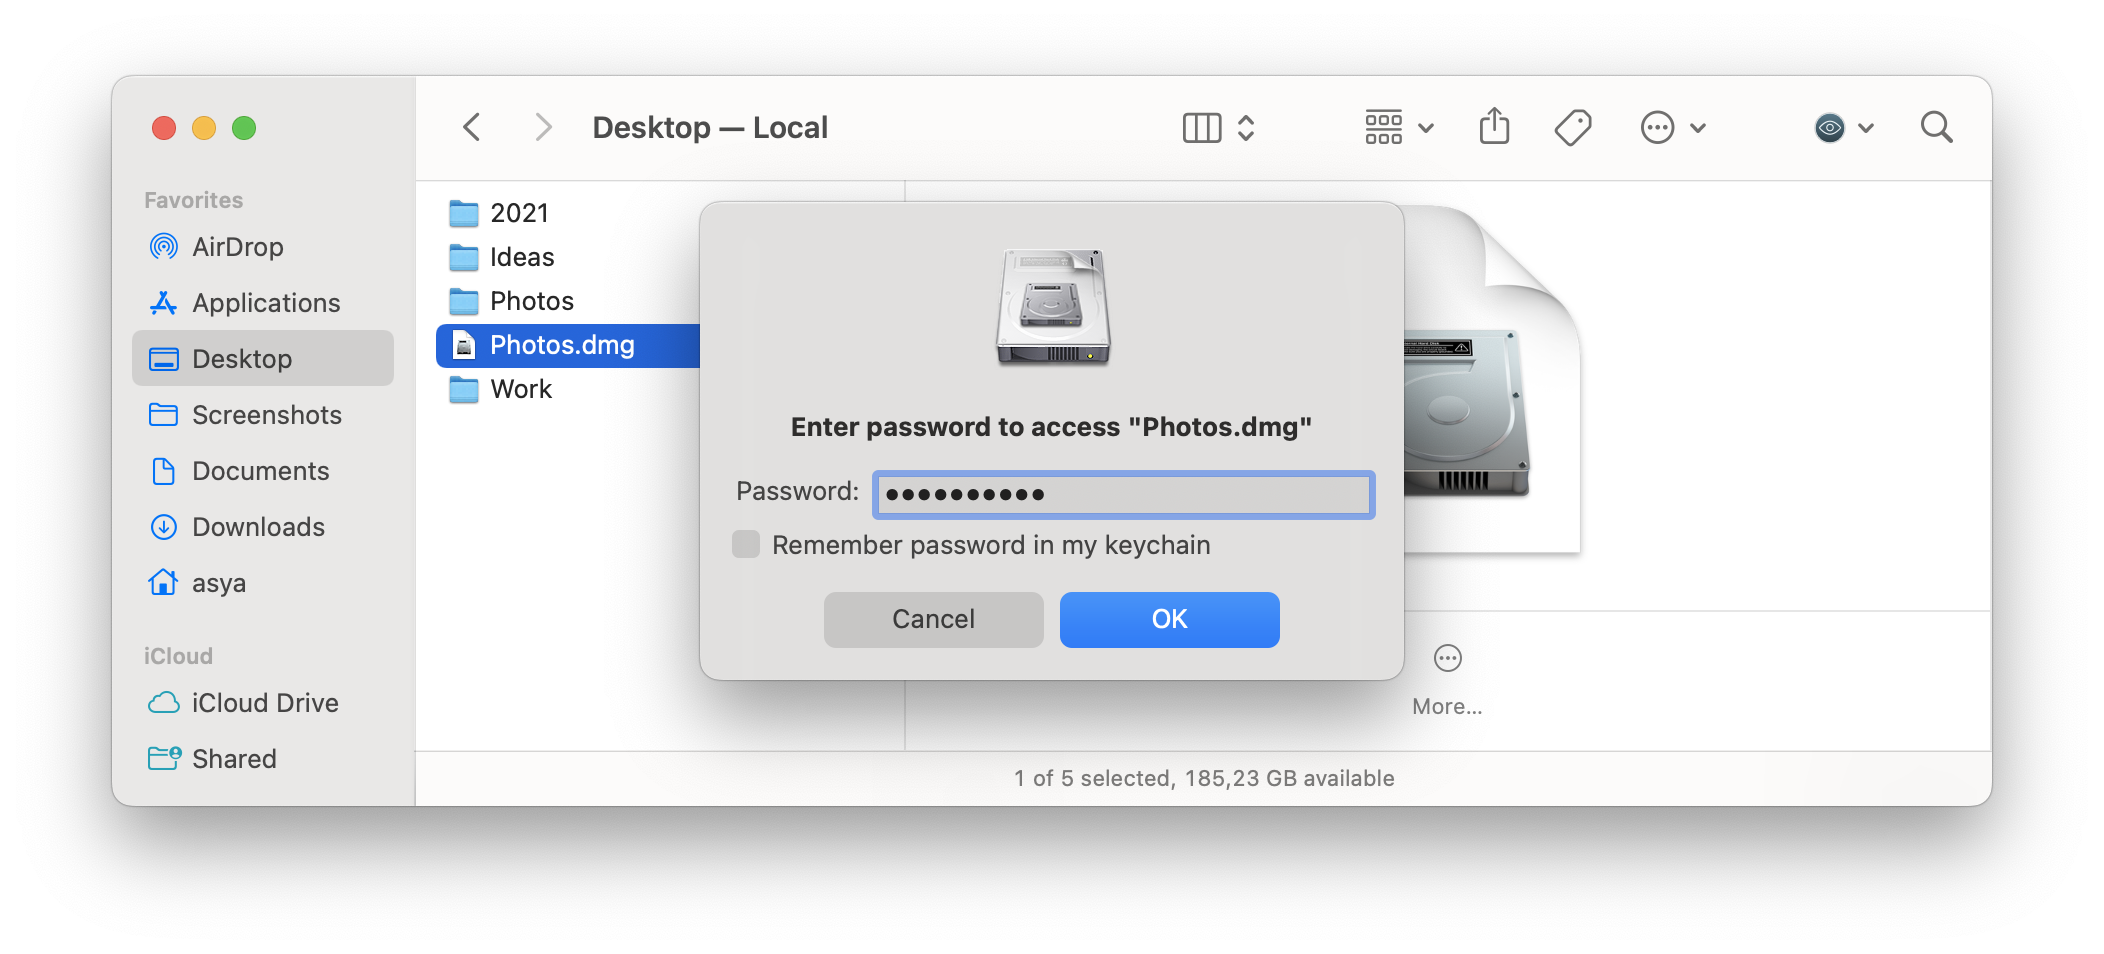
- Once the creation process is finished, you will find a .dmg file in the location where you saved it. When you click to open it, you will be required to enter the password you chose for it.
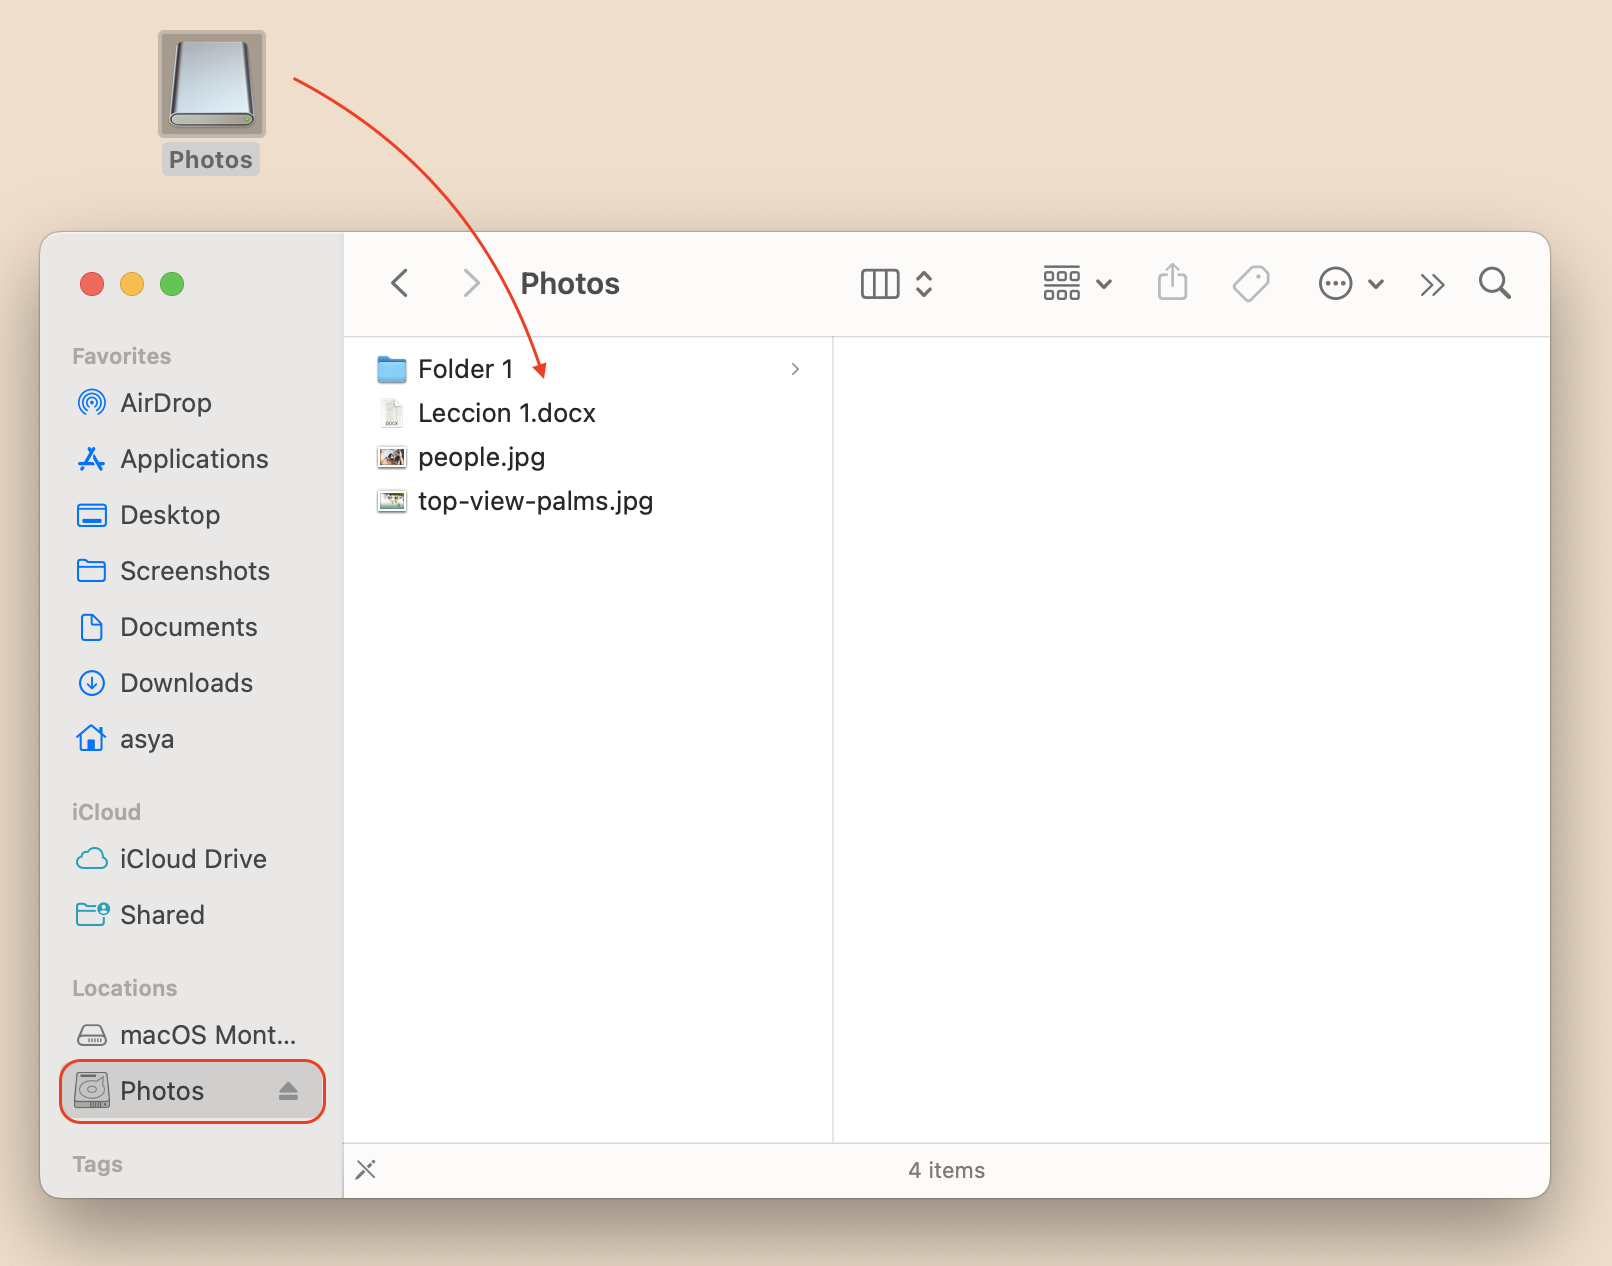
- In this way, you can remove the ordinary folder and now use the disk image file to open your files. You can also use the NordPass as a password manager for your Mac.
Please note that when you create a disk image file, it takes up additional space on your disk. If you suffer from a lack of disk space on your Mac, this method of protecting your folders is not the best one. That’s why we recommend that you learn how to hide your files and folders.
How to hide files and folders from prying eyes
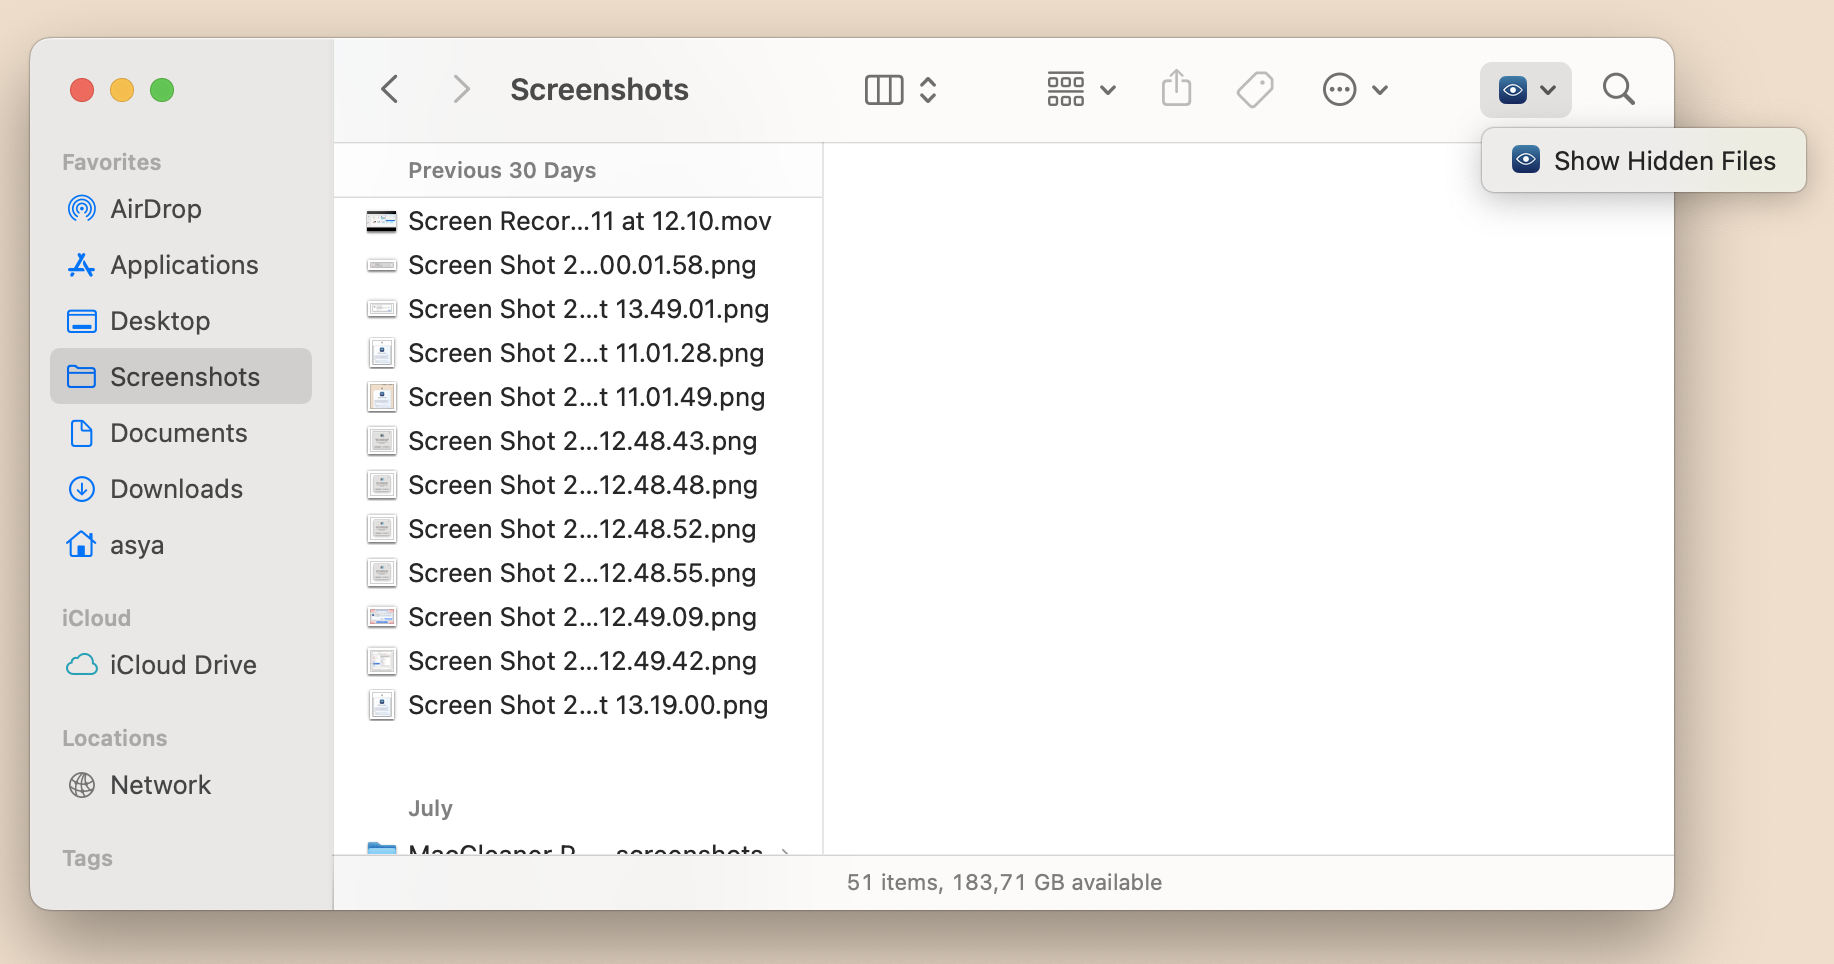
There are several ways to hide files and folders on a Mac. Today, however, we will share the easiest and quickest way, which is possible thanks to the free application, Funter. Funter is a tool that allows you to hide files and folders, unhide them, and search for hidden files and folders in any location, including within packages.
Here is how to hide your folders using Funter.
- Launch the app and confirm the integration with Funter. Read how to get started with Funter.
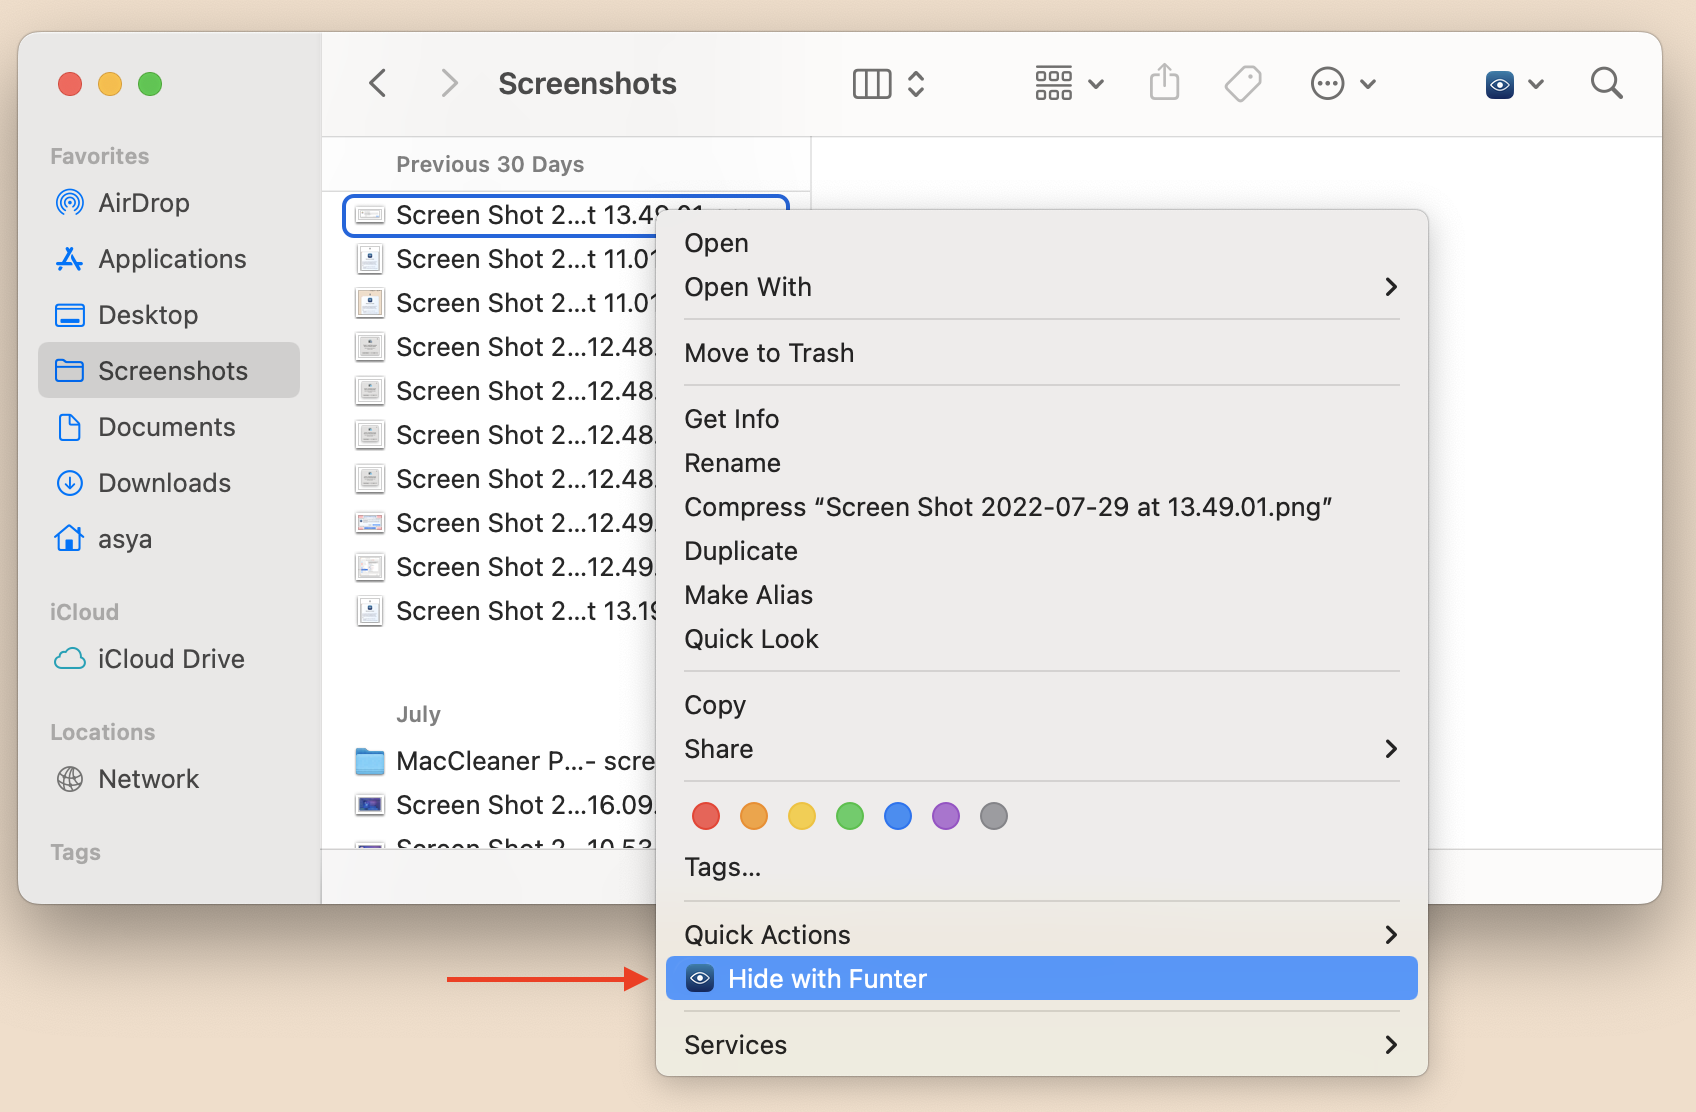
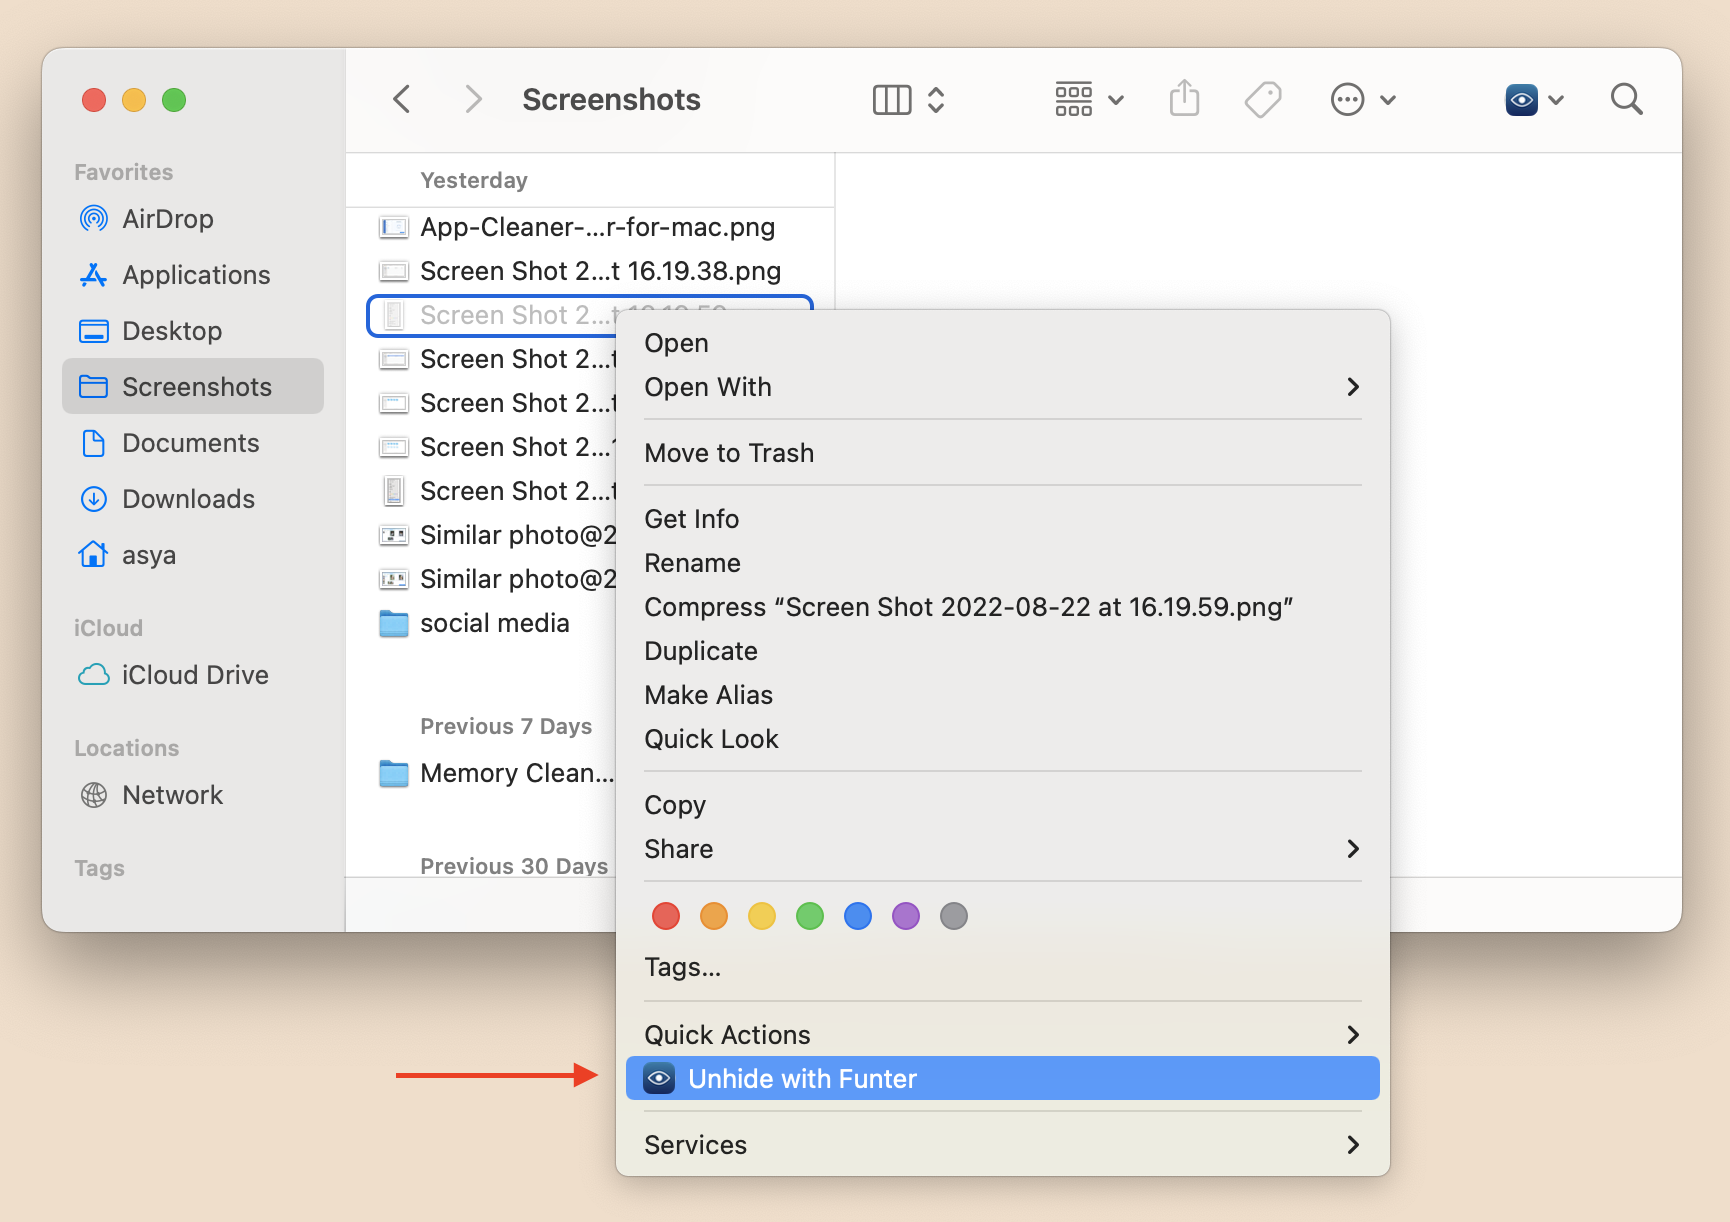
- After this, Funter’s icon will arrive in your Finder window and in the context menu. All you need to hide your files is to select them, and in the context menu click “Hide with Funter.”
- If you want to unhide your file or folder, you just need to unhide all your files again with Funter.
- Then select your hidden file and hide it with the context menu.
As you can see, it’s easy! Plus, Funter is absolutely free application. You can download it right now and try on your computer.
If you have any questions about Funter, just leave your message in the comments below. We will be happy to assist you.
