In this article, we will share how to clean up your Mac and create more free space on your hard drive. We will also explain how you can manually clean up a Mac, as well as how to do this quickly with the help of a special software tool.
Contents:
Before we start
MacCleaner Pro
Quick video: How to clean disk on your Mac
Why clean up a Mac
Even if you have enough free space on your Mac, you should regularly clear junk files, which might make your Mac run slowly. Nothing is worse than a slow computer.
Junk files consist of caches, cookies, the leftovers of already removed applications, unneeded installation files, duplicates, and so on. Most of these files are absolutely useless and they can and should be safely removed.
Also, we recommend that you check your Mac carefully and make sure that there are no remaining files of the applications you have already uninstalled. Some applications might spread their files all over the disk. For your Mac’s security, as well as general performance, it’s important to find and remove such files. Keep on reading to find out how to find and remove applications’ leftovers.
What can be safely removed from Mac
Here is the list of quick tips on what you should remove from your Mac to free up space on your disk.
- Clean up caches and logs
- Delete installation files (DMG files)
- Remove email attachments
- Remove large, unused files
- Uninstall unused applications
- Remove duplicate files
- Remove old iOS backups
- Clean up the desktop
- Empty the Trash
Now, let’s explore all these steps in more detail and see how you can perform them manually or with the help of MacCleaner Pro tools.
Steps to clean up a Mac
1. Clean up caches and logs
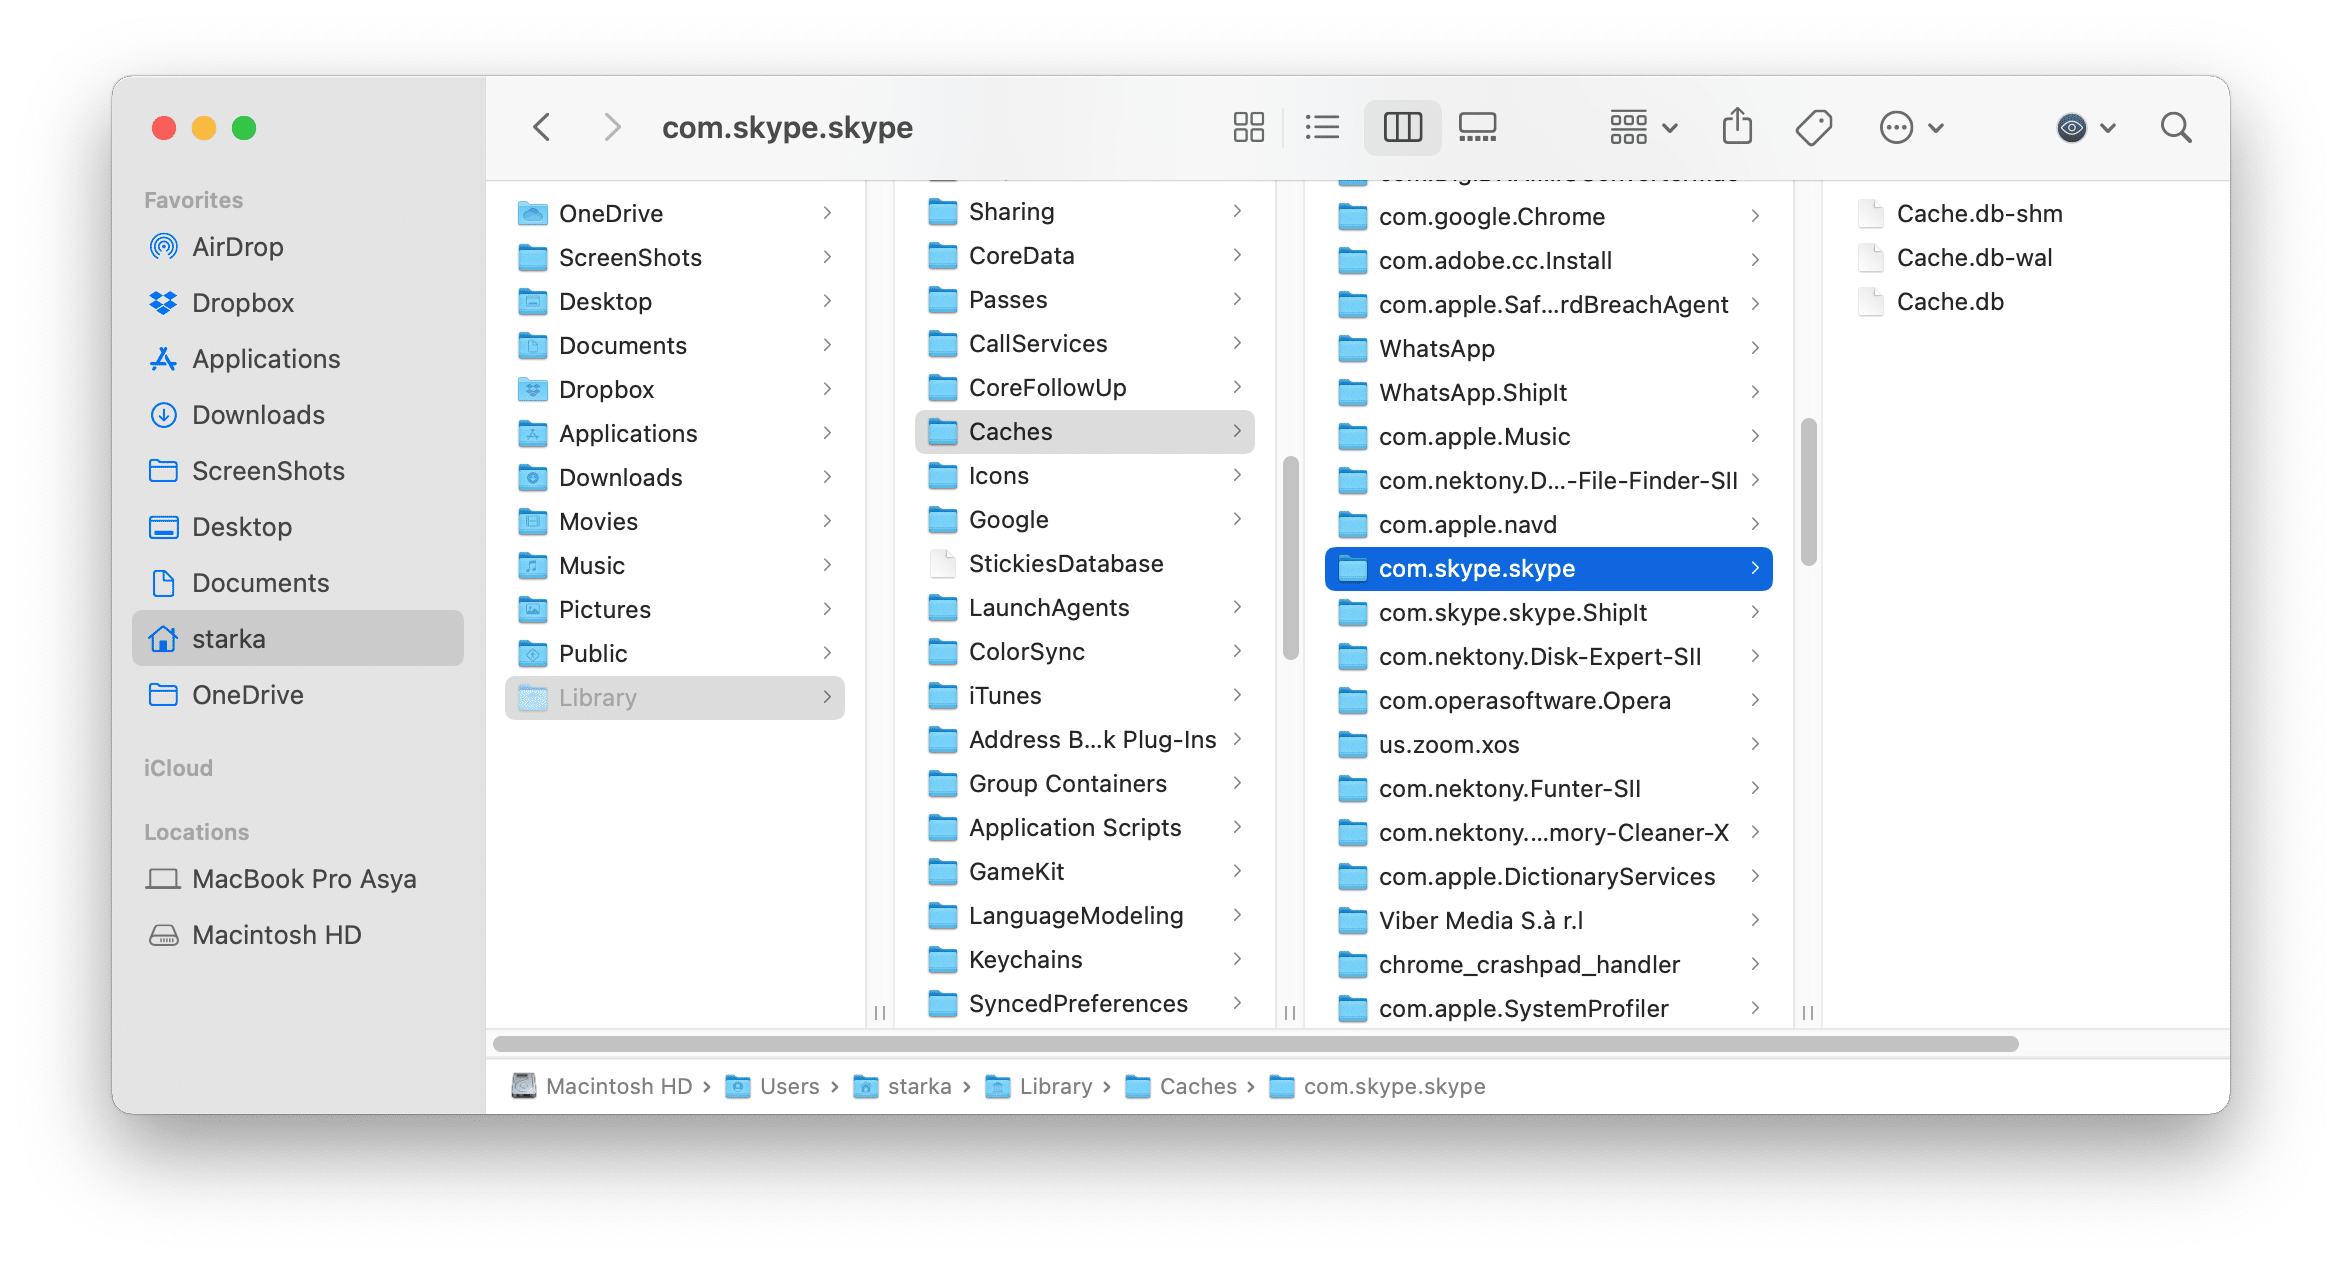
Mac keeps cache files created not only by the browser but also by the system and applications. By default, caches are stored in the ~/Library/Caches folder. Here is how to clean up the Cache folder:
- Open finder.
- Go to the Finder’s menu → click on Go → select Go to Folder…
- Type ~/Library/Caches in the appeared search field and click on Go.
- You will see the Cache folder which contains subfolders with the cache files of all applications on a Mac. By removing these subfolders, you clear caches of these applications.
To remove logs from your Mac, the process is nearly the same, but you’ll have to find the Logs folder. Open finder and navigate for the following location:
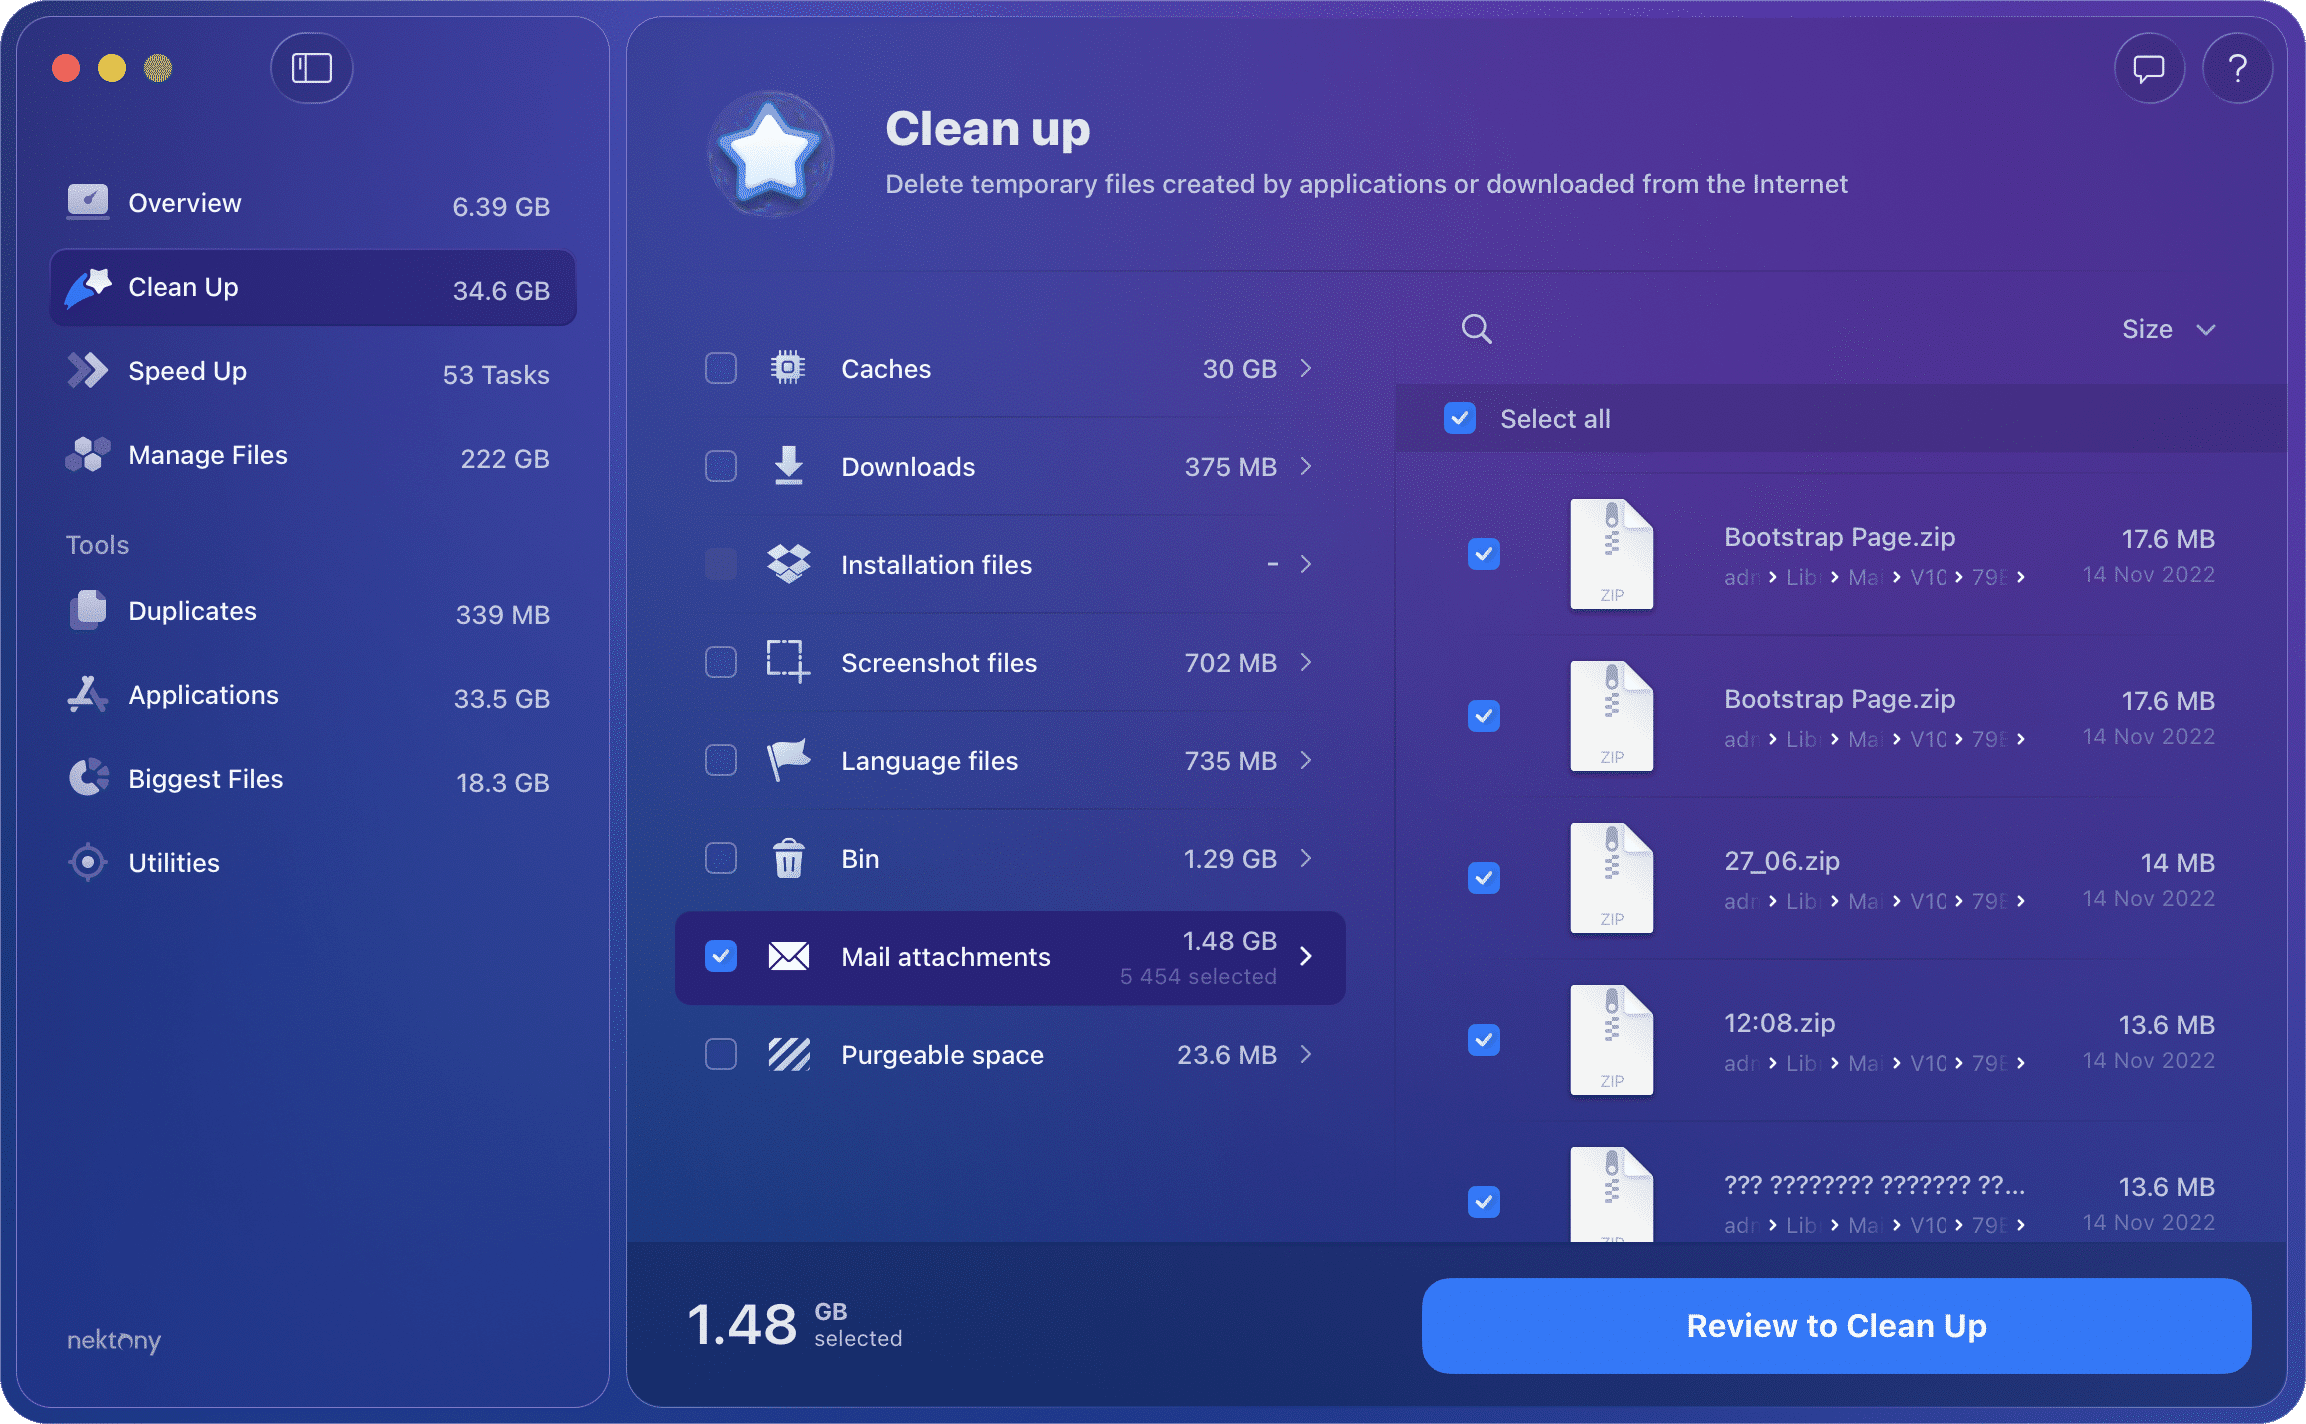
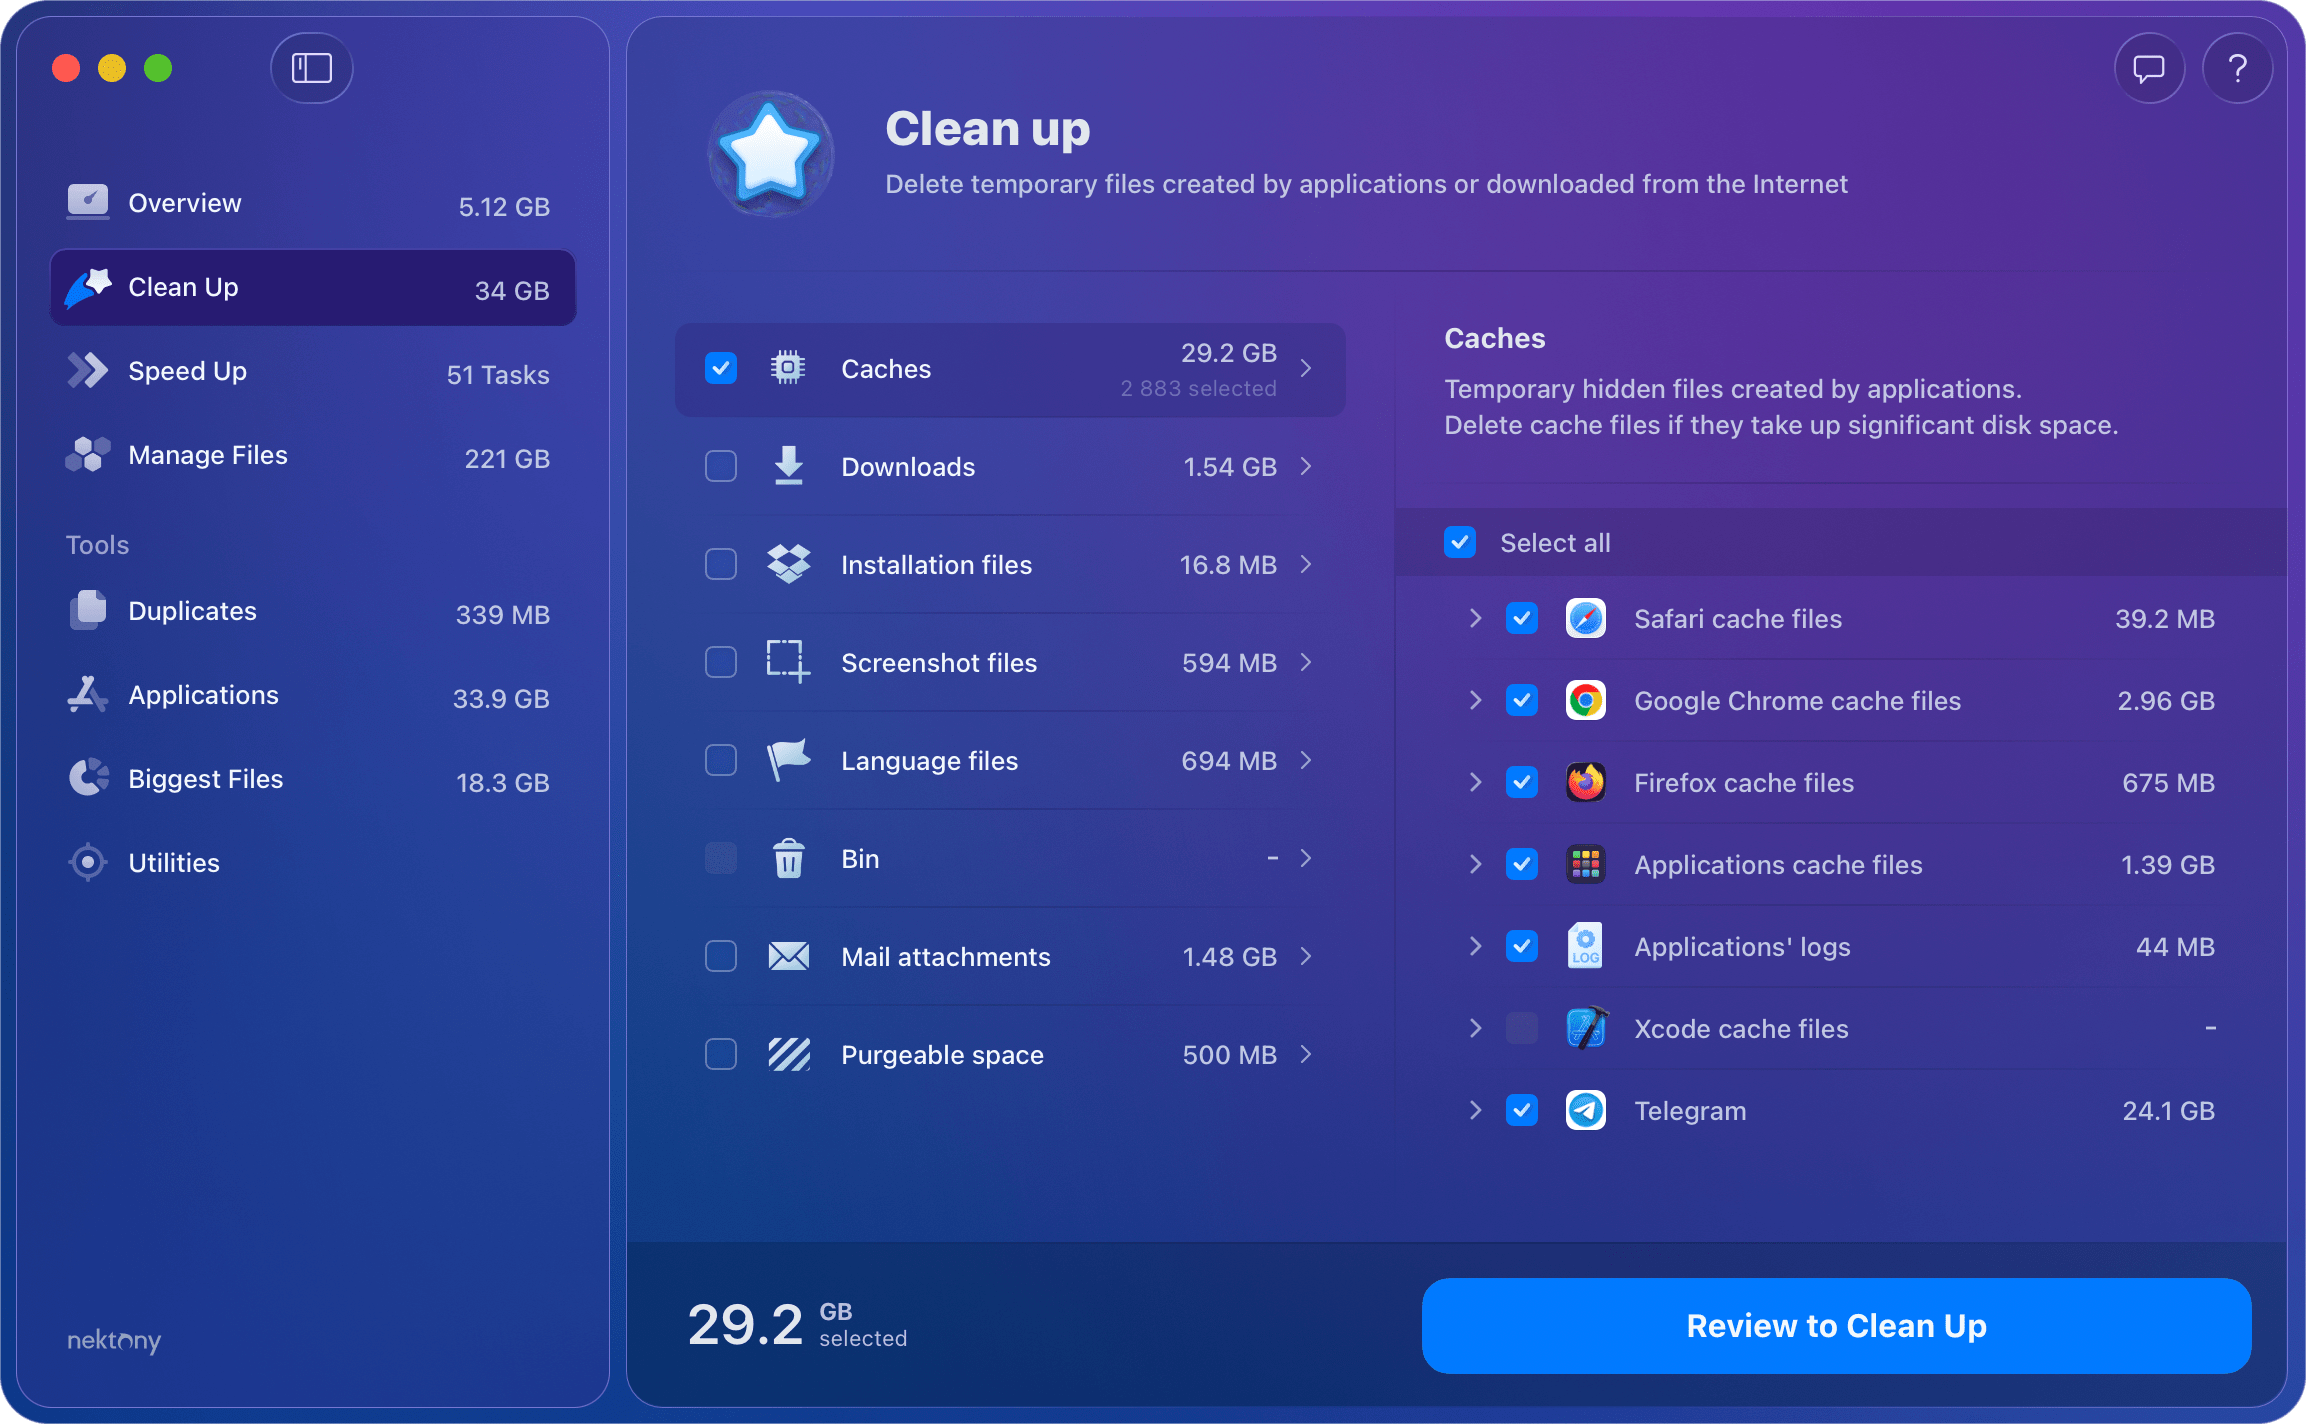
Also note that you can clear caches and logs with MacCleaner Pro, which will be much easier! However, even more importantly: it will be absolutely safe, since you will not accidentally remove important system files.
Here is how to clean up caches with MacCleaner Pro:
- Download and open MacCleaner Pro.
- Switch to the Clean Up section.
- Select caches.
- Click the Review to Clean Up button and confirm the action.
2. Delete installation files
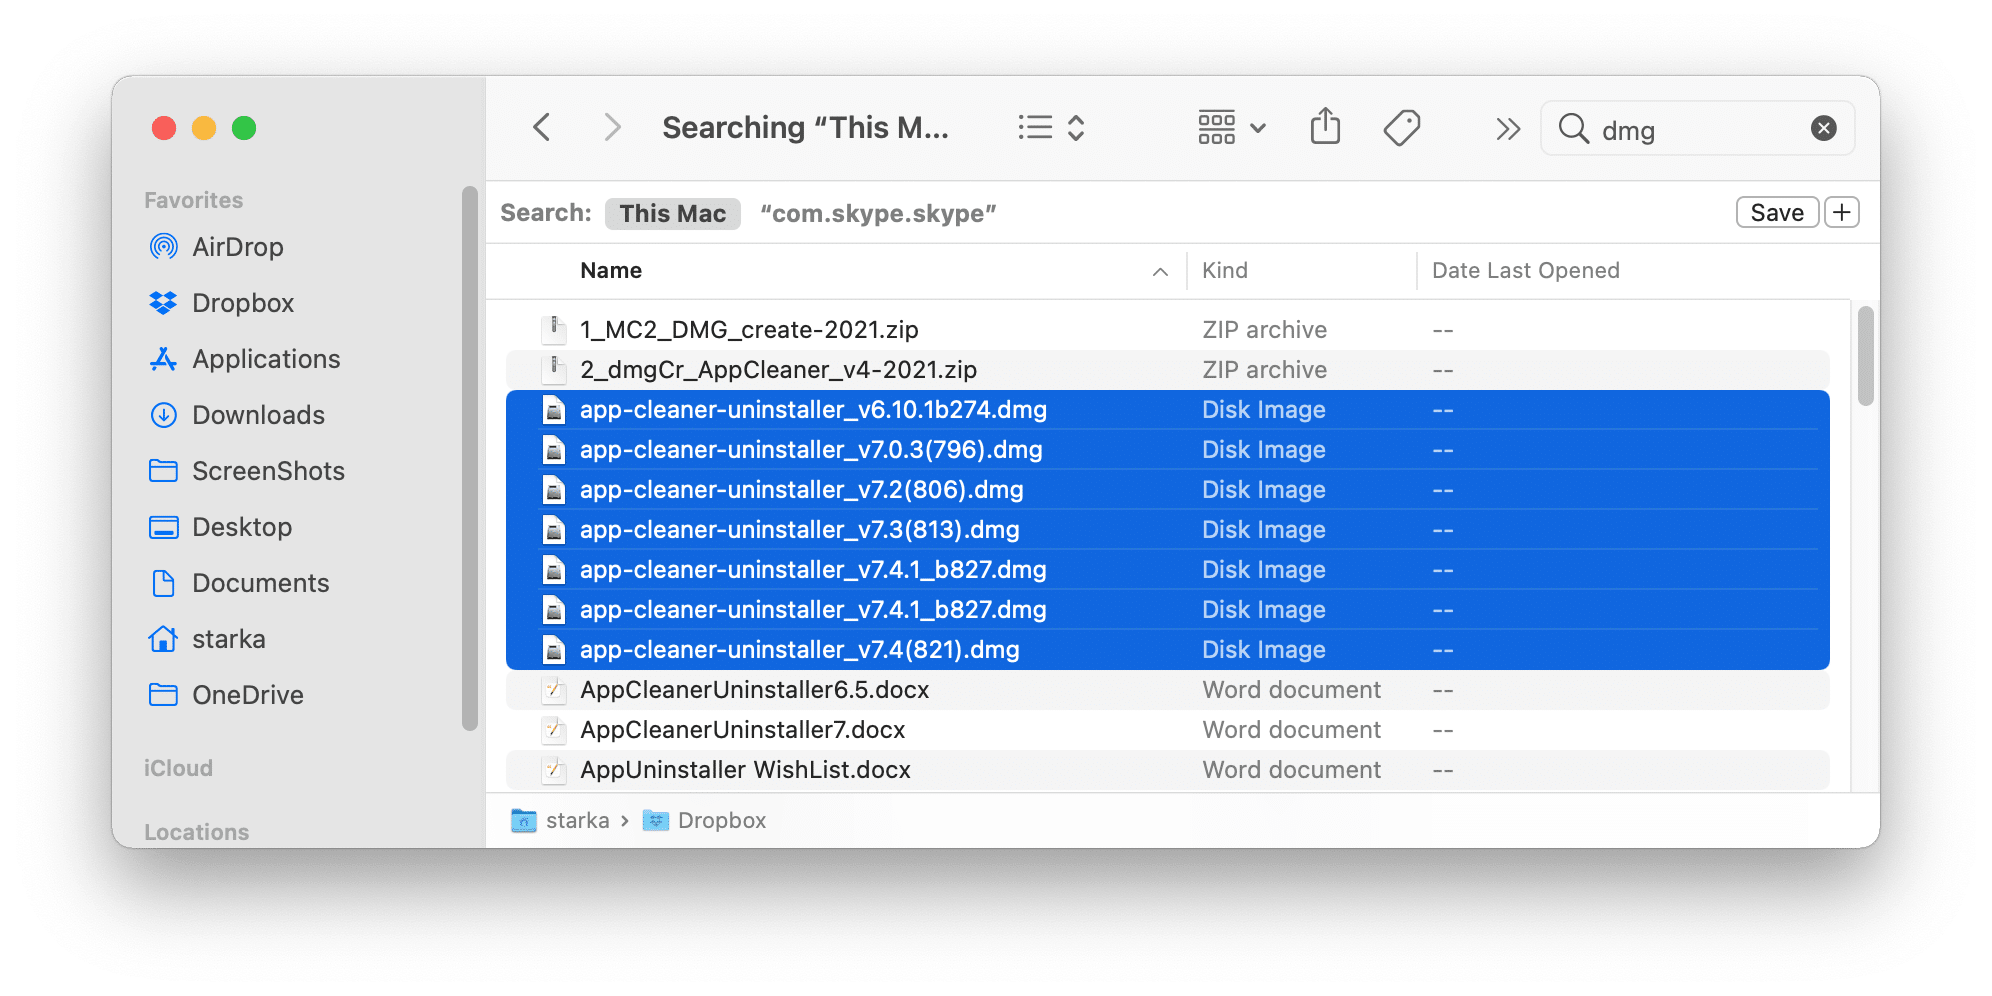
You can install applications on Mac by downloading them from the App Store or by downloading their installation files right from the developers’ websites. These installation files (.dmg files) are needed only once when installing the apps. However, most users then forget to remove them, and they start to clutter the Mac’s hard drive. By default, files you download get saved in the Downloads folder on Mac, but you could also save them in other locations.
Here is how to find and remove DMG files on Mac:
- Open Finder.
- Type “.dmg” in the search field and press Enter.
- Sort files by Kind and you will see the list of all .dmg files on your Mac.
- Select and remove unneeded .dmg files.
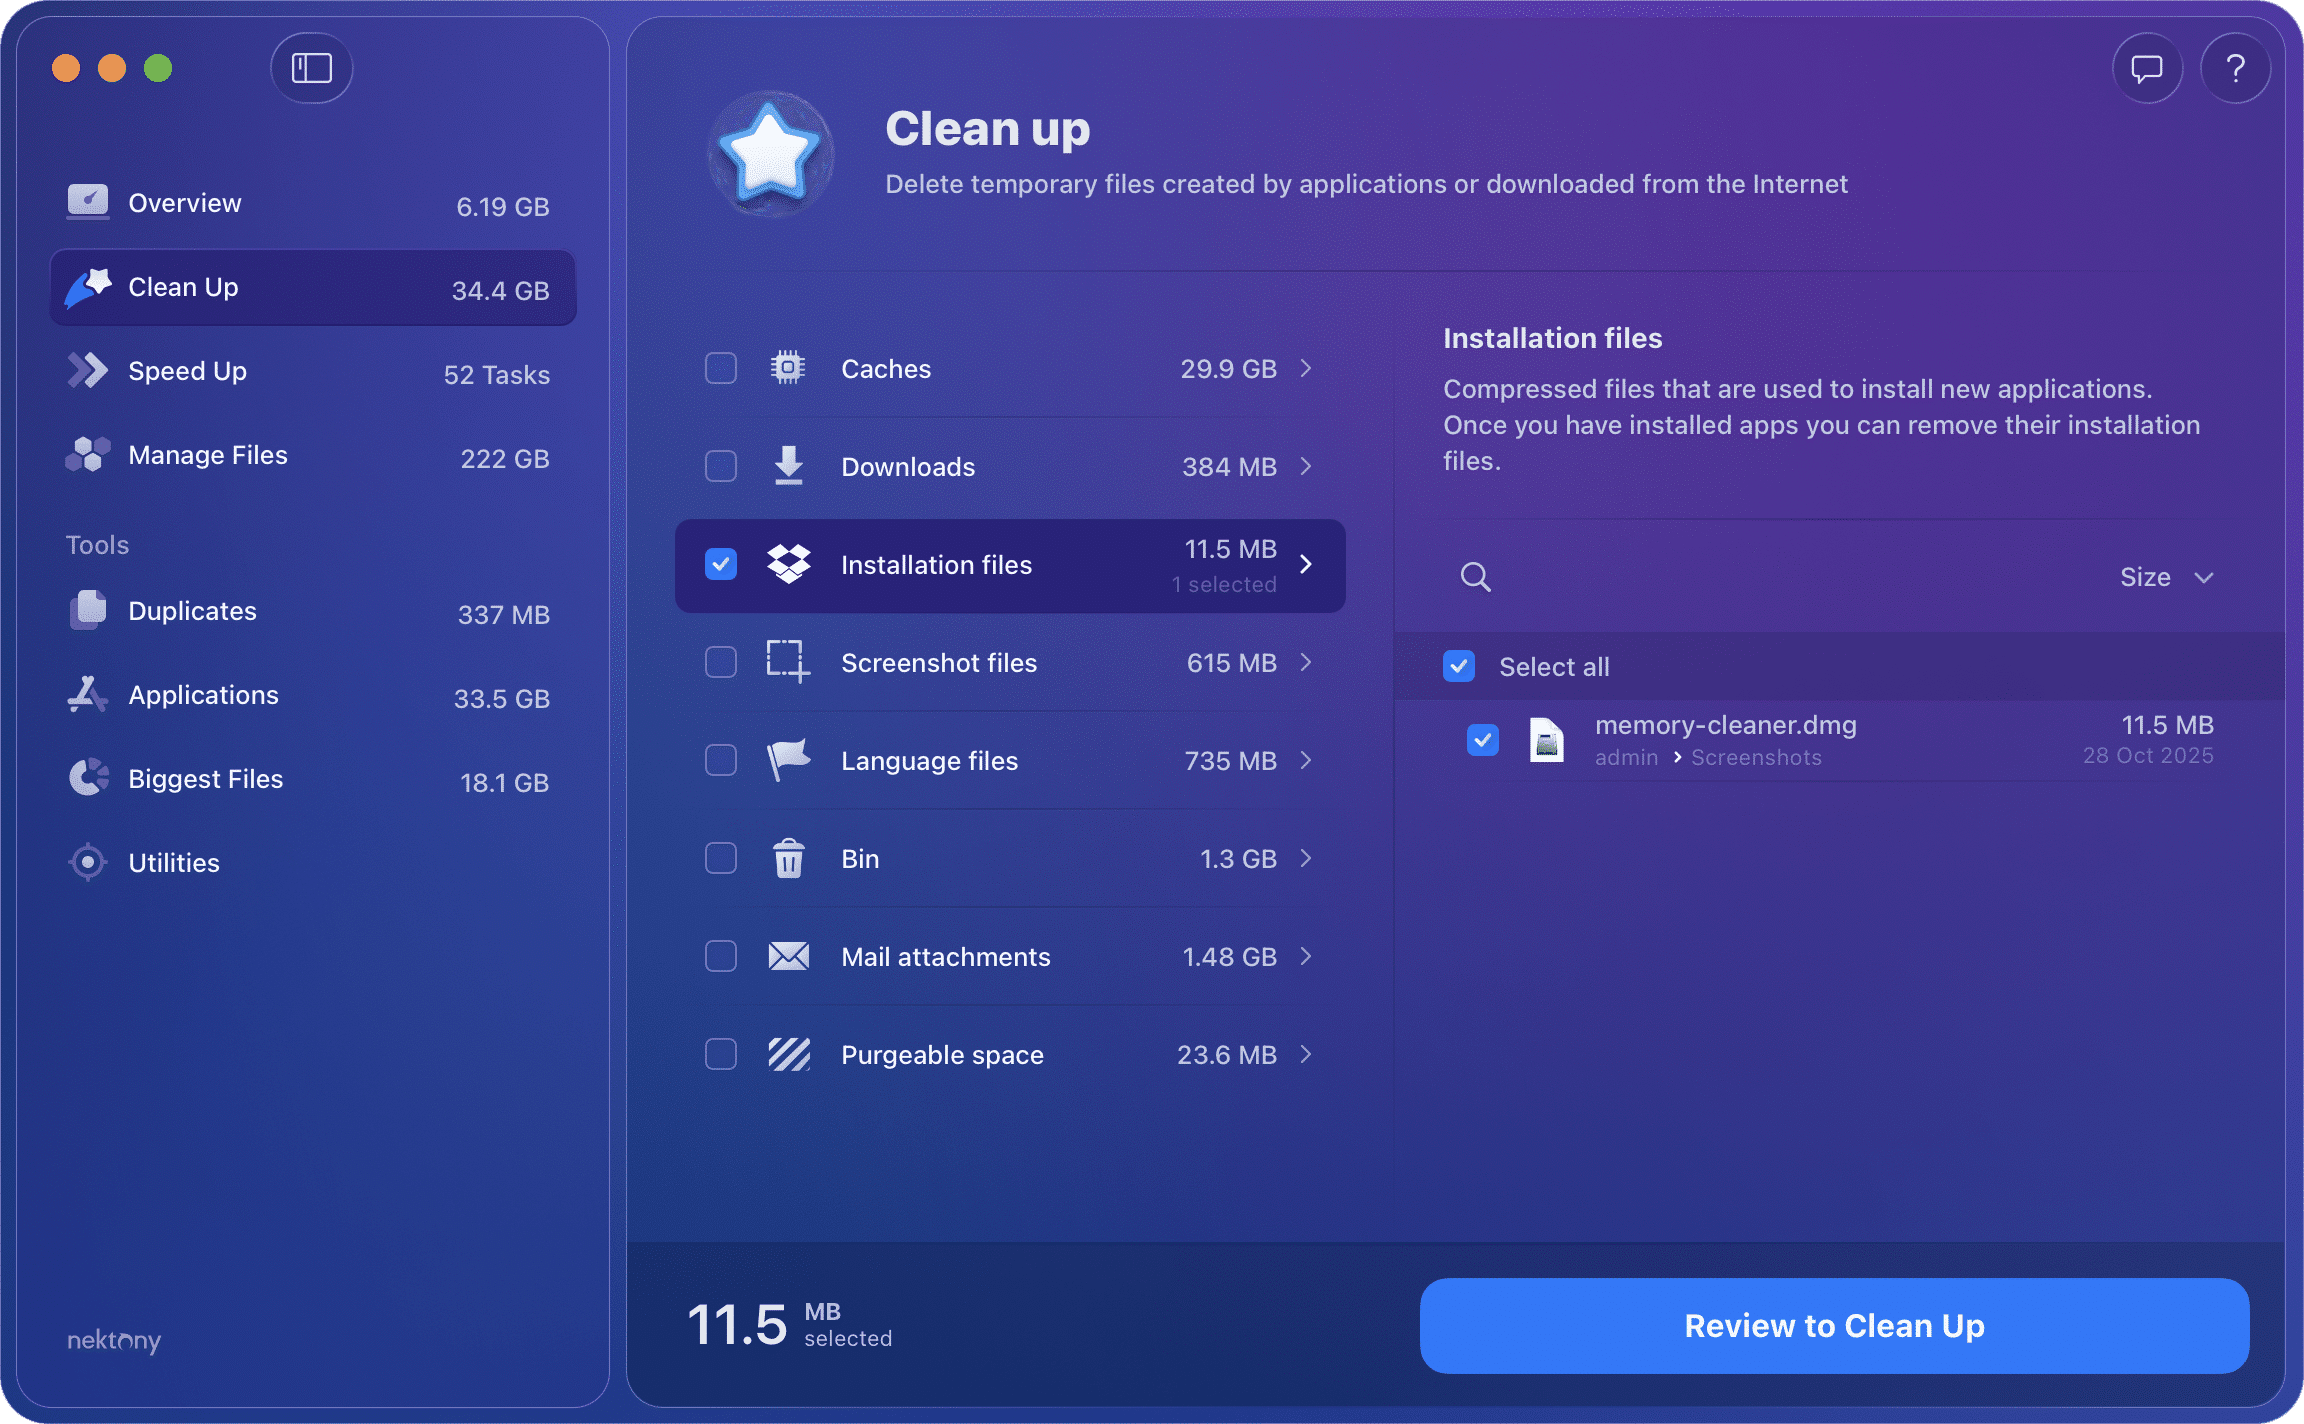
Also, you can automatically find all installation files with MacCleaner Pro. Just select Installation Files and click on the Clean Up button. Then, confirm the removal of installation files.
3. Remove email attachments
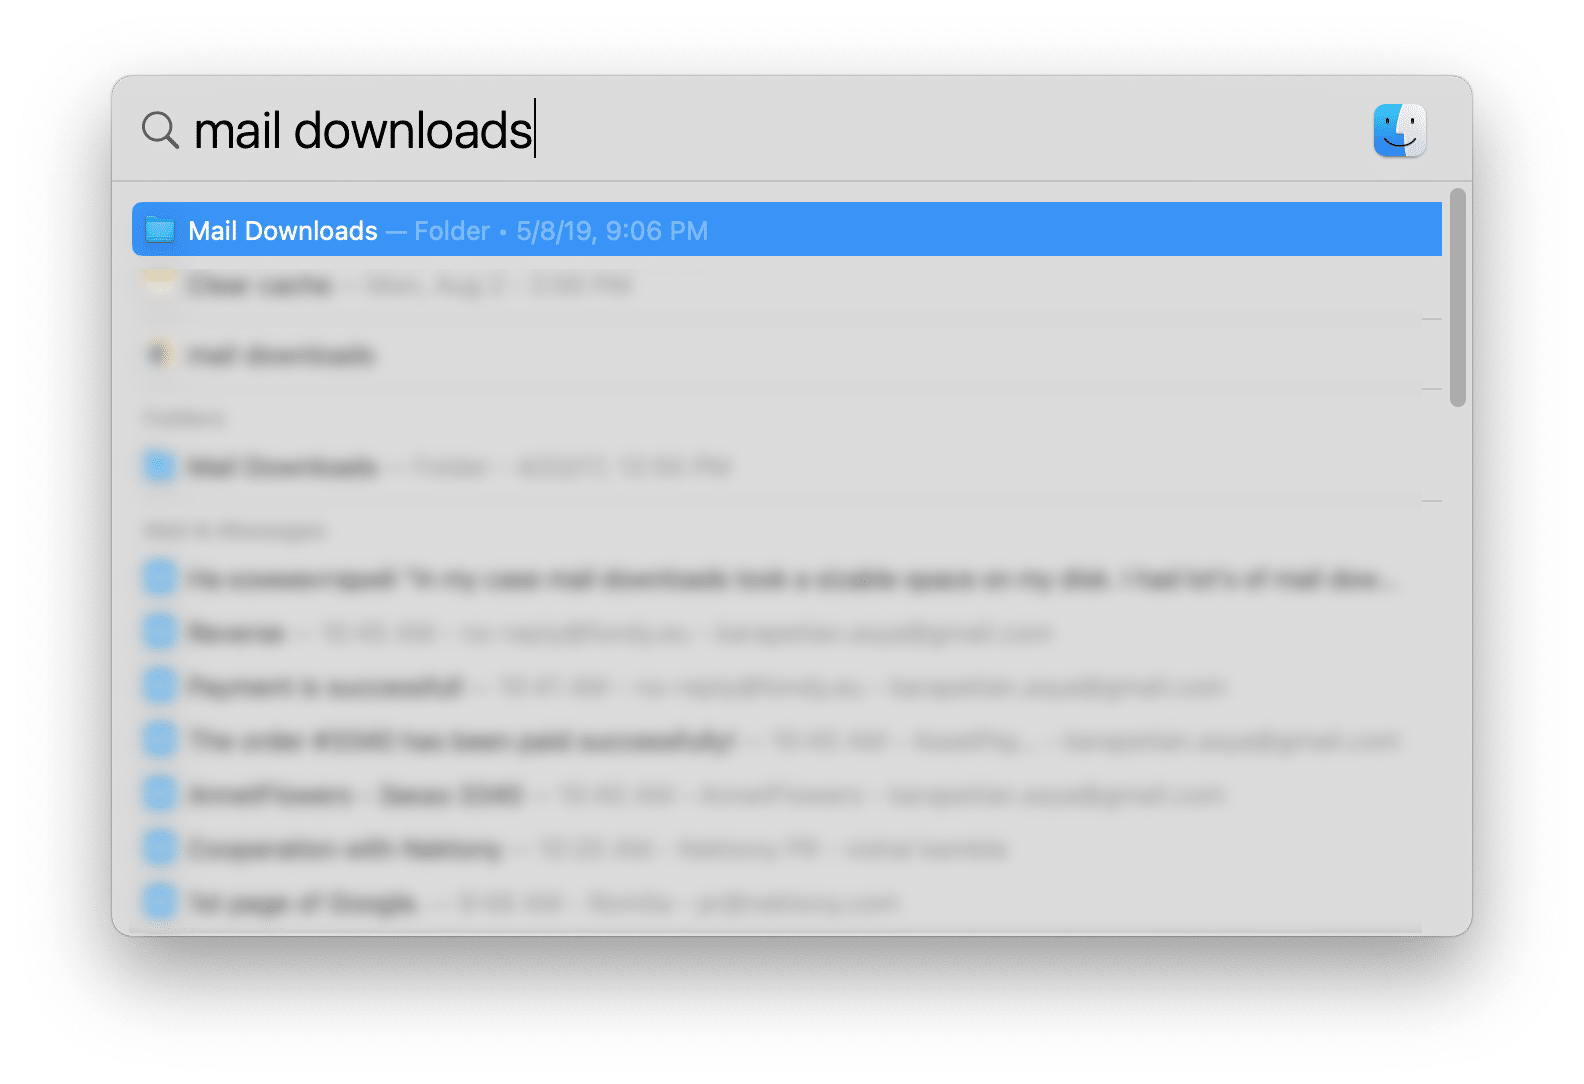
If you use the standard Mail application on macOS, you should know that the system saves all attachments in a separate folder on the hard drive. In just a few months of work with your mail client, the folder size can grow to several GB. You can find this folder using the Spotlight search. Just type “Mail Downloads” in the Spotlight search field and press Enter to open it. Then, select and remove all unneeded attachment files from the Mail Downloads folder.
- Launch MacCleaner Pro.
- Switch to the Clean Up section.
- Click Mail attachments.
- Select all unneeded attachment files and click to remove them.
4. Remove old large files from Mac
You might have folders with large files that you simply forgot about and actually don’t need. To find the largest files on Mac manually, do the following:
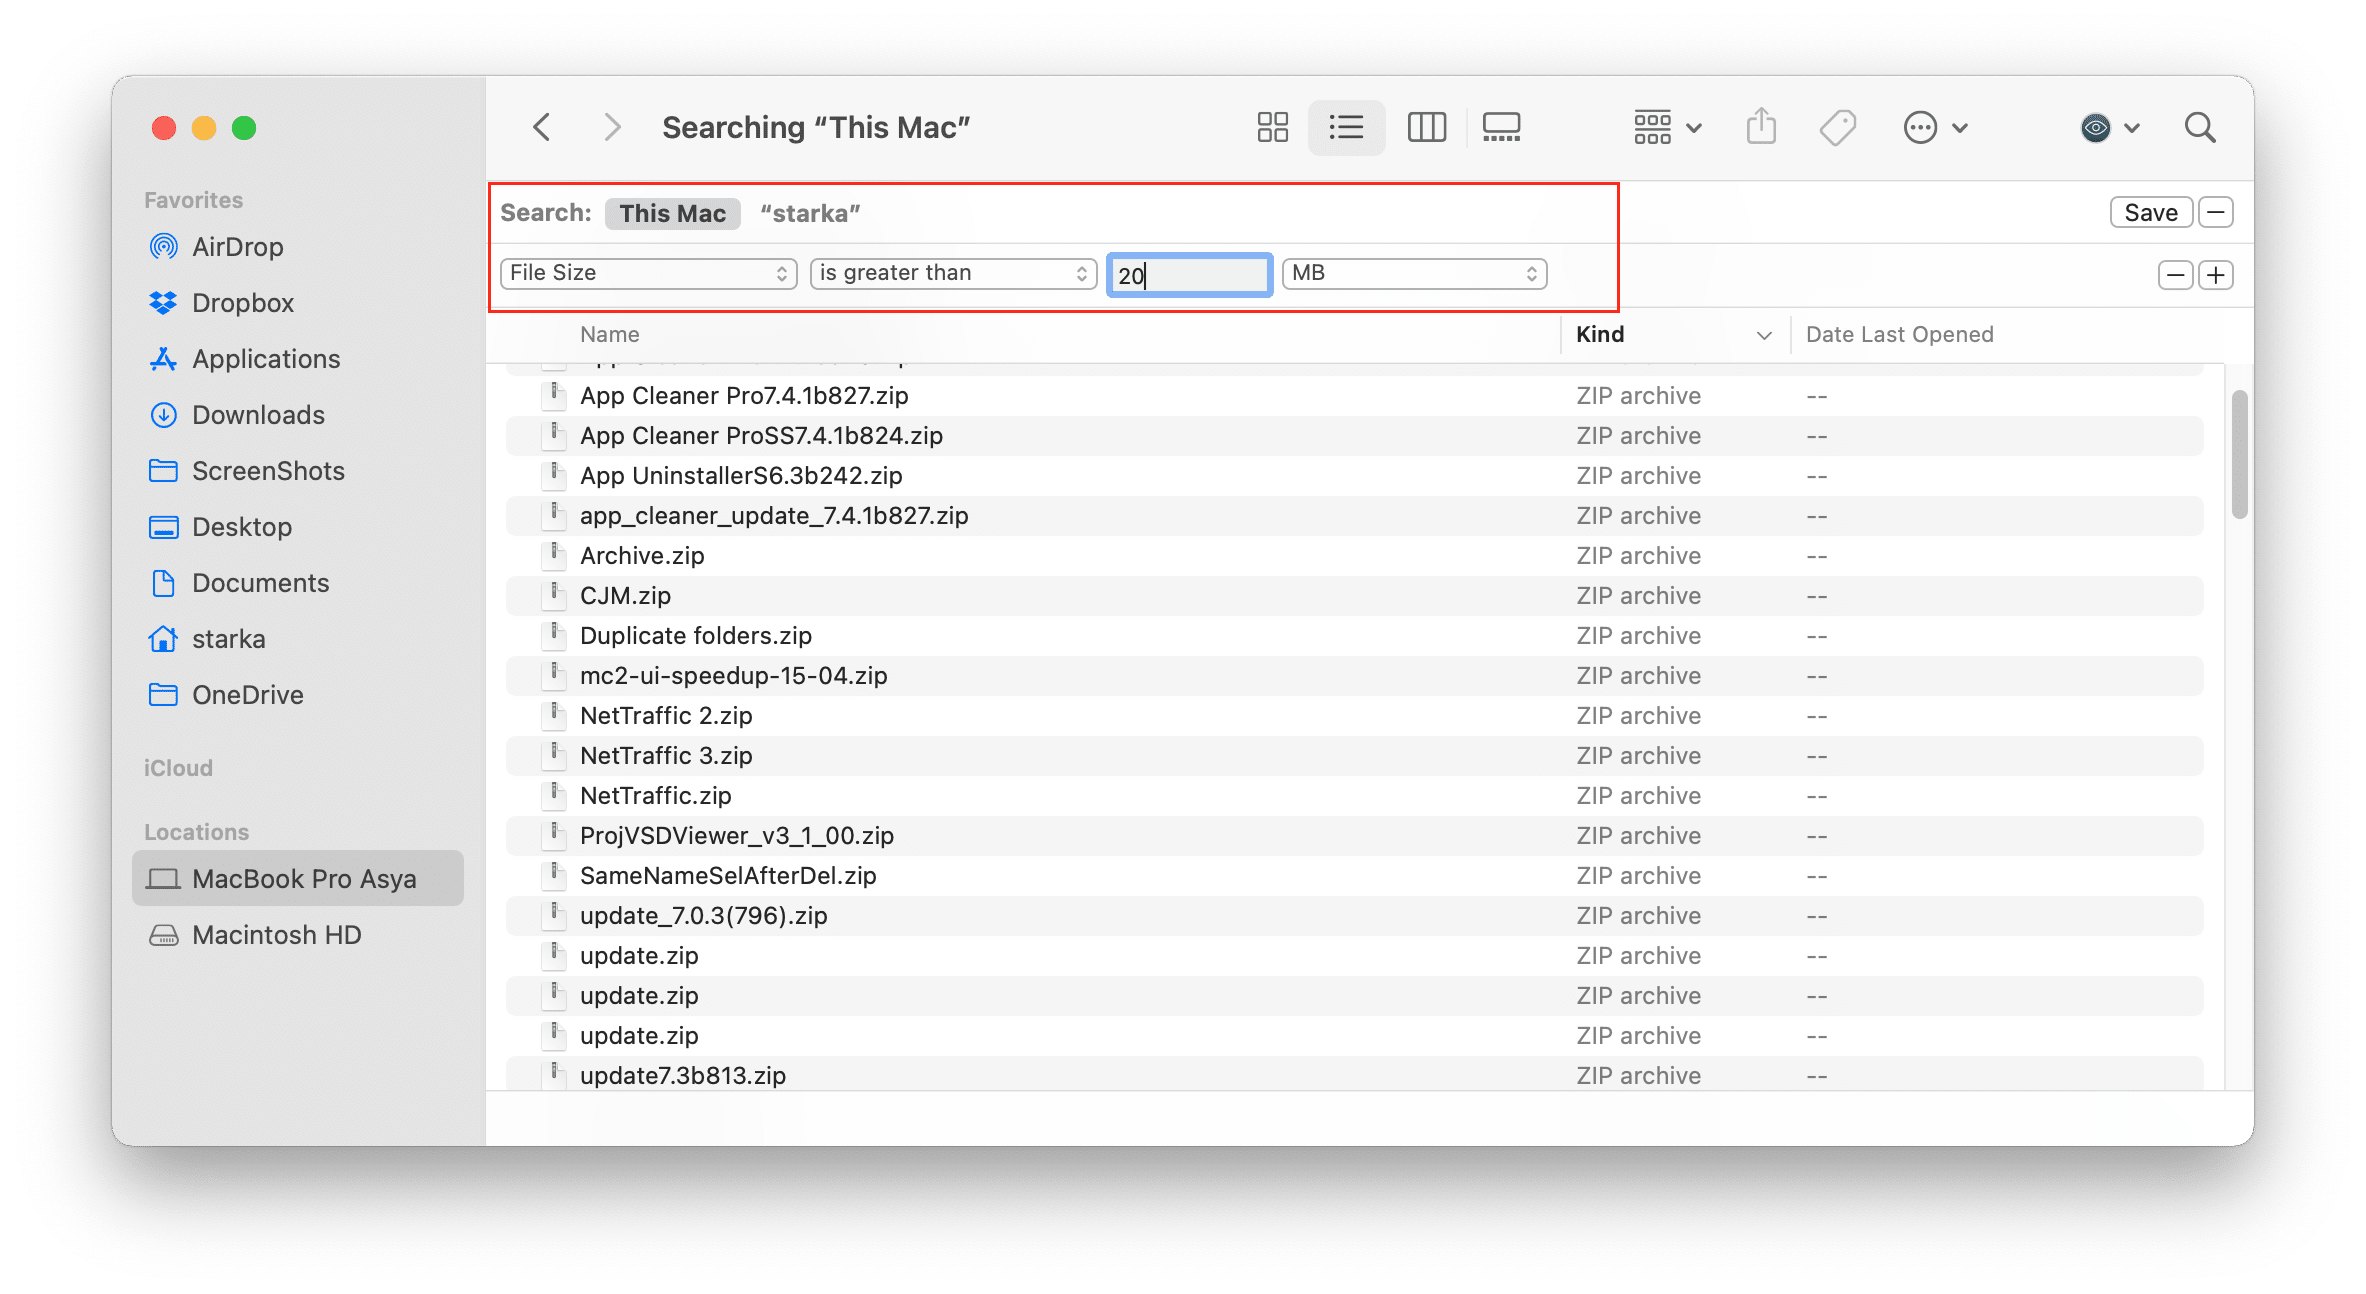
- Open Finder and press Command+F. This will open the search parameters for Finder.
- Choose the next parameters: File Size is greater than, then enter the size of files to search, for example, 20MB as on the screenshot below.
- Skim the large files and remove all unneeded ones or move important but rarely used files to external storage.
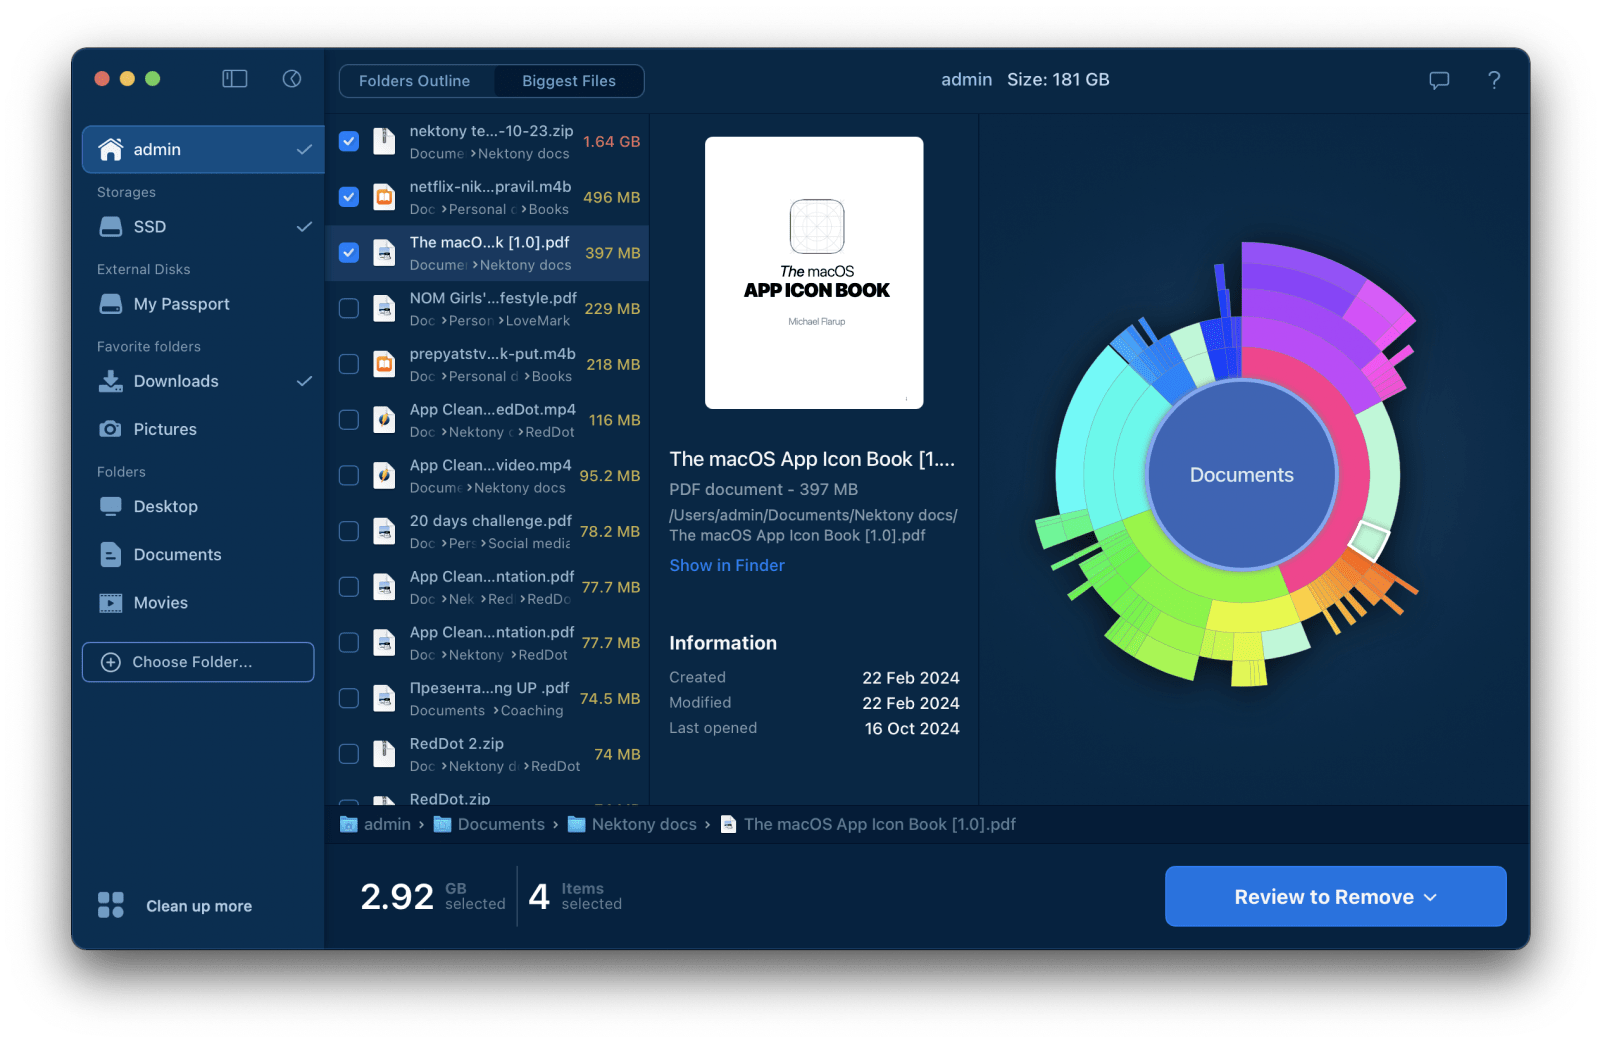
If you have a ton of files on your computer, as many of us do, you’ll find that this manual method is complicated and cumbersome. To solve this problem we highly recommend that you use the Pro tool from MacCleaner Pro bundle: Disk Space Analyzer. This app allows you to analyze your disk space usage and easily find the largest files and folders. Just launch Disk Space Analyzer, click to scan your hard drive, and see the list of the largest files on your Mac. Use the sunburst diagram to explore which files are the biggest culprits taking up an excessive amount of space on your disk.
5. Uninstall unused applications
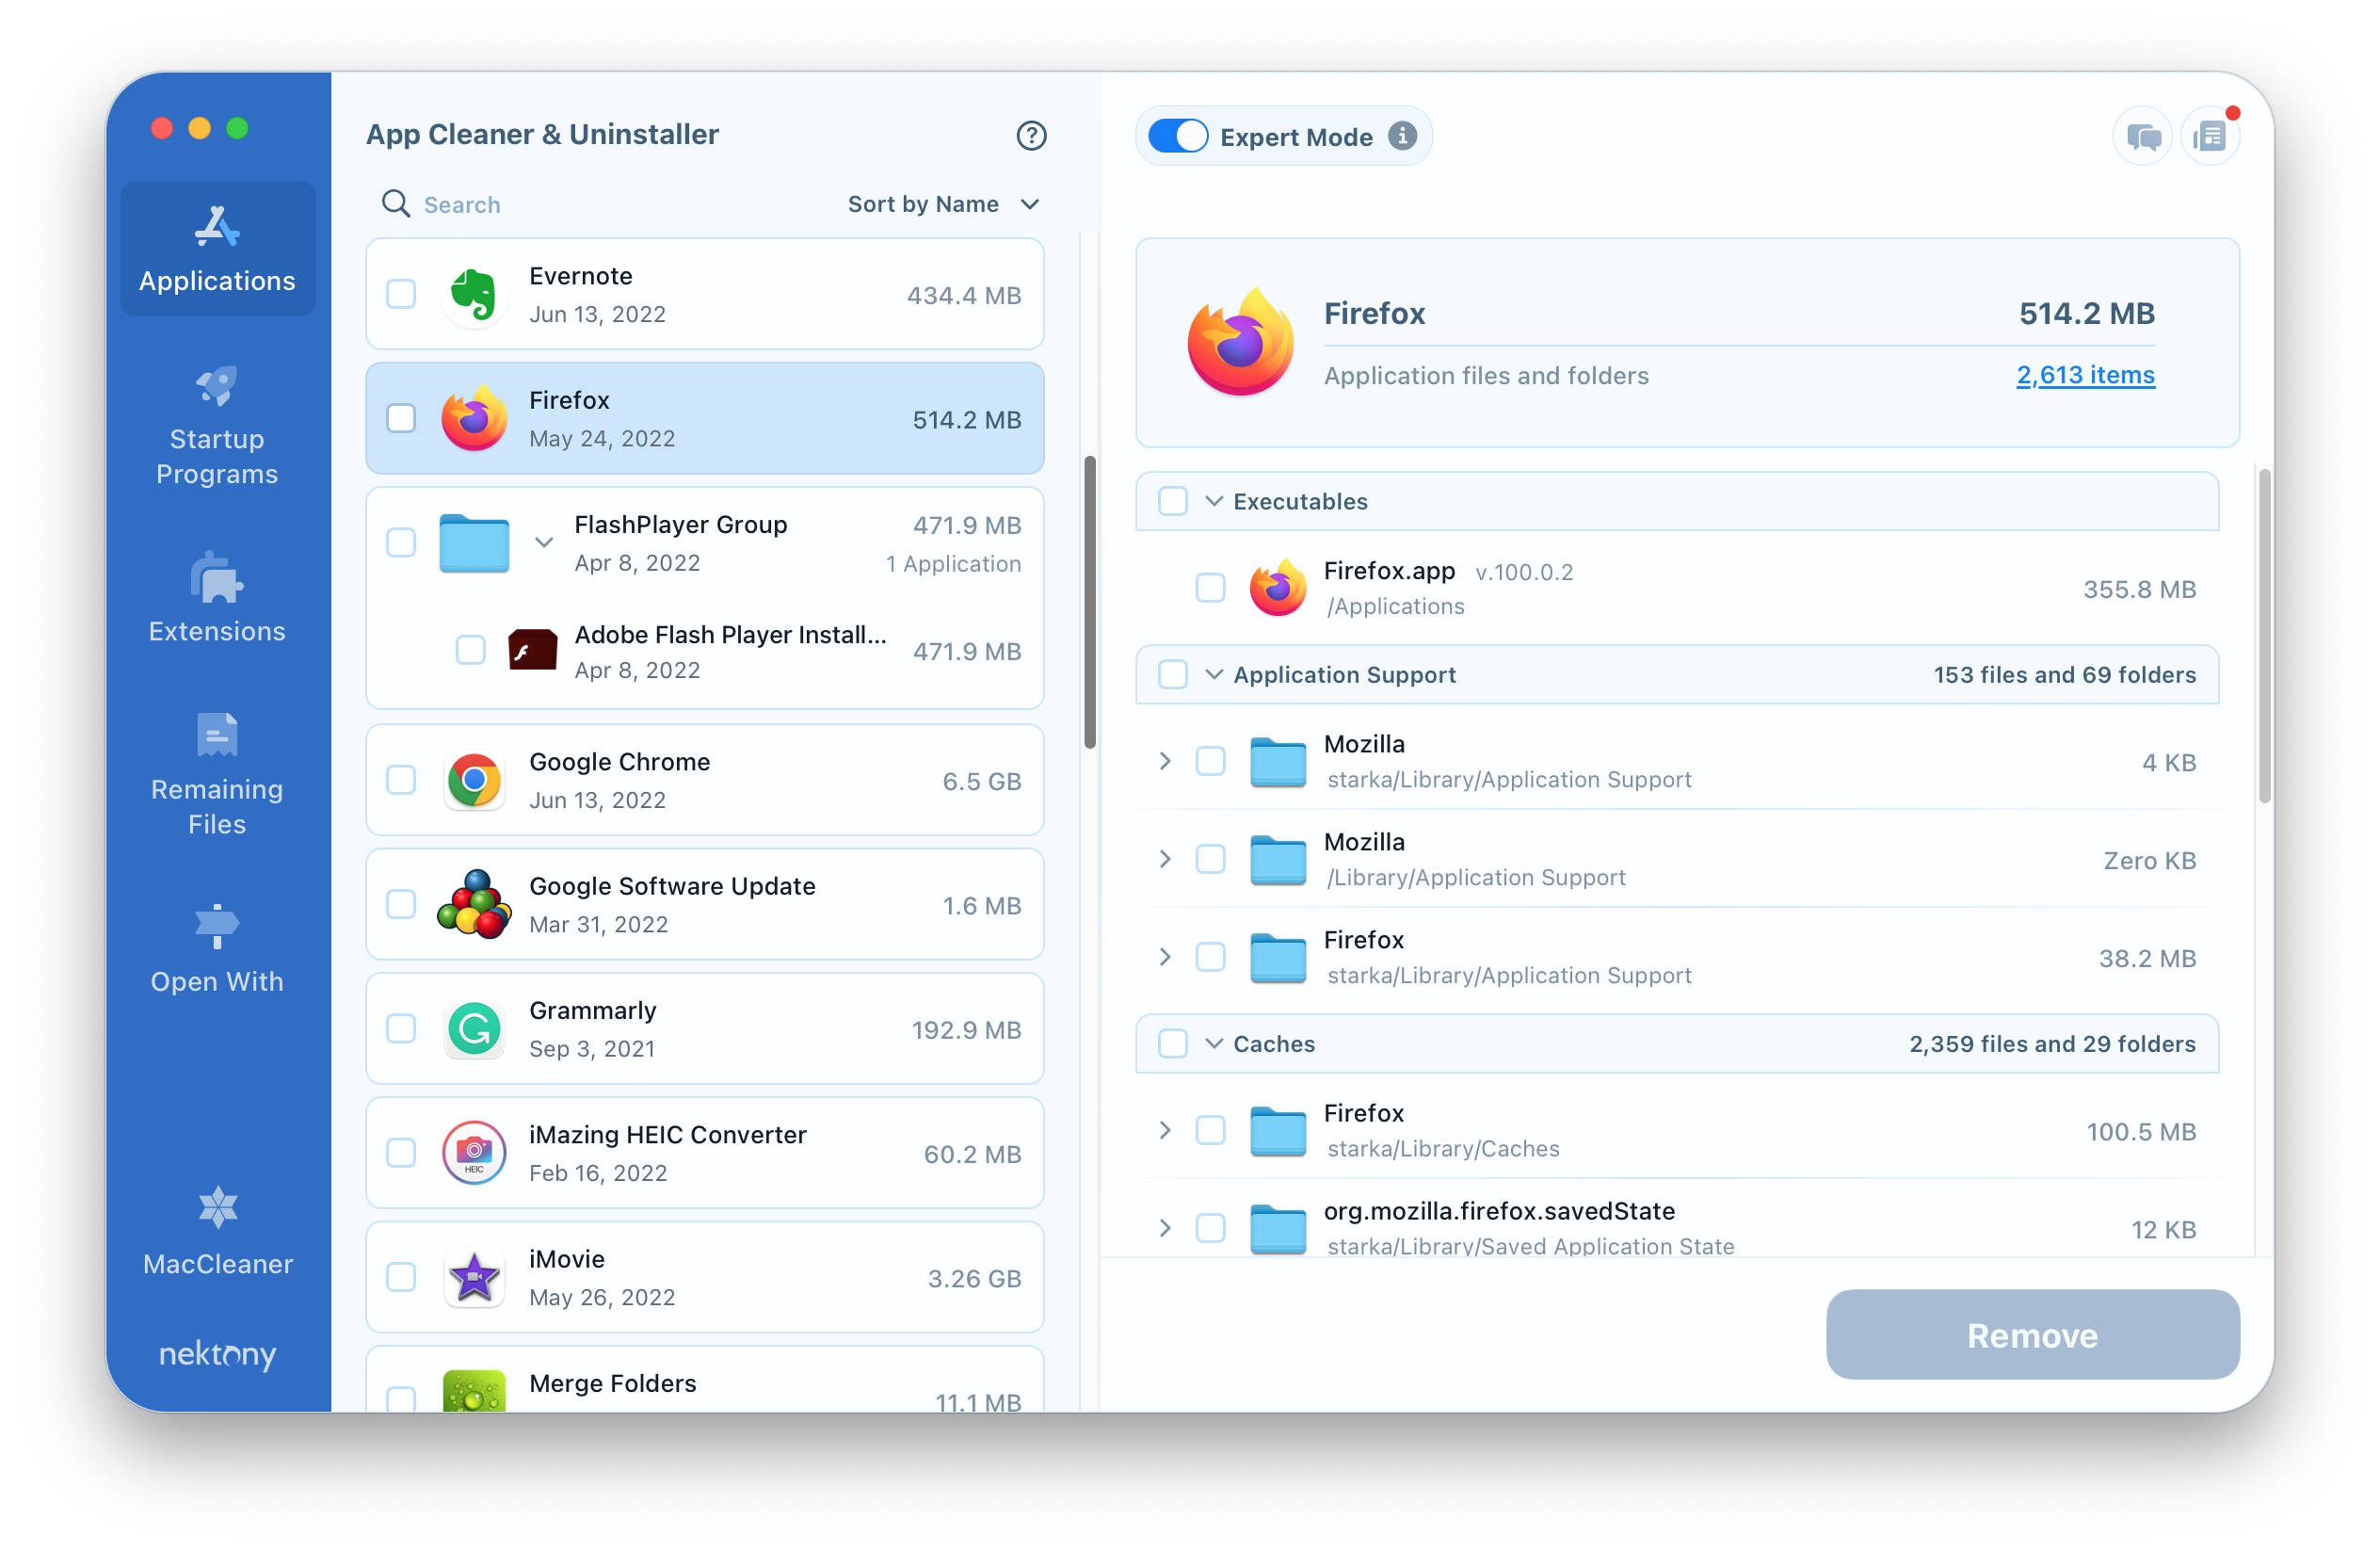
You may have a large number of unused applications that eat up your disk space. Review them periodically and remove any unused ones. Remember that to uninstall applications completely, you need to find and remove their support files as well. Read how to completely uninstall apps on Mac or use a Pro tool from MacCleaner Pro bundle – App Cleaner & Uninstaller. This app automatically finds all remains, service and temporary files that can be left behind on a hard drive when you just trash the application.
Here is how to completely uninstall apps on Mac:
- Launch App Cleaner & Uninstaller.
- Switch to the Expert mode and select all unneeded applications.
- Click on Remove and confirm the action.
6. Remove duplicate files
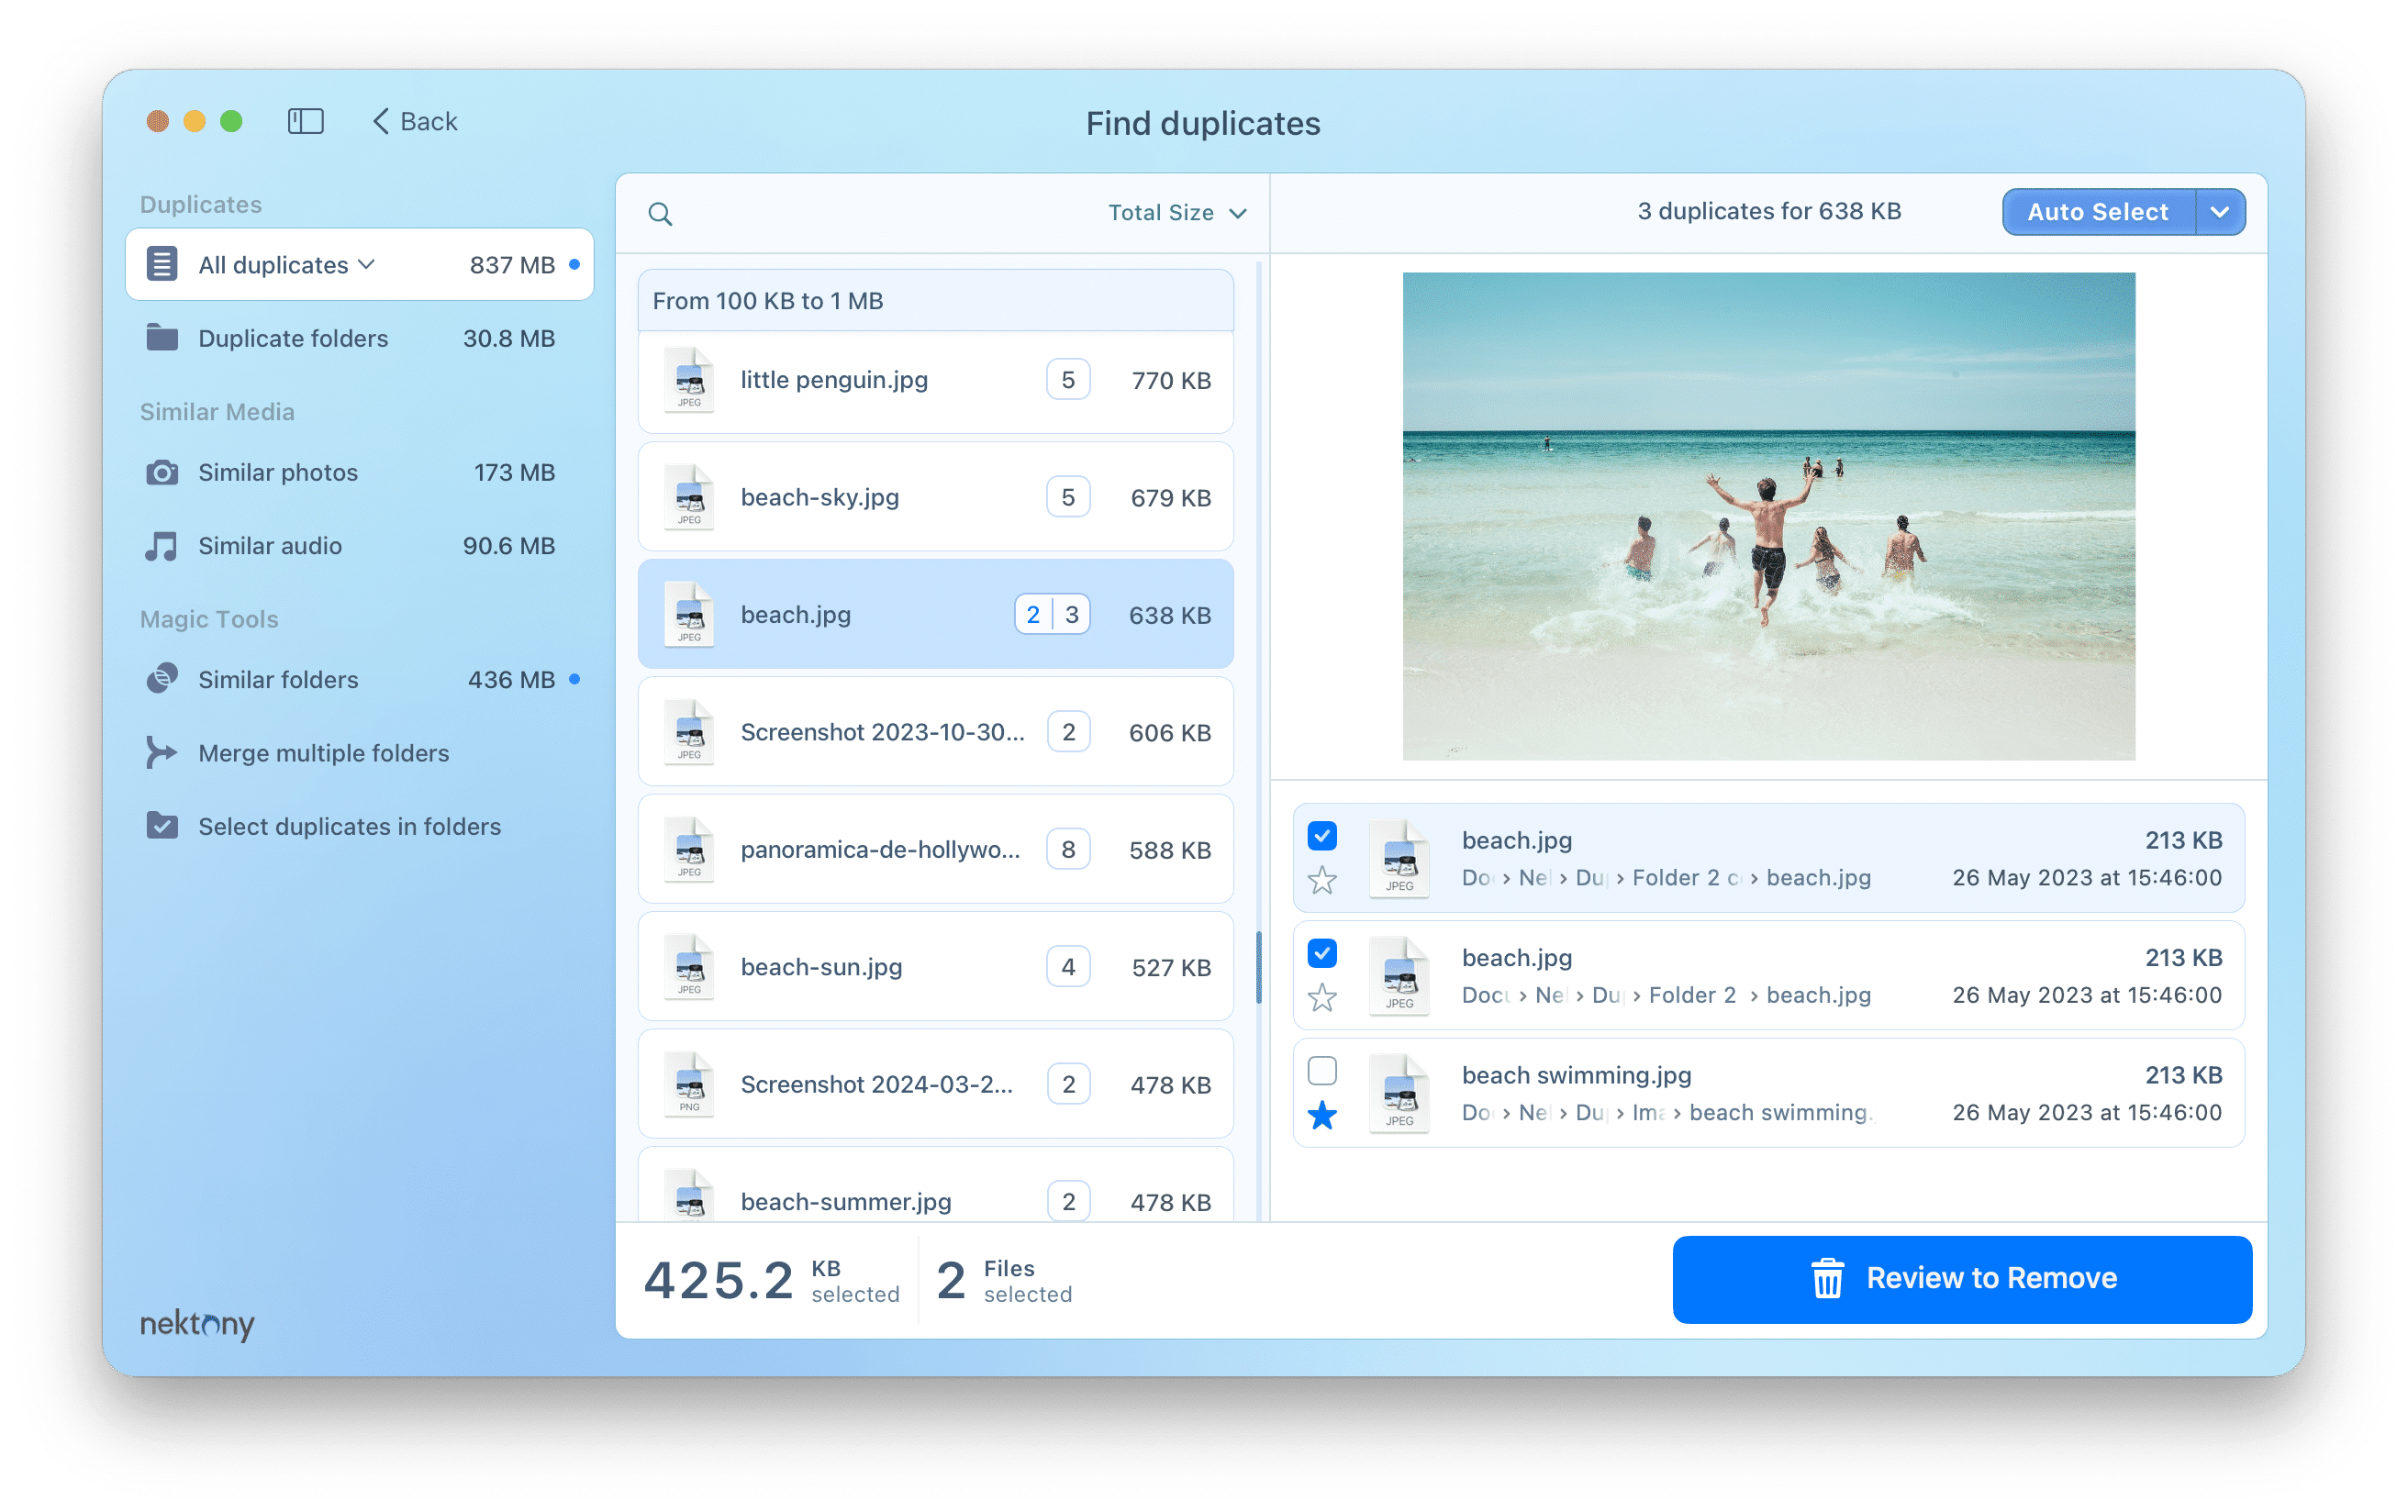
Finding duplicates on Mac manually is not that simple. iTunes provides an option to find duplicate music, but when it comes to finding duplicates of other types of files on Mac, this can be too complicated. You can use the Smart folder to manually find duplicates on Mac, but the better way to do this is to use a special tool called Duplicate File Finder. This tool is included in the MacCleaner Pro bundle as well.
All you need to do to find duplicates on Mac is to Launch Duplicate File Finder → scan your Home folder → select the found duplicates → and click to remove them.
7. Remove old iOS backups
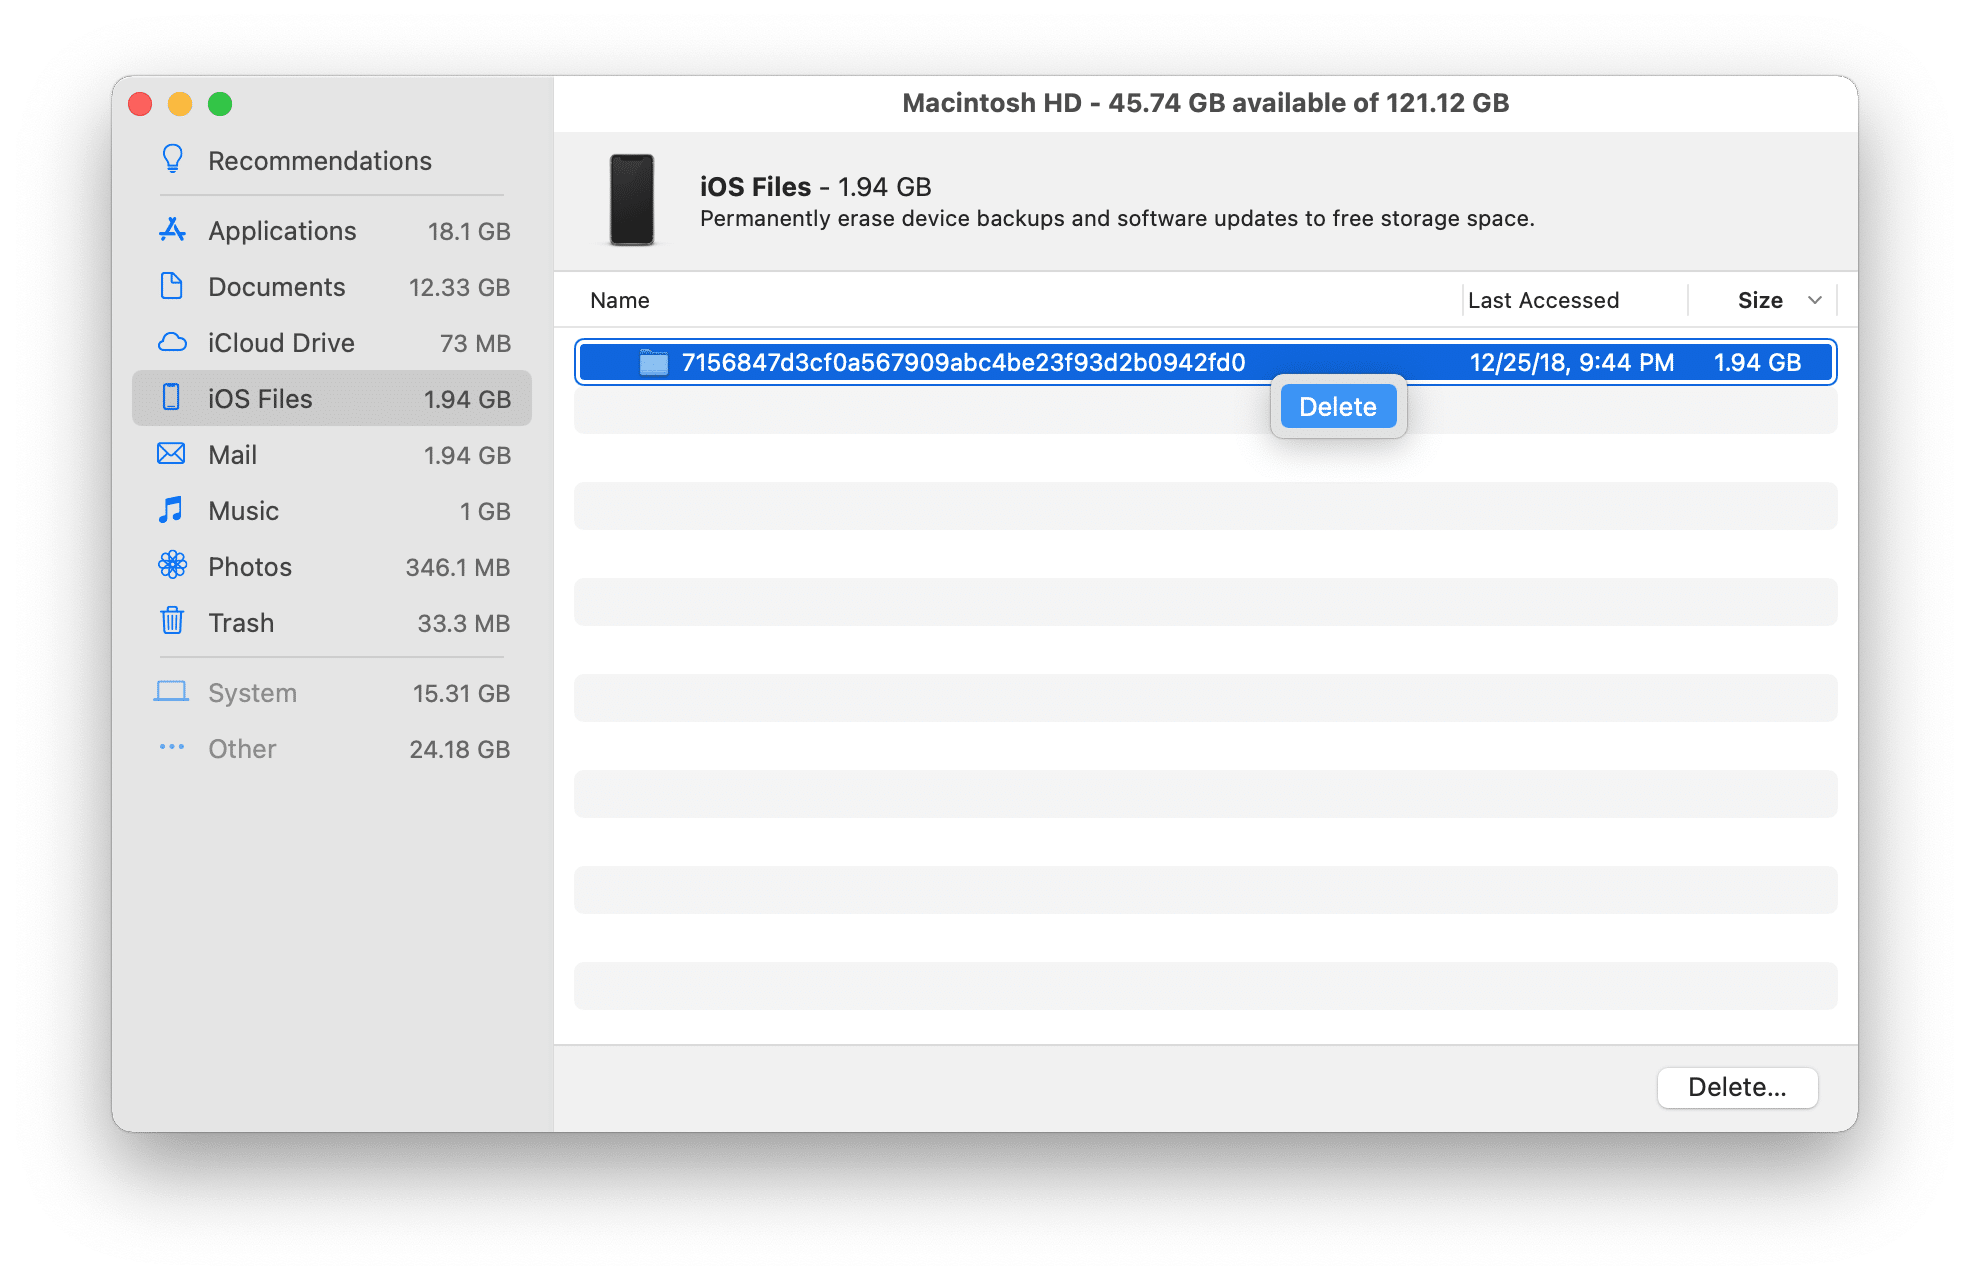
iPhone backup files take up a huge amount of space on a hard drive. Of course, you don’t have to remove your latest backup. But if you regularly back up your iOS device to your Mac, then check your Mac for old unneeded backups that you maybe forgot to remove.
Here is how to find and remove iPhone backups to free up space on Mac:
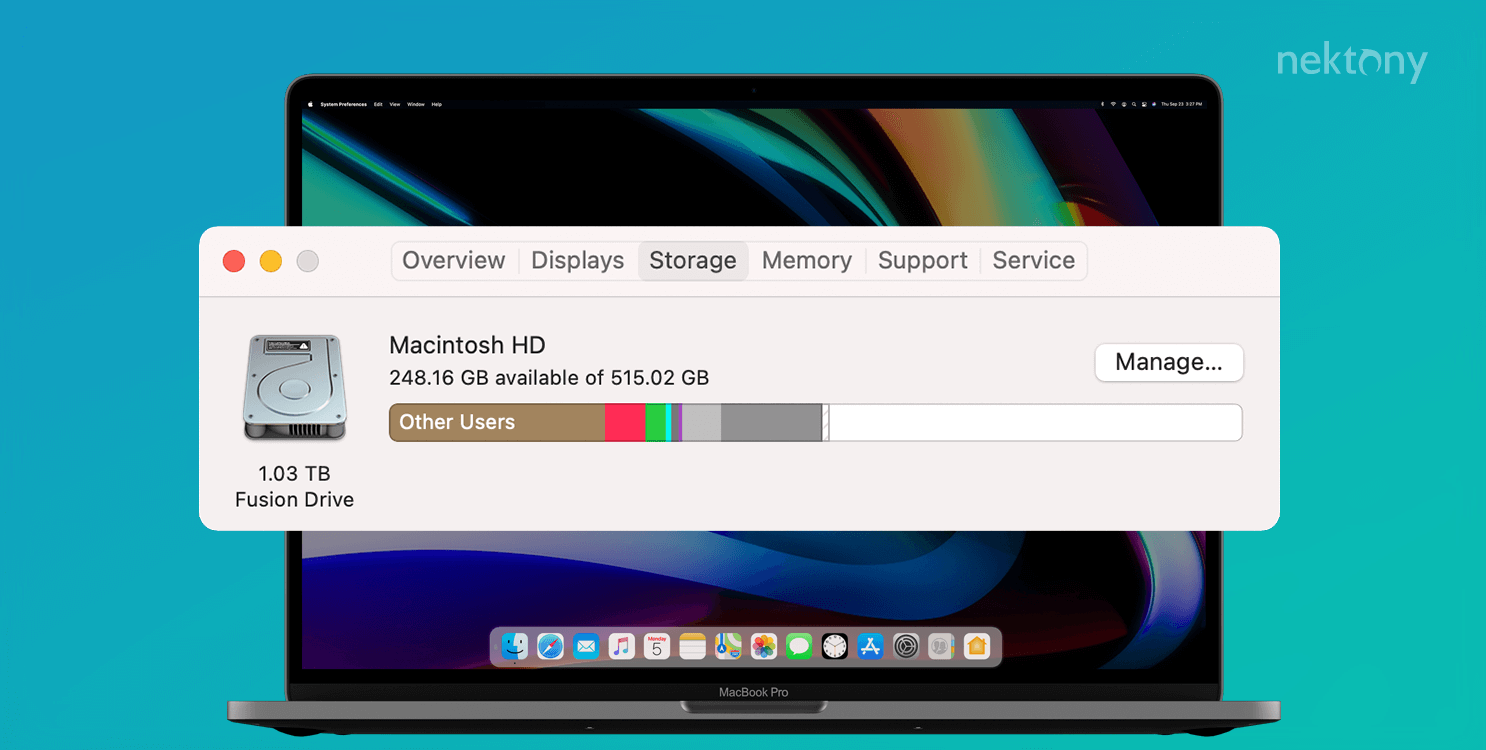
- Go to the Apple menu and click on About This Mac.
- In the Storage tab and click the Manage button.
- Select iOS Files on the left. You will see the list of all backup files of your iOS devices.
- Select old unneeded and remove them.
8. Clean up the desktop
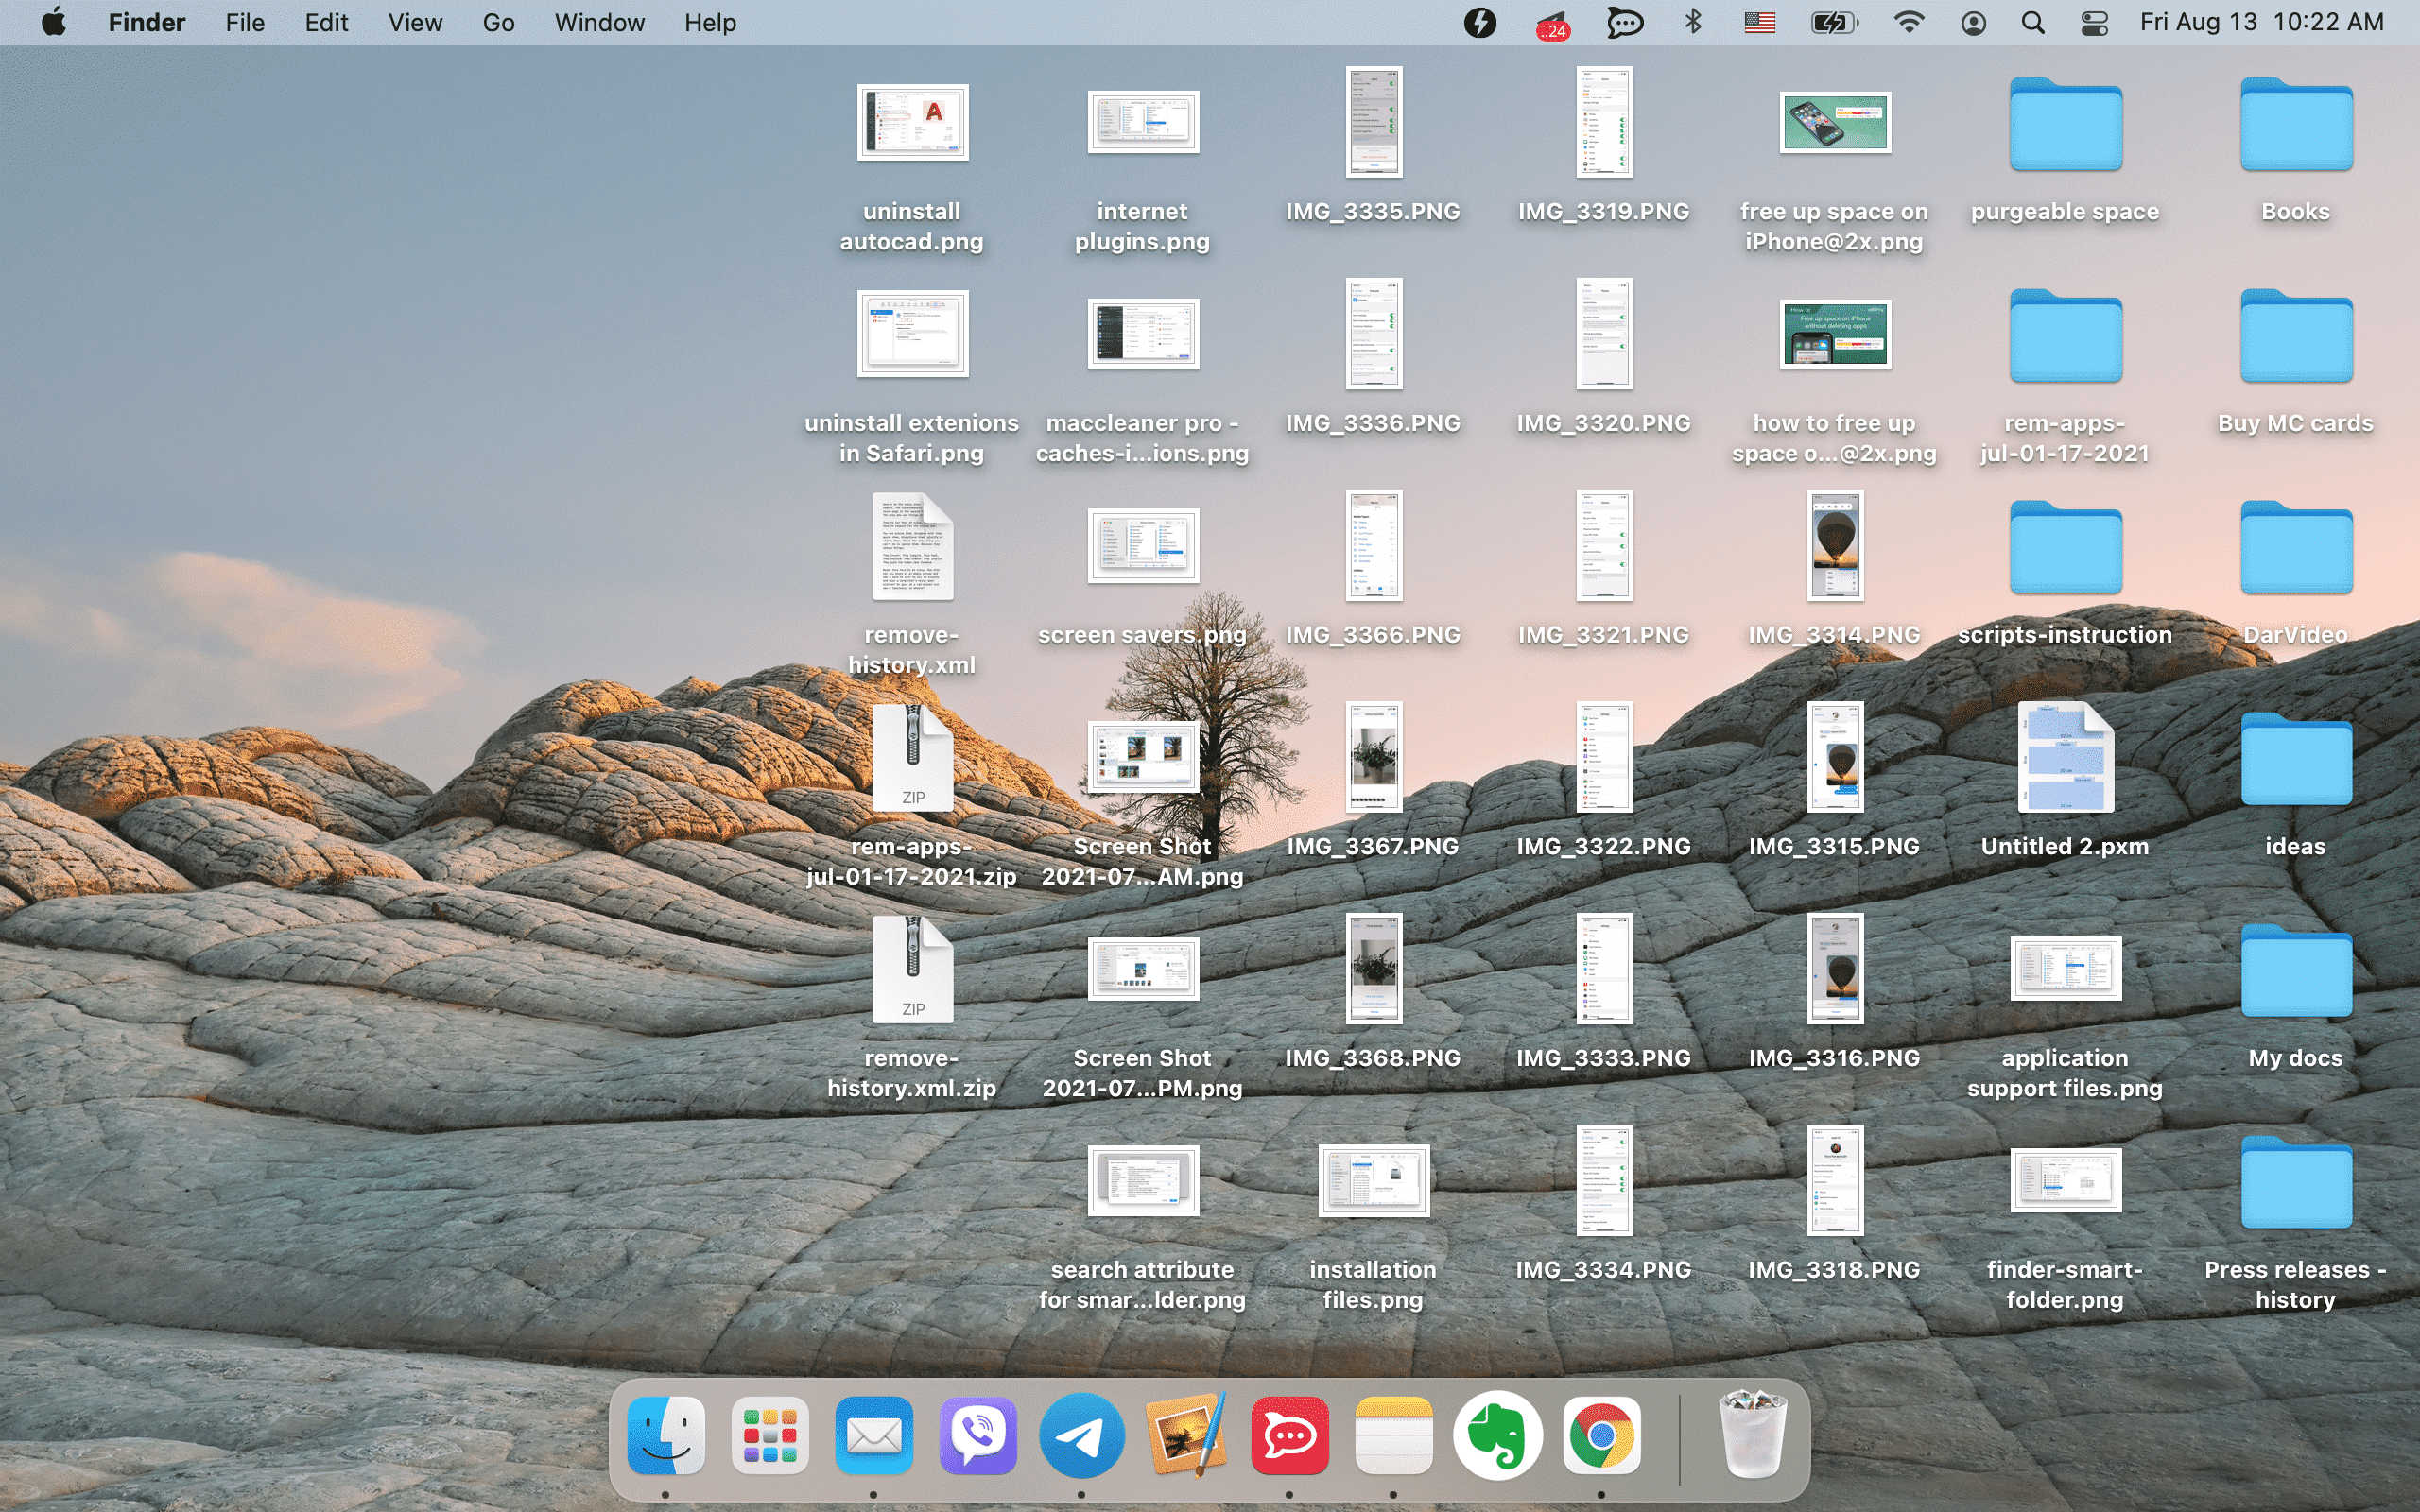
Note that when you keep your files and folders on your Desktop, the Finder treats them as a window, which, as a result, slows down your system. We recommend that you clean up your desktop and sort files from it to other folders on your Mac.
This tip might sound very simple, however, most users forget to clean up the Trash! So please, especially after ridding your Mac of all types of junk files, don’t forget to empty your Trash! This step is crucial for total removal of these unneeded files in order to free up space on your hard drive.
