You probably know how to copy and paste text, images, or files using the Mac clipboard. But did you know that you can also view your history and see what you have copied before? In this article, we will explain how to view clipboard history on Mac and how to fix it when the option is not working.
Contents:
- What is a clipboard on a Mac?
- How to see clipboard history on Mac
- How to copy and paste on Mac
- How to fix issues with the clipboard manager
Before we start
MacCleaner Pro is a powerful and easy-to-use app that scans your computer for any unwanted data and helps you remove it safely and quickly. By optimizing your system, you can delete cache files, free up disk space, and speed up macOS performance.
MacCleaner Pro
What is a clipboard on a Mac?
Mac clipboard is a temporary storage area where you can copy and paste text, images, files, and other data on your hard drive. It is a useful feature that allows you to transfer information between different applications or documents without having to retype or recreate it. It works by copying the data from the source application to a temporary memory location and then pasting it to the destination application from that location. This process is automatic: you can use keyboard shortcuts or menu commands to cut or copy data to the clipboard and then paste it somewhere else.
How to see clipboard history on Mac
The clipboard on a Mac can only store one item at a time. This means that copying or cutting something new will overwrite the previous item that was on it. However, some applications may provide their own copy-and-paste history or multiple ones for more convenience.
The answer is not easy if you’re wondering where the clipboard is on Mac. Despite the fact that Mac has special storage where the copied items are stored when performing this command, we don’t see the intermediate step, as the process goes automatically in the background. However, there’s a possibility to check Mac clipboard history, and here’s how:
- Click Edit in the menu bar.
- Choose Clipboard in the drop-down window.
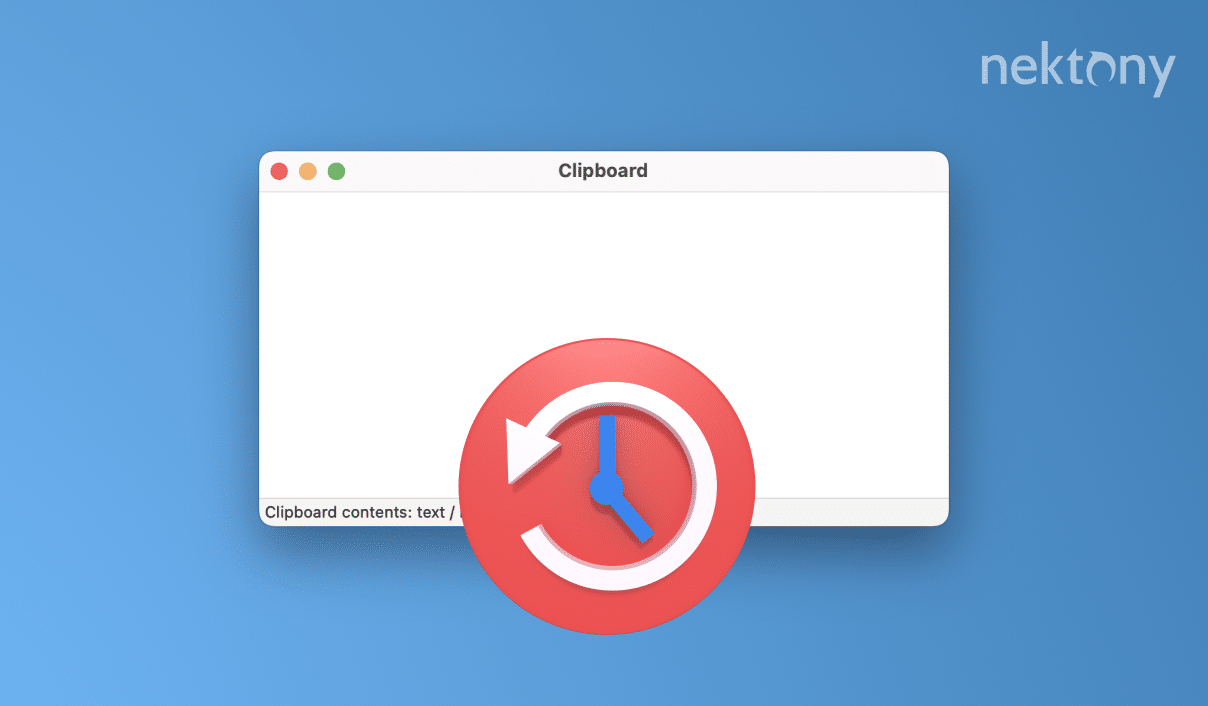
- You’ll see a white Clipboard window with the text of the last copied file or the text.

If you want to view Mac clipboard history during some period of time, the only way is to use a third-party app that can keep track of your history and let you access it anytime. Some examples of such apps are CopyClip, Flycut, and Alfred. These apps usually run in the background and store your data. You can then see, copy, and paste the history for any needs.
Also, some apps provide a built-in feature of saving their own history. For example, Microsoft Word shows up to 24 items that you have copied or cut within Word.
How to clear clipboard on a Mac
If you want to clear your clipboard on a Mac and remove any data that is stored on it, you can use one of these methods:
- Copy or cut something else, such as a blank space or an empty file. This will overwrite the previous item that was on the history.
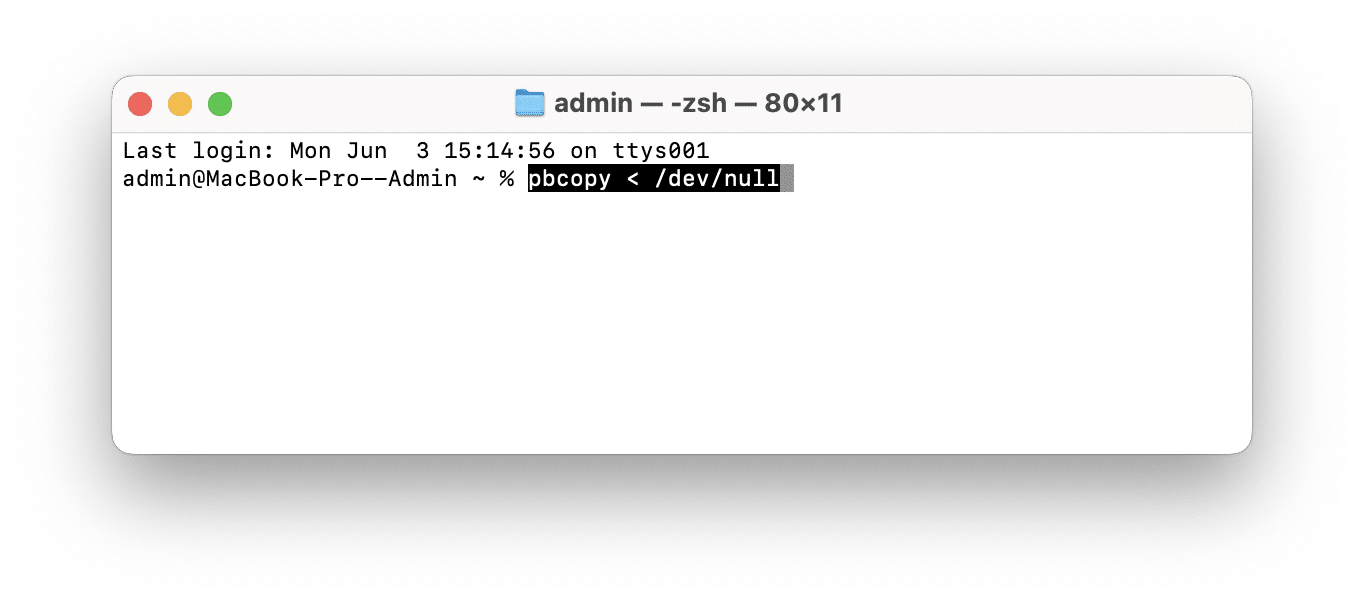
- Use Terminal. Type in the command pbcopy < /dev/null and press Enter. This will copy nothing to your clipboard and erase anything that was there before.
- Restart your system to reset your system and clear any temporary data that is stored on it.
How to copy and paste a clipboard
To use the clipboard on a Mac, select the data you want to copy or cut, and then use one of the methods below.
Use keyboard shortcuts
The quickest way to copy and paste files, folders, or texts is to use short keyboard commands. Simply remember the shortcuts below and use them for managing items on your system:
Cmd+C – copy the selected items
Cmd+X – cut the selected items
Cmd+V – paste the selected items (you’ll need to go to the destination where you want to paste it and press Cmd+V)
Use the menu bar
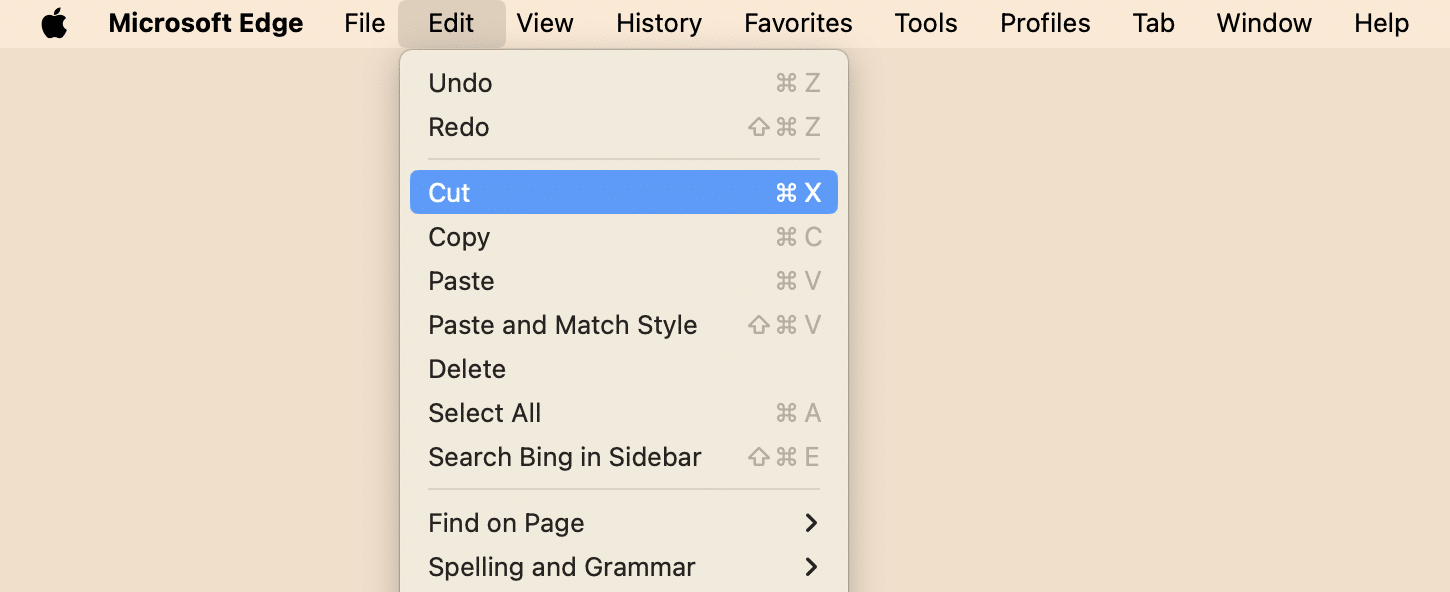
If you click Edit in the menu bar, you’ll see the copy and past clipboard options in the drop-down menu. Let’s see this method in more detail:
- Select the files or texts you want to copy.
- Click Edit in the menu bar.
- Click Copy or Paste.
- Go to the destination folder where you want to paste it.
- Click on Edit again and choose Paste.
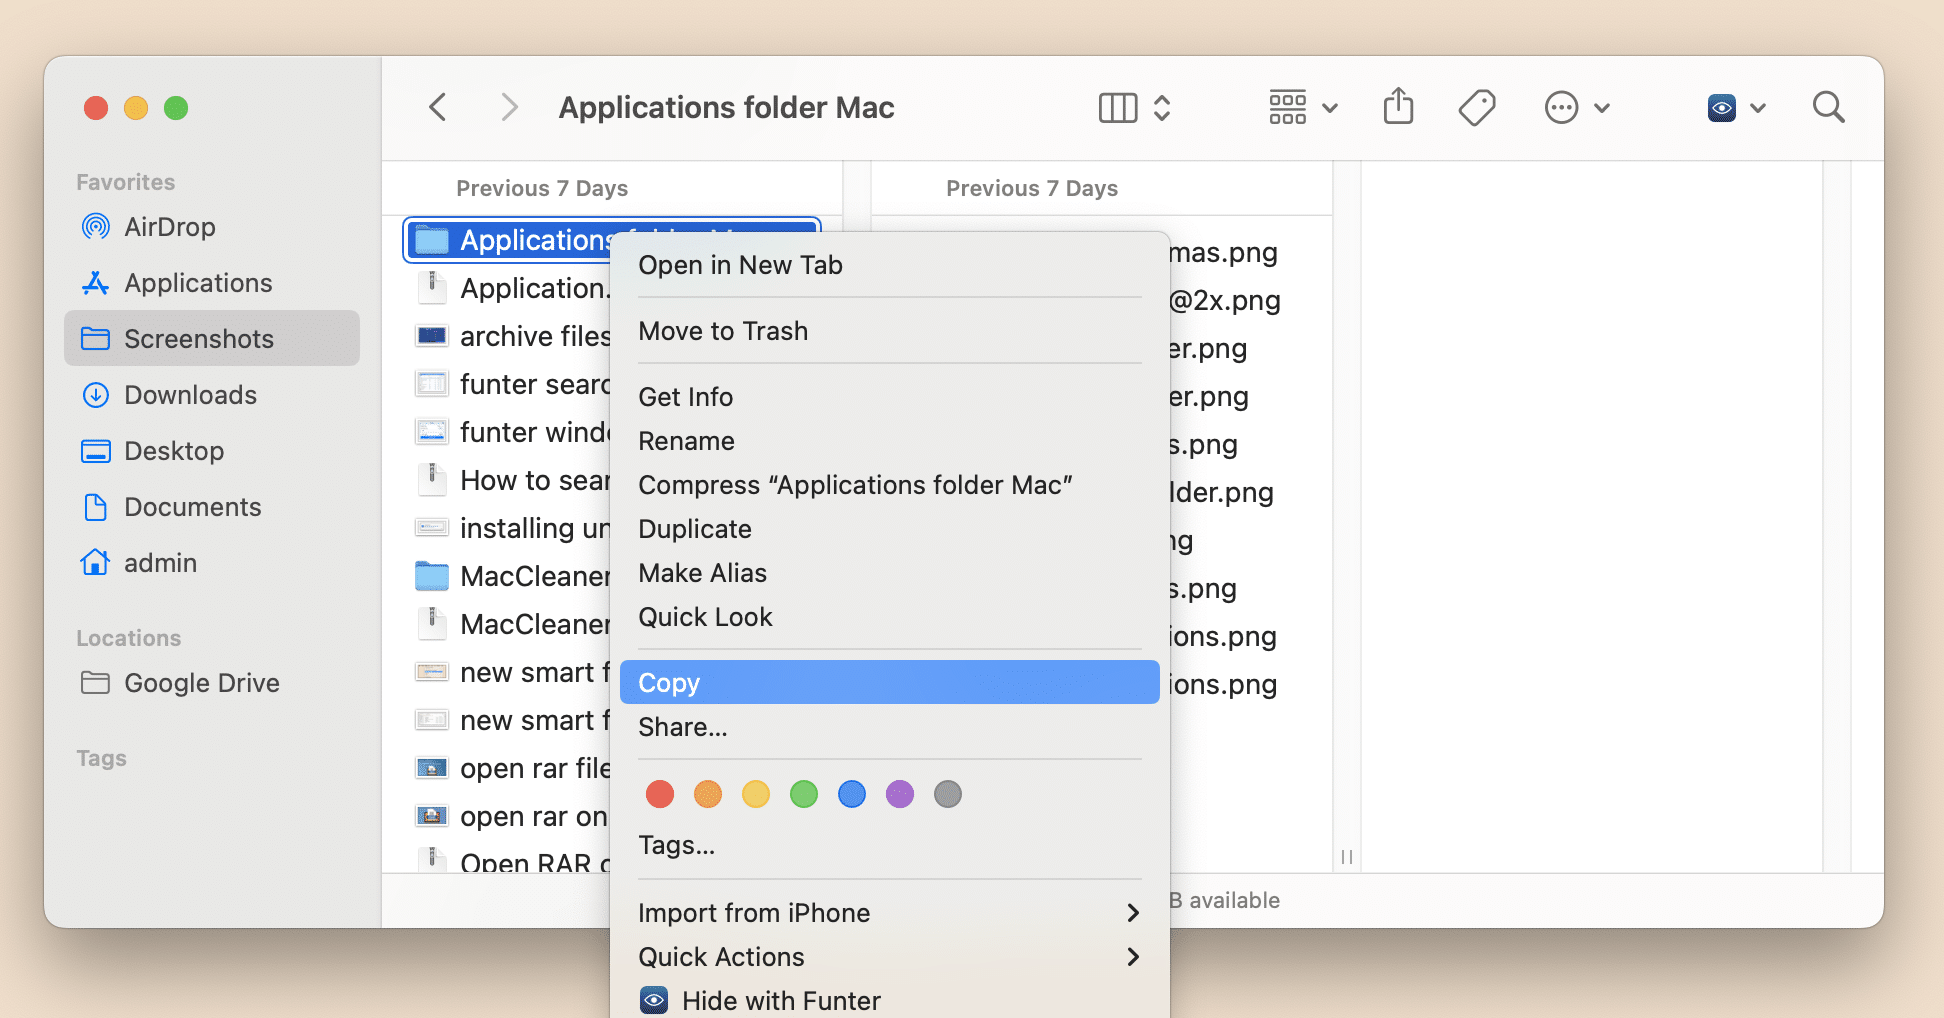
Use the context menu
Like working with the menu bar, you can do the same using the context menu. Here’s how to use it:
- Select the files or texts you want to copy.
- Right-click on the selected item.
- Choose Copy from the pop-up menu.
- Then, go to the destination where you want to paste it.
- Right-click on an empty area and choose Paste.
How to fix issues with the clipboard manager
If you are using a clipboard manager on your Mac, you might encounter some issues with copying and pasting text or files. This can be frustrating and affect your productivity. But don’t worry, we’ll explain how to solve it.
One of the possible causes of clipboard issues is the accumulation of caches and leftovers of incorrectly deleted apps. These files can interfere with the normal functioning of the system and cause errors or glitches. To avoid this, you should regularly clean up your Mac and remove any unnecessary or outdated files.
One of the easiest and most effective ways to do this is to use MacCleaner Pro, a powerful tool that can scan your disk for junk files and delete them with one click. MacCleaner Pro can also optimize your Mac’s performance, free up disk space, uninstall apps completely, and more. Here’s how to use it:
- Download and launch MacCleaner Pro.
- Go to the Clean Up section from the sidebar.
- Select all junk files.
- Click Review to Remove and confirm the action.
