Having printed photos is great, especially when you gather with your family and revisit your old photos. However, having digital copies of photos is more convenient and safe. For example, if something happens to your printed versions of the photos, having digital copies means you always can print them again. Also, you can share photos with your friends by email, messages, or on social media.
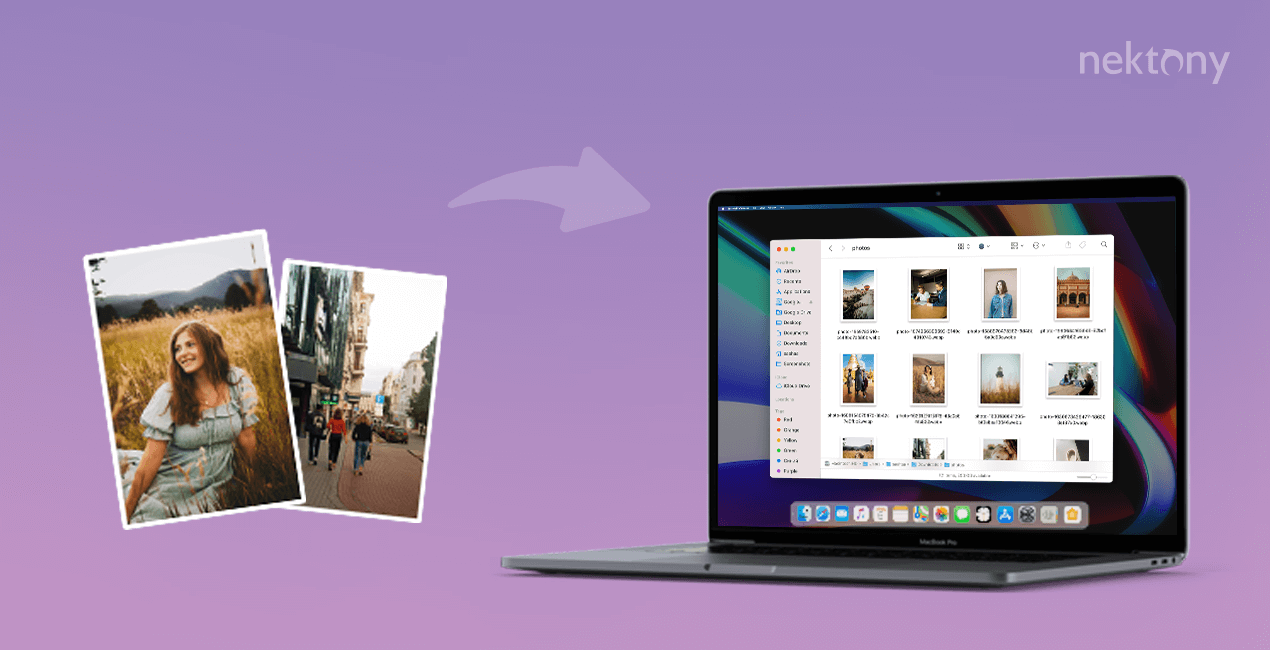
This article will share tips on how to digitize your old photos with minimal loss of quality and extend the life of your pictures.
Contents:
- How to digitize old photos
- What’s the best way to digitize old photos?
- How to find duplicate digital photos on a Mac
Tip – How to clean up and organize duplicate photos on a Mac
Duplicate File Finder
How to digitize old photos
You can convert old photos to digital copies using a scanner, your phone camera, or a special mobile application for scanning. No matter which method you use to digitize your pictures, you then might need a graphic editor to correct any shortcomings of the already digitized image, for example, to crop pictures, eliminate glare or add a filter you like.
Digitize photos using a scanner
To convert photos to digital using a scanner, you need to prepare the following items:
- A scanner or universal printer with a scanning option.
- A clean microfiber cloth to clean up the scanner’s glass.
- A software program installed on your computer to connect with the scanner.
- A photo editor to finalize the digital copies of your photos.
Tips when scanning old photos to digital:
- Before you start scanning, make sure that the scanner’s glass is clean and dry. This will help you to make a high-quality digital copy without any spots.
- If you don’t have a dry microfiber cloth, you can clean up the glass with a dry handkerchief. We recommend not using napkins because they can scratch the surface.
- Check the printed photos and make sure that they are clean. You can clean the dust from the photos with a napkin or a duster.
- When scanning photos, wipe the scanner from time to time to keep it clean from dust and fingerprints.
- Set a maximum resolution in scanning options. This will provide high quality to your digitized photos.
- Consider the process of digitizing your photos as an opportunity to relive the moments captured in the pictures. You can even involve your family and friends in this process to have fun and share your memories.
- You can save your time by scanning multiple photos at once. Put as many photos on the scanner surface as it will allow. Then, you will just need to trim the one scanned picture into separate photo files.
- Think in advance about digital photos names. By doing this, you will be able to easily find your digital memories. For example, you can specify the year the photo was taken, the location it was taken, or other details, like a person, event and so on.
If you don’t have a scanner, you do not have to buy one to scan your old photos. When you need to digitize several hundred or thousands of images, the purchase of a scanning device can be justified. However, when you want to digitize a small number of photos, use a device that you most likely have a camera (soap dish) or camera on your mobile phone. Keep reading to learn more about this method.
Digitize photos using a camera
Tips when using a camera to digitize old photos:
- Prepare the camera for scanning printed photos, including the lighting in order to prevent glare on the photos. The best time to digitize a photo using a camera is during the day in a well-lit room or on the street (terrace, balcony) in cloudy weather.
- It is better not to hold the camera in your hands, but to set it on a tripod or other flat surface. This will prevent a camera shake and provide high-quality digital photos.
- When shooting in artificial lighting conditions, you can use a sufficiently powerful table lamp or, if one is not available, work directly under the chandelier.
- Turn off the camera flash, which can cause glare in the picture.
- Use a timer on the camera. Press the shutter release and move away from the camera so that there is no photographer’s reflection on the finished frame.
A camera provides the same good quality of digitized photos as a scanner. The disadvantage is that it takes a lot more time to do this work and then transfer the photos to a computer and edit them to get the final digitized photos.
If you don’t have a good camera, you can use a camera on your smartphone. Using a smartphone camera is much easier and faster for digitizing photos; however, note that the quality of the photos will be lower. Generally, we recommend a mobile phone camera resolution of at least 8 megapixels.
Digitize photos using a mobile application
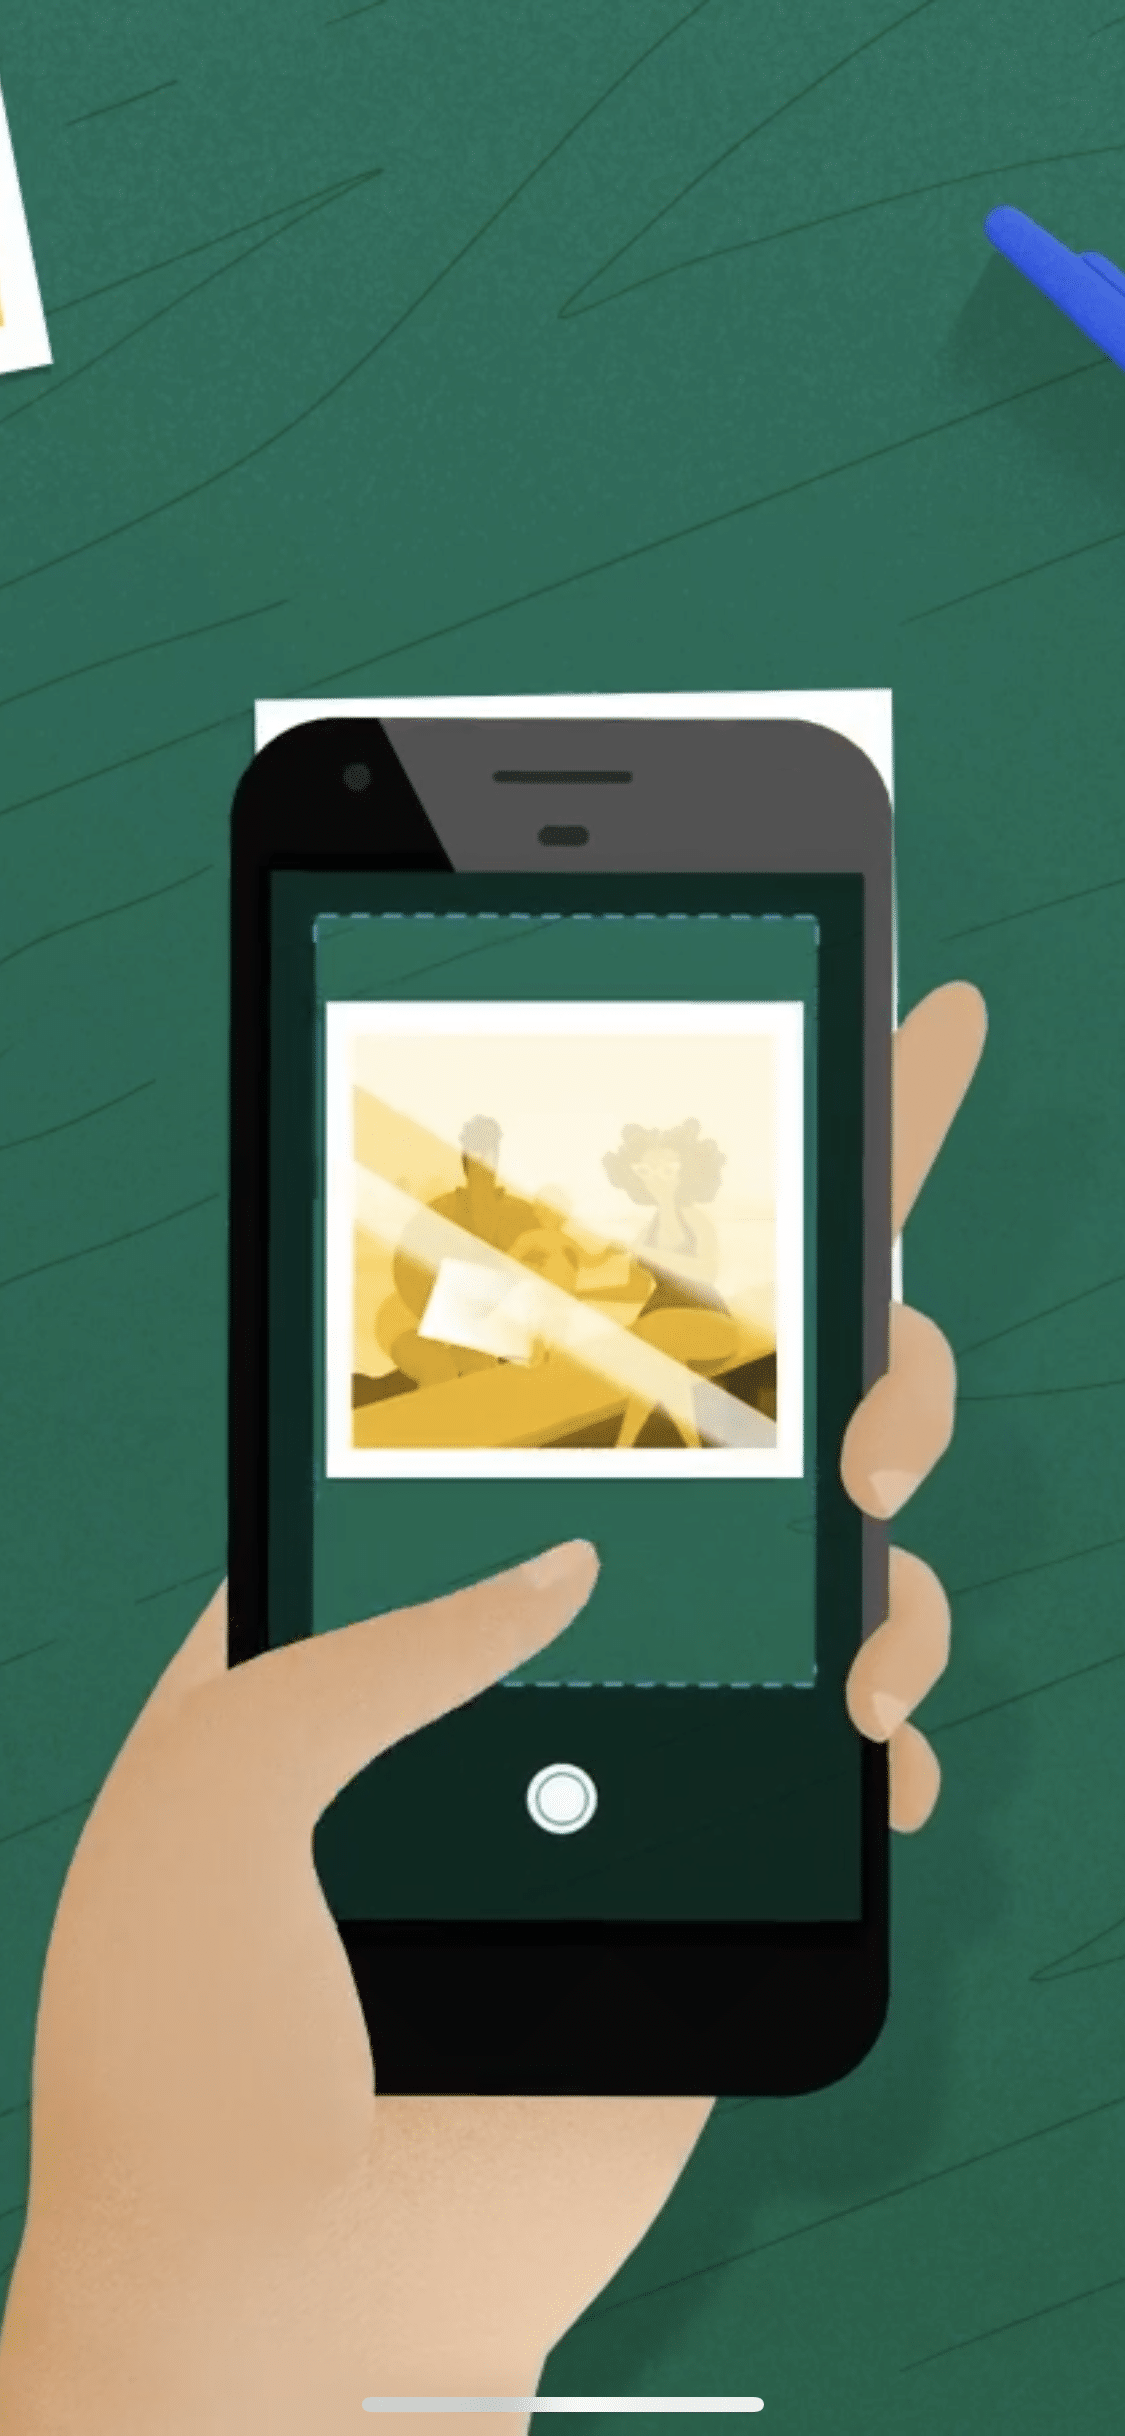
When using a smartphone camera to digitize photos, you can just take pictures of the printed photos. However, with the help of special mobile applications, you can do this easier, and what is more important is that most applications automatically edit the photos and remove glare from the digitized pictures.
There are many mobile scanning applications that digitize photos. One of the popular and free applications, available both for iOS and Android, is PhotoScan from Google Photos.
How to digitize photos using the PhotoScan application
- Download and install Google Photos PhotoScan on your device (find it in the Play Market or AppStore).
- Put your printed photo on a plain, flat surface.
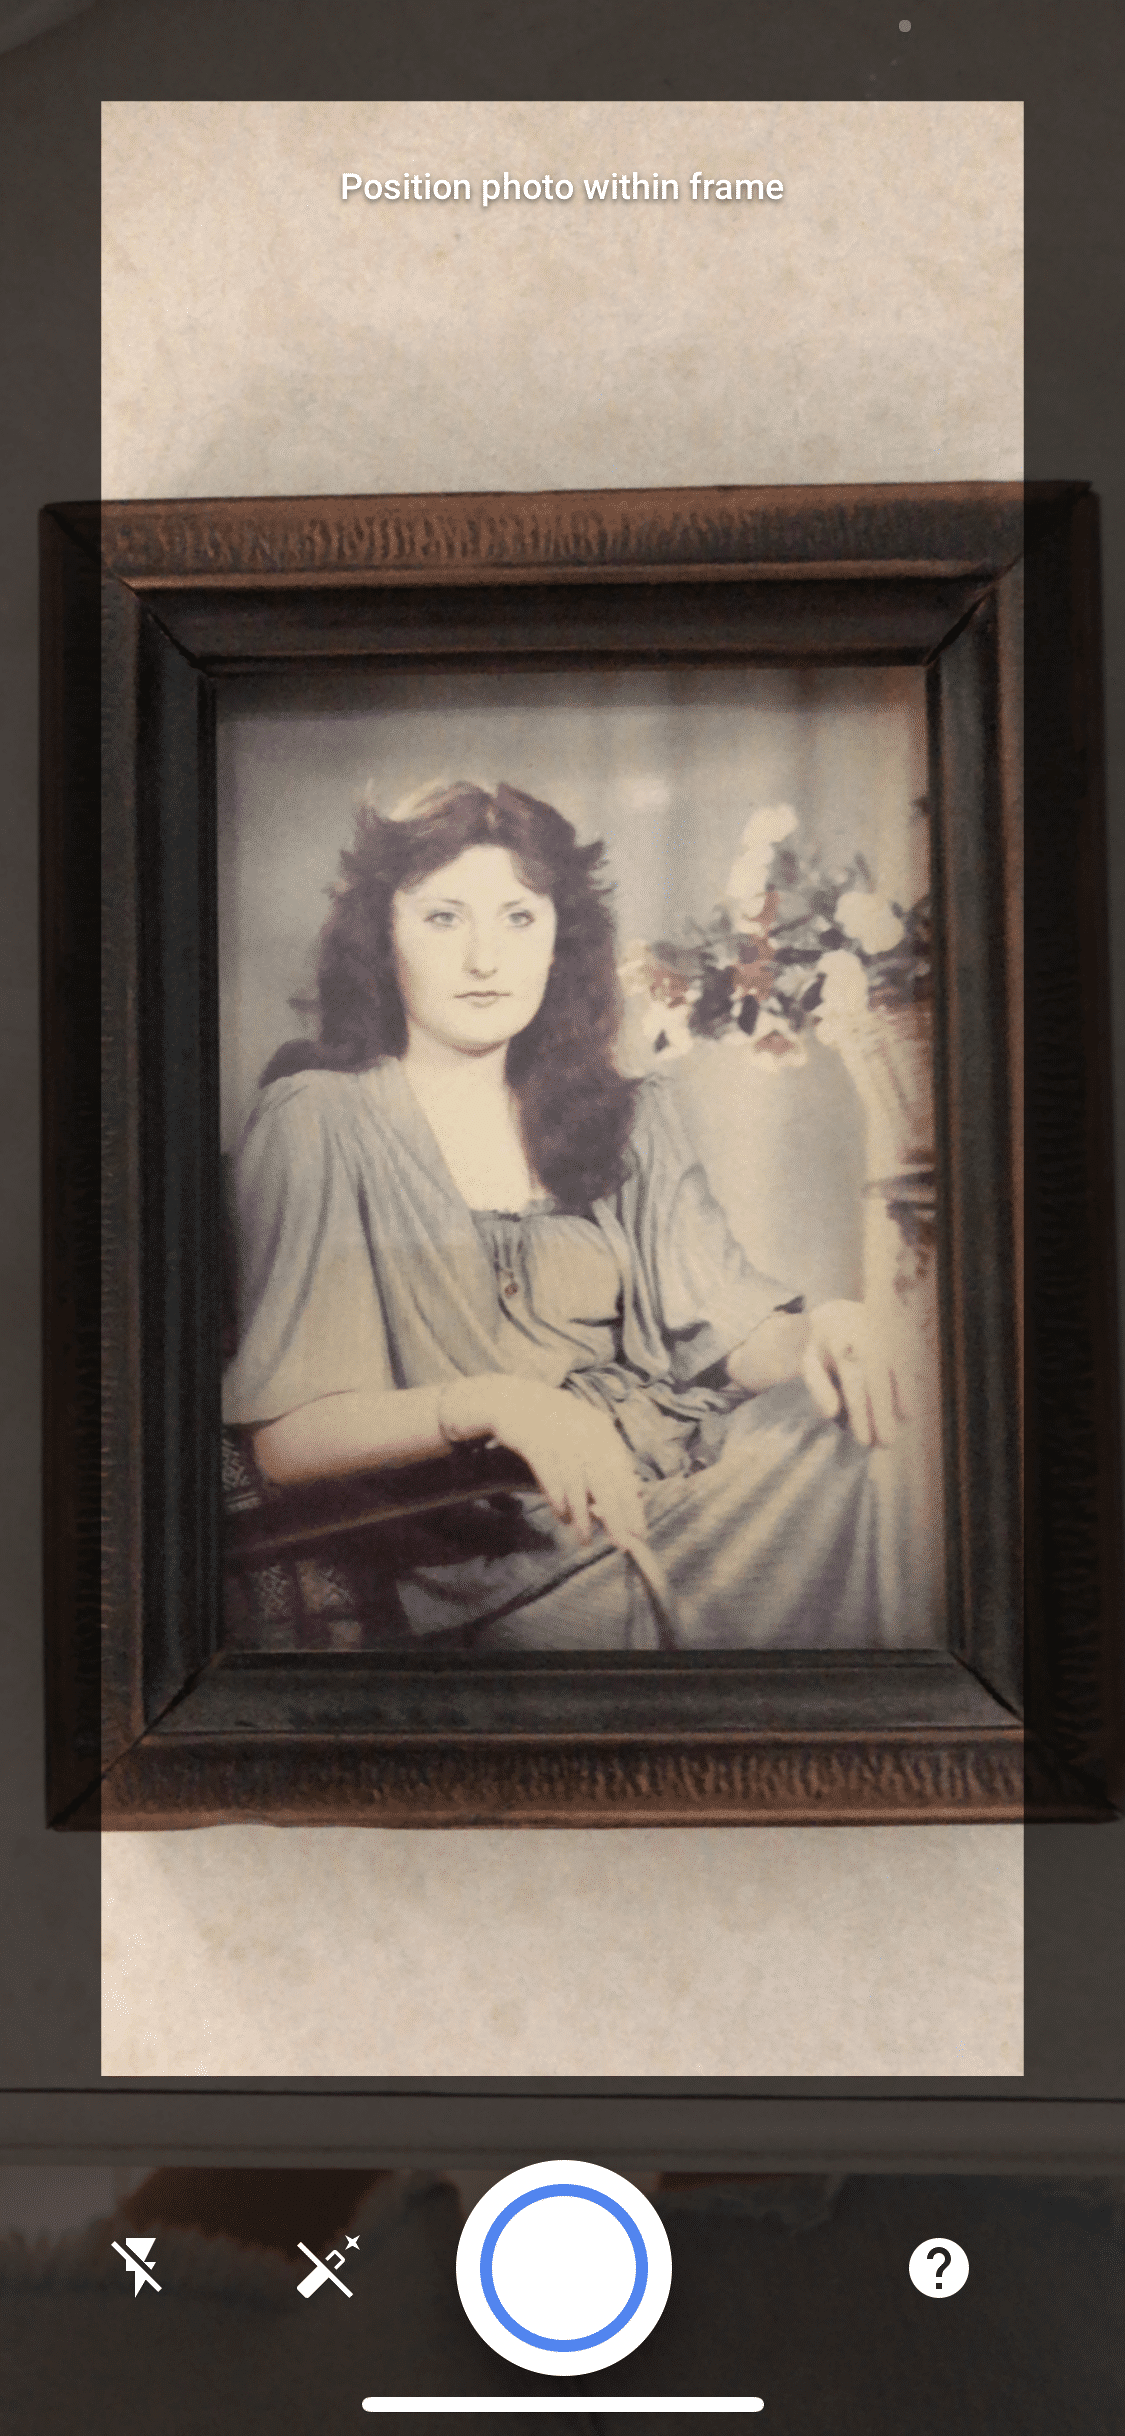
- Open PhotoScan on your device and make sure that the icons in the form of a magic wand and a flash are activated. This will avoid glare and overexposed areas of the image.
- Hold the phone in such a position so that your photo is in the frame.
- Tap the Scan button to start scanning your photo.
- Scan all the photos you want to digitize.
- If needed, transfer the digitized photos to your computer.
What is the best way to digitize old photos?
If you have a very large number of photos, digitizing each of them might be tedious for you. In this case, you can give your photos to a special service which can do this work for you. If you prefer to do this by yourself but are looking for the cheapest and easiest way to convert your photos to digital, then we recommend using your mobile camera and any free scanning application.
In the table below, you can see the pros and cons of each method for digitizing your old photos.
| Scanner | Camera | Mobile application | |
|---|---|---|---|
| Cost | High | High (for a professional camera) |
Free (Only a mobile camera is required) |
| Useful for a large number of photos | Yes | No | No |
| Quality of the photos | High | High | Poor |
| Ease of use | Might be complicated | Might be complicated | Easy |
How to find duplicate digital photos on a Mac
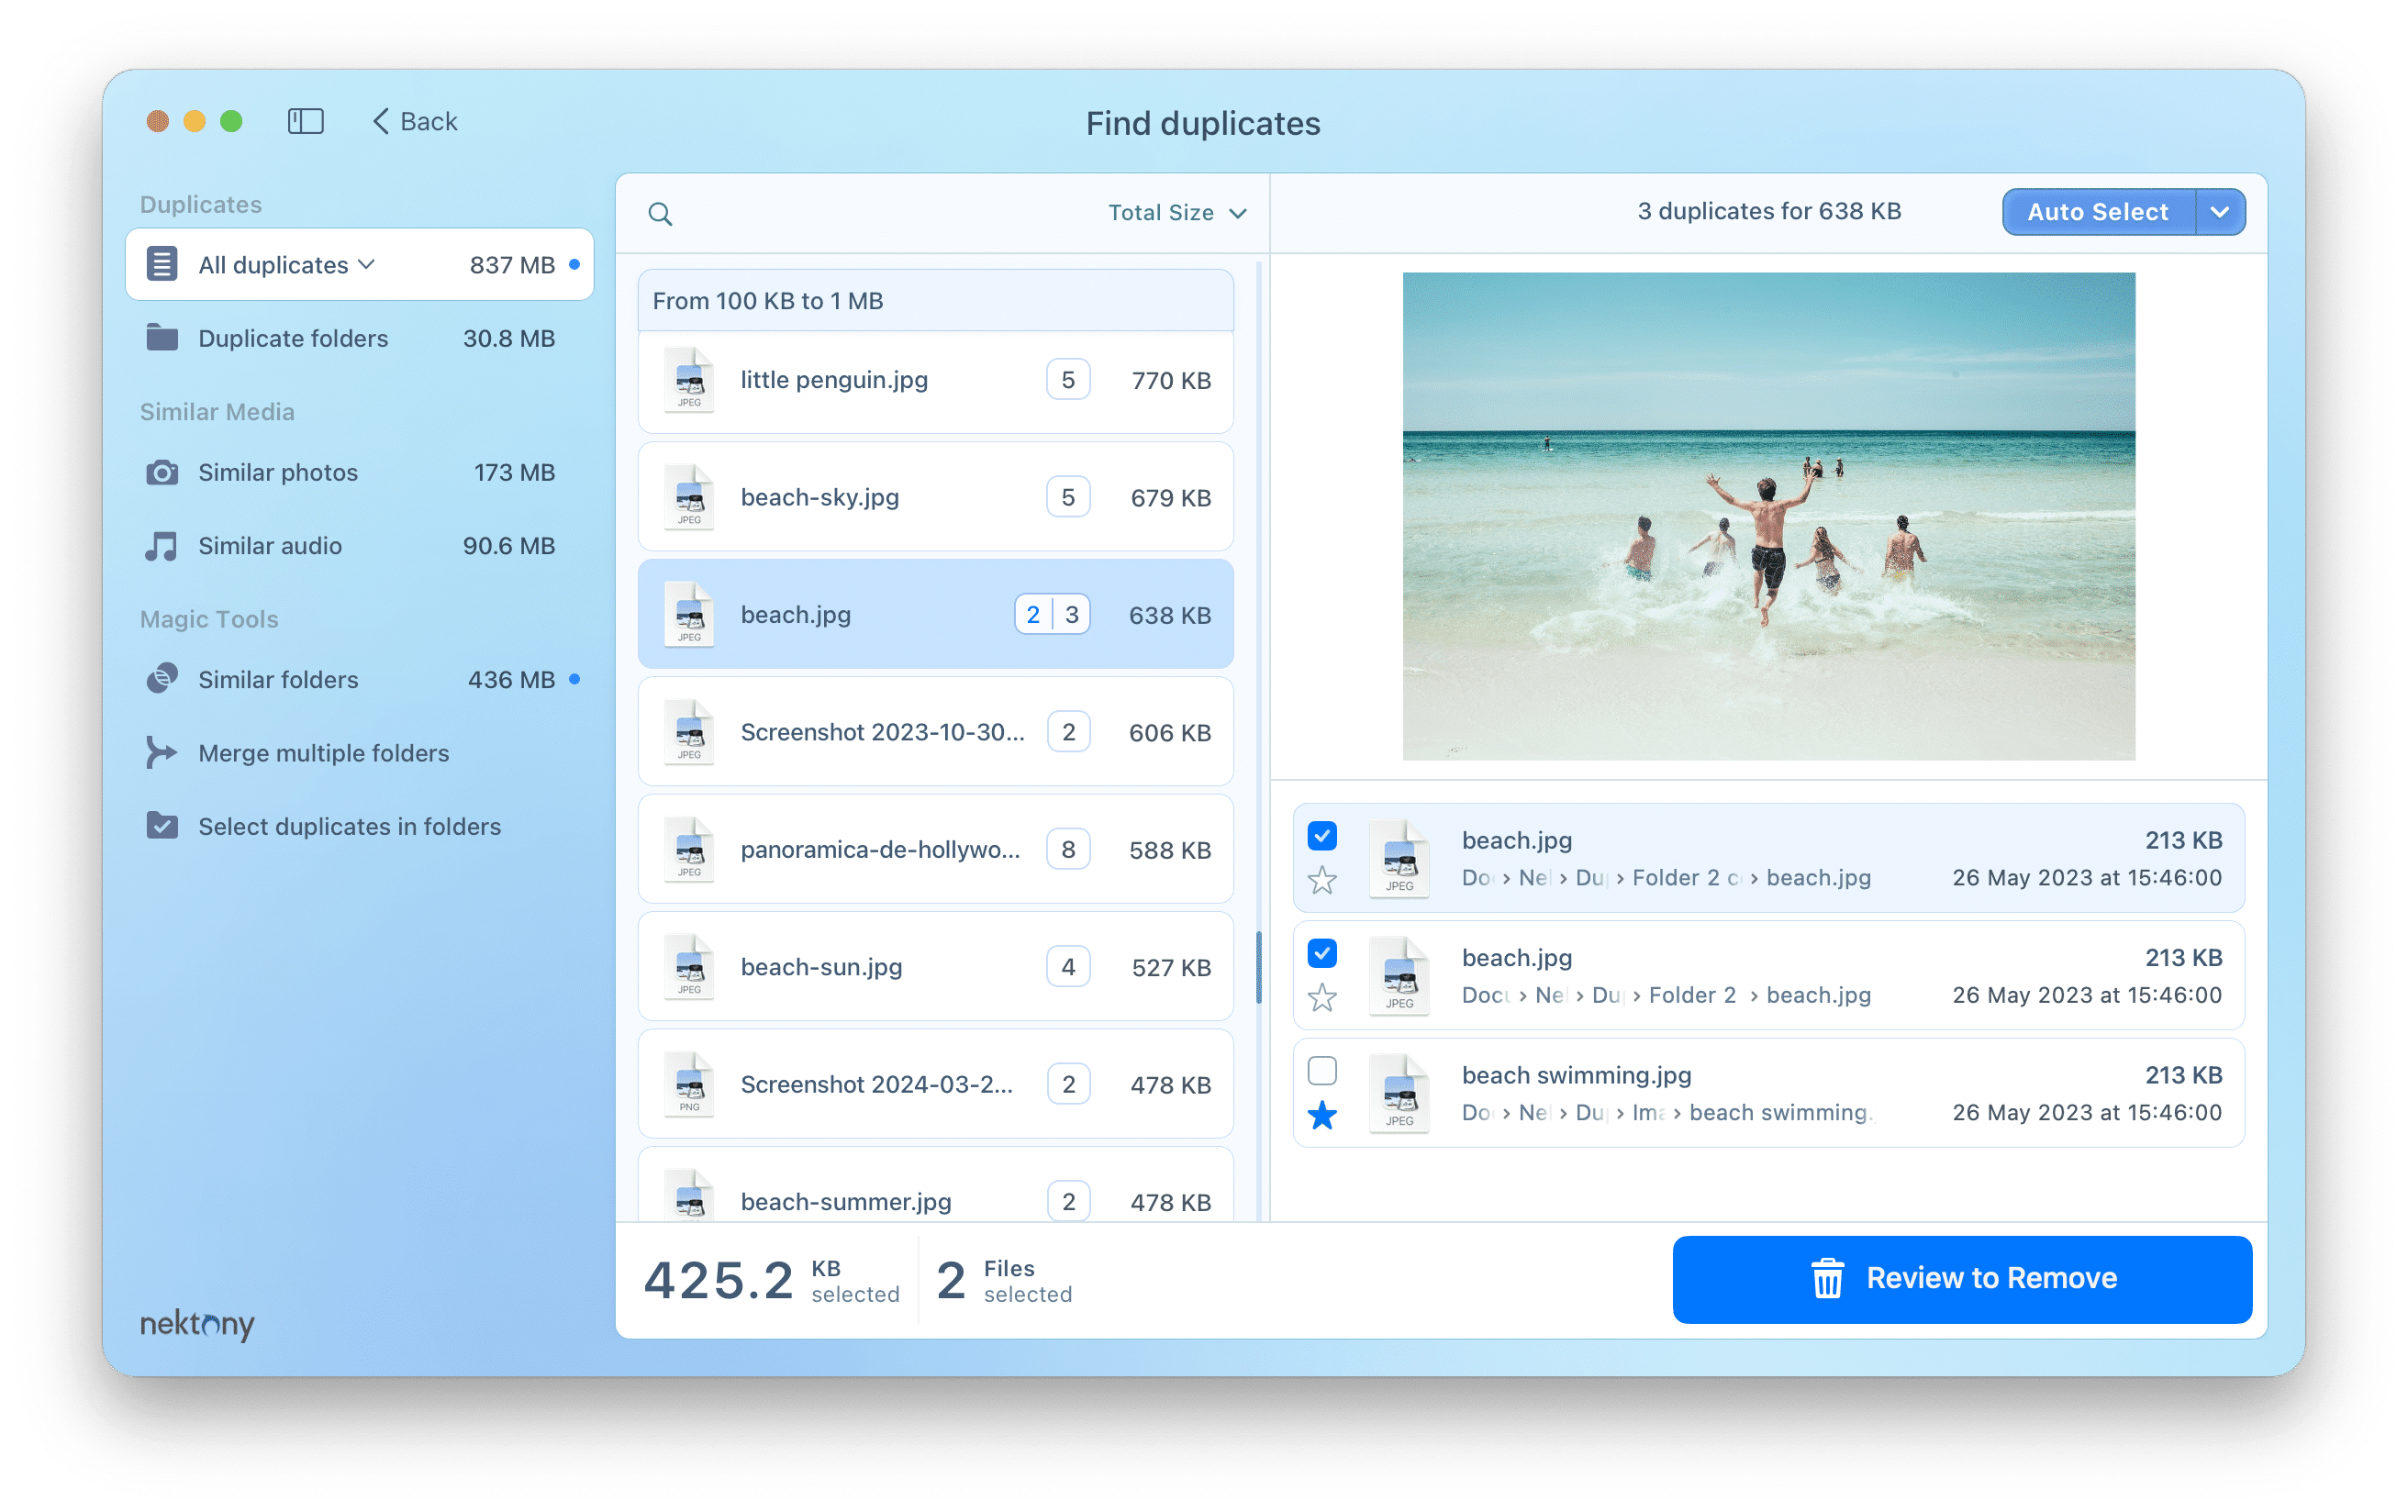
If you regularly work with a large number of photos, most likely you have many duplicate and similar photos. With a free application called Duplicate File Finder, you can check your Mac or any external storage for duplicate photos. The application finds duplicates of any type of extension. In other words, it not only finds duplicate images but also duplicate music, video, documents, archives and so on.
Steps on how to find duplicate photos on a Mac:
- Download and launch Duplicate File Finder.
- Add folders or disks for scanning and click Find duplicates.
- You will get the list of all duplicate files.
- Select all unneeded duplicate items.
- Click Review & Remove and confirm the deletion.
Conclusion
There are several ways you can scan old photos to digital. You can do this with a scanner, camera or special applications on your smartphone. No matter which method you use to digitize your photos, we recommend that you check your computer or external drive where you keep your photos for duplicate files. If you are a Mac user, you can find and remove duplicates with a free application Duplicate File Finder.
