
macOS Sequoia was introduced at WWDC 2024 on June 10, 2024. While the official release is promised to come in autumn, you can ensure a smooth transition by preparing your Mac now. This guide will share essential steps to get your system ready to upgrade to the Sequoia era.

Contents:
- What’s new in macOS Sequoia
- macOS Sequoia requirements
- When should I install macOS Sequoia
- Preparing a Mac for a macOS Sequoia upgrade
- Upgrading a Mac to macOS Sequoia
#1 Tip – Before upgrading a Mac to macOS Sequoia
MacCleaner Pro
What’s new in macOS Sequoia
macOS Sequoia offers a range of improvements designed to make your Mac experience more efficient, intuitive, and enjoyable. This update brings the following new features:
Apple Intelligence (available on Apple silicon Macs)
Sequoia now personalizes your Mac experience with artificial intelligence, It means that Siri can understand your context and offer more relevant suggestions. As a result, you get smarter search results with key information highlighted. The new system also provides enhanced content creation tools that help with writing, revising, and even generating images based on your prompts.
Effortless workflow
Sequoia introduces intuitive window tiling options, allowing you to effortlessly arrange your workspace for maximum productivity. No more juggling multiple logins – the dedicated Passwords app securely stores and manages all your passwords across websites and apps.
Safari
Safari is coming with a new design featuring “Highlights” for key information extraction and a more immersive video viewing experience.
iPhone mirroring
iPhone Mirroring is improved allowing you to open apps, interact with notifications, and drag and drop files between your devices seamlessly.
Supercharged apps
Sequoia introduces significant updates to core Apple apps like Notes, Mail, and Photos. For example, Notes transforms into a powerhouse tool with live audio transcription, perfect for capturing lectures or meetings.

Which Macs support macOS Sequoia
While some of Sequoia’s new features might require the power of Apple Silicon Macs (launched in late 2020 onwards), the core functionality of the update will be available for Intel Macs released between late 2017 and 2020. This extends the lifespan of these machines and offers users a path to experience the latest macOS features.
The list of Mac models that support macOS Sequoia:
- MacBook Air (2020 and newer)
- MacBook Pro (2018 and newer)
- Mac Mini (2018 and newer)
- iMac (2019 and newer)
- iMac Pro (2017)
- Mac Studio (2022)
- Mac Pro (2019 and newer)
When should I install macOS Sequoia?
While macOS is known for its stability, the public beta of Sequoia is best left to developers for testing purposes. Beta versions often contain bugs that could cause unexpected behavior on your Mac.
Here’s a safer approach:
- Hold off on upgrading to Sequoia until the official public version is available. This gives Apple time to iron out bugs and ensure a smoother experience for everyone. Ideally, wait for a few updates after the initial release, just in case any unforeseen issues arise.
- Before diving in, make sure the apps you rely on daily are compatible with Sequoia to avoid any compatibility headaches.
How to prepare a Mac for a macOS Sequoia upgrade
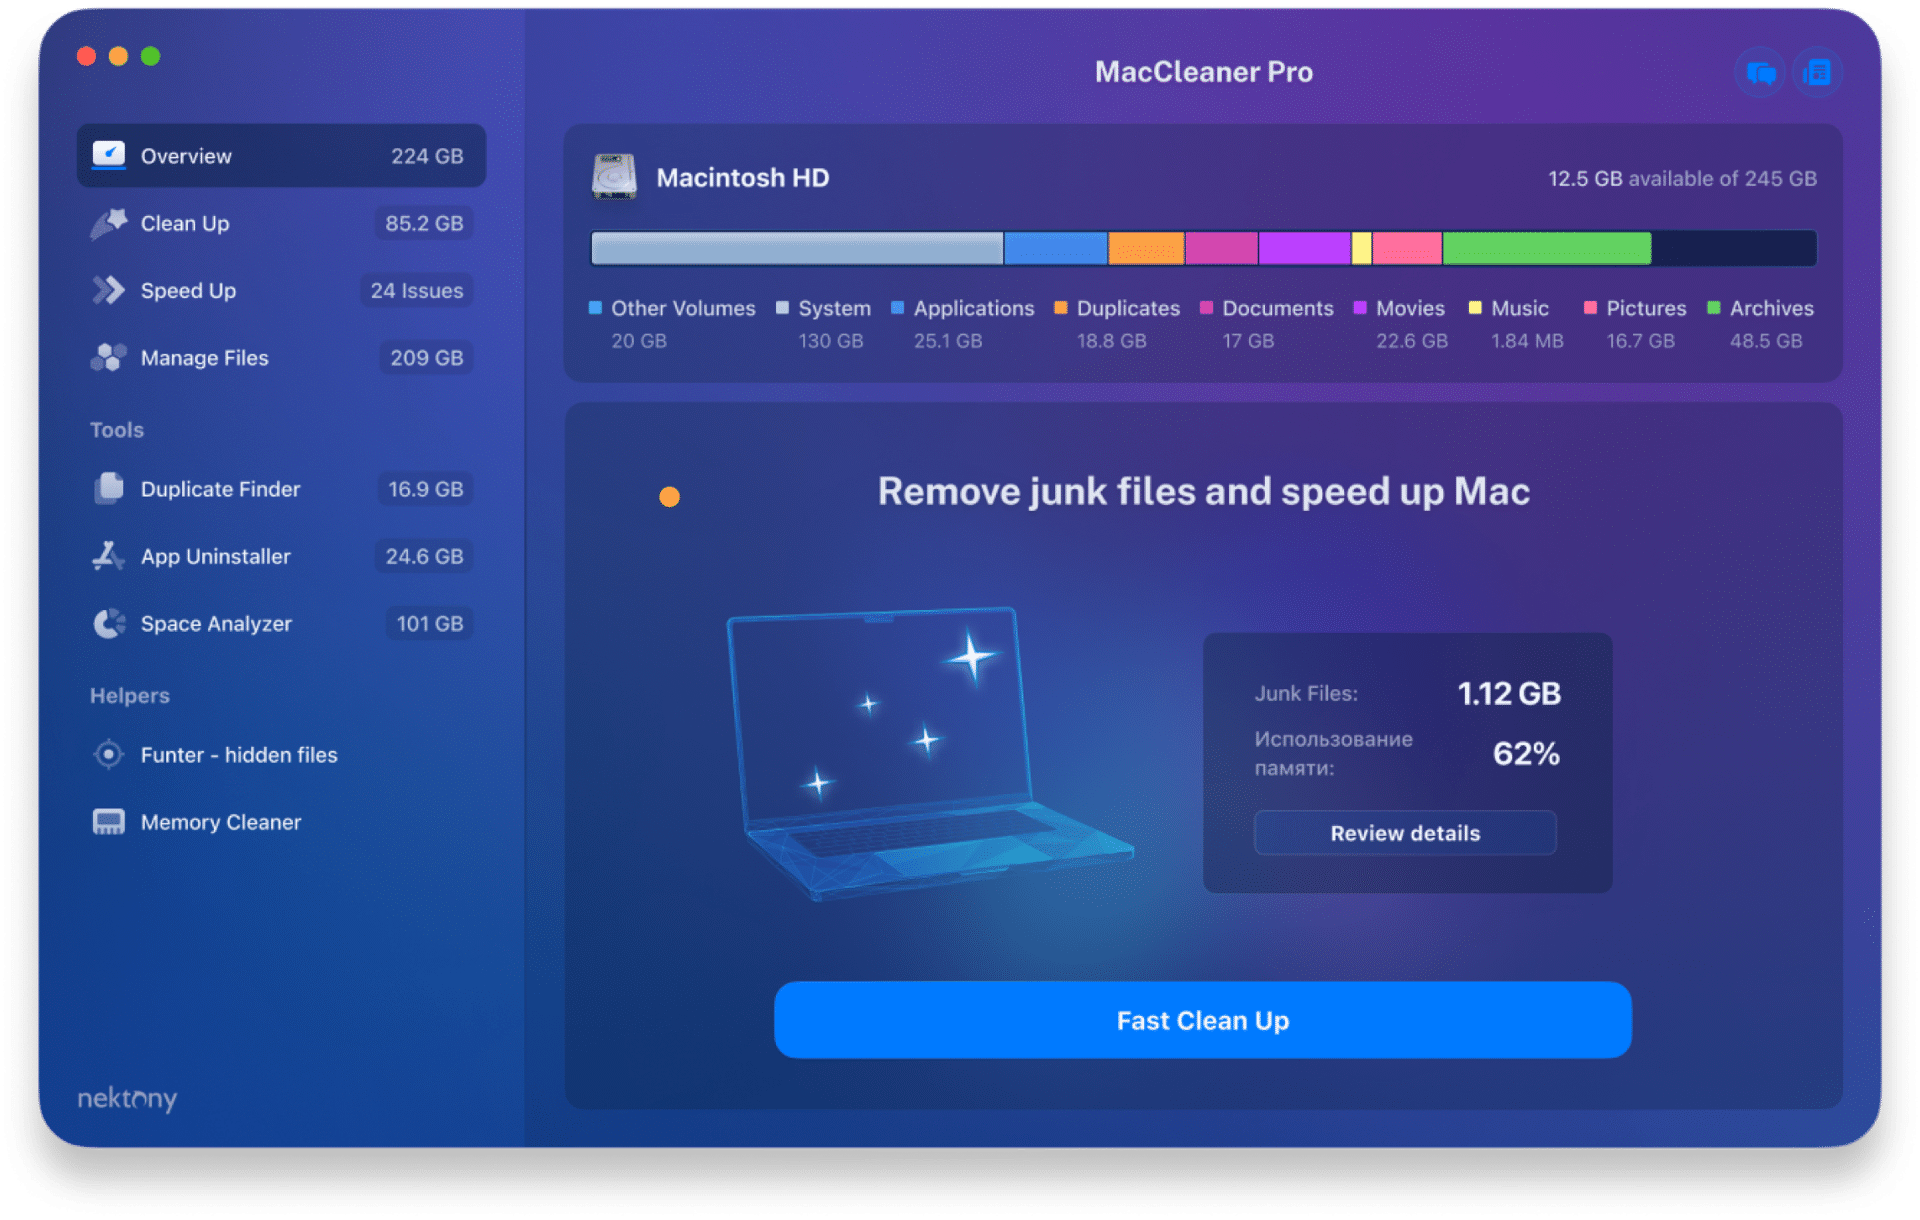
If you are planning to upgrade your Mac to macOS Sequoia, you should first take some steps to prepare your Mac and protect your data. An easy way to clean up your Mac for an update without any issues is to use a special application called MacCleaner Pro.
Do the following before installing macOS Sequoia on your Mac:
- Optimize your storage by deleting unnecessary files and leftover data that can impact the update process. Free up space on your disk by clearing caches, logs, and leftovers of apps that you have already removed.
- Identify and remove apps you no longer use. They are wasting precious space on your disk. You can uninstall them to free up some space and make room for the new update.
- Remove duplicate files, which can can be surprisingly space-hungry.
- Delete large items that you don’t need on your disk. Usually, the biggest files on your Mac are media files, like videos or music. You should check what is taking up most space on your Mac and delete or move to external storage the files that you don’t use or need.
- Before any major update, backing up your Mac is crucial. Use Time Machine, Apple’s built-in backup solution, or another preferred backup method to ensure your data is safe in case of any unforeseen issues.
How to upgrade Mac to macOS Sequoia
Before diving in, ensure a stable internet connection for a smooth download of the macOS Sequoia update. This is especially important for larger file sizes. If you’re using a MacBook, connect it to a power source to avoid interruption during the update process, which can drain battery life.
Then follow these steps:
- Open System Settings.
- In the sidebar, locate and click on General.
- In the right panel, find and click on Software Update.
- Look for available updates. If macOS Sequoia is available, you’ll see it listed.
- Click the prominent Upgrade Now button to begin the download process.
- Carefully review the presented Terms and Conditions for the macOS Sequoia update. Click Agree to proceed.
- Your Mac will initiate the download of the macOS Sequoia update. This process may take some time depending on your internet speed.
- Once the download is complete, your Mac will automatically restart to begin the installation process. A progress bar will appear on a dark screen, keeping you informed about the installation progress.
- Do not put your Mac to sleep or close its lid so that the computer can complete the macOS update.
- Upon successful installation, you’ll be greeted by the familiar login window.


The time it takes to install macOS Sequoia can vary depending on several factors, including your internet speed, current macOS version, and available RAM.
Conclusion
By following the steps outlined in this guide, you can ensure a smooth and successful transition to acOS Sequoia. Please, don’t forget to regurarly maintain your computer with MacCleaner Pro to keep it always clean and work smoothly.


