Running Windows on a Mac is no easy task. It requires a dual-boot installation, and the resources to run two operating systems simultaneously. This guide explains three methods on how you can install Windows on your Mac.
Contents:
- Run Windows for Mac using Virtualbox
- Run Windows on a Mac using WineBottler
- Install Windows on a Mac using Bootcamp
A tip before installing Windows on your Mac
MacCleaner Pro
Run Windows on Mac using VirtualBox
Virtualbox, which originally belonged to the Oracle Corporation, is designed in a way that you can run any OS that you need on your Mac. Follow the steps below to install Windows on macOS:
- Download VirtualBox on your Mac.
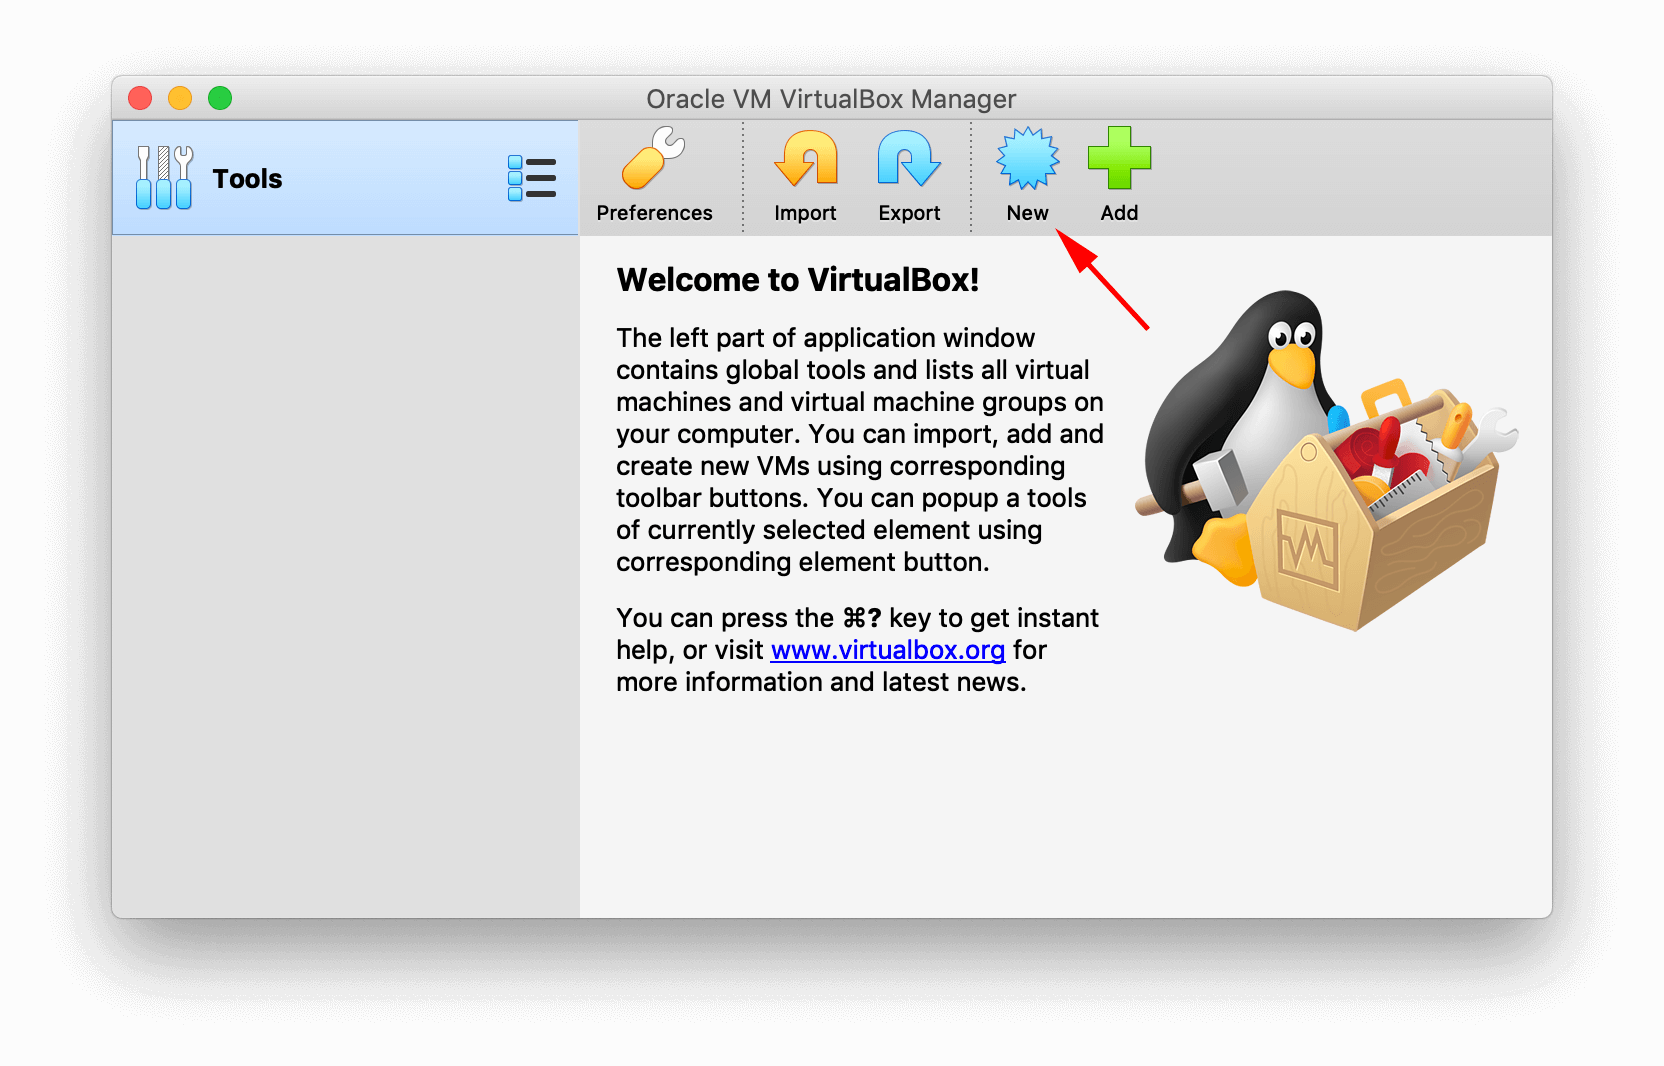
- Open VirtualBox and click to create a new virtual machine.
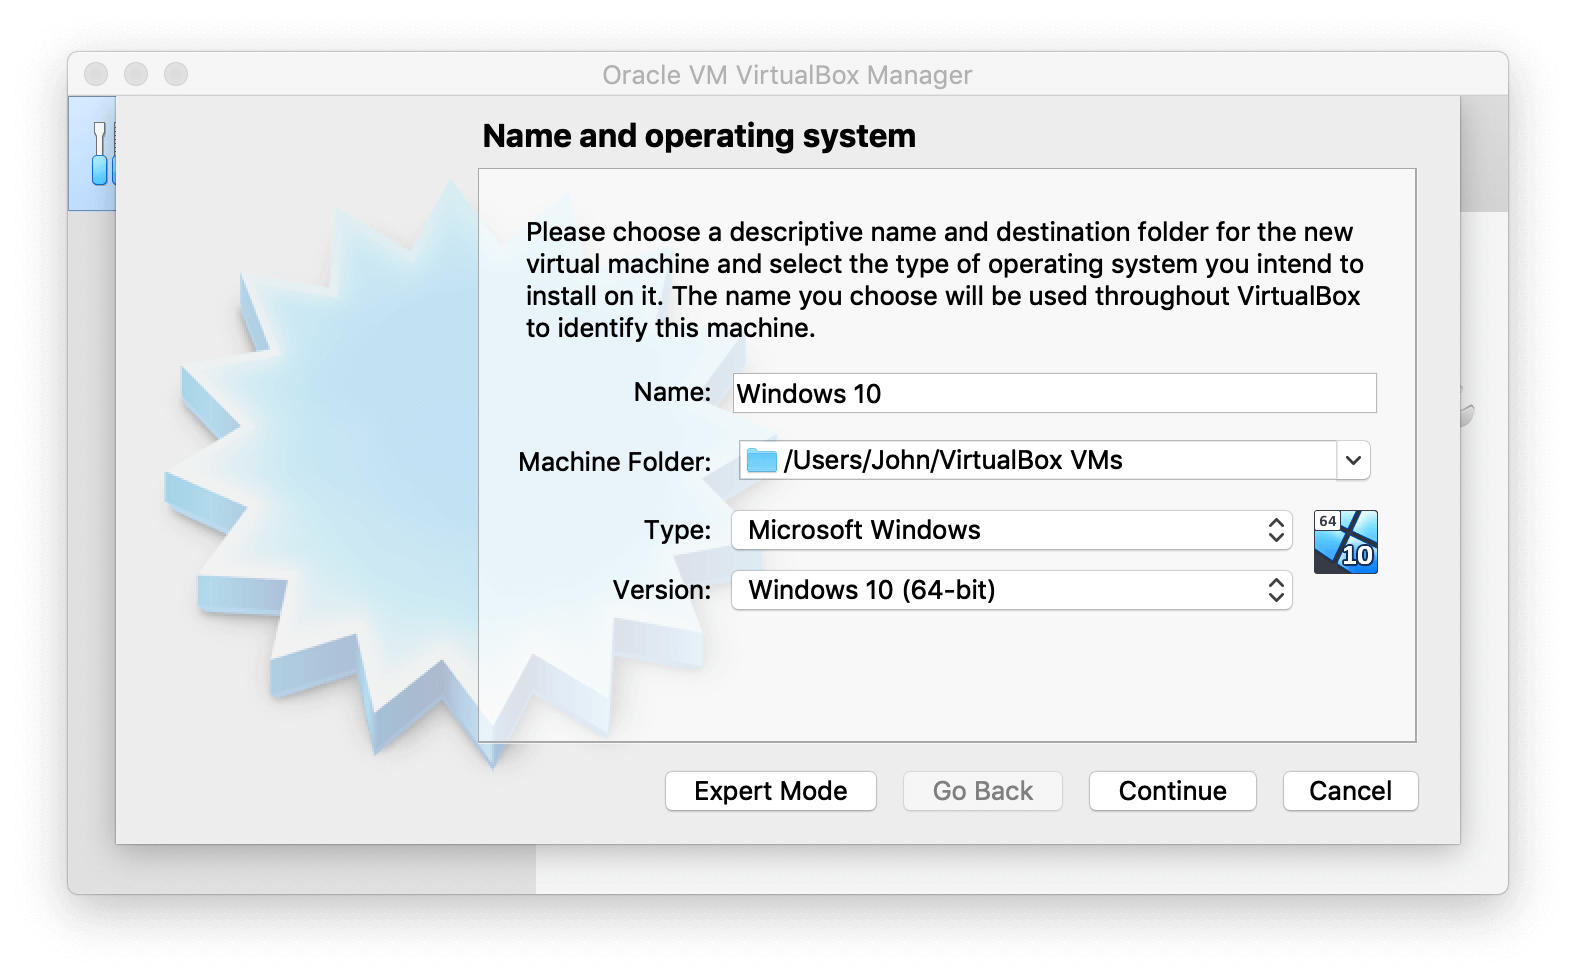
- Type a name for your virtual machine. Since we are installing Windows 10 for a Mac, we will type the appropriate name in this field.
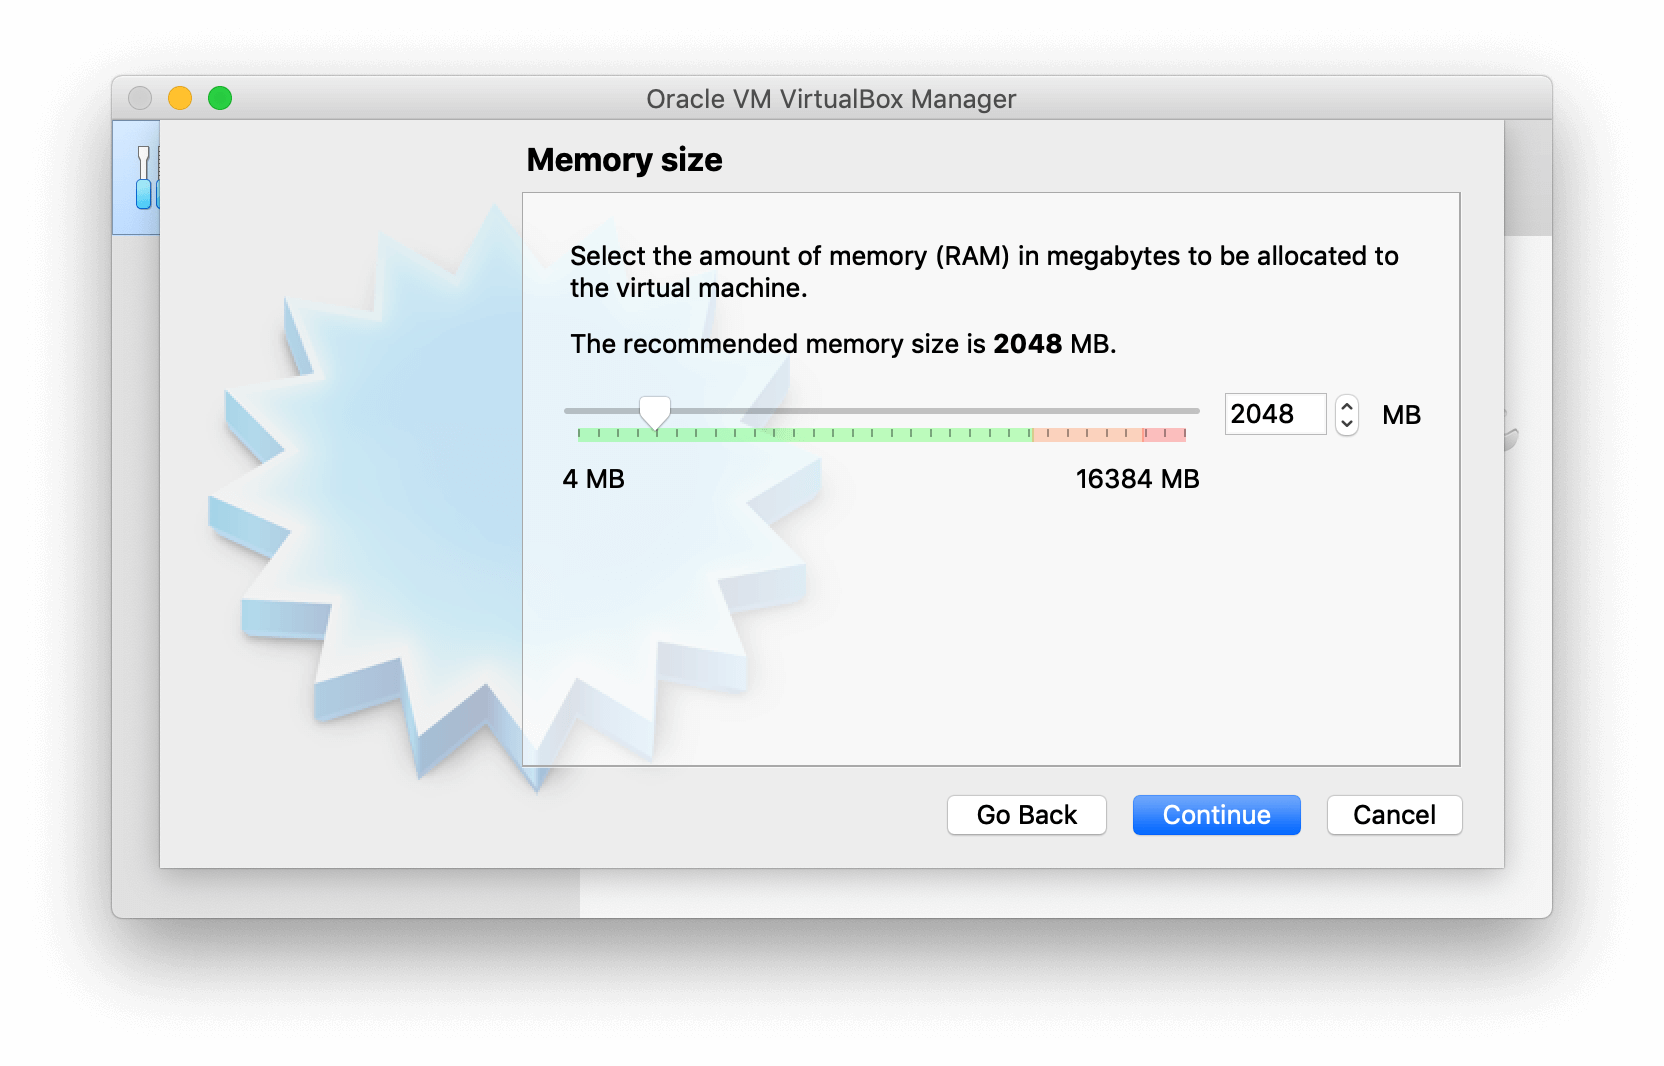
- Select memory size to allocate to the machine. You can leave it at the default setting if you don’t need any more or less.
- Select in the next window.
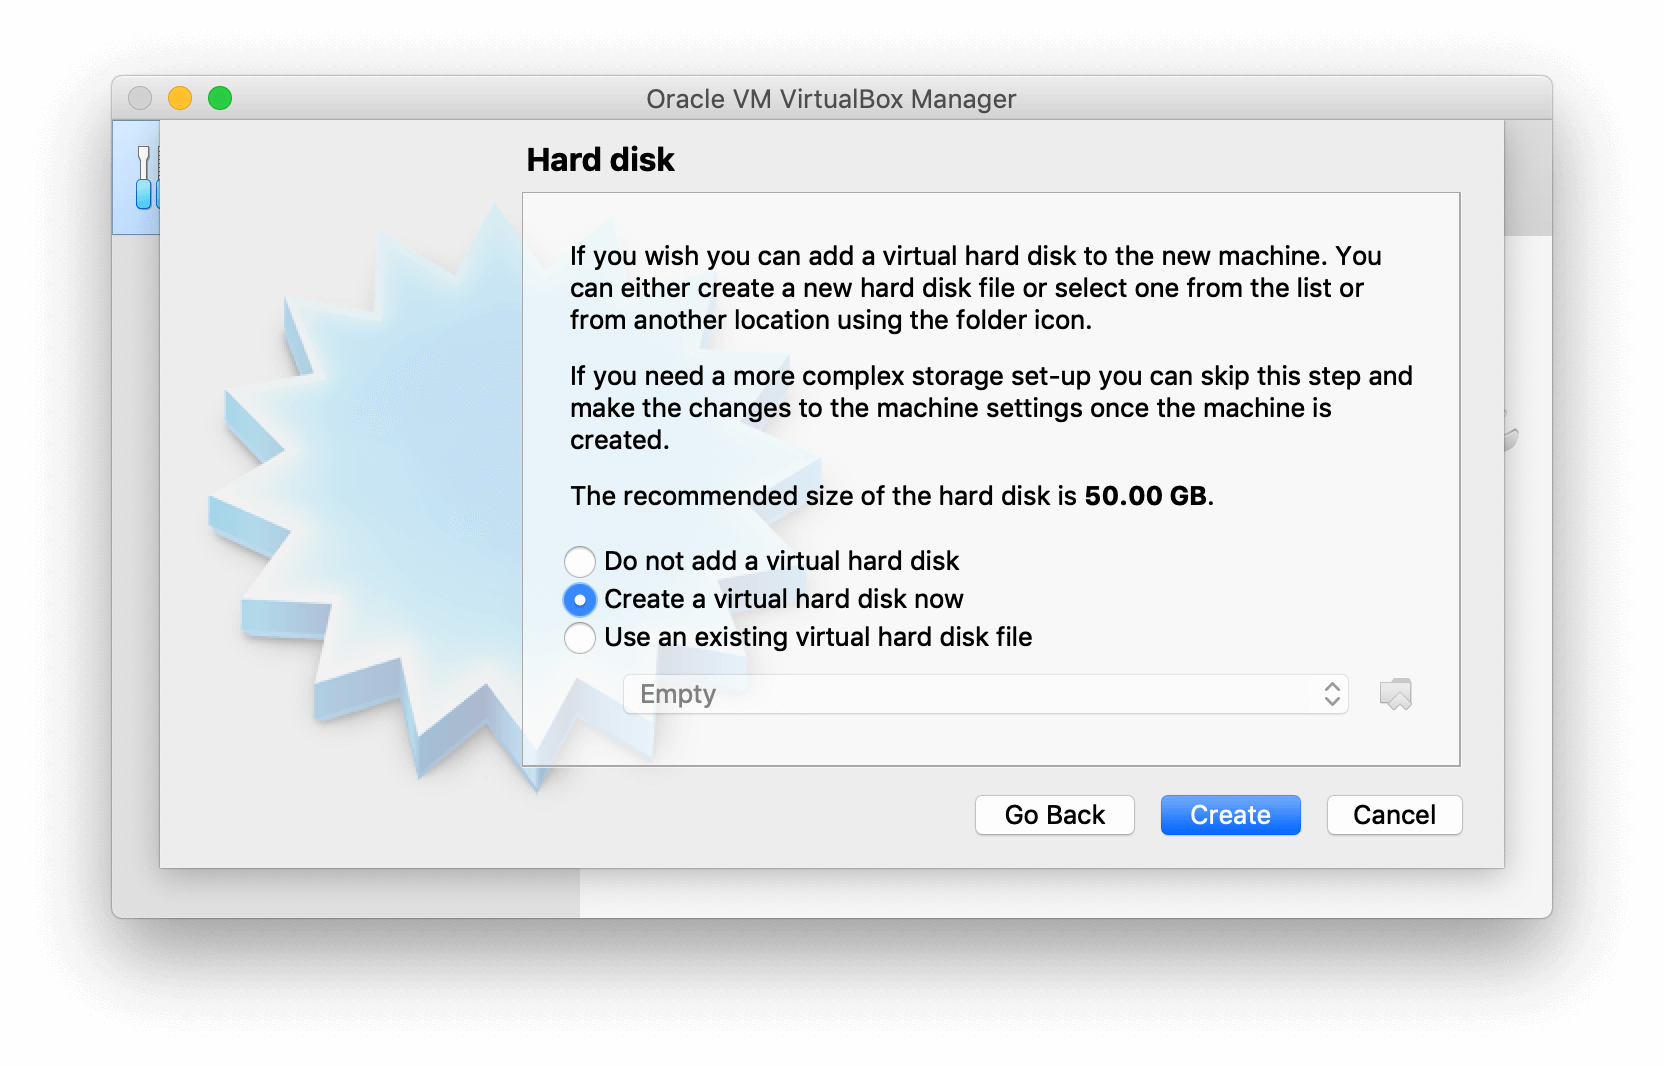
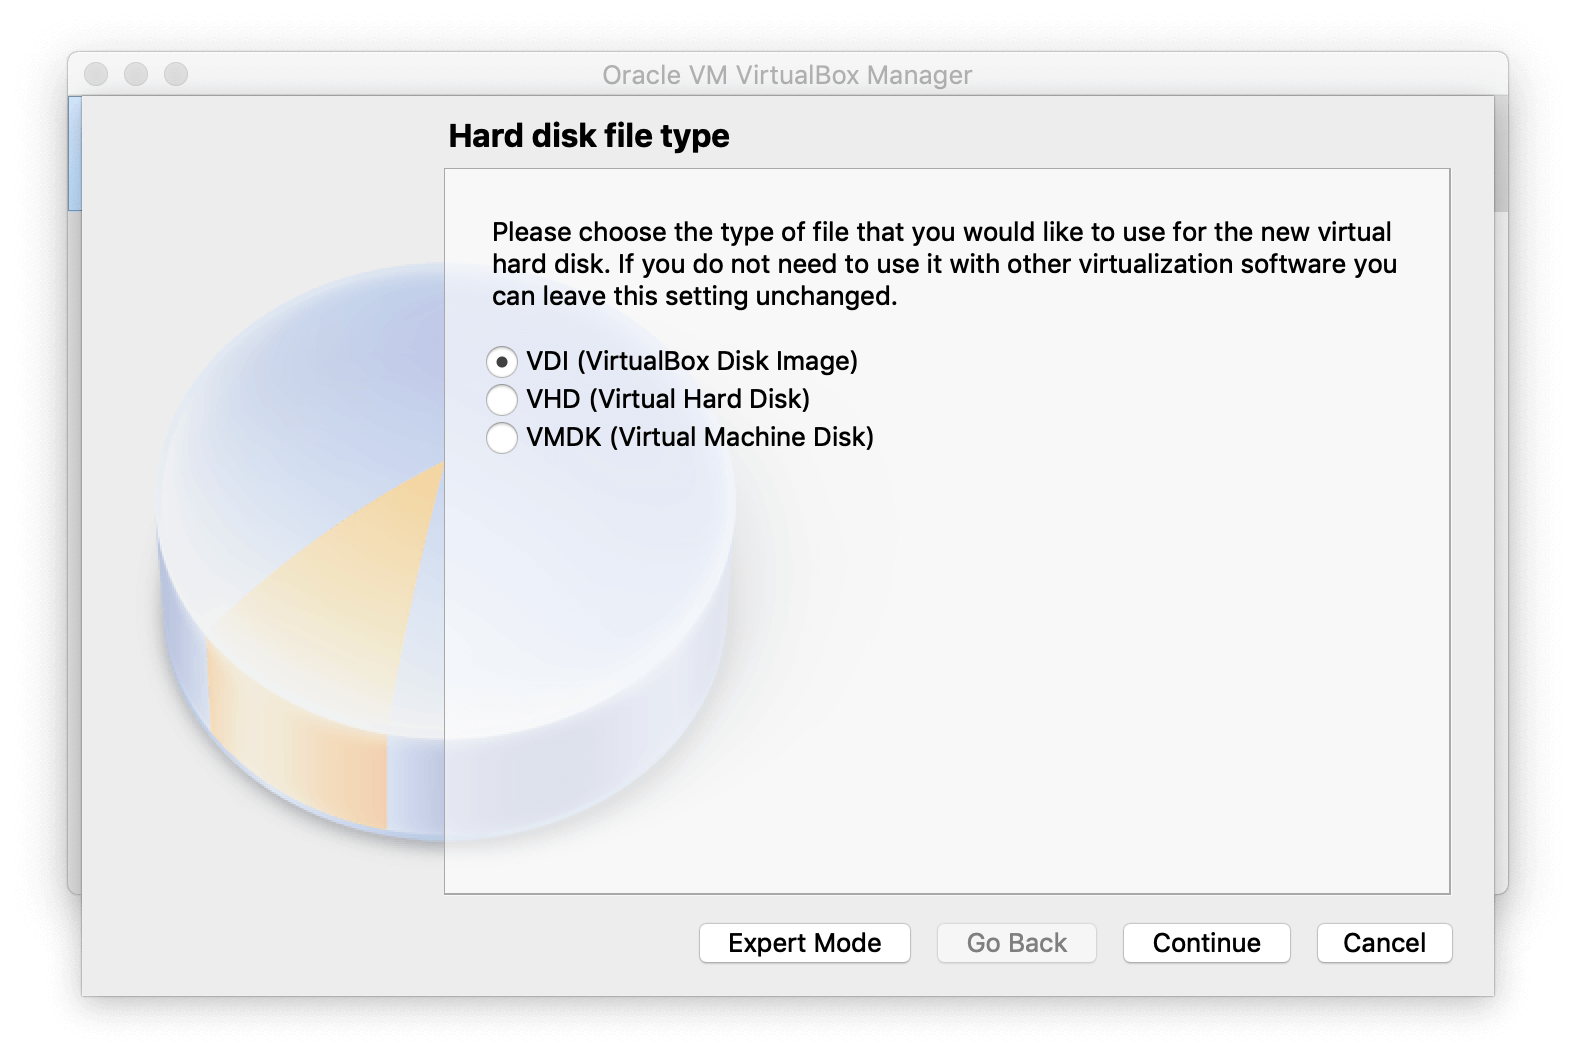
- Leave the default option as is and click on .
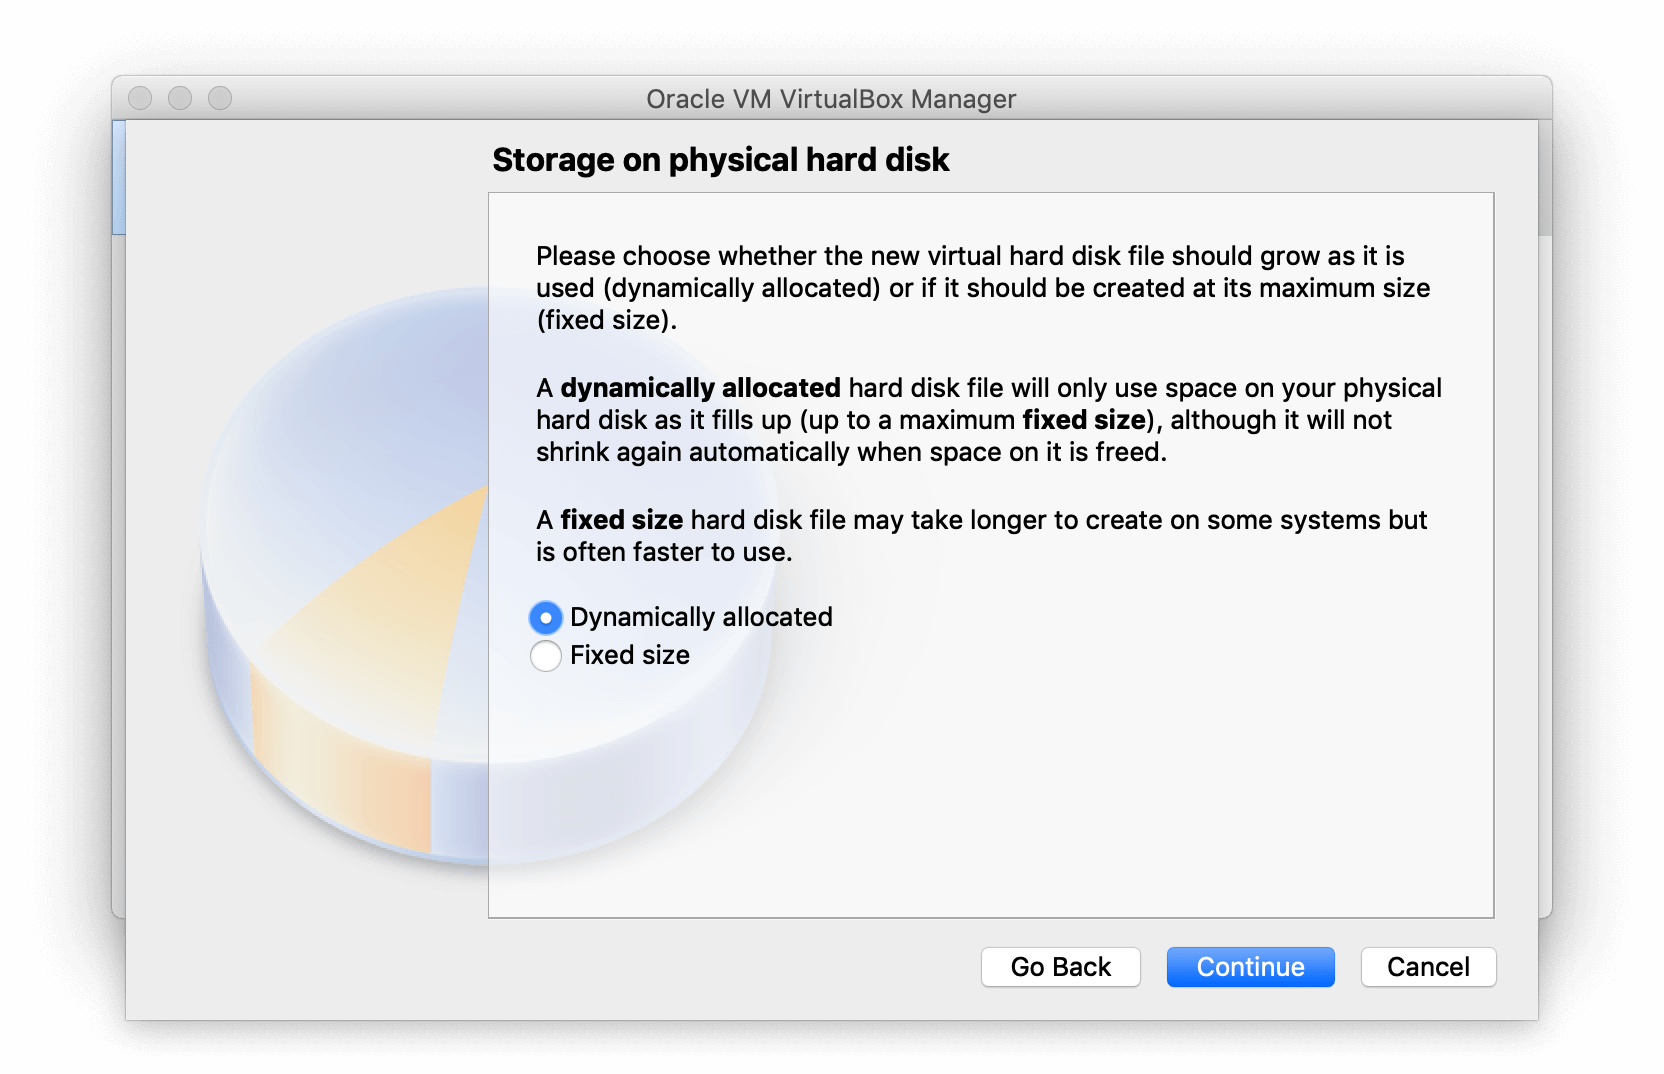
- You can also leave this option as is unless you would like your virtual drive to have more space than it has by default.
- For the “File location and size” section, you can also leave it as is unless you want to have more space on your virtual Windows.
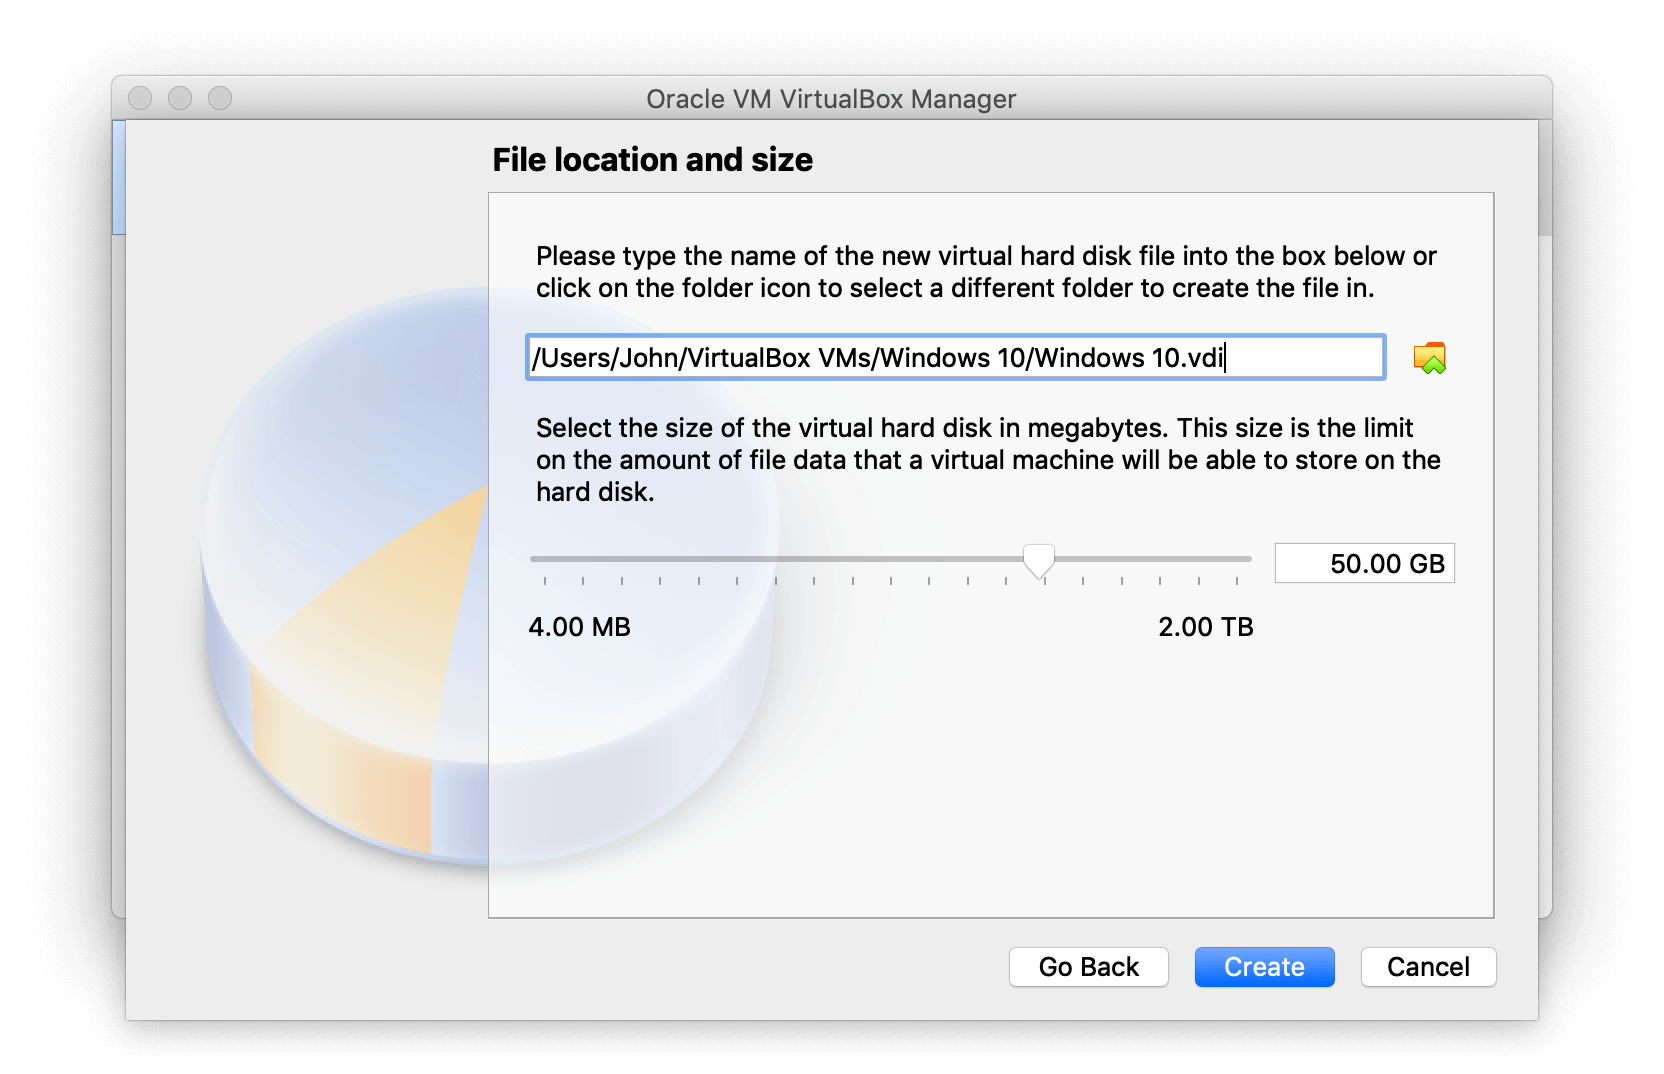
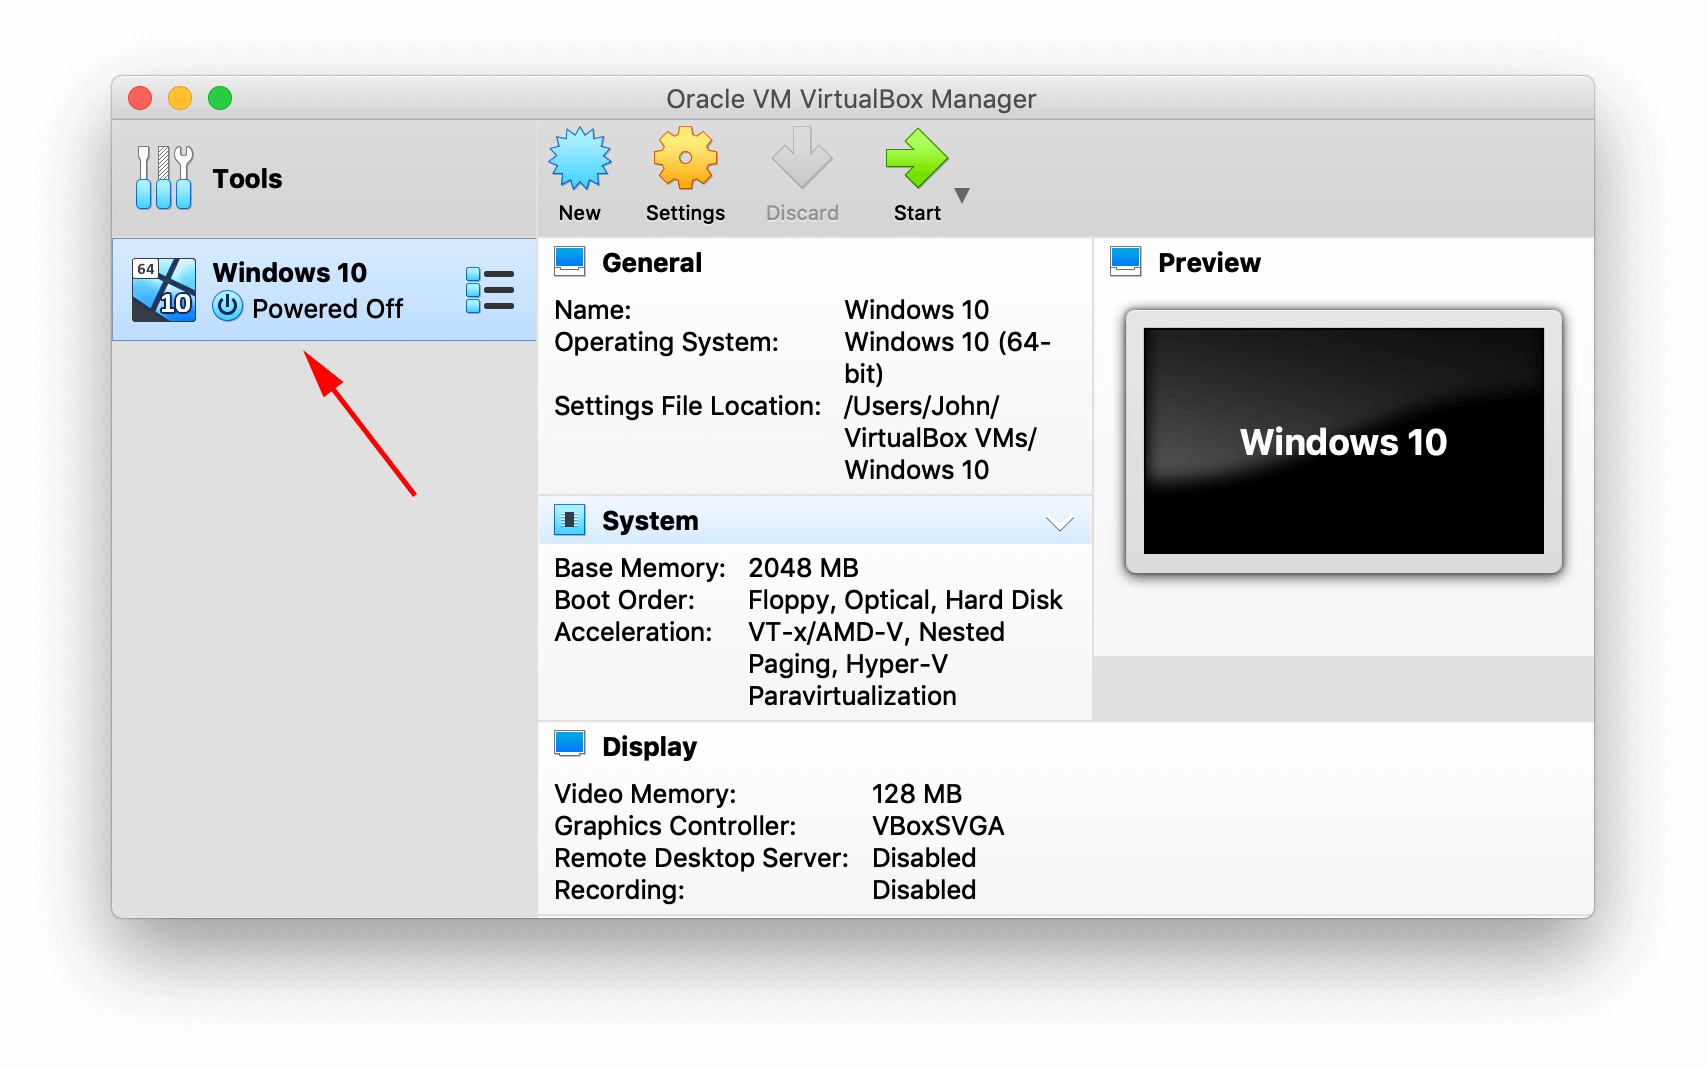
Great! You are finished. Now you can see your drive in the left-hand sidebar. Simply click on it twice to launch Windows on your Mac.
Since you already created the virtual hard disk and all is set on that end, you will need to download a Windows Disk Image. We’ve included a link that you can follow to download it. Otherwise, you may get the OS from other trusted, convenient sources.
- Once you have downloaded the disk image, simply click twice on the virtual disk in the left side of the VirtualBox window to launch it.
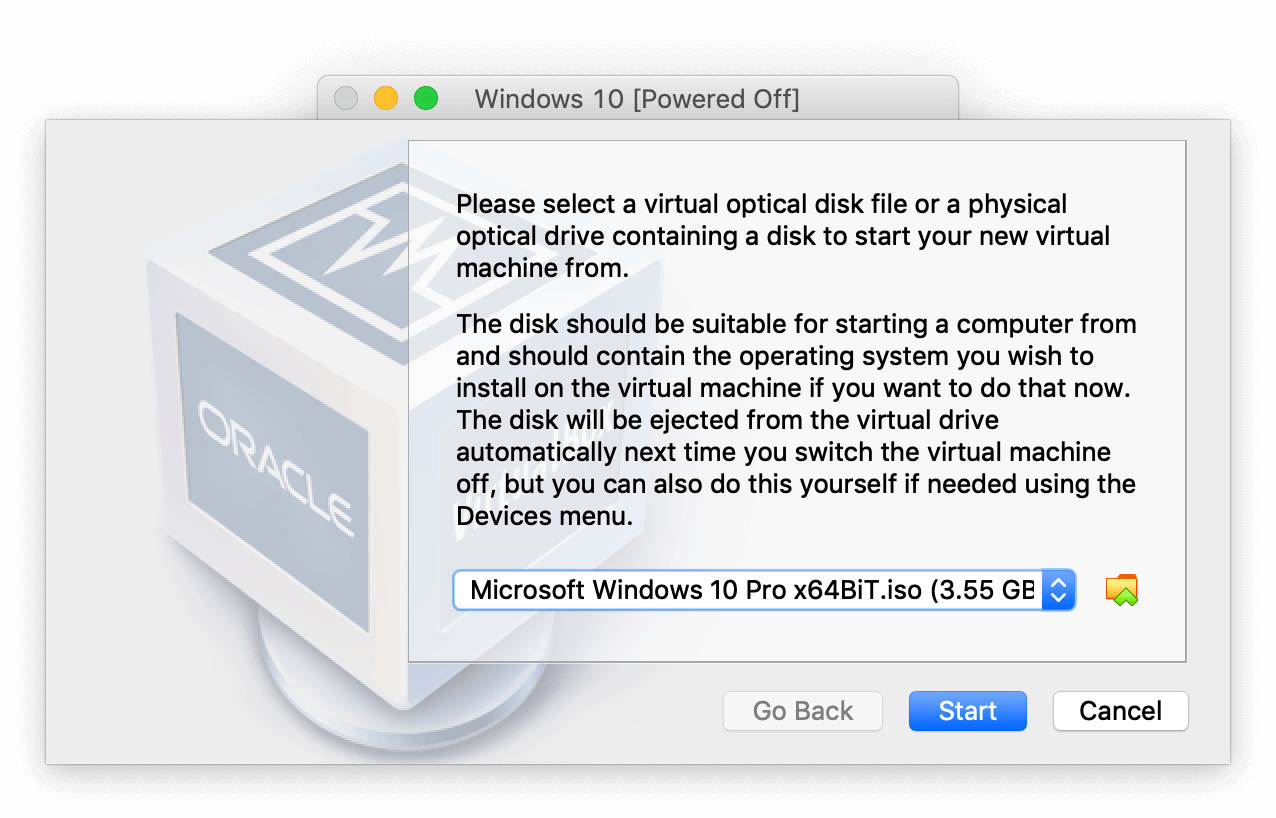
- In the next window, you will need to select the Windows ISO file to install it and then click .
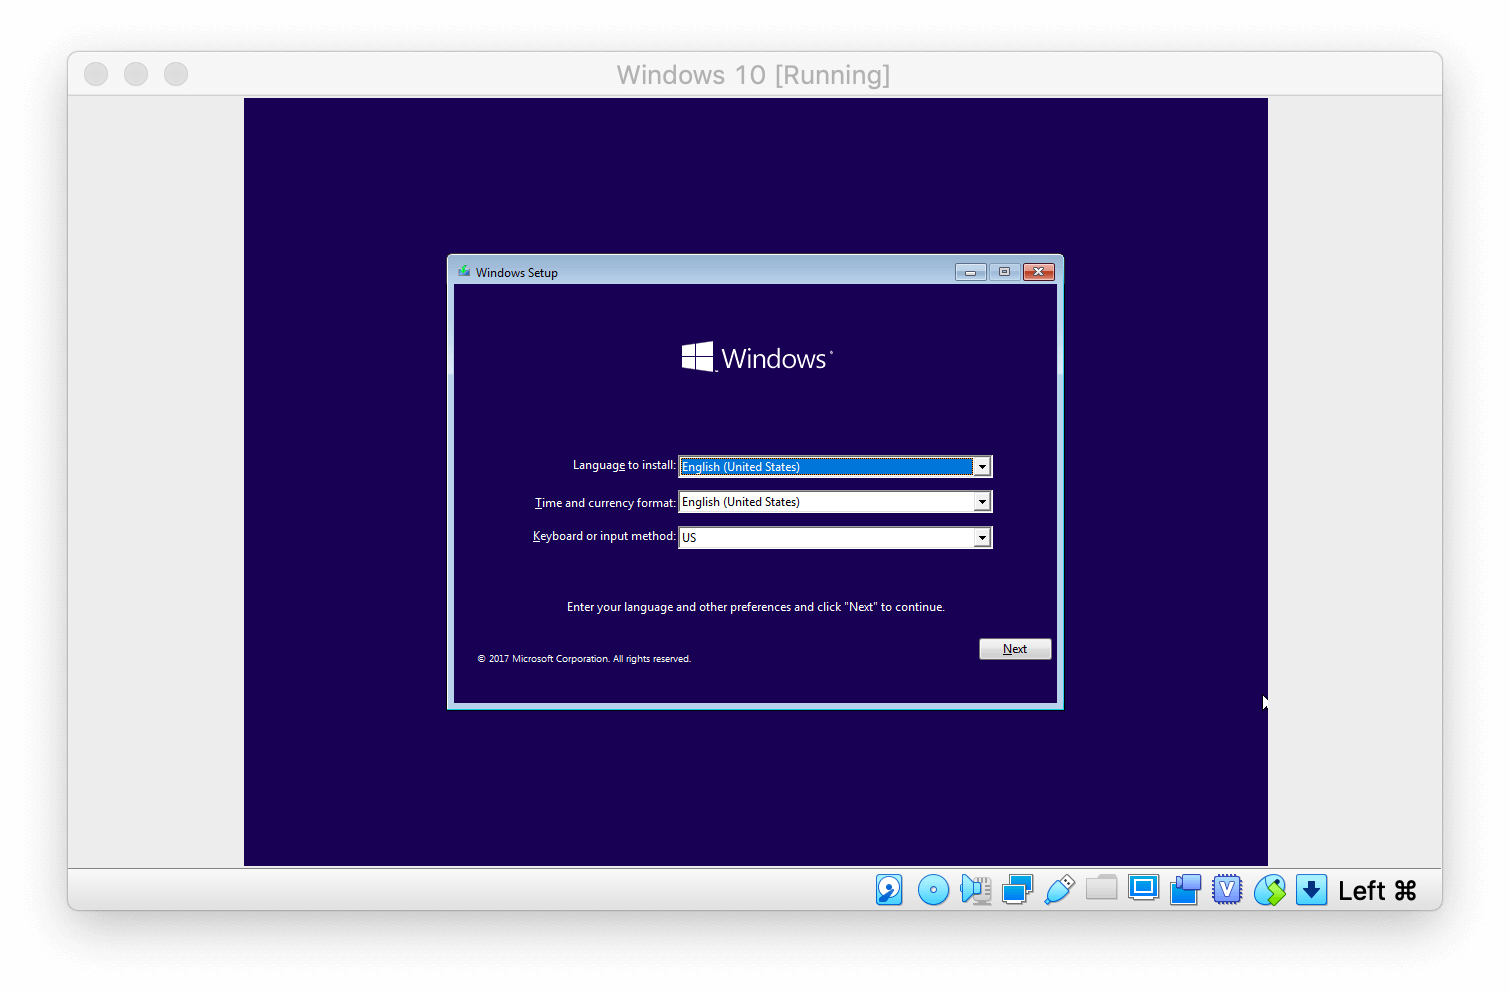
- Proceed with the instructions in the windows that follow. You will need to select the language, time and currency format, as well as the input method.
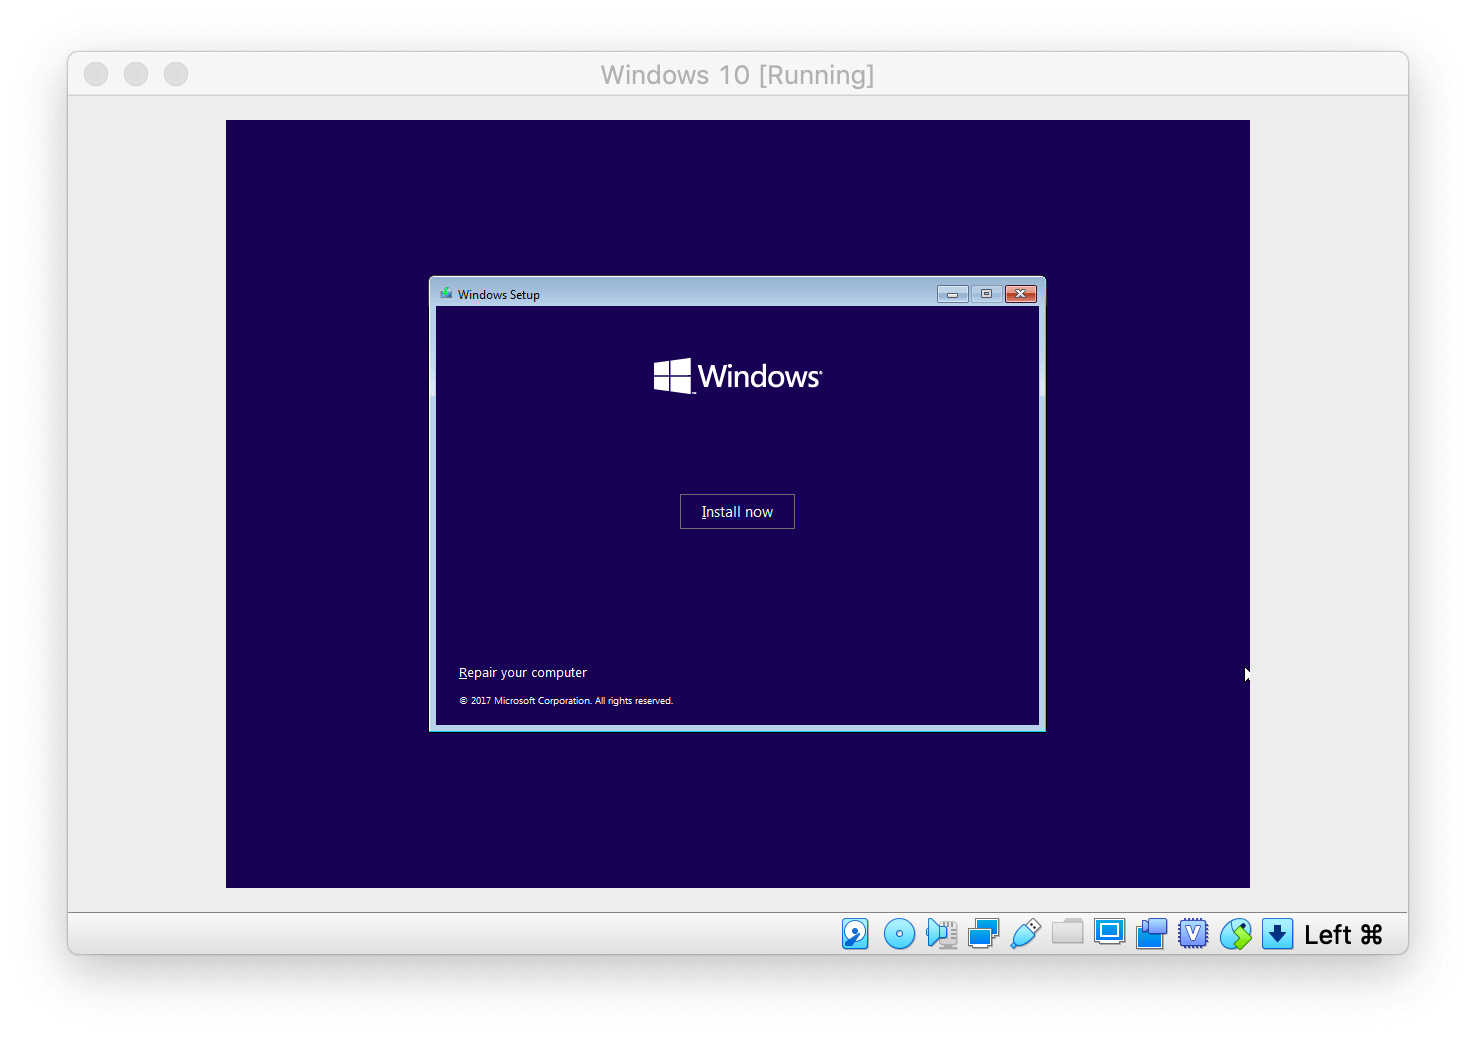
- After that, simply start the installation by clicking .
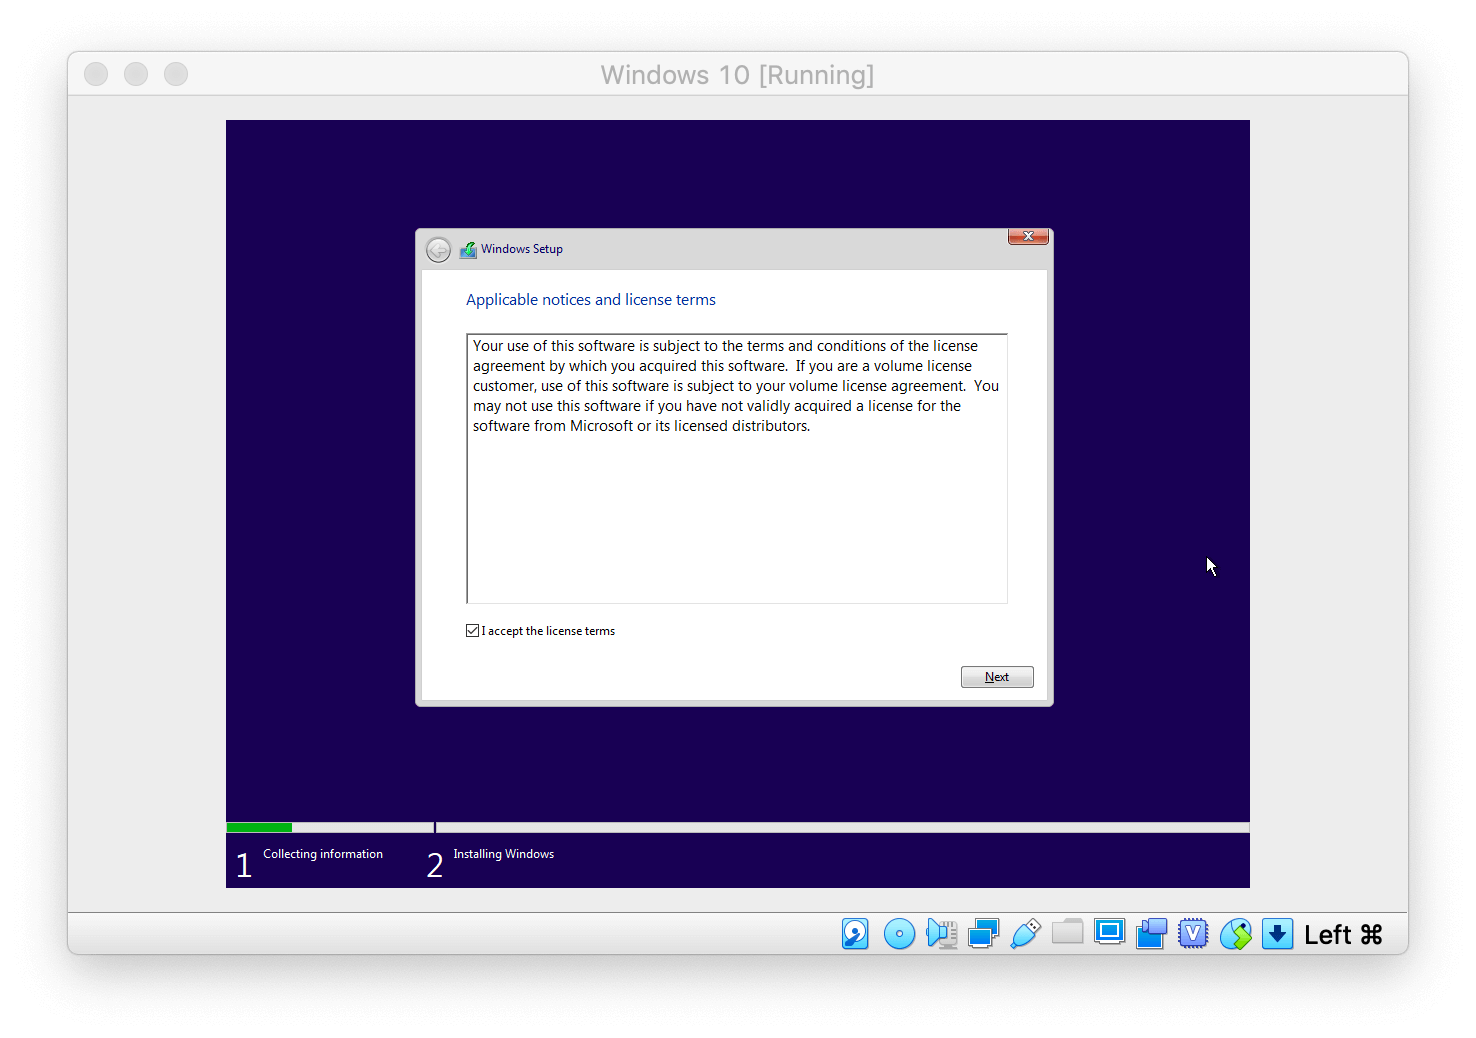
- Accept all of the license agreements that follow.
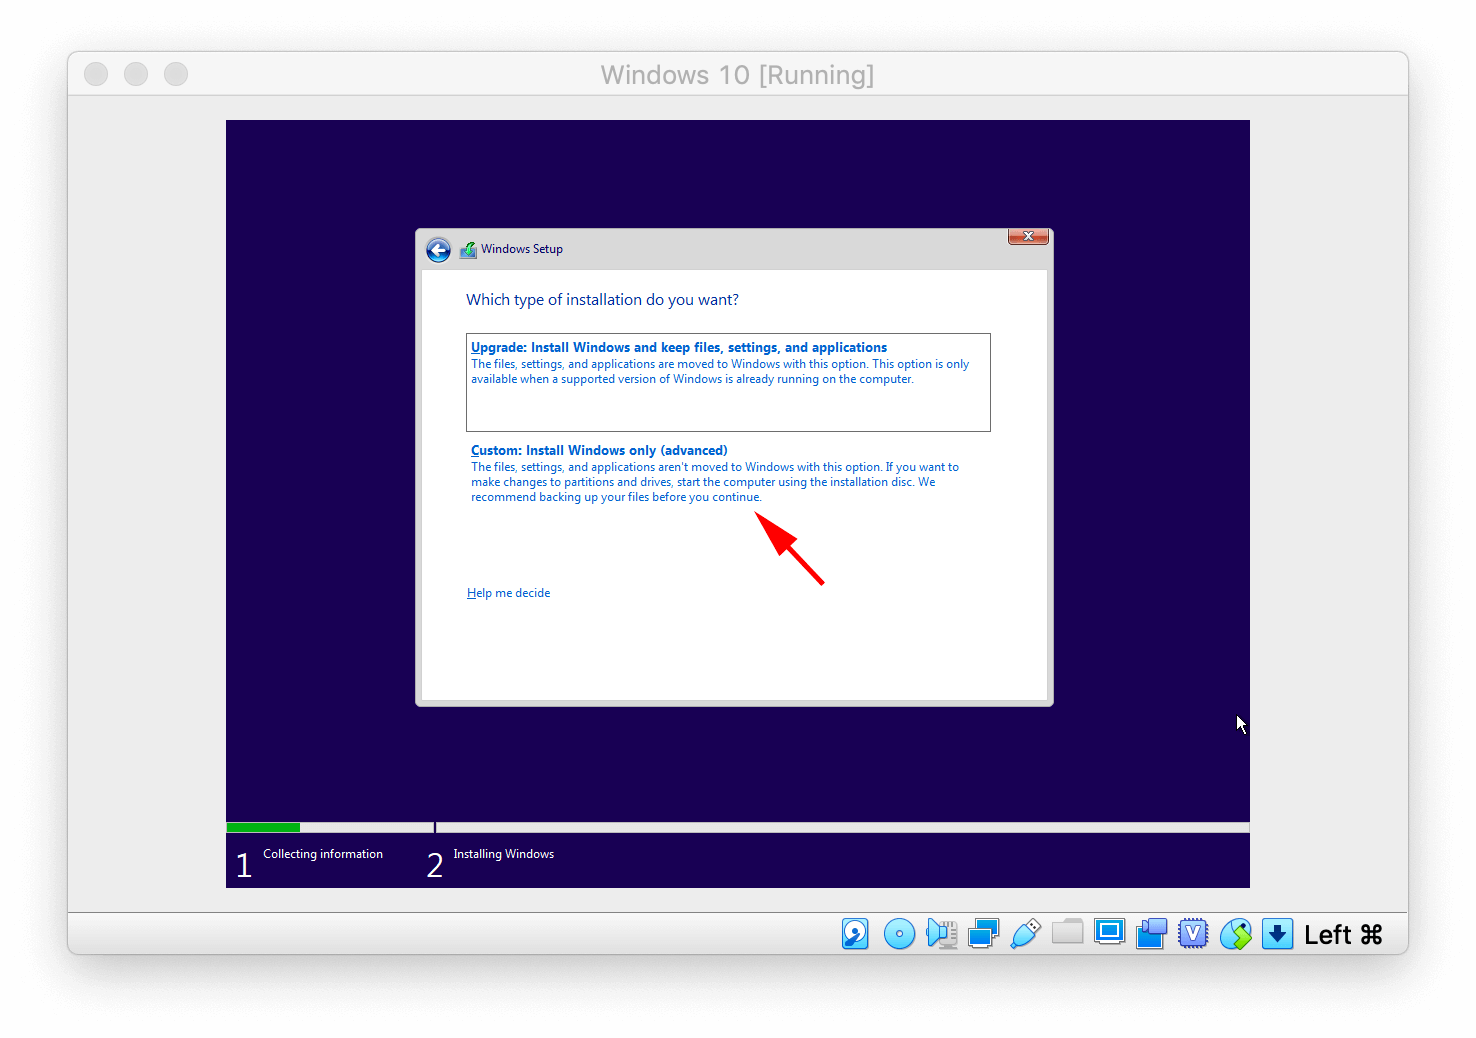
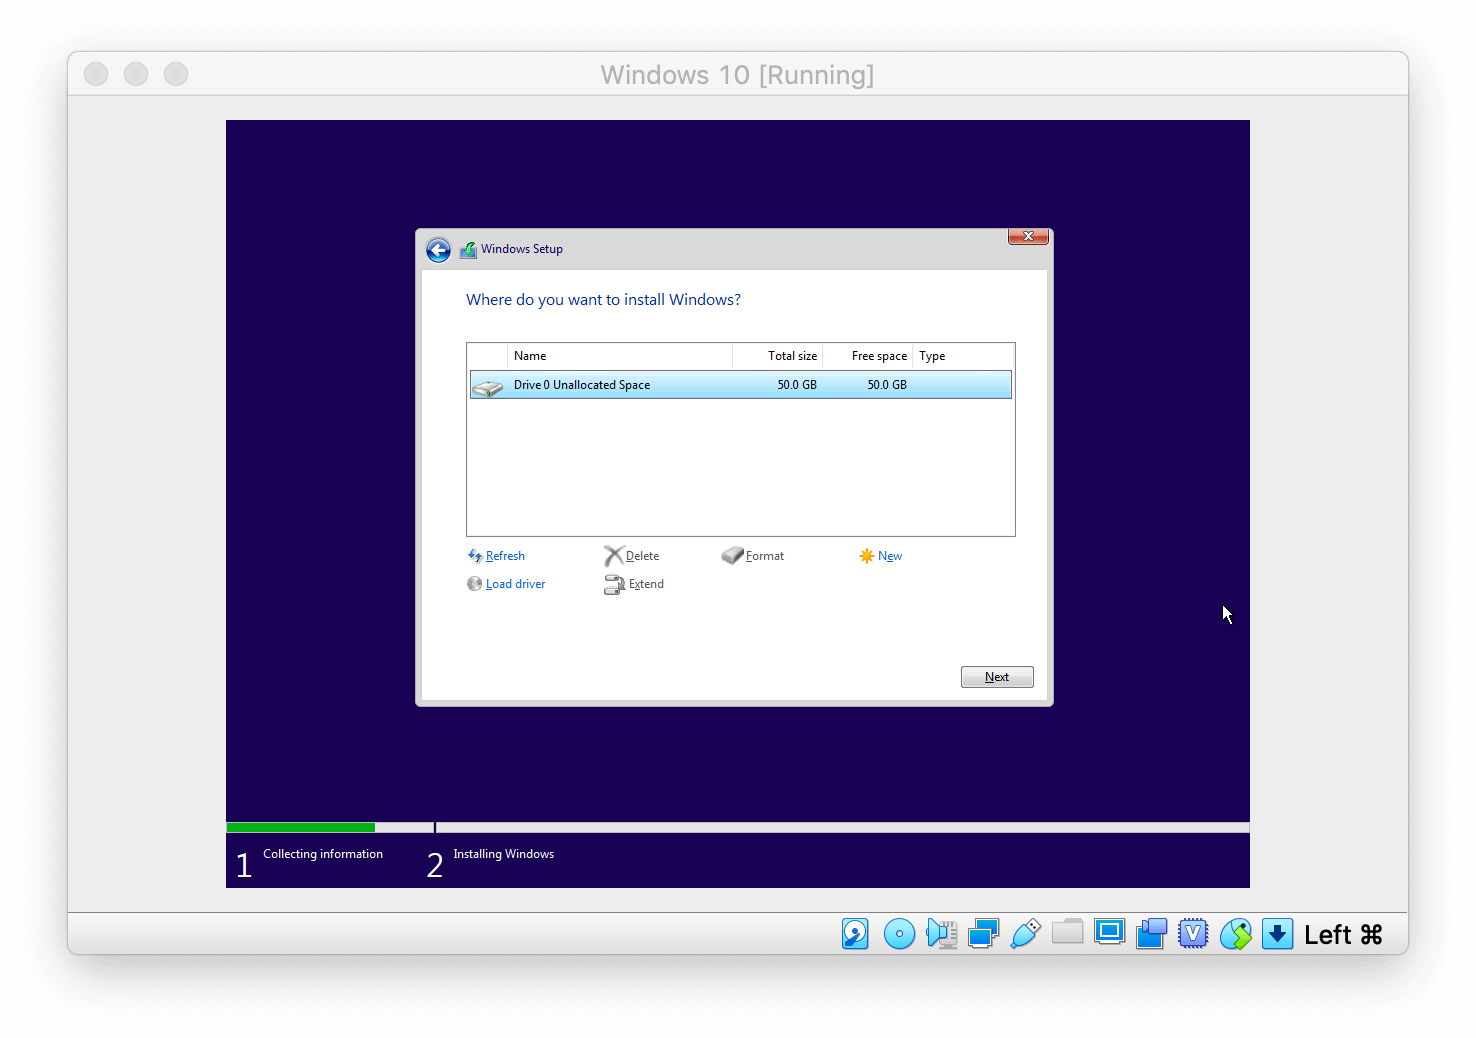
- Select the installation type as “Custom: Install Windows only (advanced)”.
- You will see the virtual disk you allocated within the VirtualBox software. Click .
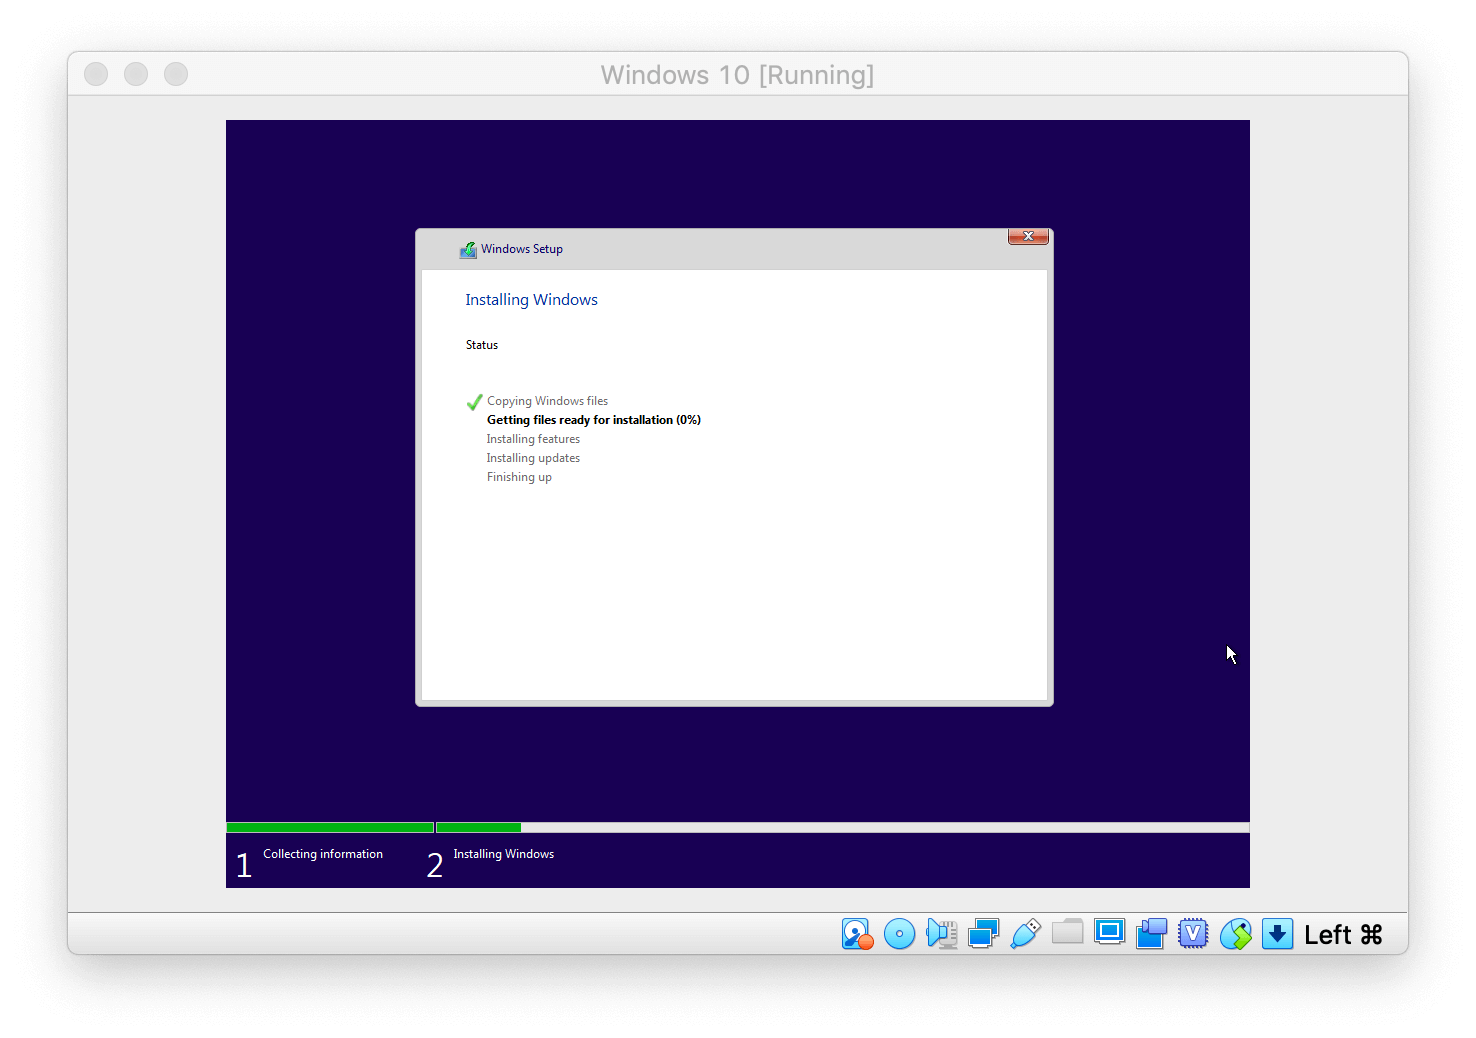
- Give it some time for the Windows installation to finalize.
- Once Windows has finalized its installation, you will need to choose the region in which you are based.
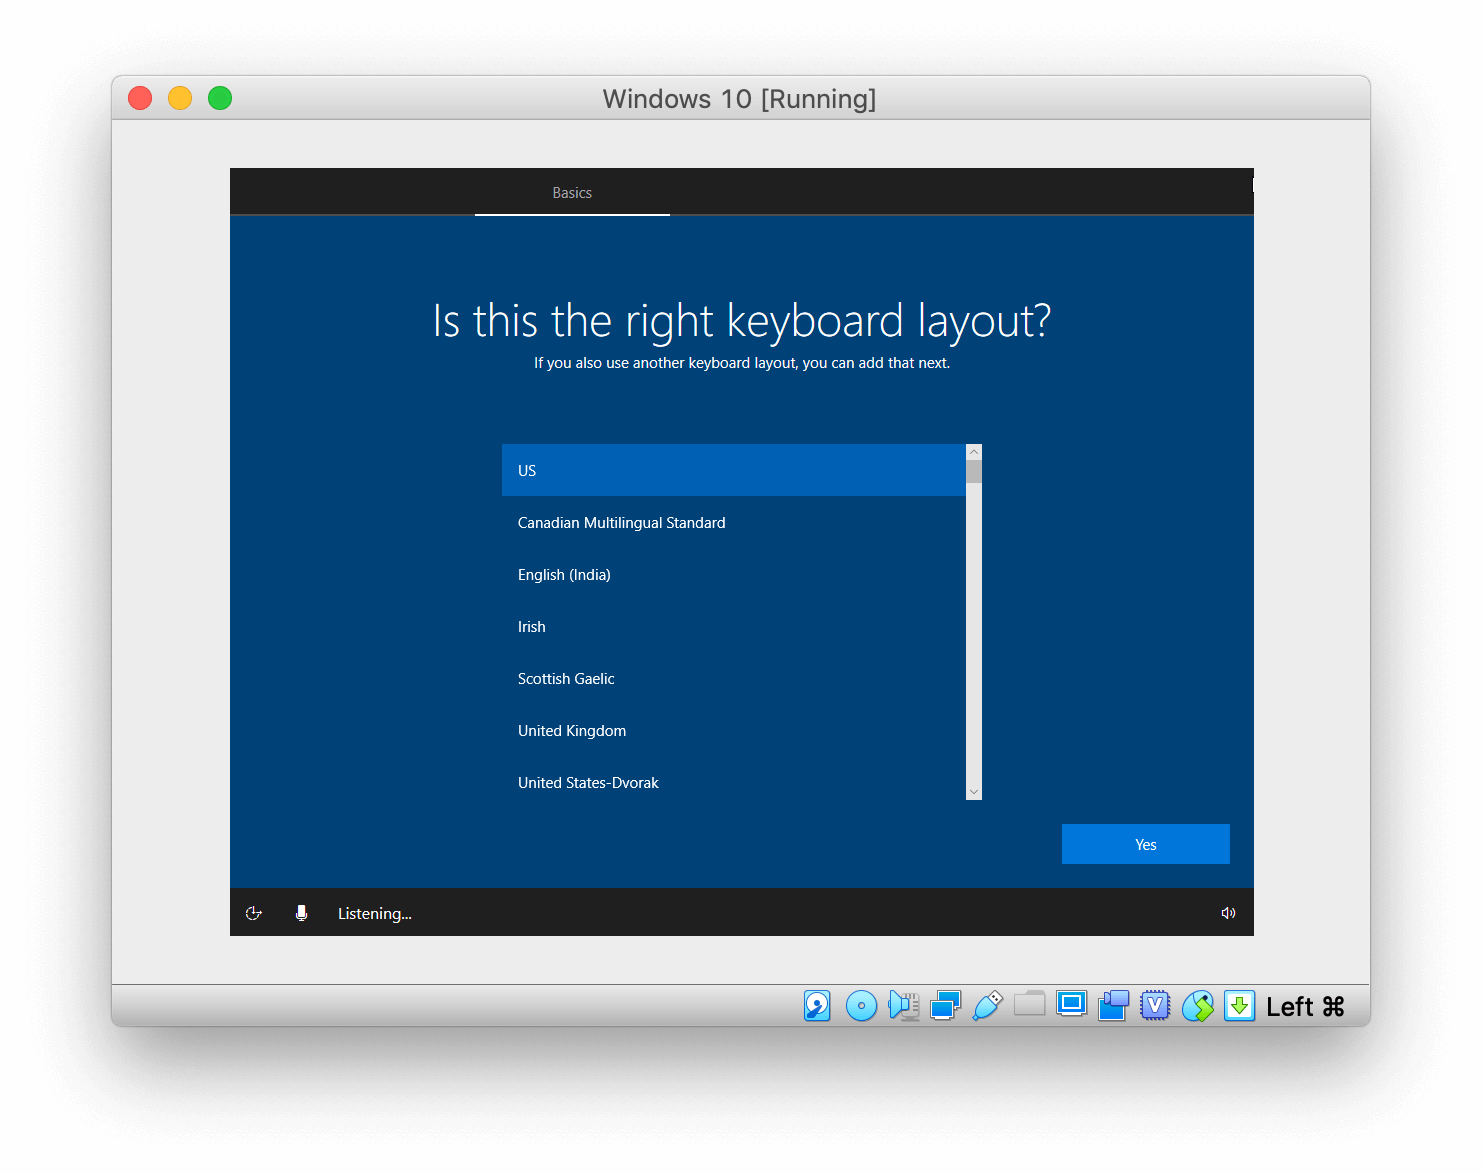
- Proceed with choosing your keyboard layout and click when done.
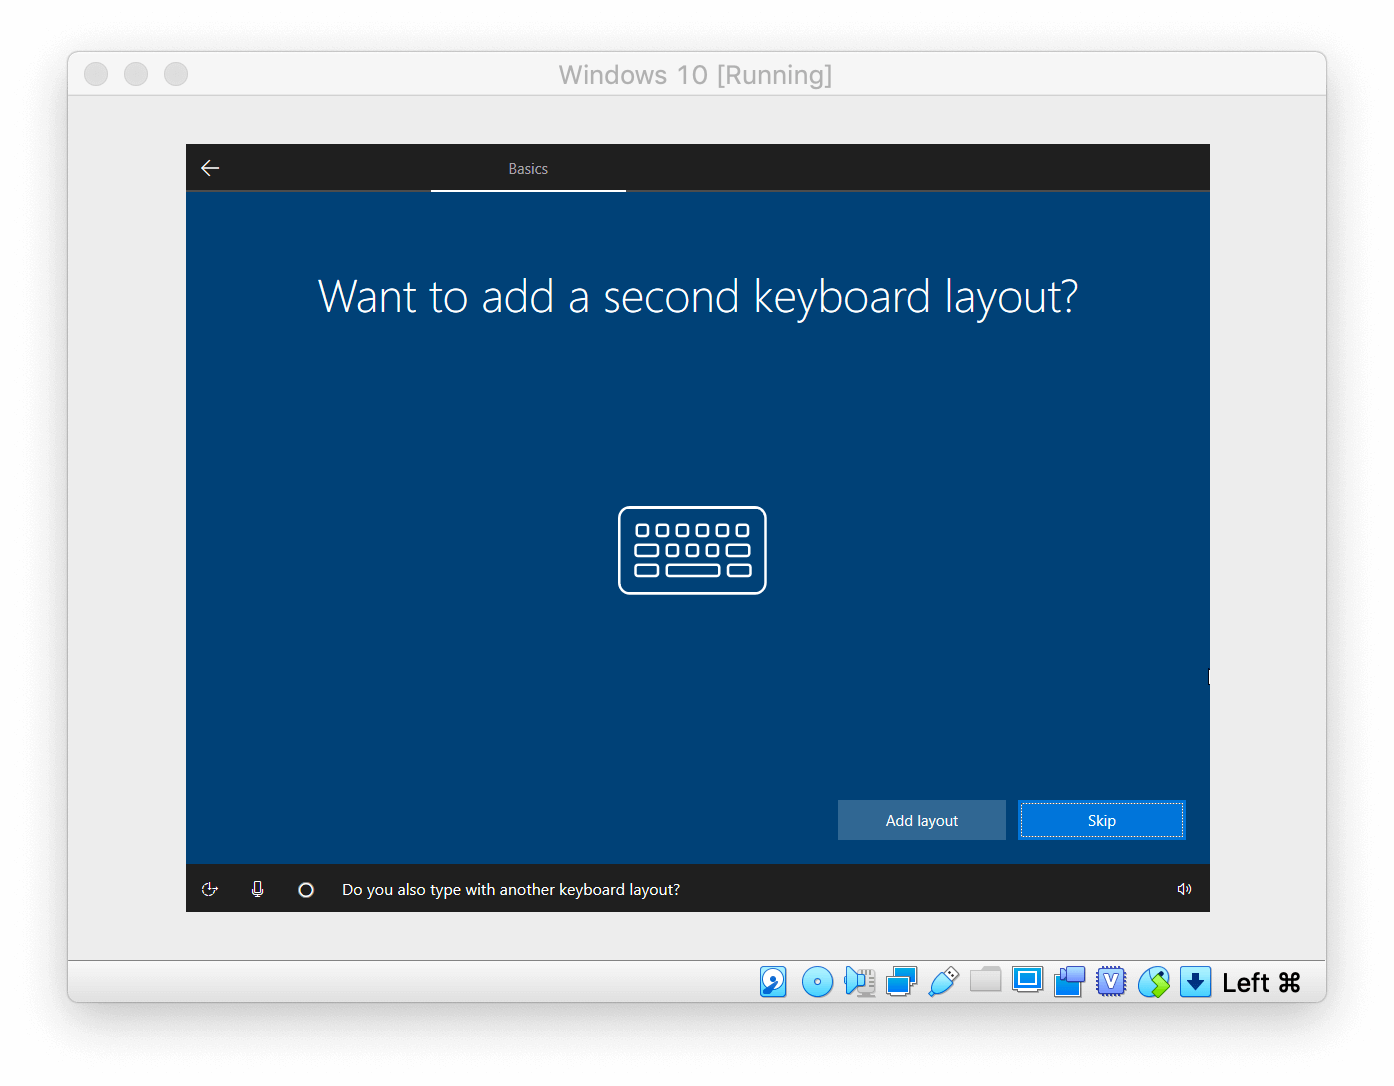
- If you wish to add a second keyboard layout, click on ; if not click on .
- Enter the name of the person who will be using this virtual Windows machine and click .
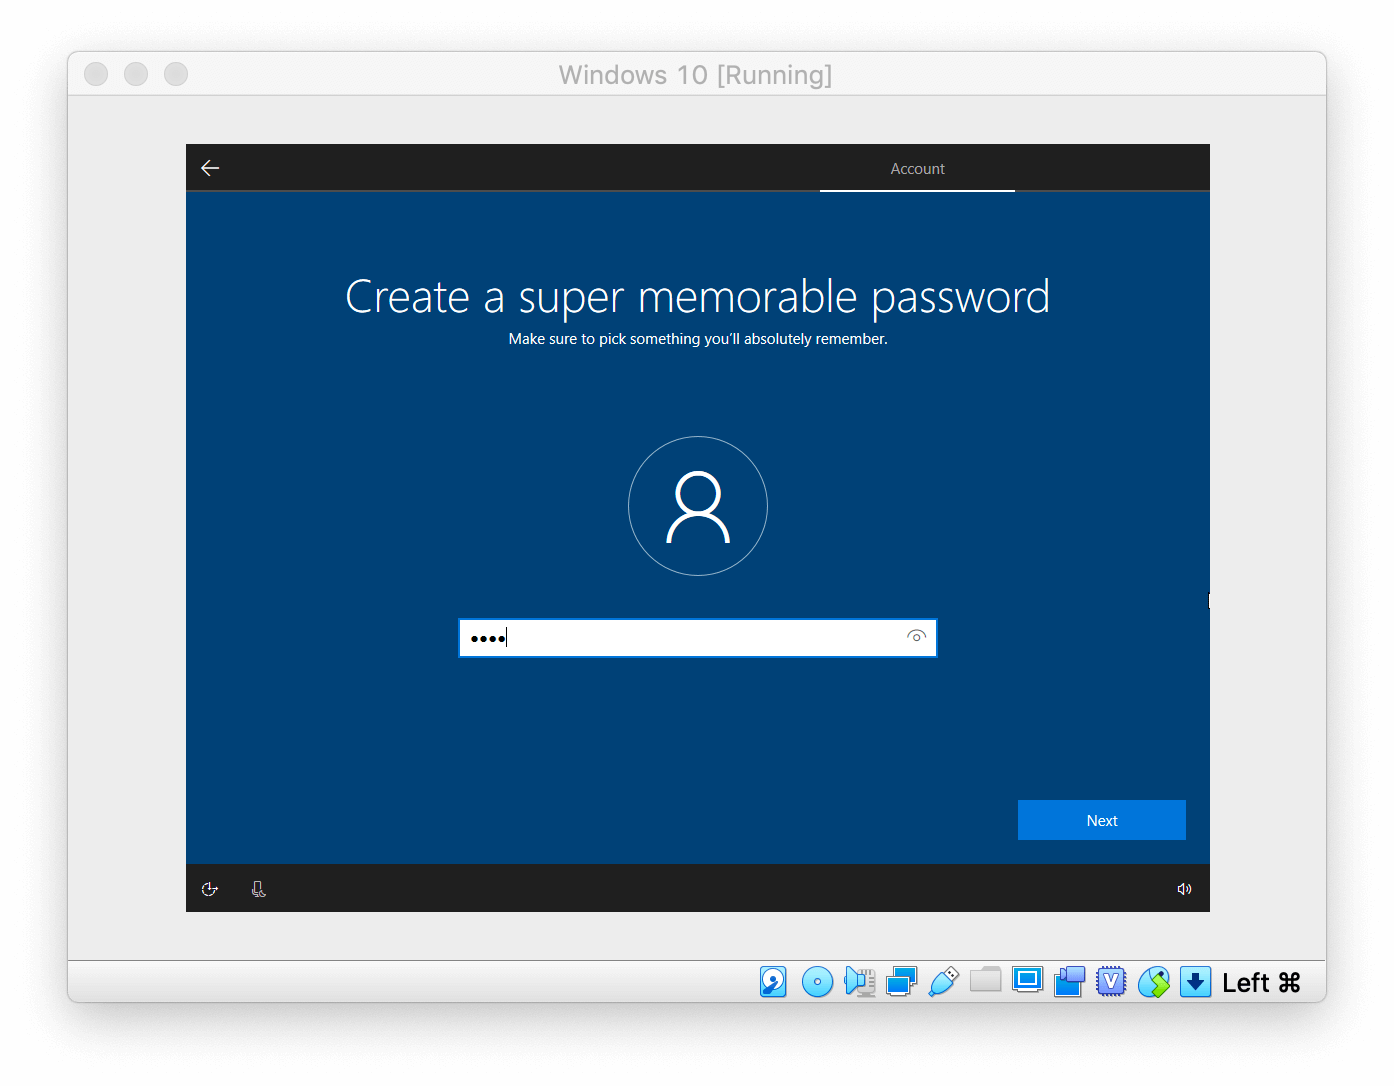
- Create a password for your machine and click .
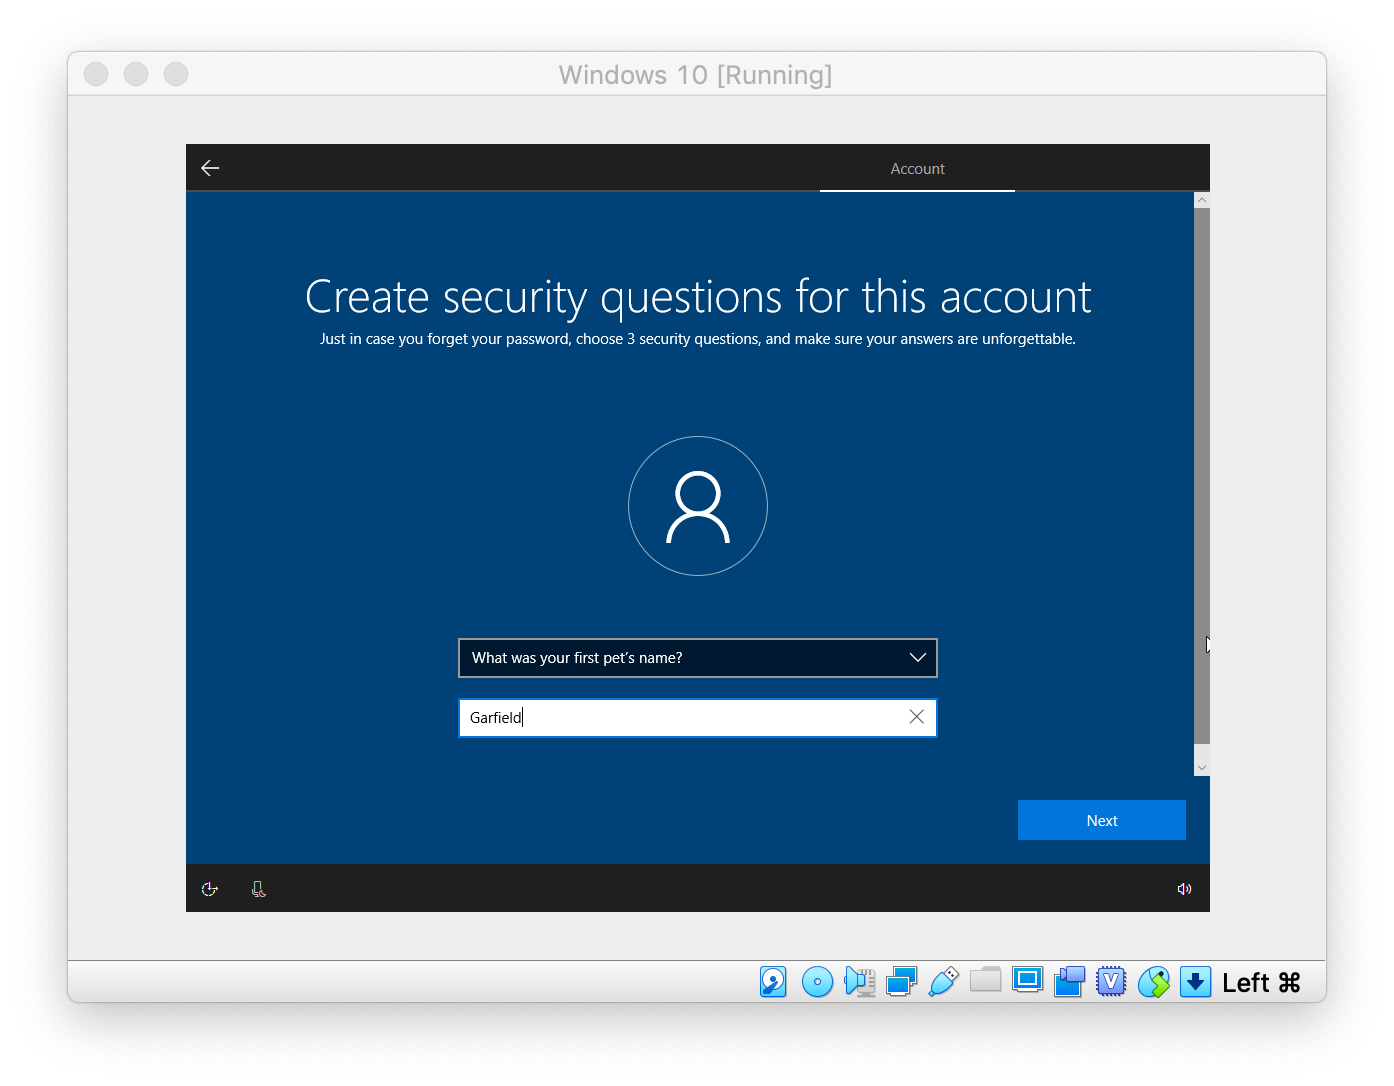
- In this window, you will need to create three security questions, which will be used to restore your password in case you forget it.
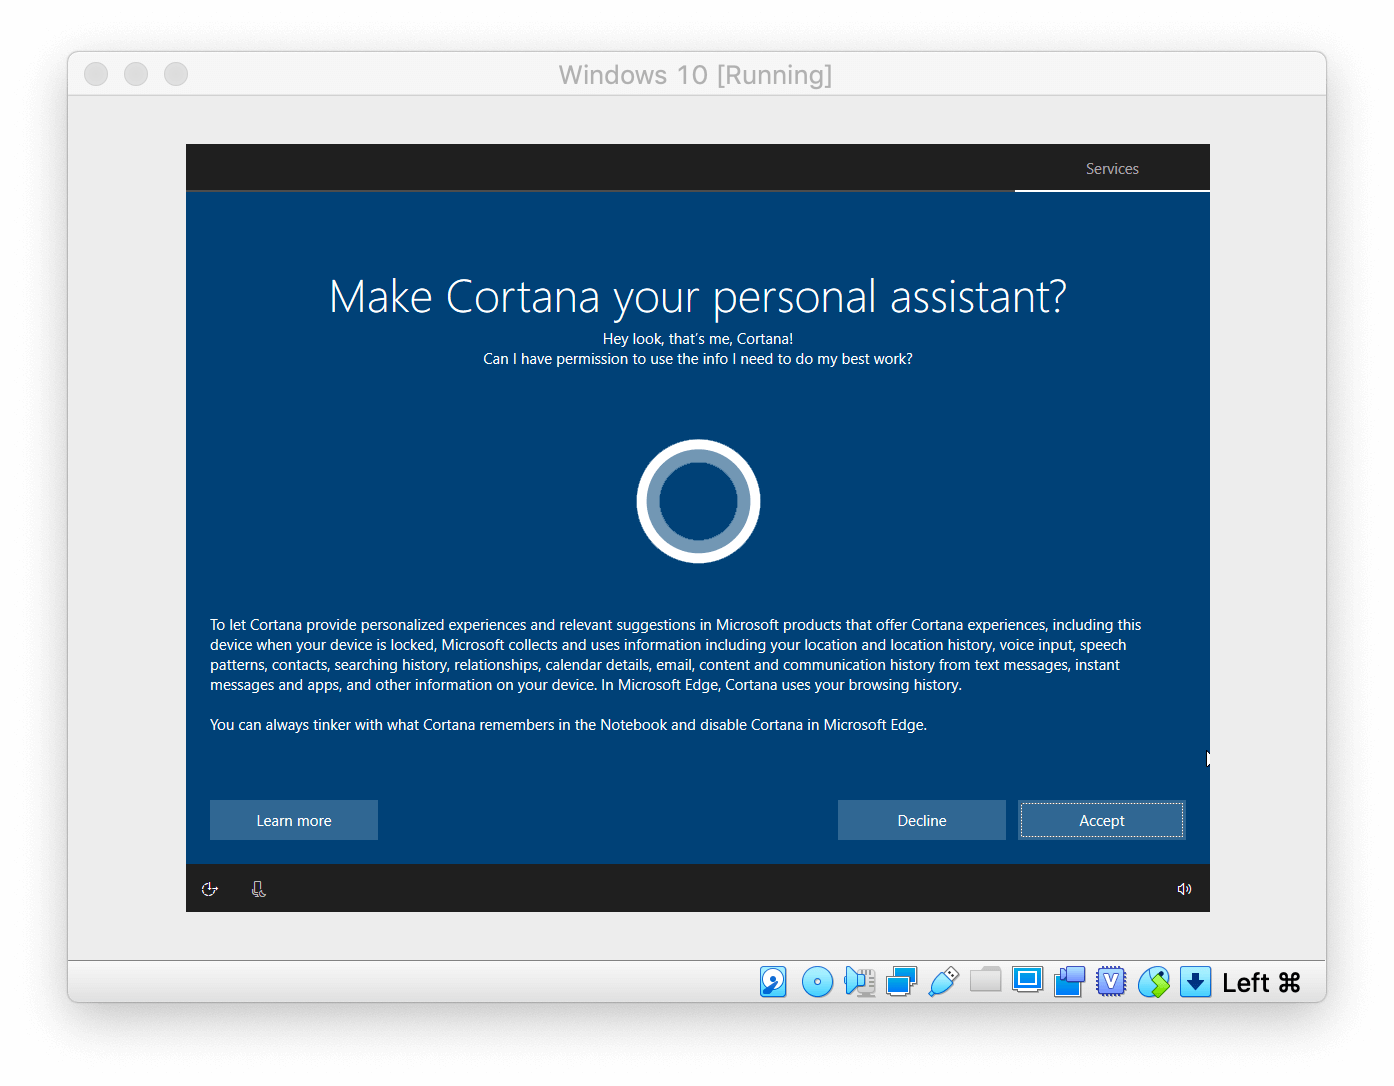
- Make Cortana your personal assistant if you wish. Otherwise, click on and proceed to the next step.
- Choose the privacy settings for your virtual machine and click on .
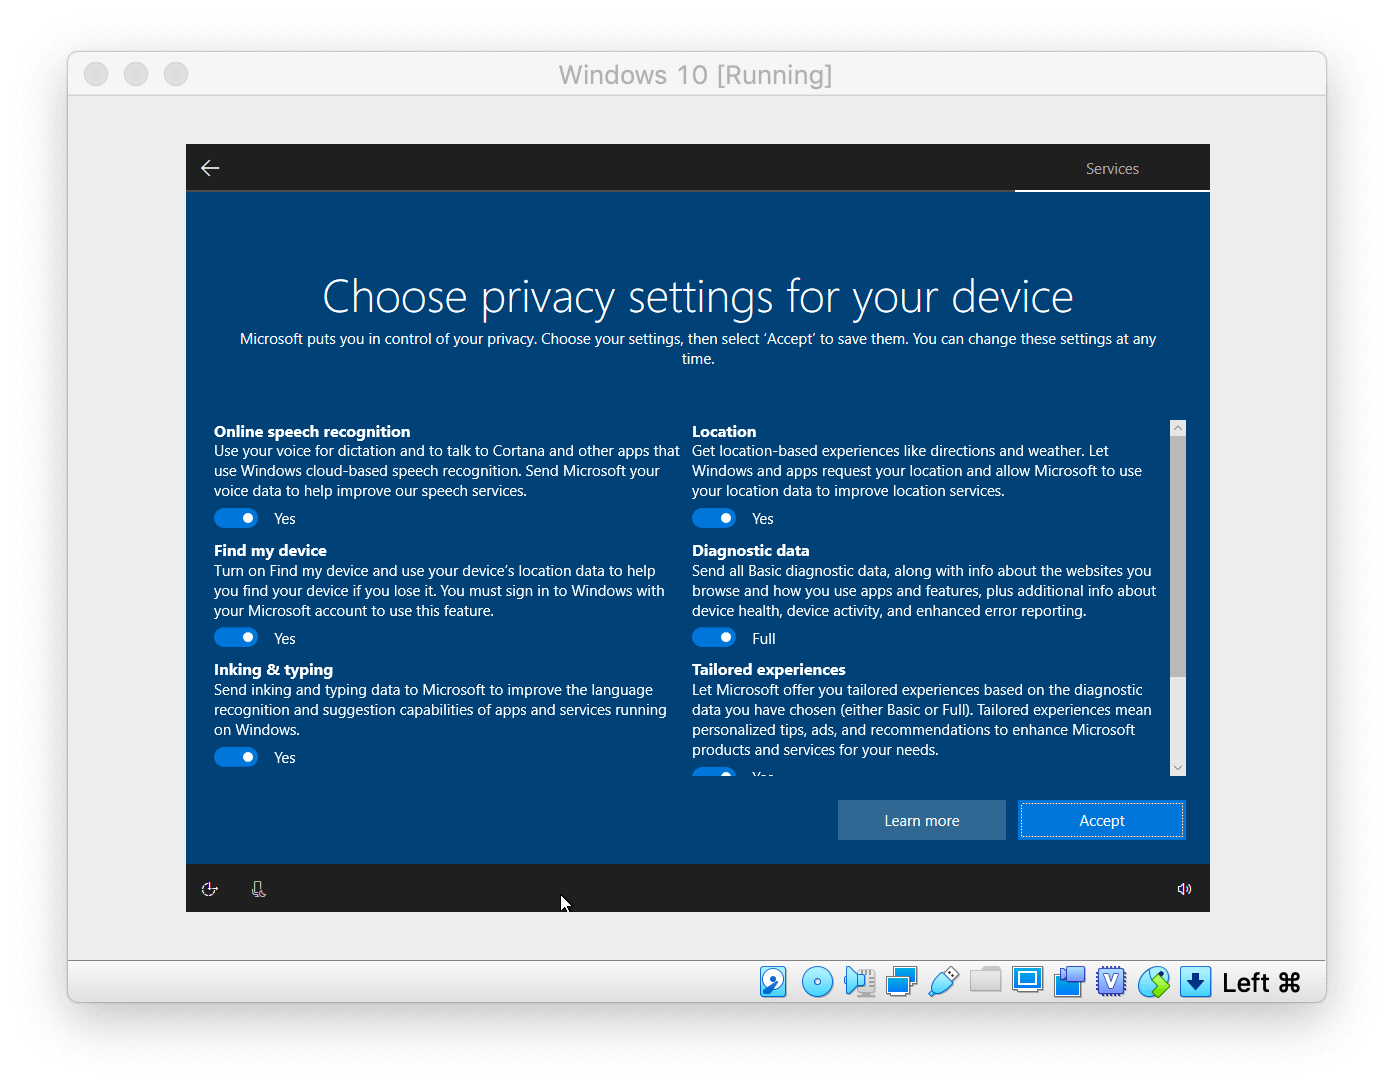
Congratulations, you’re all set! You can now run Windows on your Mac via Virtualbox.
As you can see, VirtualBox provides an easy way to set up Windows for Mac. If you don’t mind spending a little time figuring out how it works, as well as downloading the Windows ISO file, your virtual machine will be ready in just a few clicks.
If for some reason you don’t like this method or simply want to uninstall VirtualBox, please refer to our article on how to uninstall Virtualbox.
Run Windows on a Mac using WineBottler
Running Windows applications on a Mac via the well-known program WineBottler is another way to get your work done while avoiding virtual drives and remote desktops. However, as good as it sounds, there are some drawbacks. Wine on Mac by default can only support a limited number of applications. Meaning, you won’t be able to run some of the newest programs that are only compatible with Windows 10 and later.
This also means that even if you do manage to run an application that isn’t supposed to be compatible with Wine, it is likely that you will experience crashes, glitches, and slow performance. Even so, it’s still one of the quickest ways to get into some useful apps on Windows for a Mac without having to wait for a virtual drive to launch.
- Complete the Winebottler download.
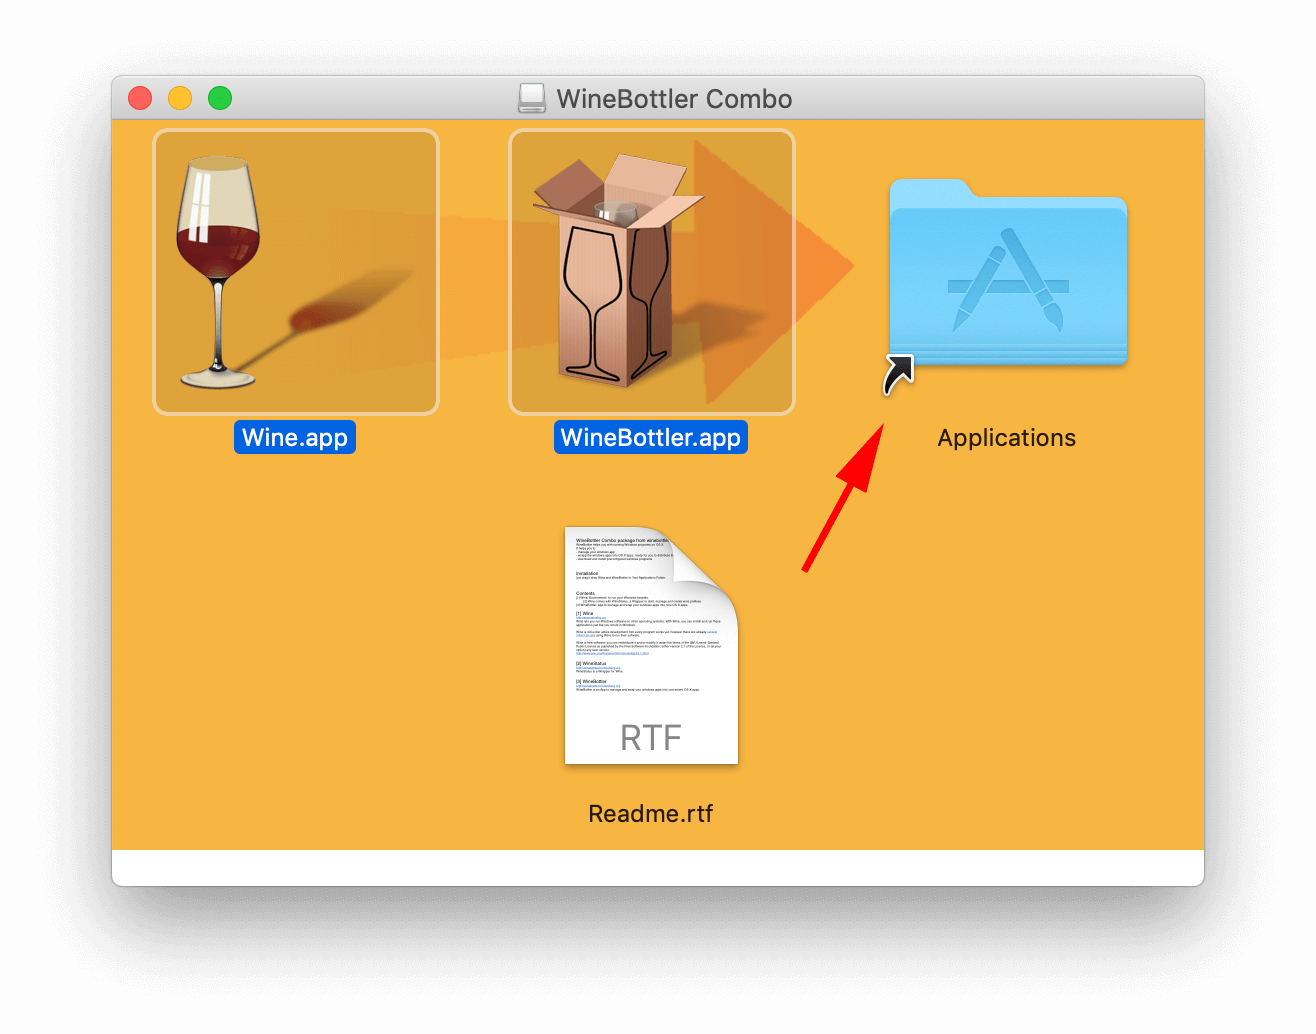
- Once you have opened the DMG file, you will need to move both of the Wine icons to Applications in order to install it.
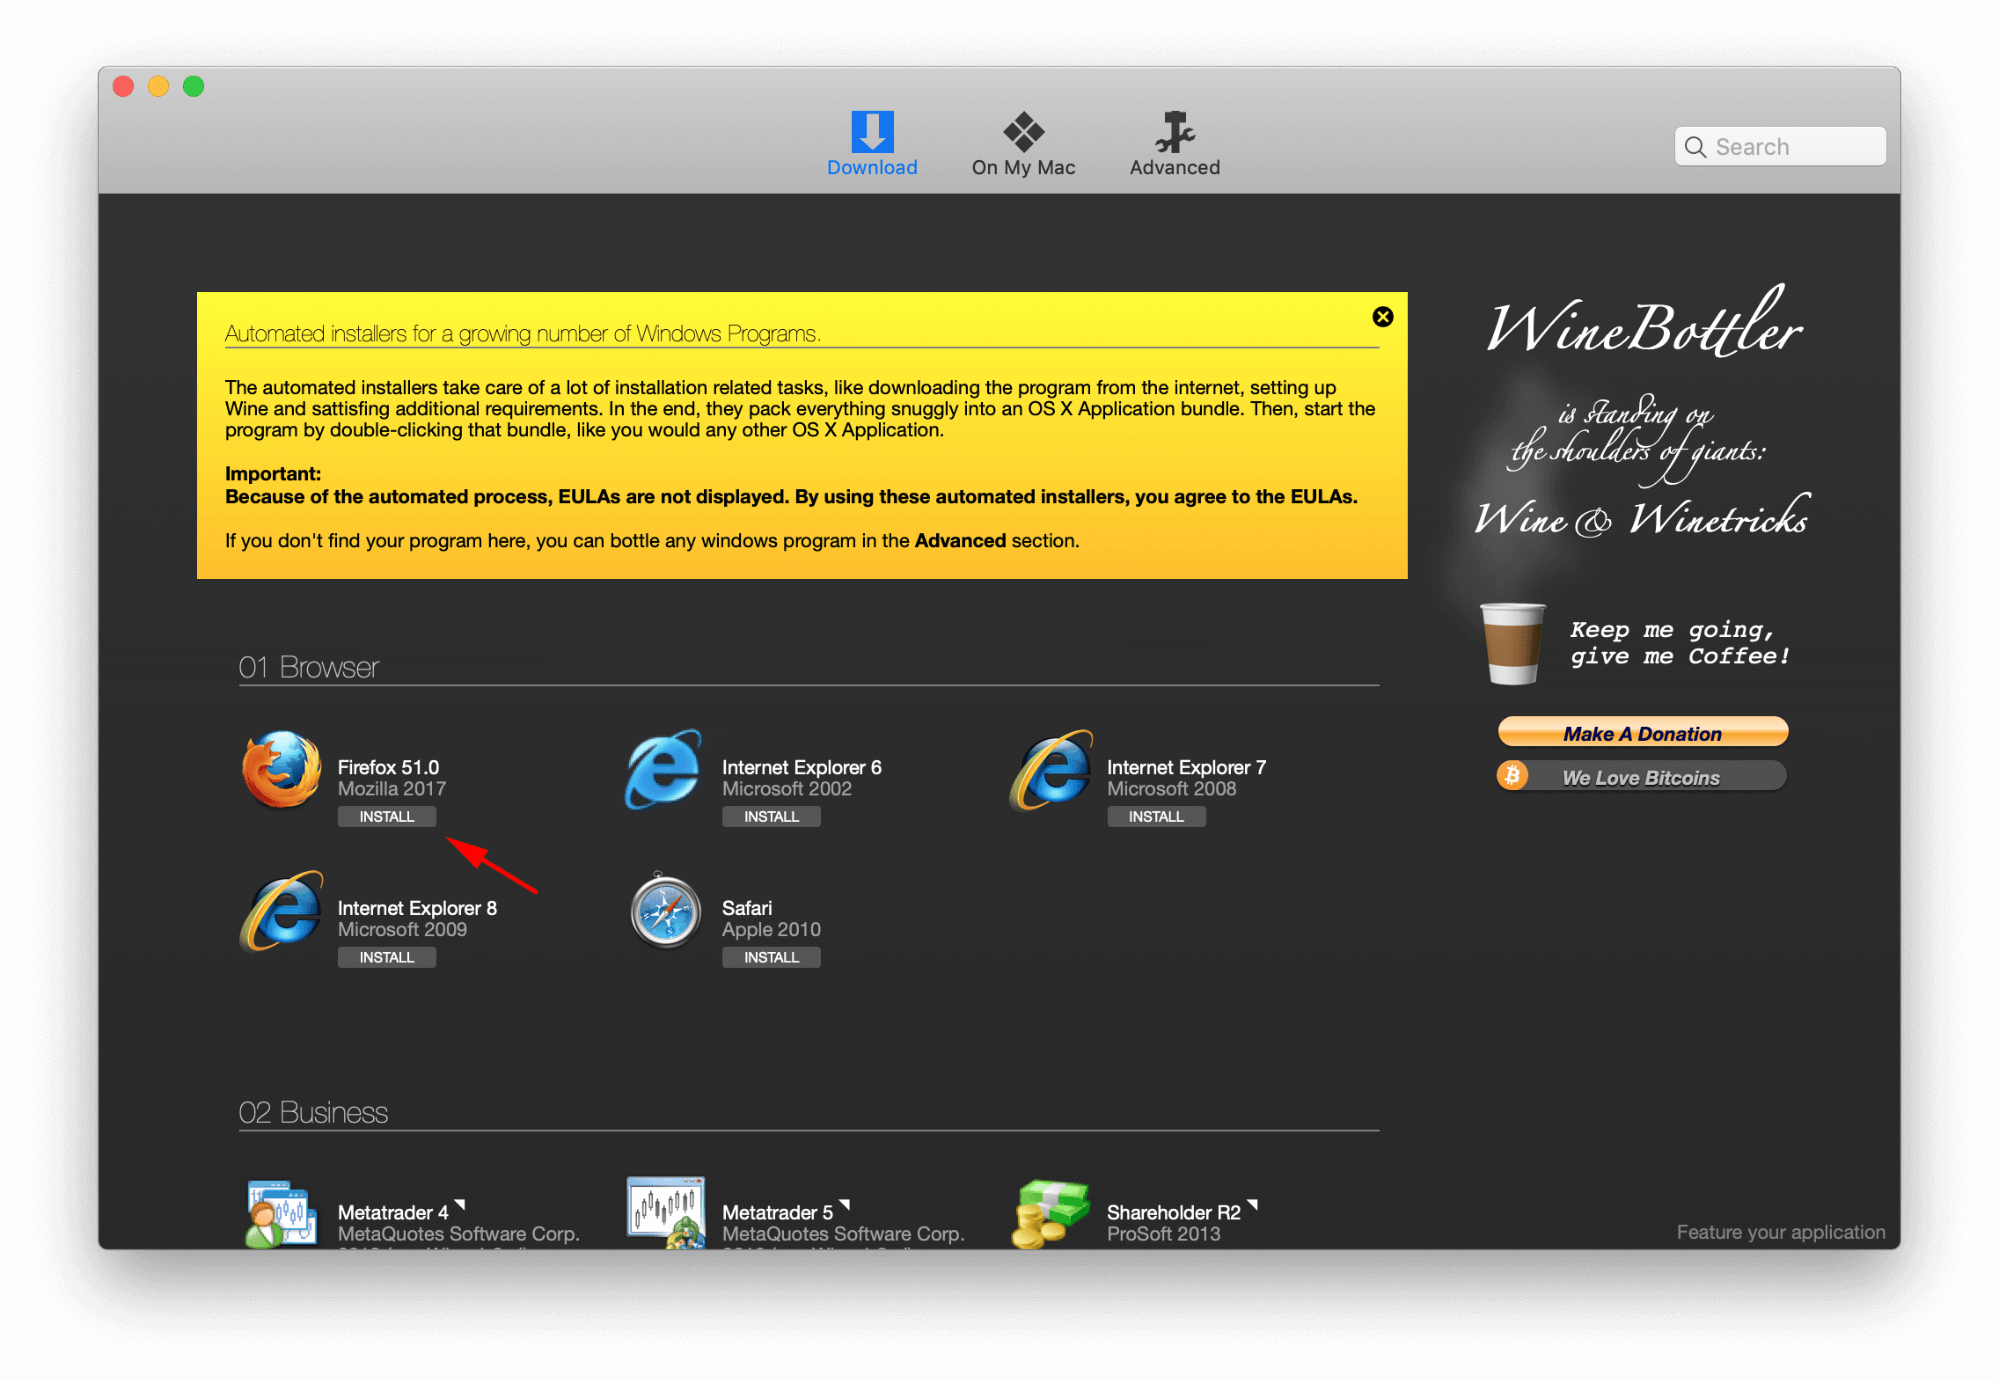
- Launched WineBottler.app
- Choose from a whole range of default Windows apps. In this instance, we used Mozilla Firefox as an example.
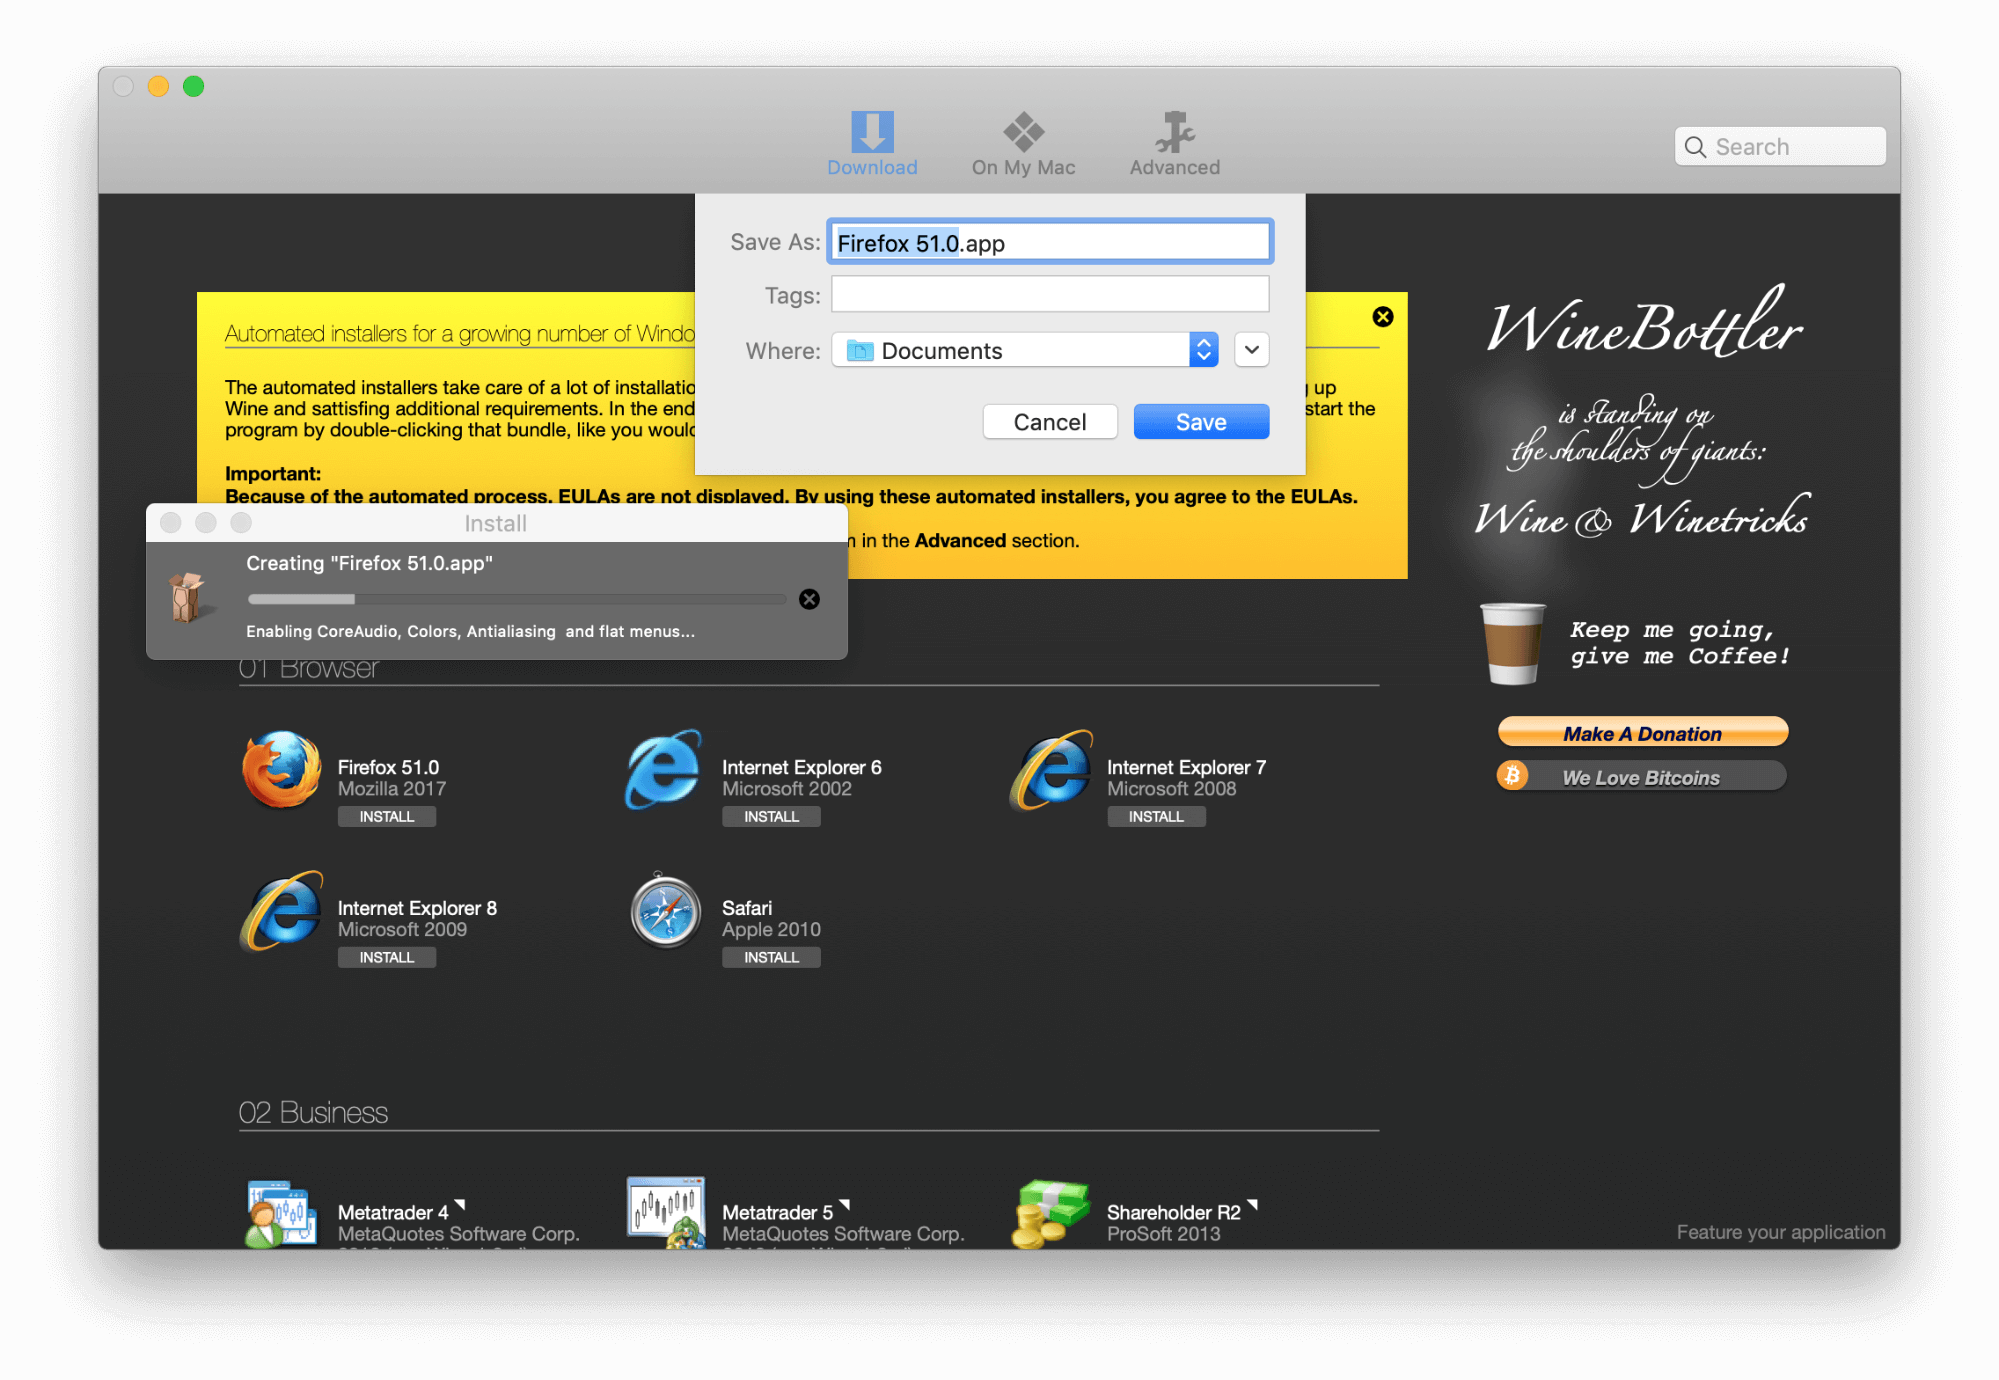
- Click to start converting the Windows program into a Mac bundle app.
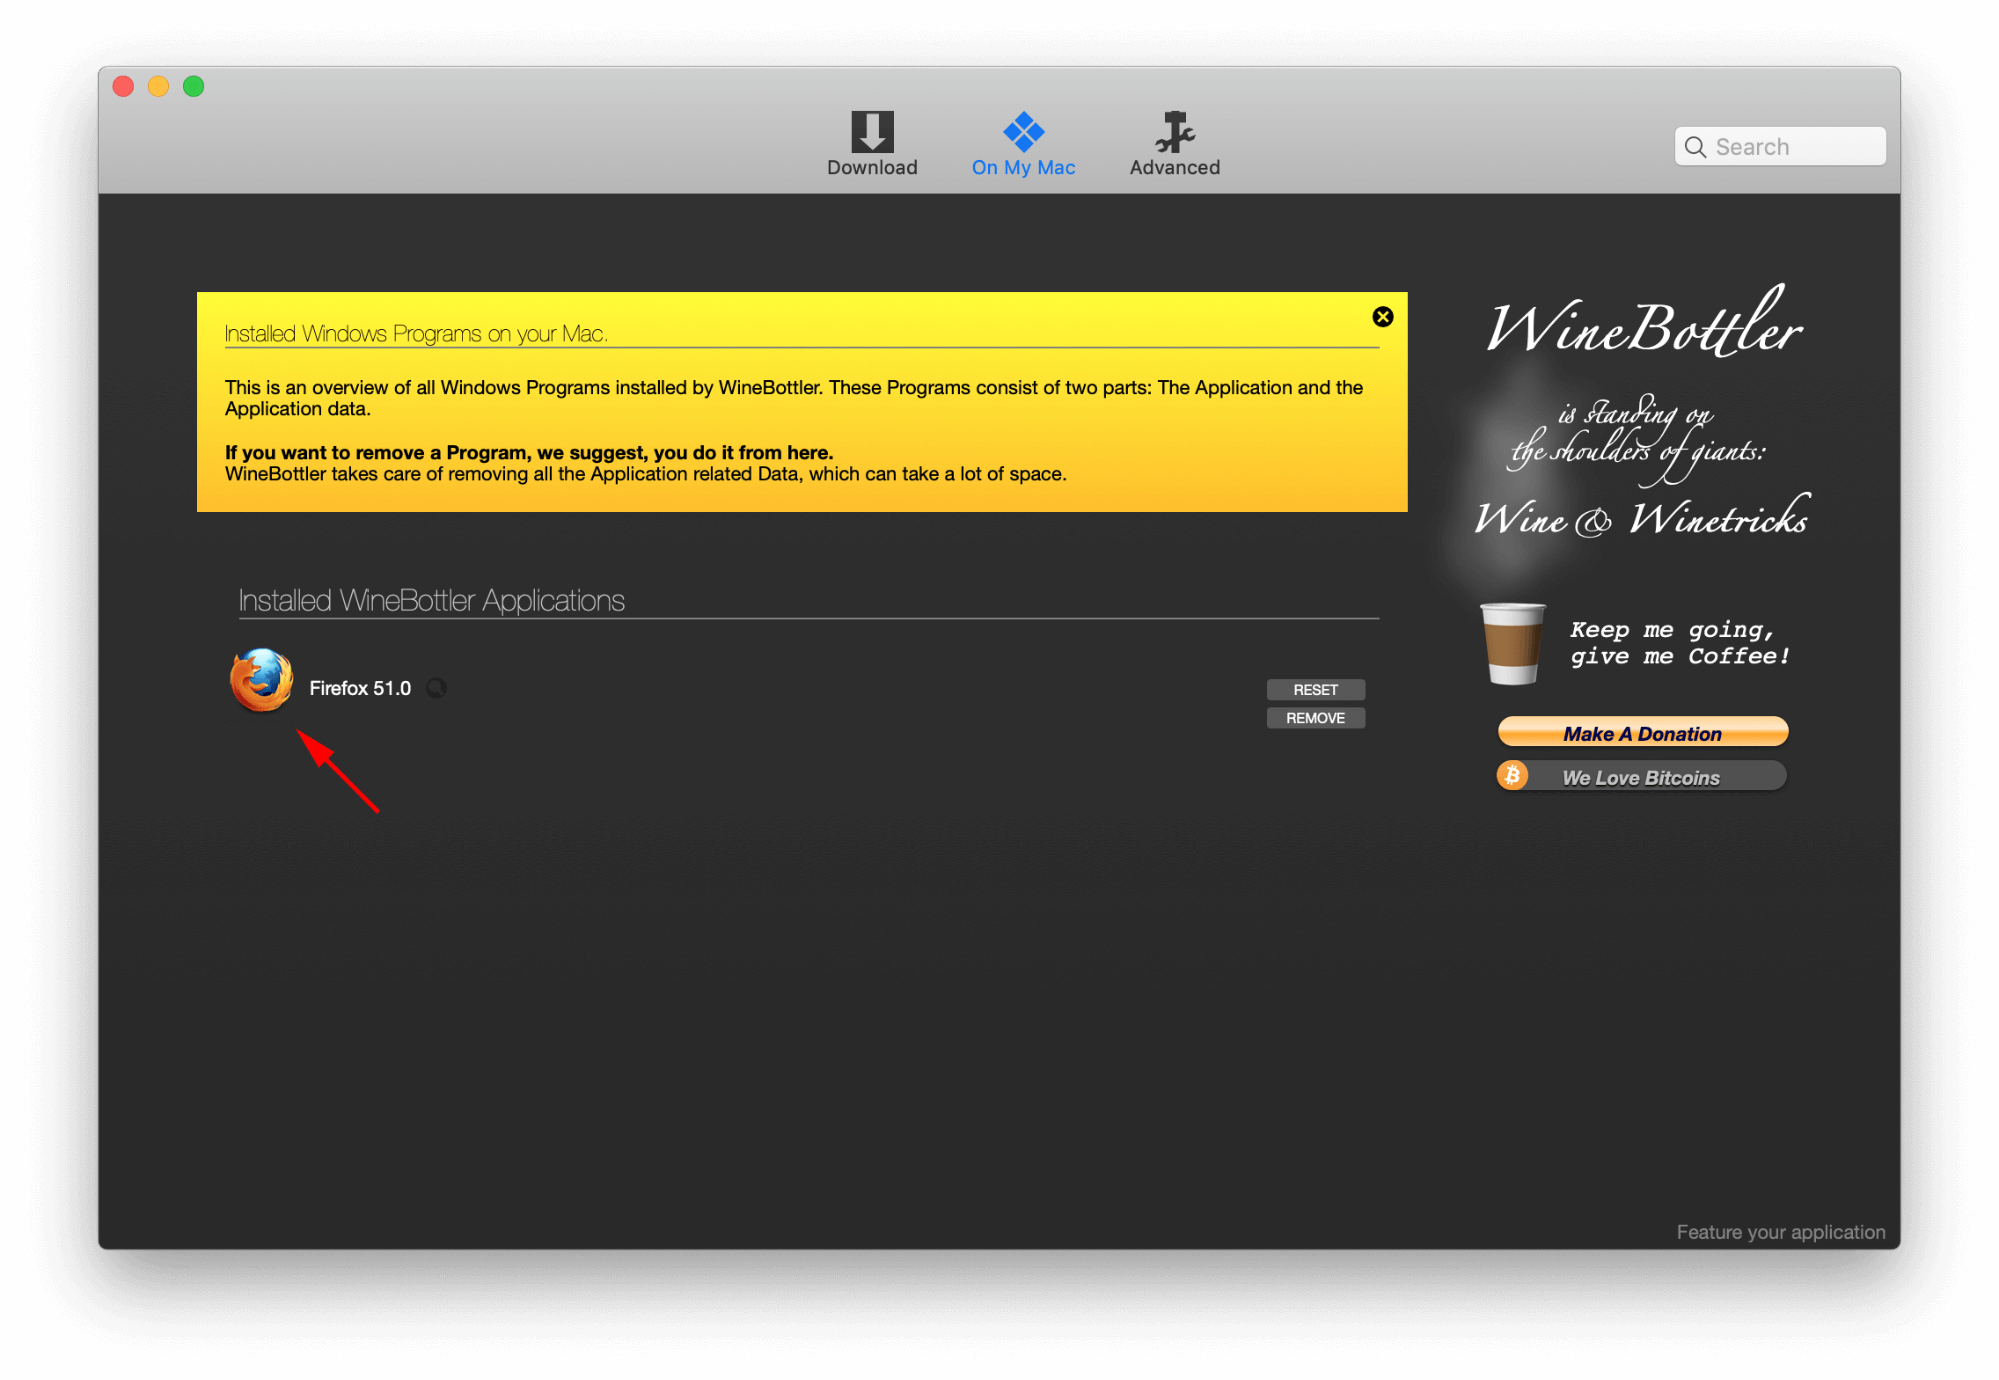
- Once you are done, head to the section in the menu bar in order to launch the Firefox program through Windows emulation.
- Firefox will prompt you to import any cookies or data from other browsers. If you don’t have any, check the box and click .
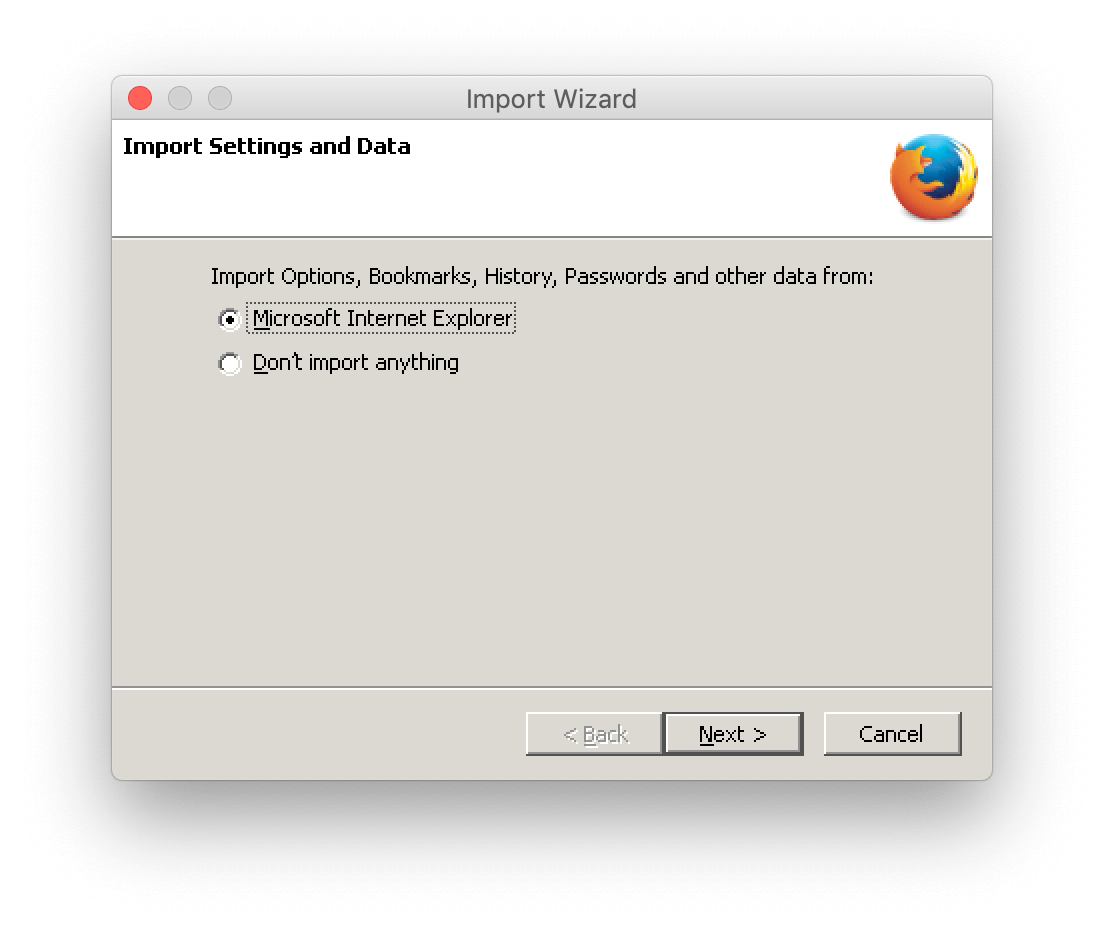
Congratulations! Your Firefox Browser has started and now you can run Windows programs on your Mac.
Since you can already choose from a whole list of default WineBottler apps, we will also show you how you can execute any other .exe file using WineBottler.
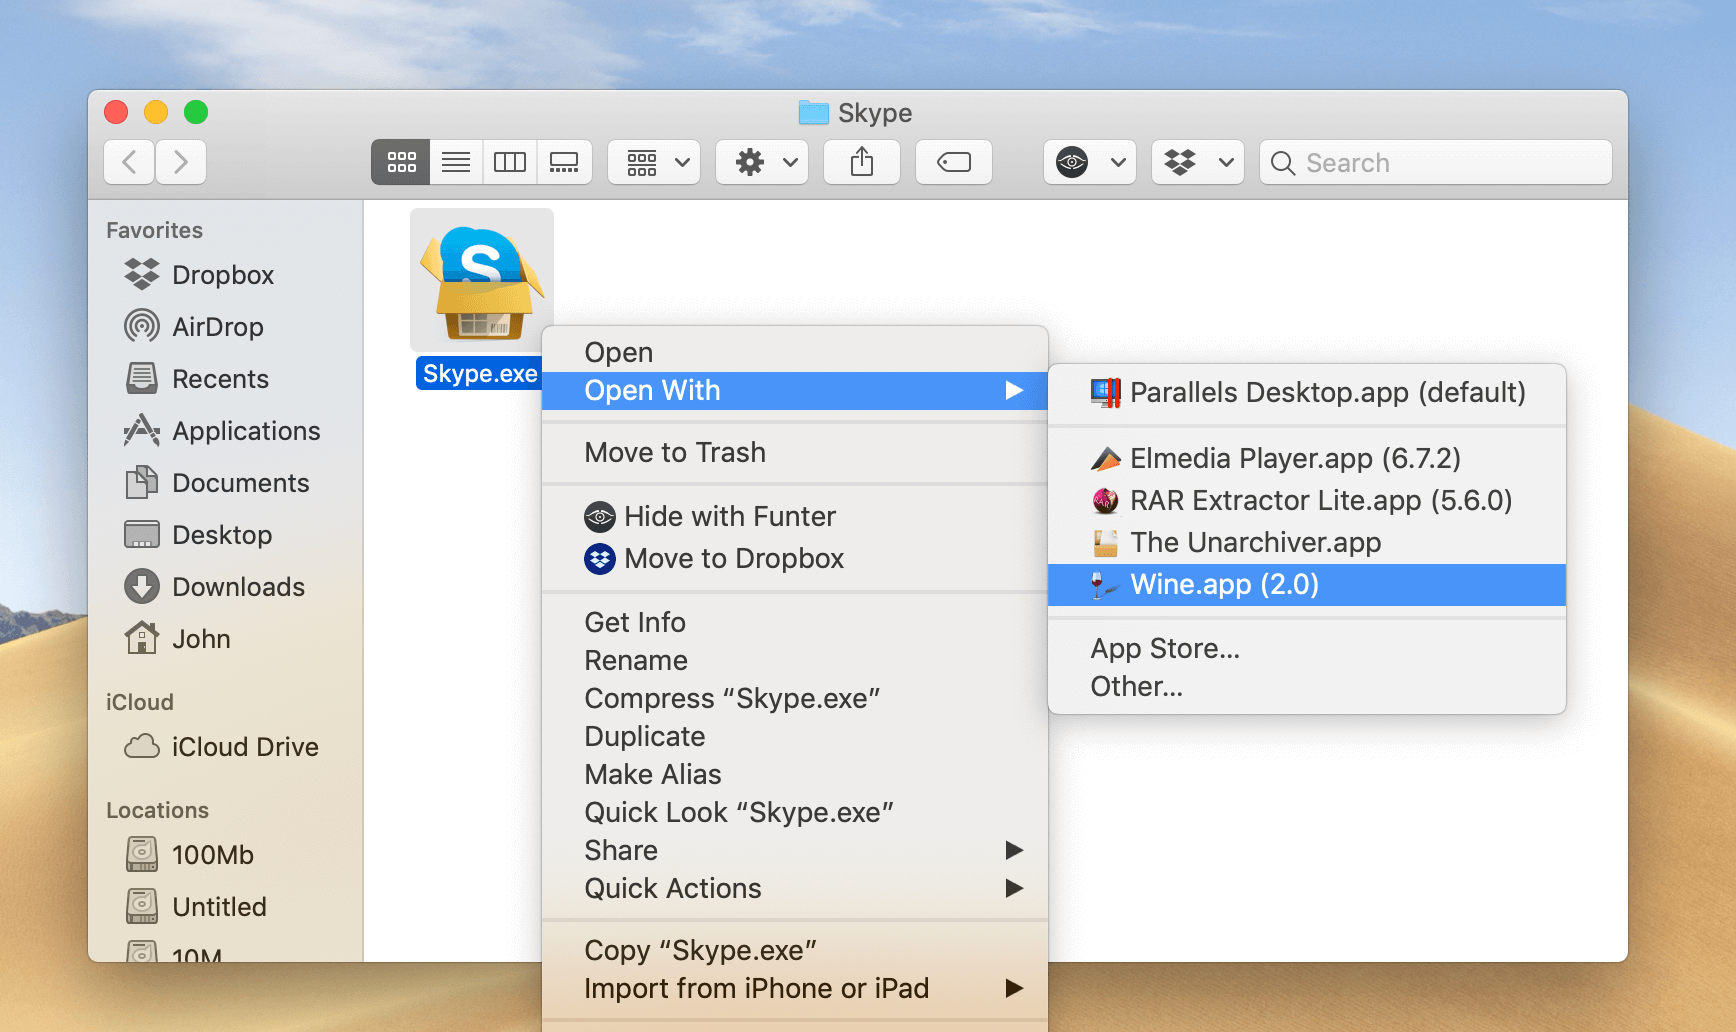
- Downloaded the needed .exe file that you wish to execute
- Right click on it and go
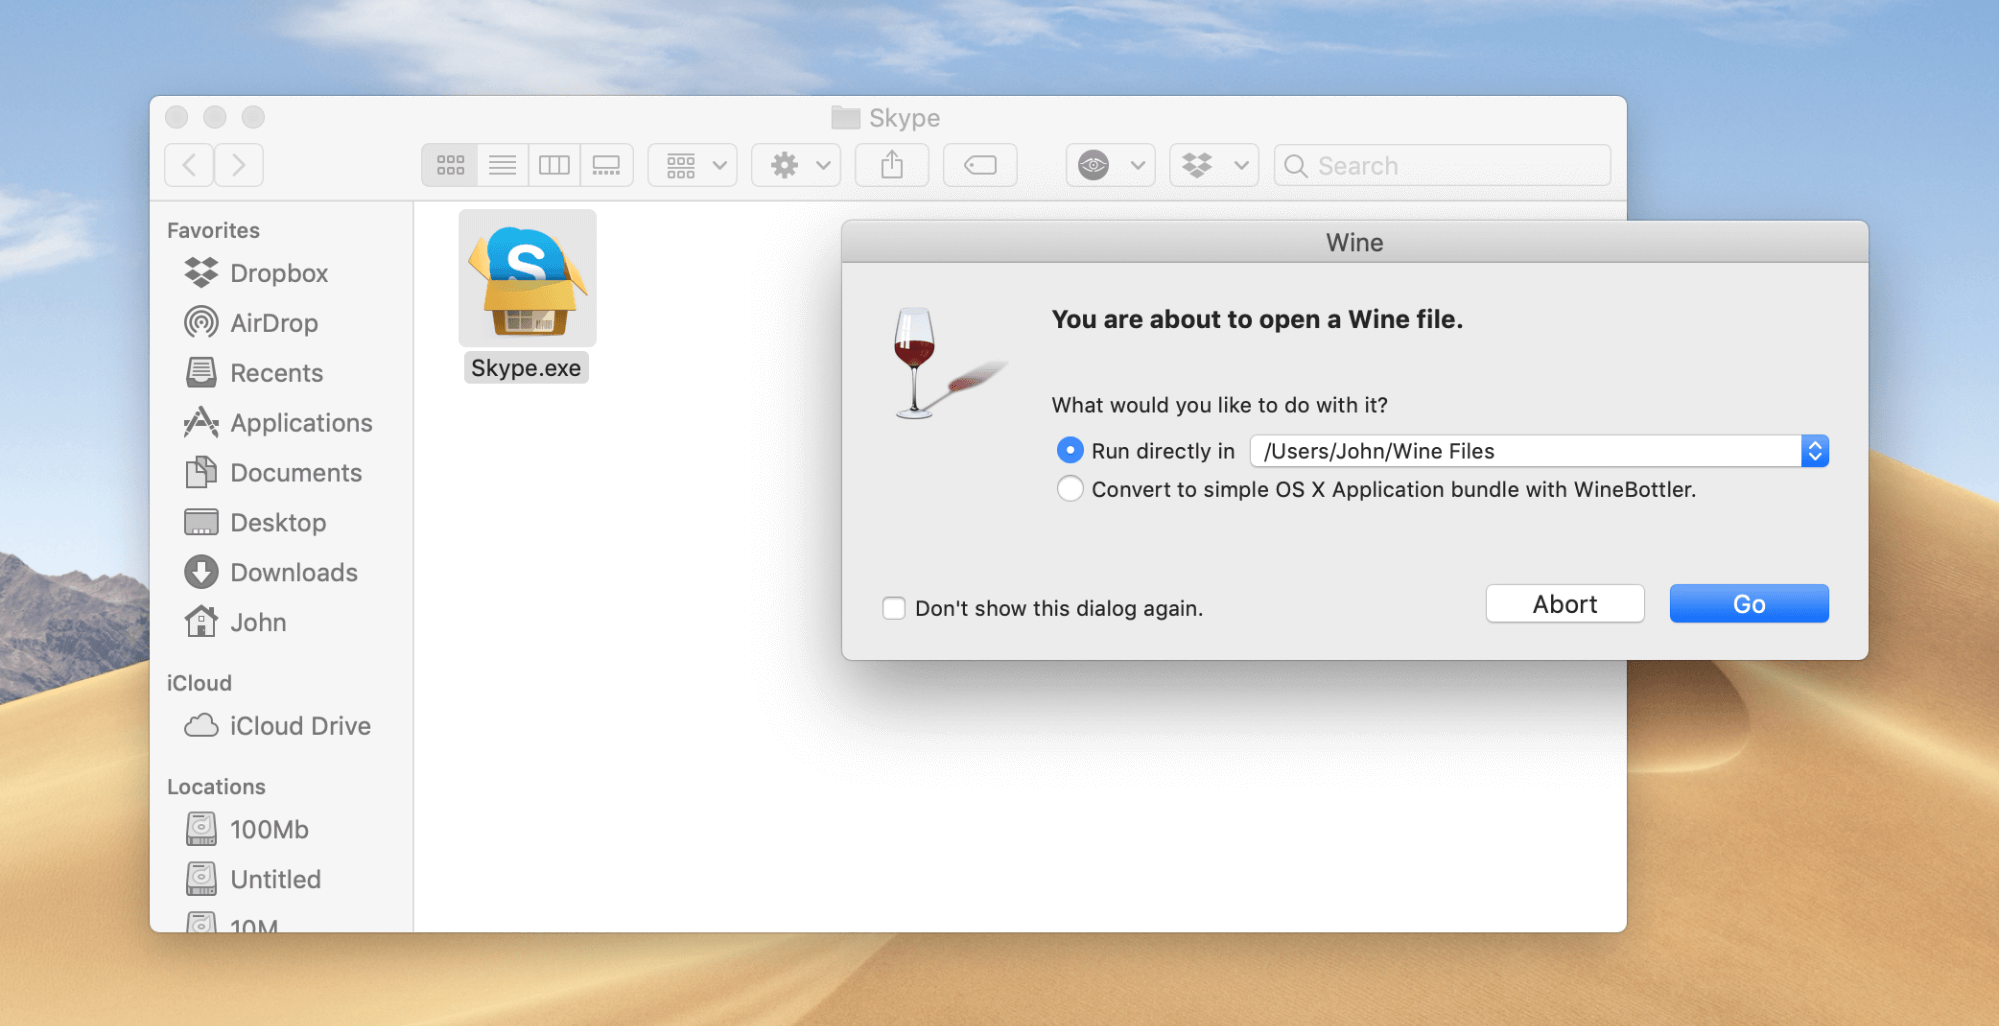
- Click on in the window that follows to execute the software the same way it executed Firefox.
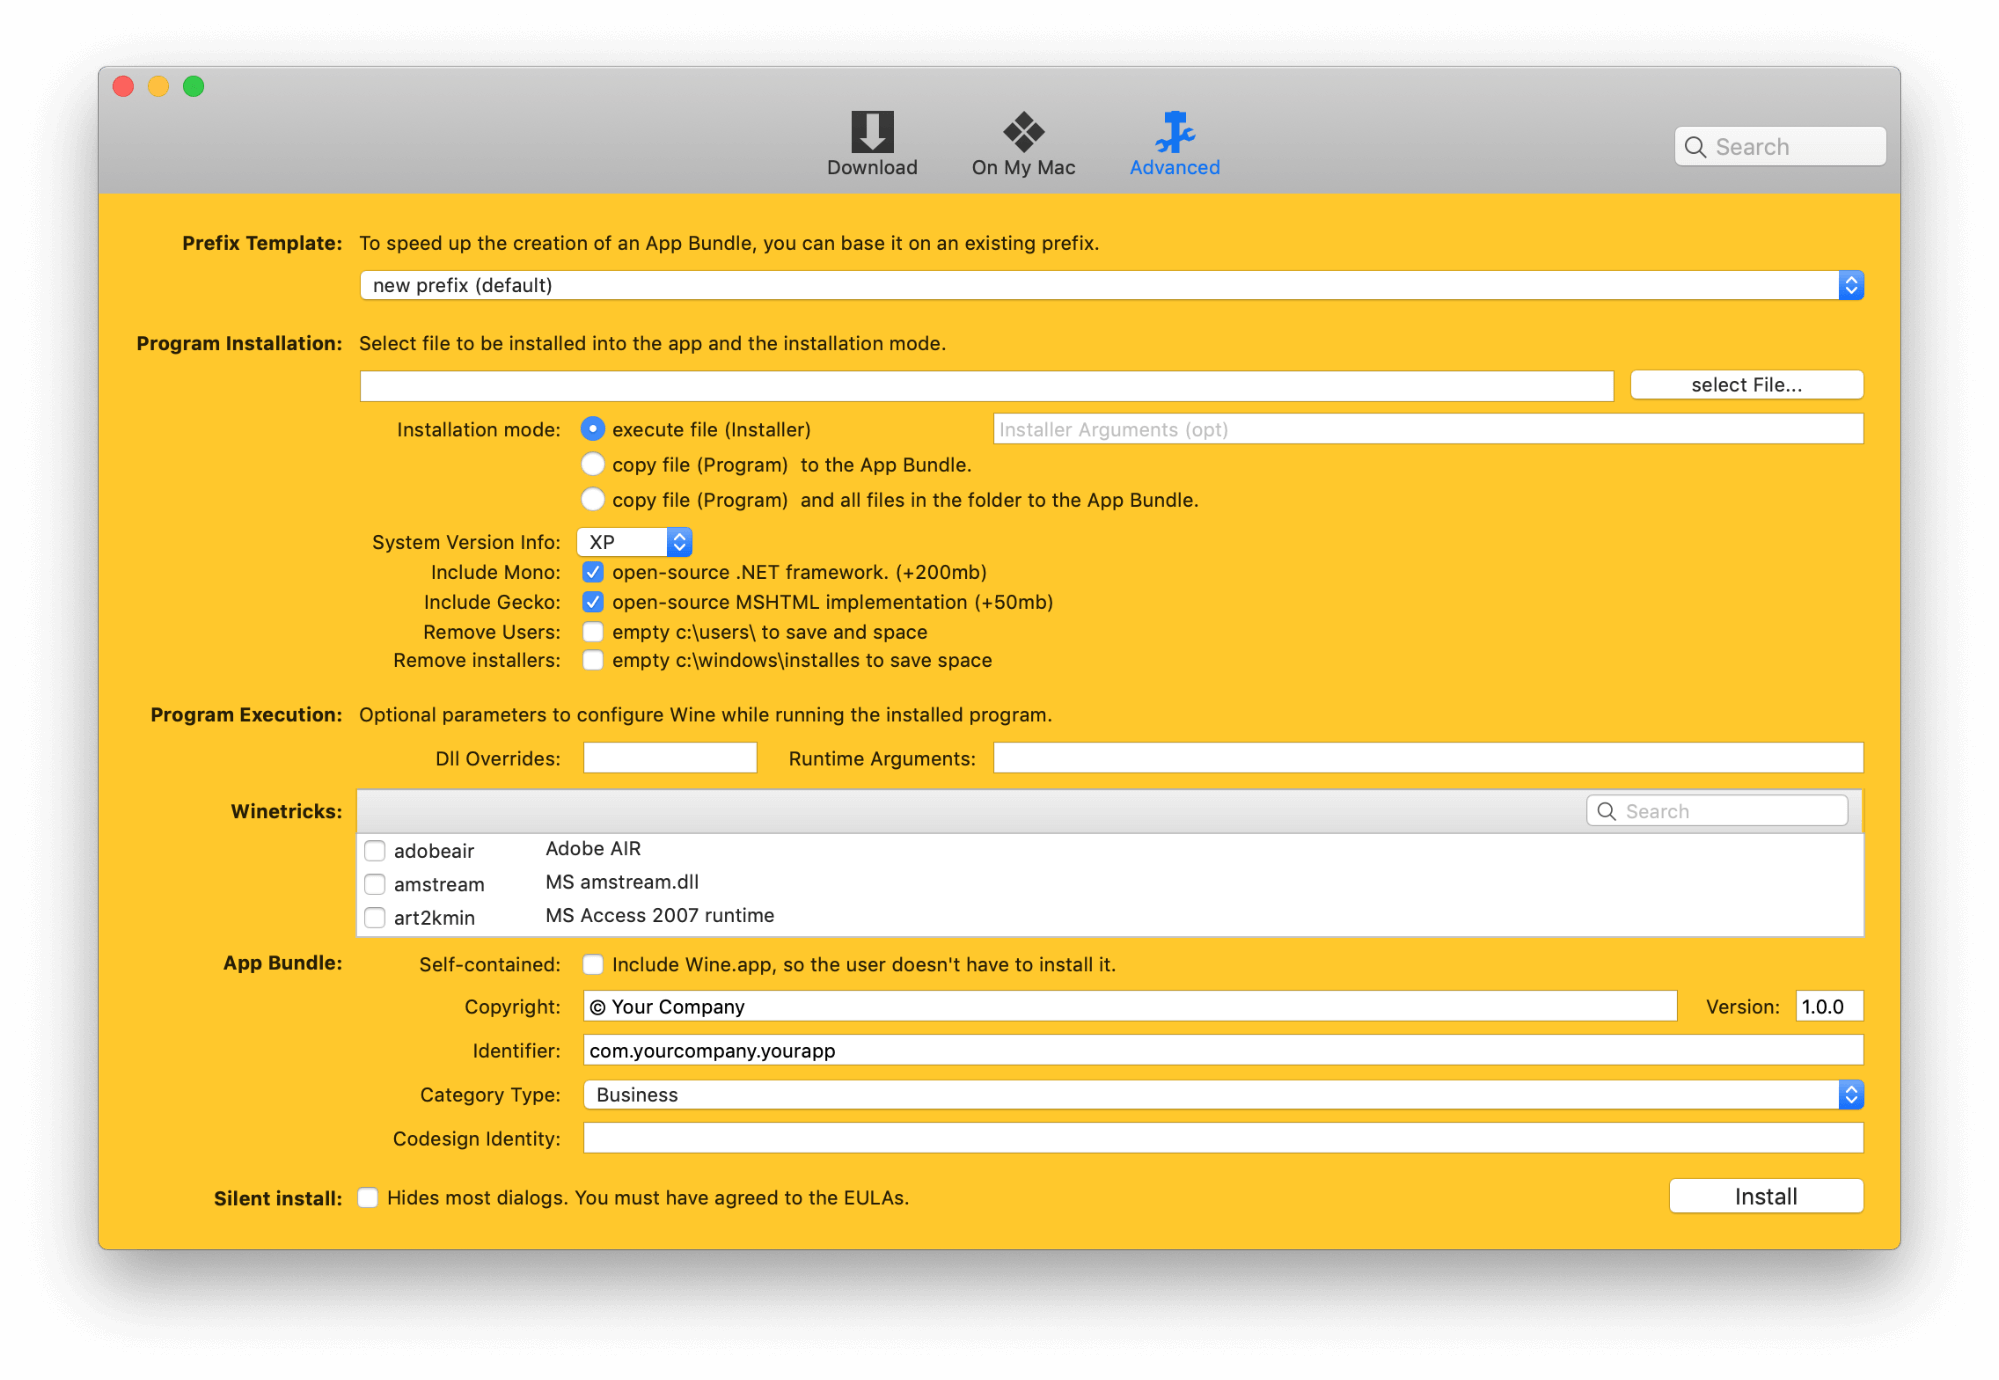
- If you would rather install it first and convert it into an OS X Application bundle, it will automatically redirect you to the Advanced screen. There you will need to choose the correct parameters and specify the directory that you wish the app to go to.
Some programs are easy to install using WineBottler and some will take some effort. We would suggest doing some research on the app that you are trying to launch, specifically to learn which libraries other people successfully used.
Install Windows on a Mac using Bootcamp
Note: Apple supports Boot Camp on Intel-based Macs only. On Apple silicon (i.e. M1 and M2) processors, you can’t use Bootcamp to run Windows on Mac.
What is Bootcamp for Mac?
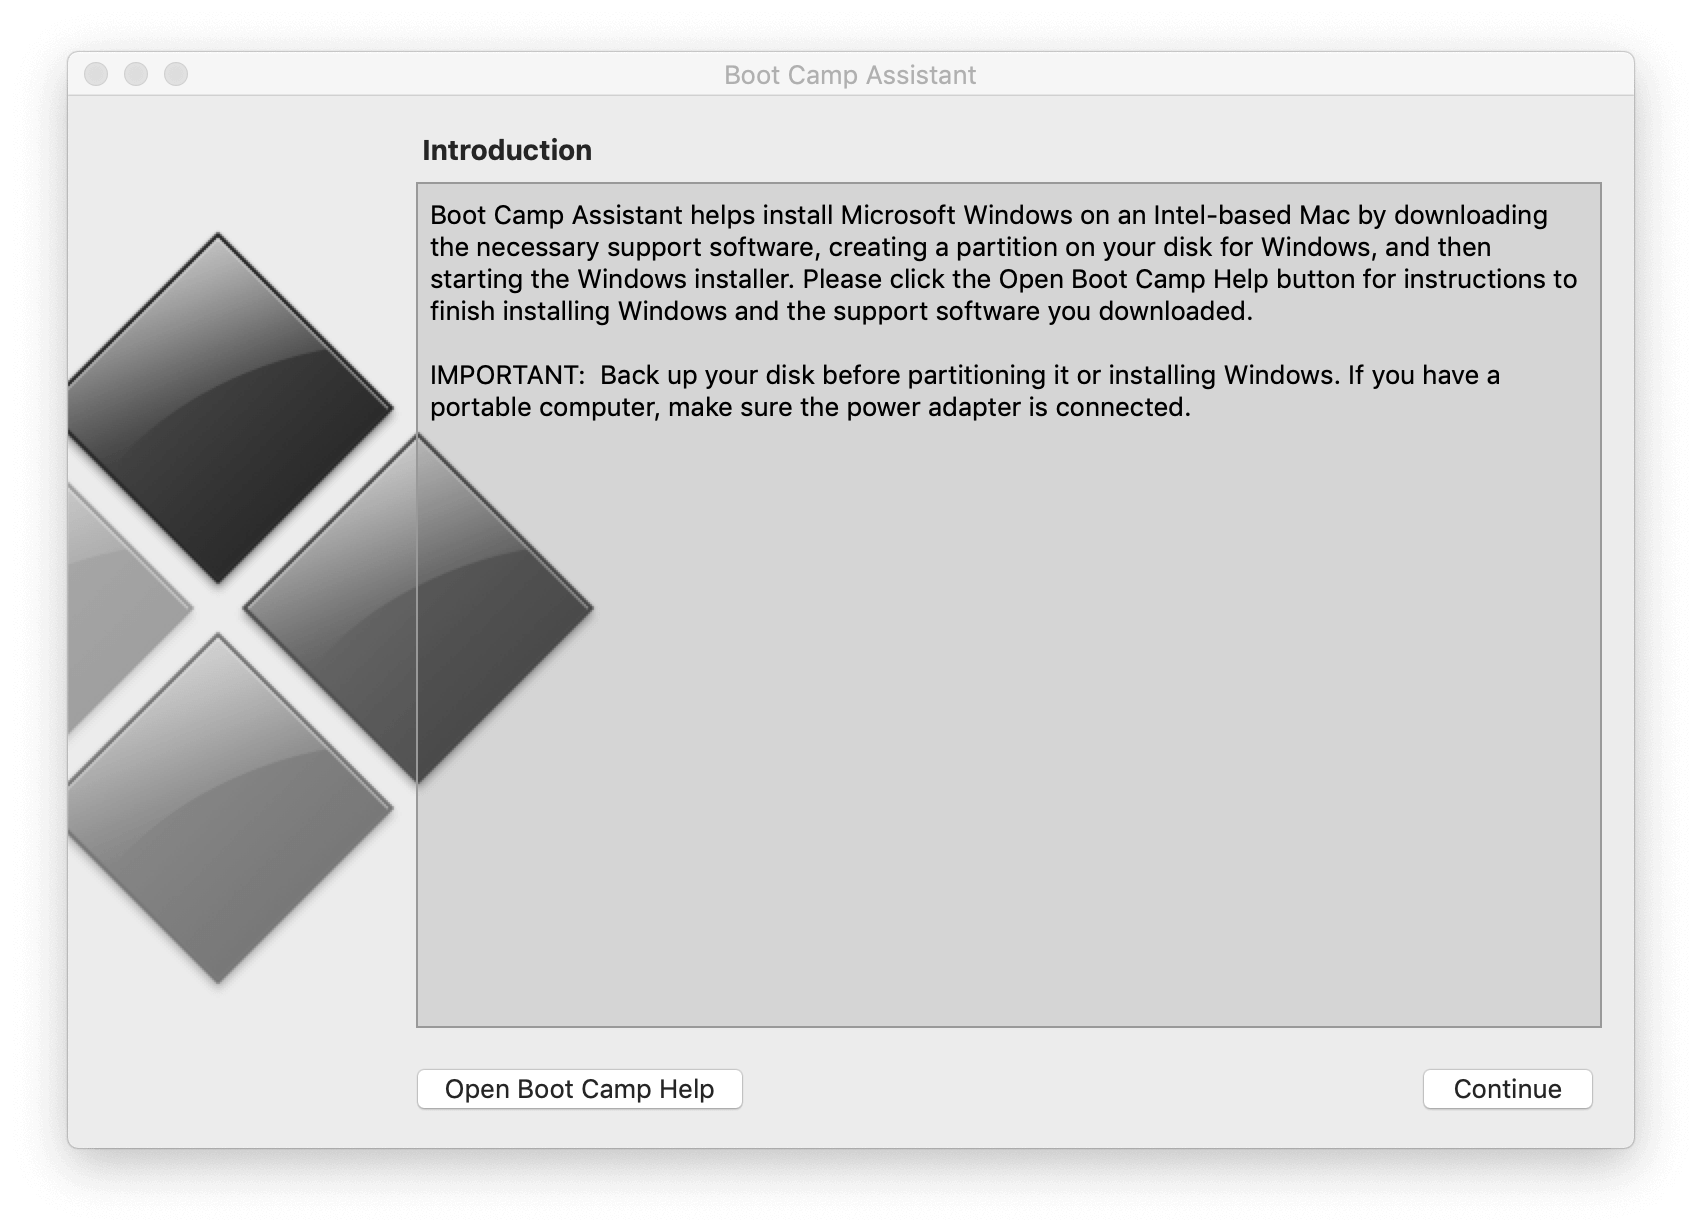
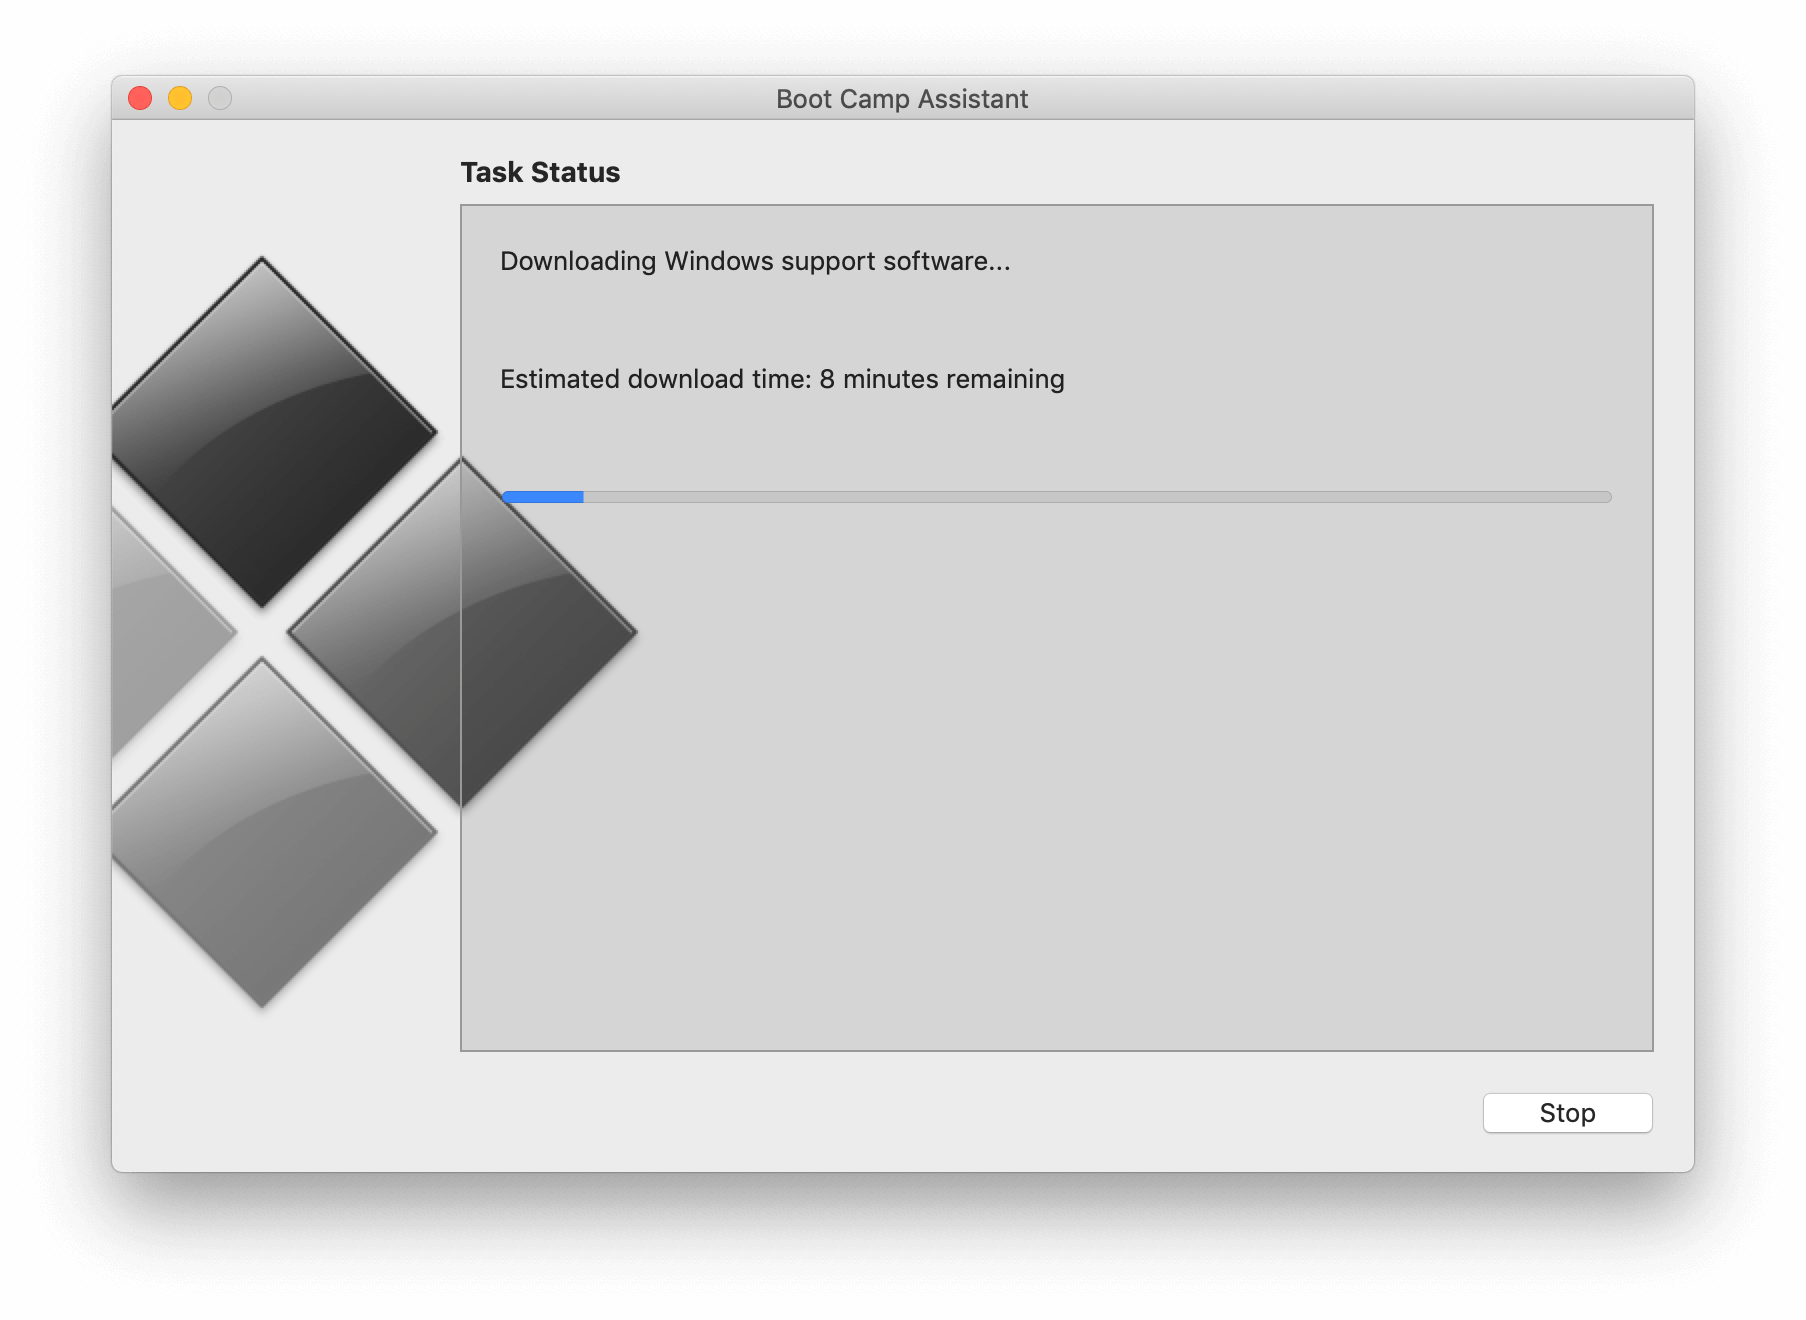
Bootcamp on Mac, or the Bootcamp Assistant software, is a system utility app that you can use to install and run Windows on a Mac. While the process is fairly straightforward, what’s best about it is you won’t need to use any third-party software as the Bootcamp app is built into your Mac. However, be aware that you will need to have plenty of space on your Mac in order to be able to dual-run both operating systems. The Windows OS alone will be 64GB minimum.
Steps on how to run Windows on Intel-based Mac using Bootcamp:
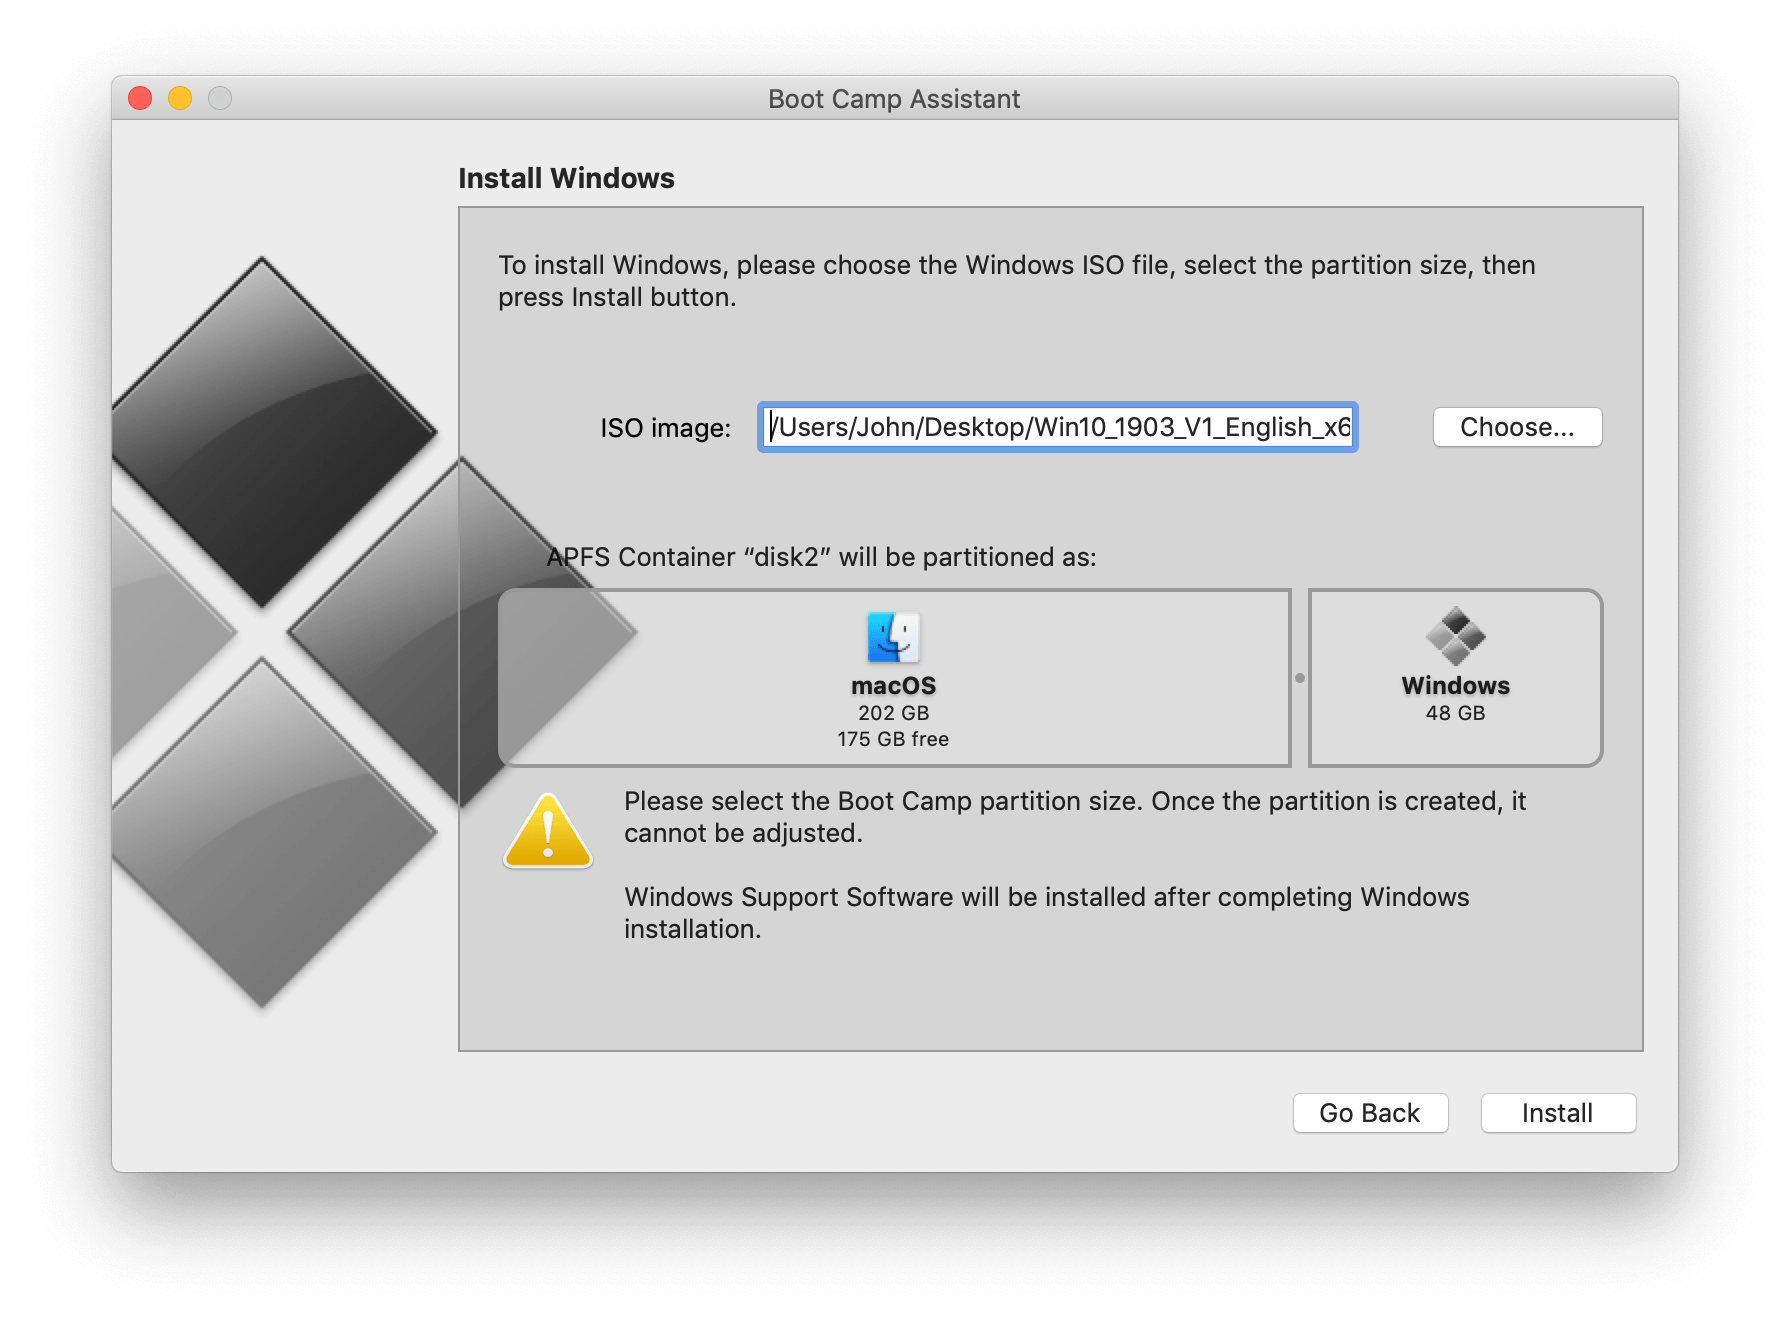
- Download a latest Windows ISO for your Boot Camp installation on your Mac.
- Open up Bootcamp assistant on your Mac, which is located in .
- Click on and locate the Windows ISO file if it hasn’t been automatically pulled up.
- Proceed with pressing on in order to initiate the installation.
- You will go through the standard Windows installation after that. Follow the instructions on the screen to proceed to the next step.
- Congratulations! Once the installation has been finalized, your Mac will automatically boot into Windows.
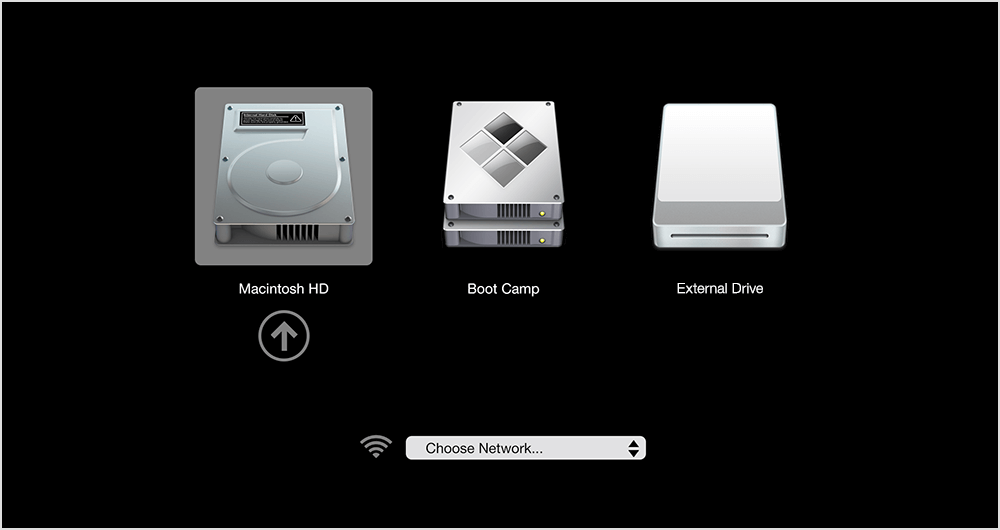
Since you already know how to install Windows on a Mac using the Bootcamp Mac app, you will also want to know how to switch between macOS and Windows.
- Restart your Mac and hold down the Option key, and then you will see two options:
- Load Macintosh HD to get into Mac
- Load Bootcamp to launch Windows.
- If you don’t like switching upon startup, you can always change the boot drive from the macOS system preference panel for Startup Disk.
To see how you can install Windows on a Mac without Bootcamp, keep reading and you will find out how you can use several third-party methods to do it yourself.
Conclusion
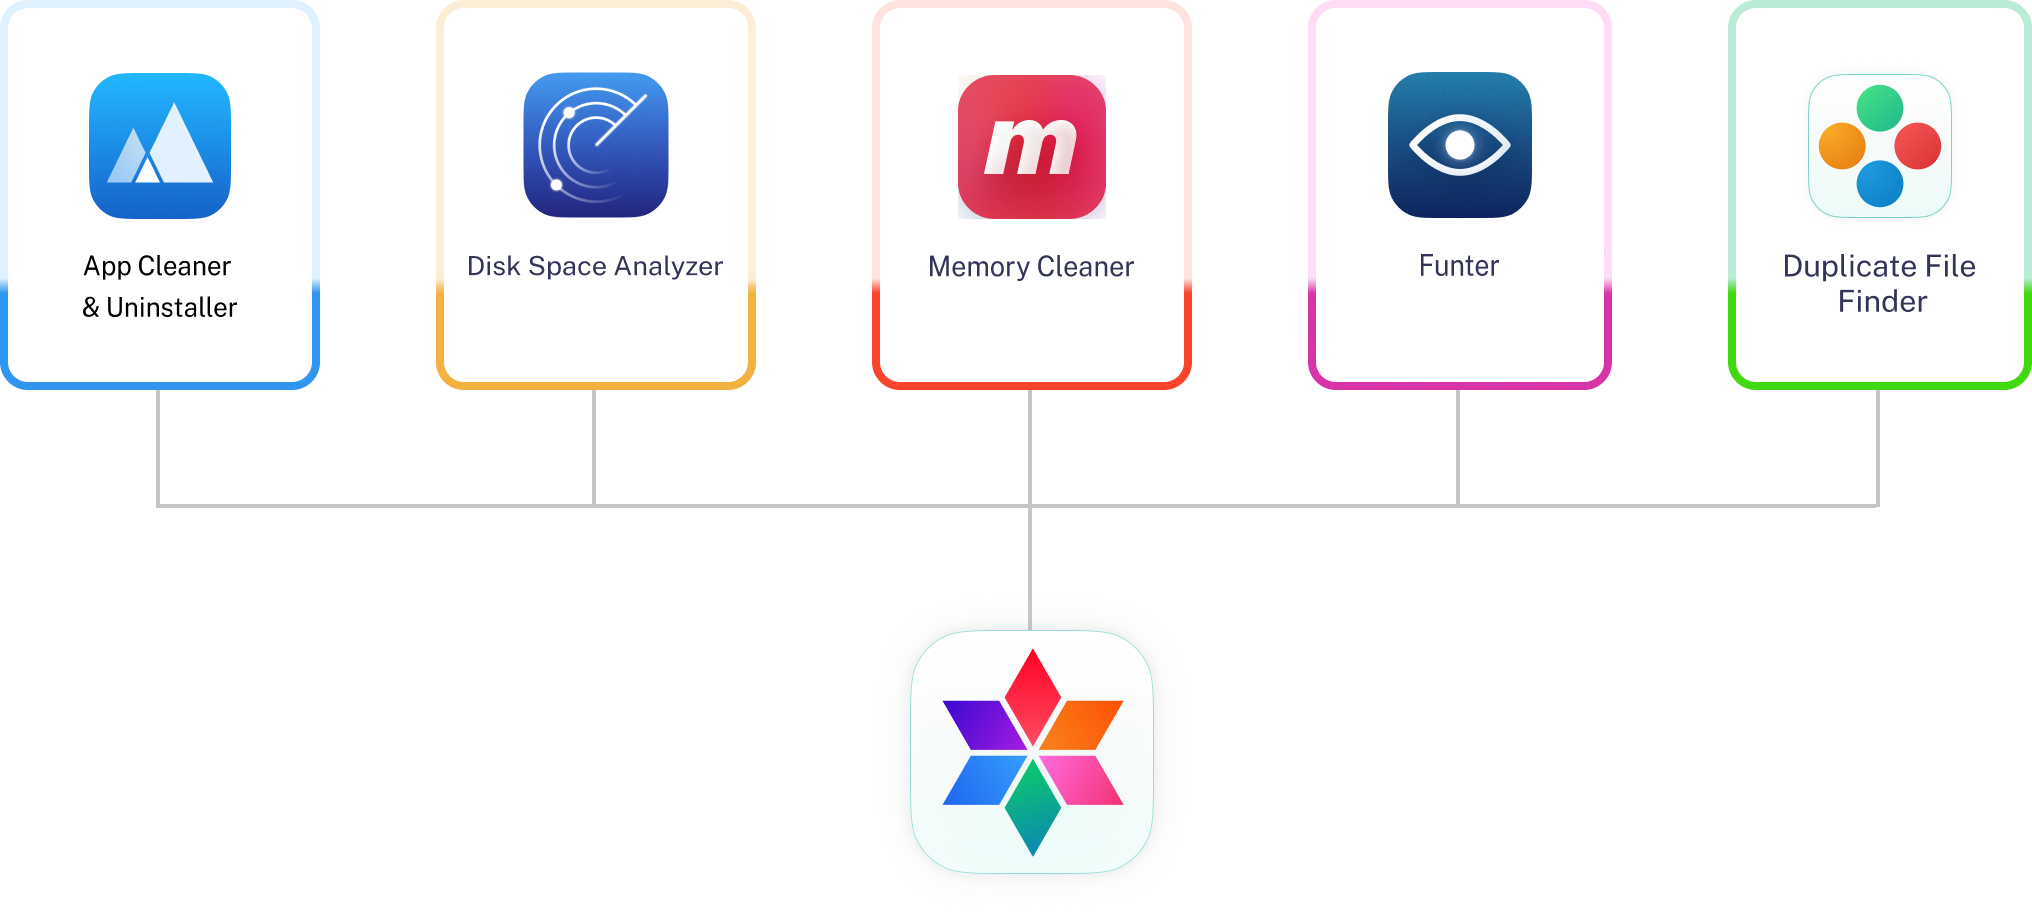
Whichever solution you choose to get Windows running on your Mac, you should keep in mind that the files will require a lot of memory. We would suggest using MacCleaner Pro bundle to optimize your disk space. MacCleaner Pro allows you to find and remove duplicate files, hidden files, unneeded logs, cache and other junk files. The app will help you delete them all in a matter of a few clicks. It also comes with the Memory Cleaner app that will allow you to clear RAM regularly, optimizing memory usage while you run the virtual drive.
